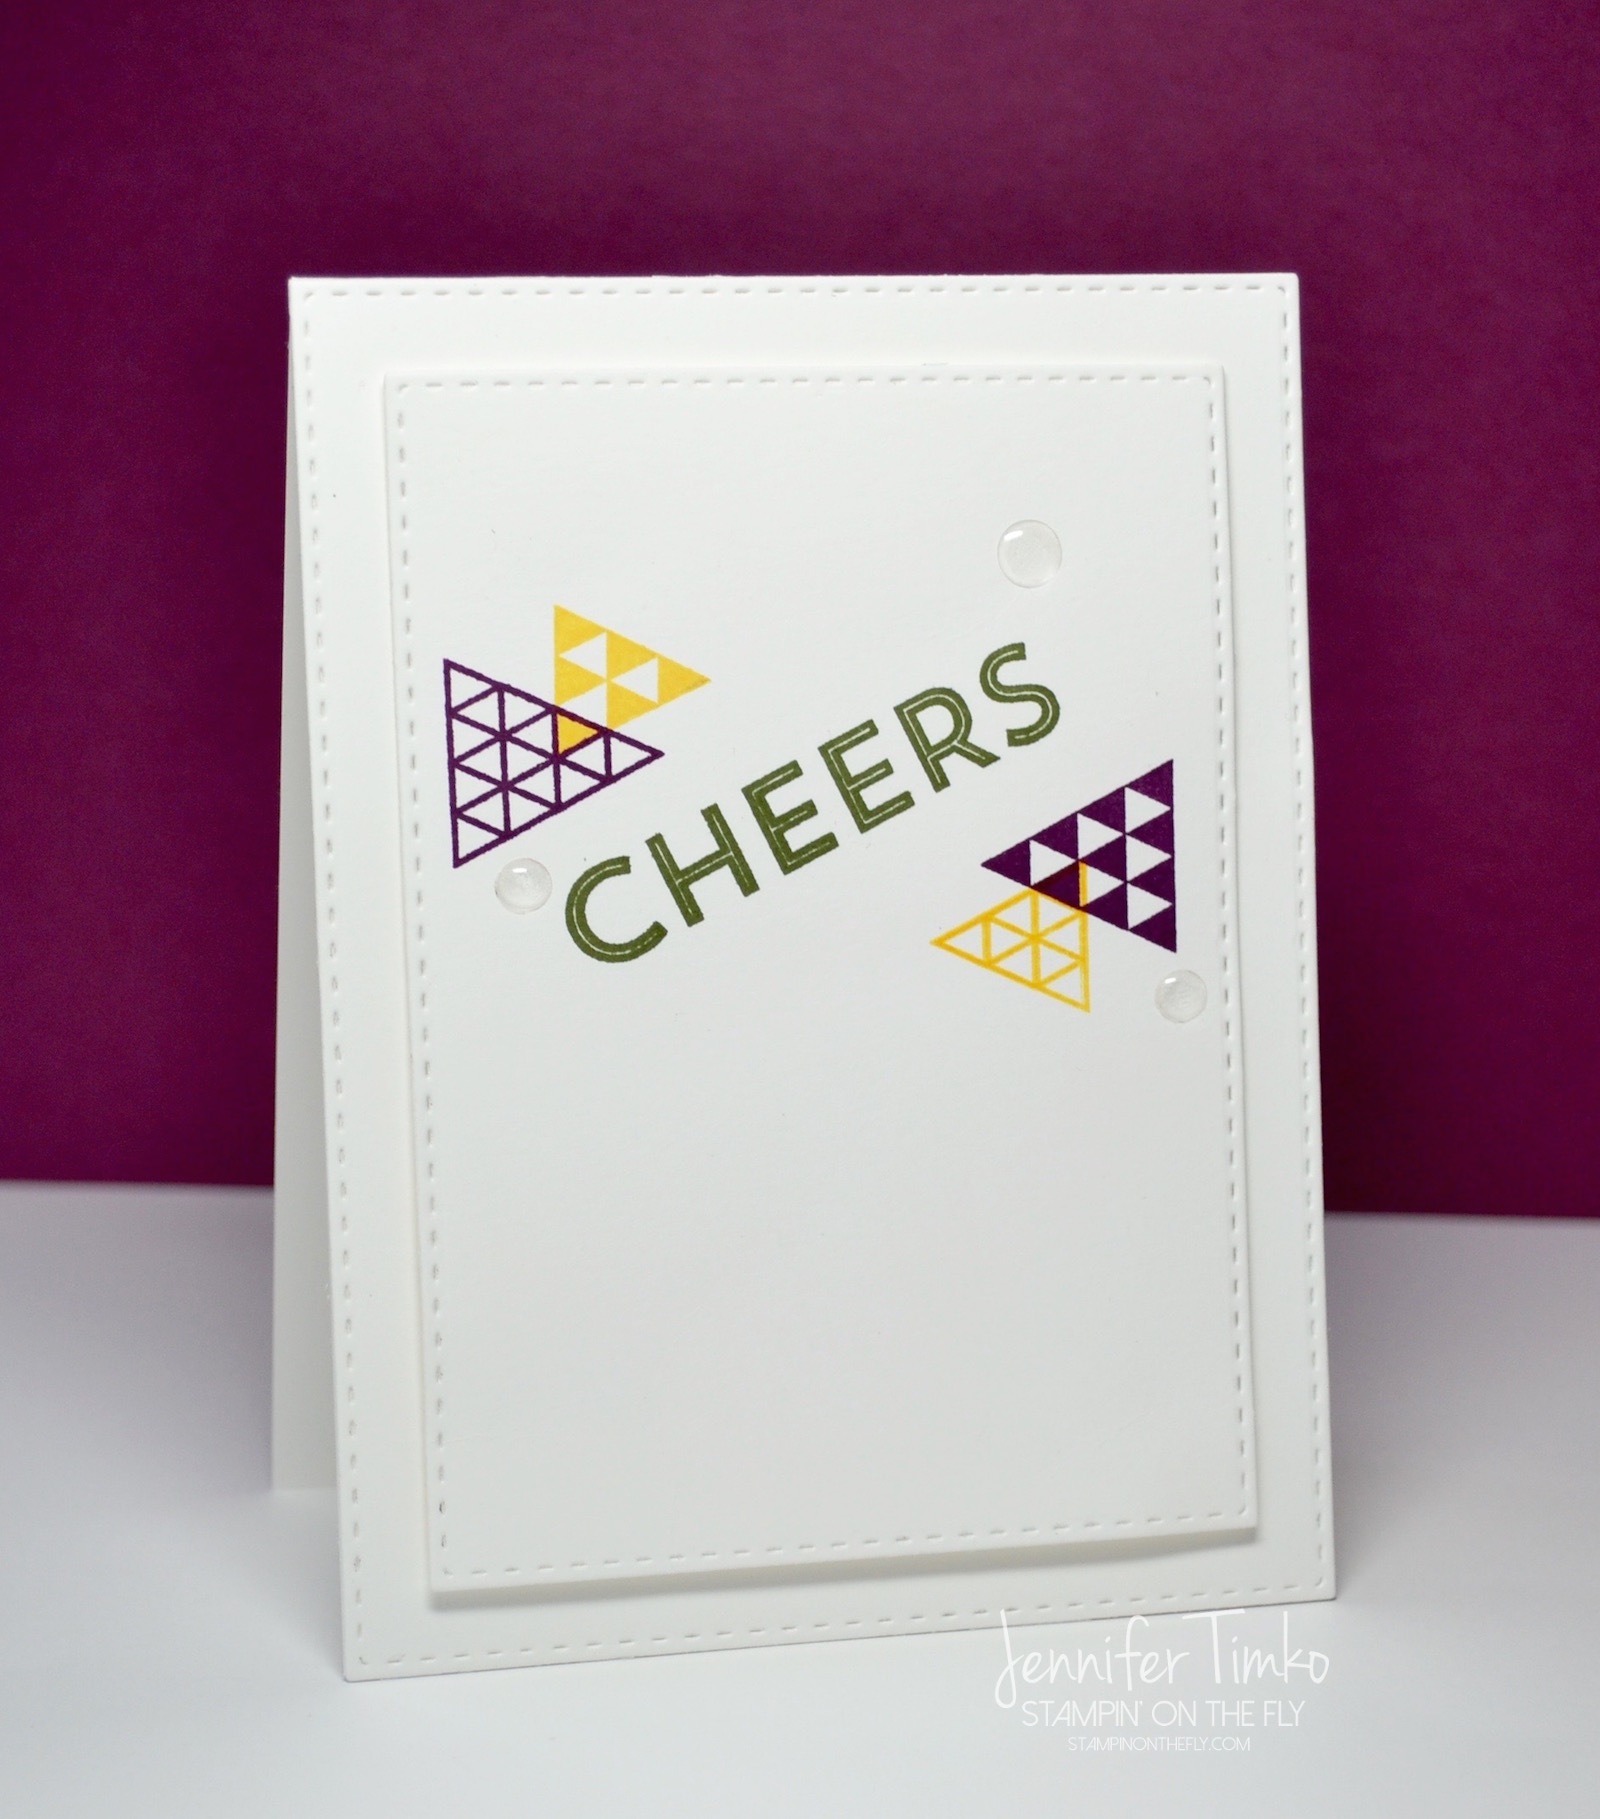
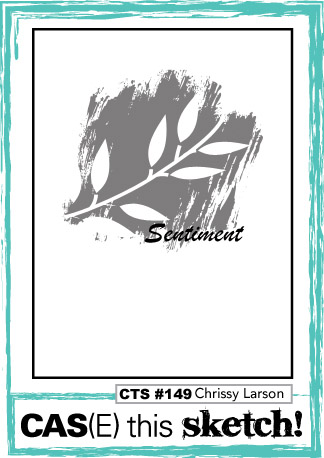
I got some time to sit down and stamp last week and I saw the fabulous sketch over at CAS(E) this Sketch…I knew I had to play along. But what to make?! I also saw that Michele from CAS-ual Fridays Stamps is hosting a Calling All Sistahs Blog Hop for a very special release. In honor of Michele and her amazing cause, I thought I should make a card with one of her sets. Please read her story and the background on this hop HERE. I am in awe that she has taken this news and turned it into a way to help others. I have no doubt that her mission to get us all to check “the sistahs” will help someone else have early detection!
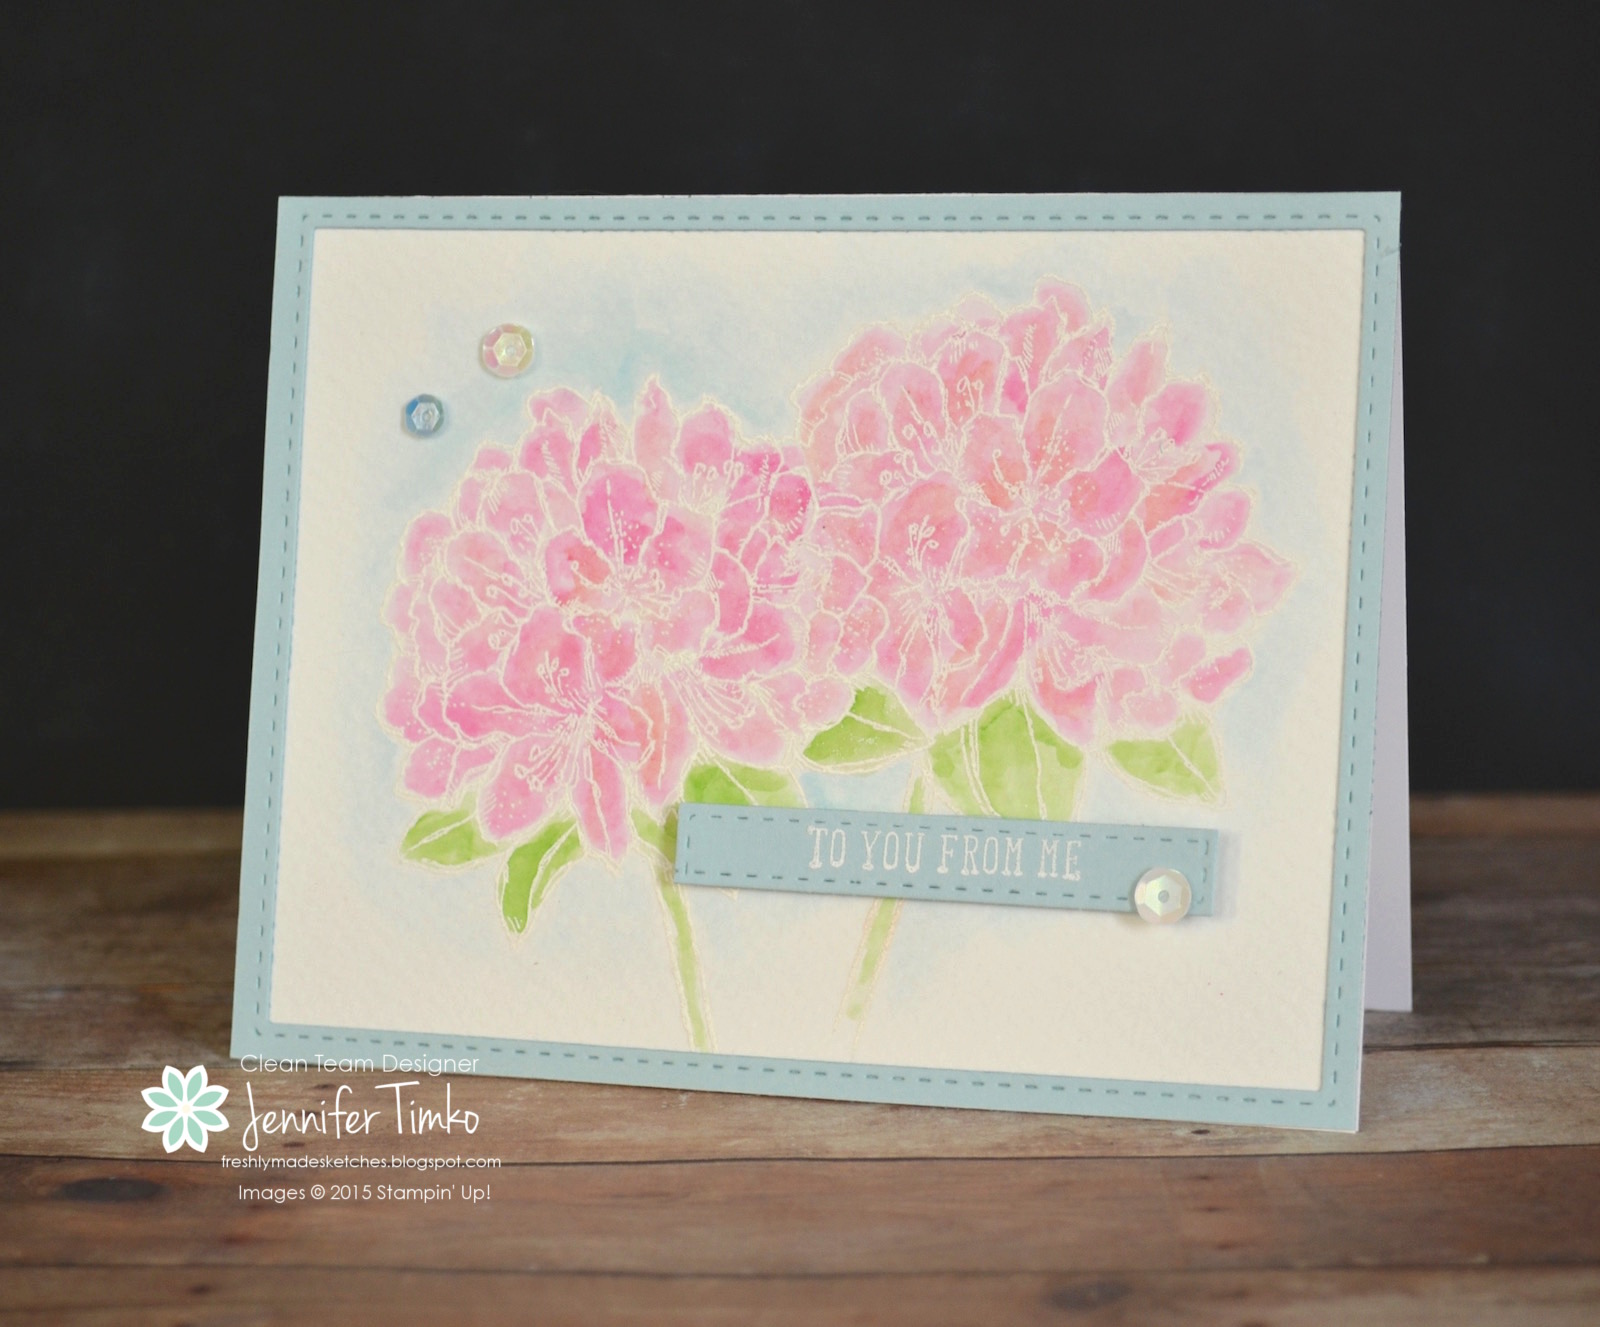
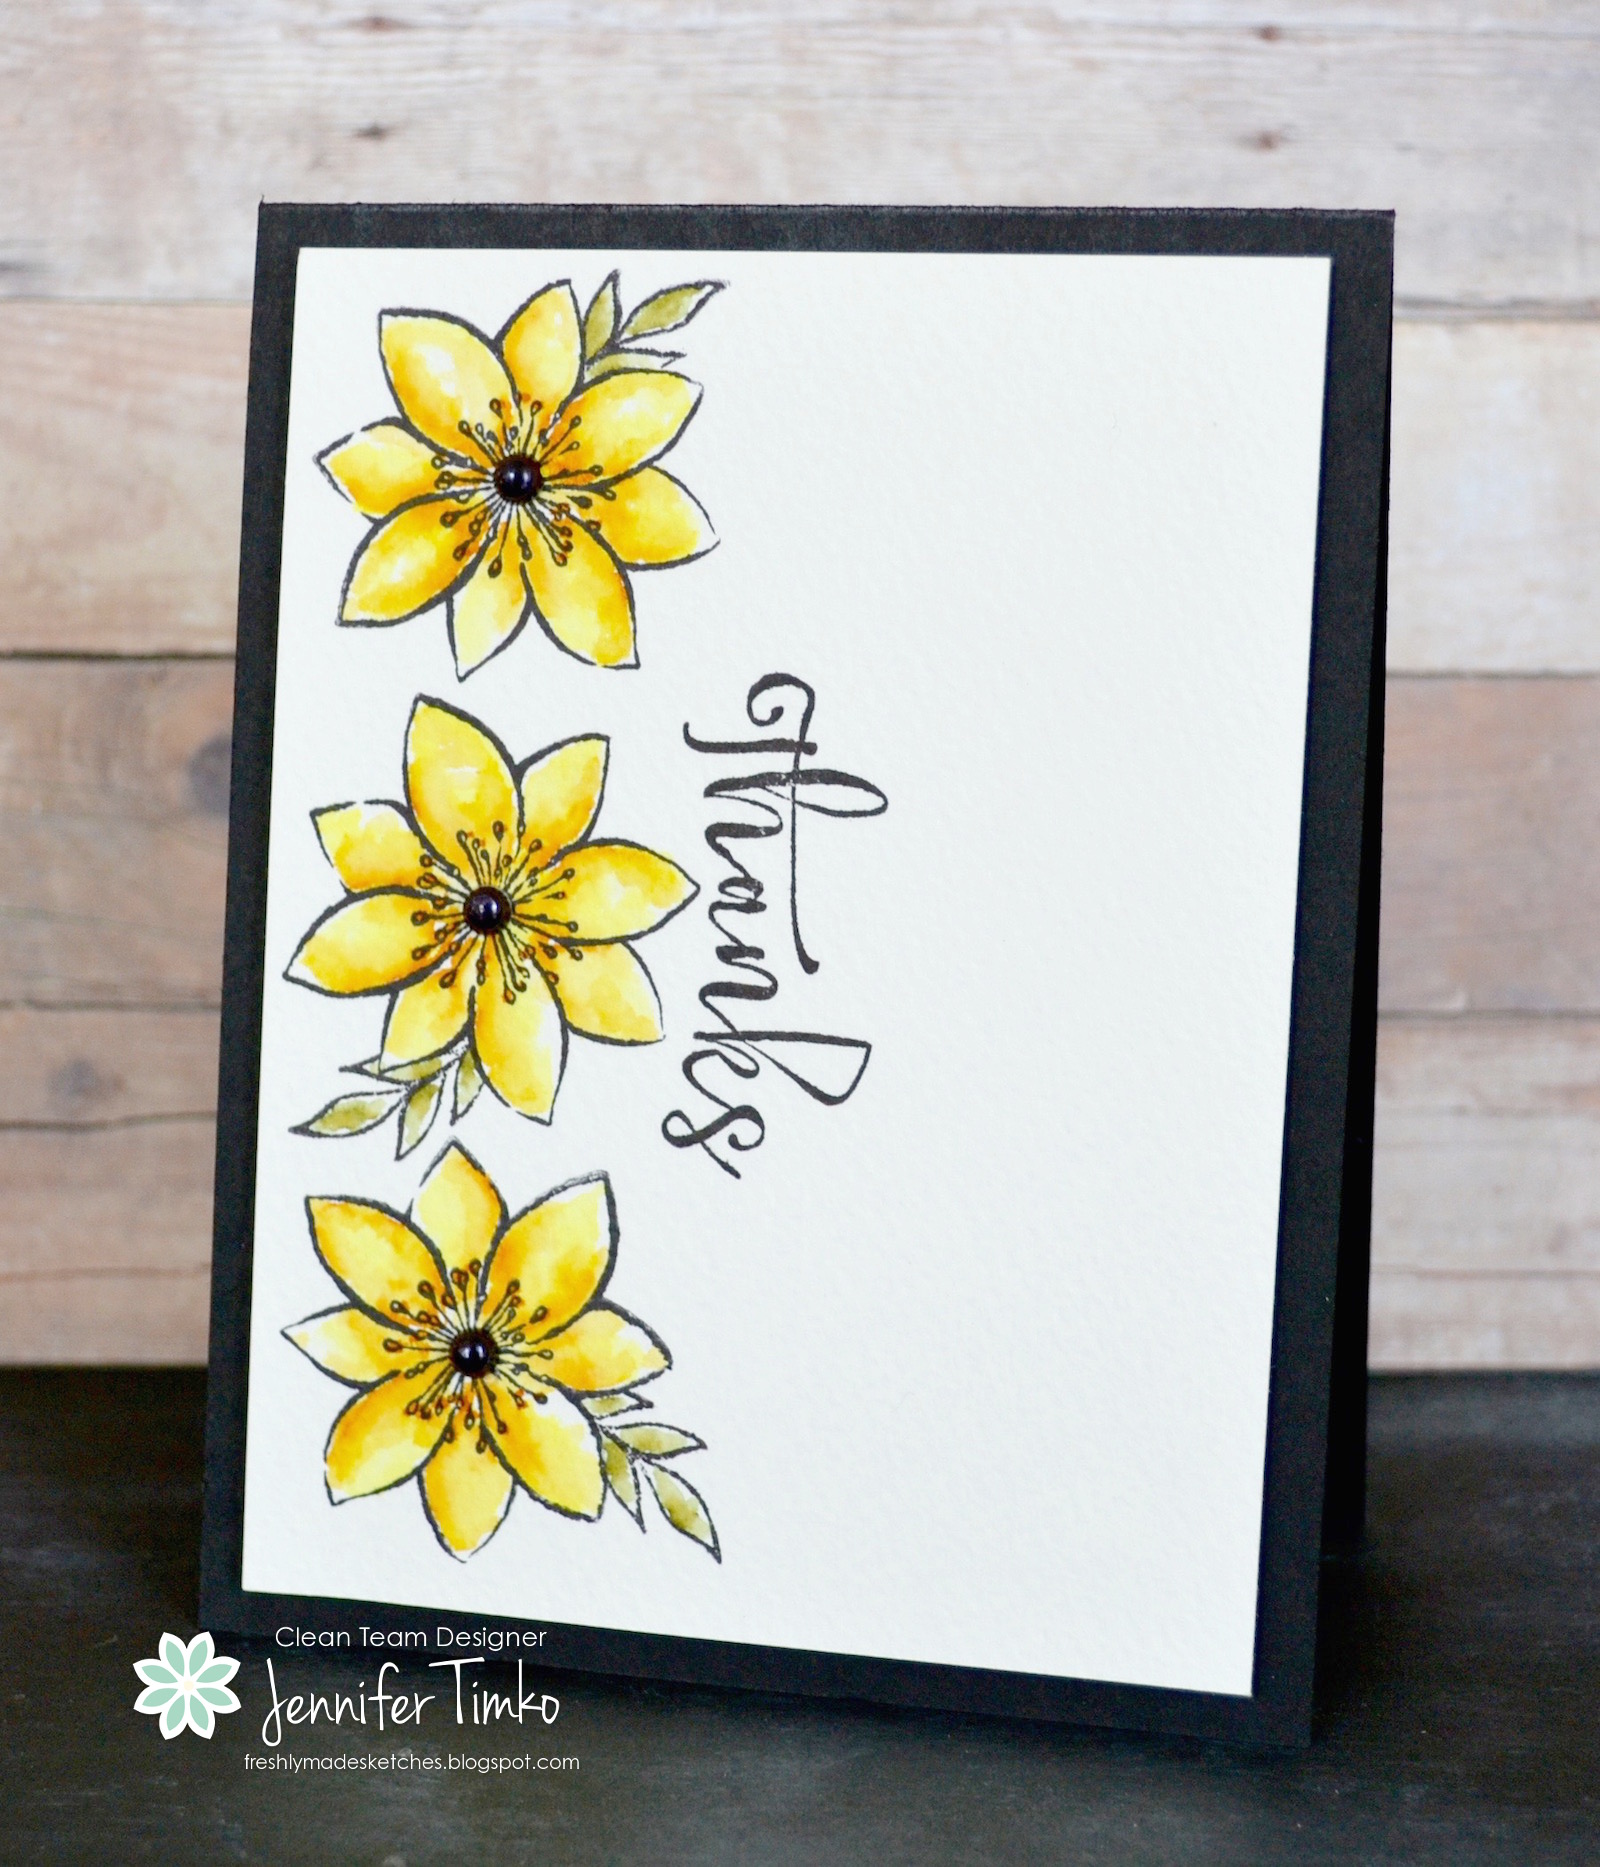
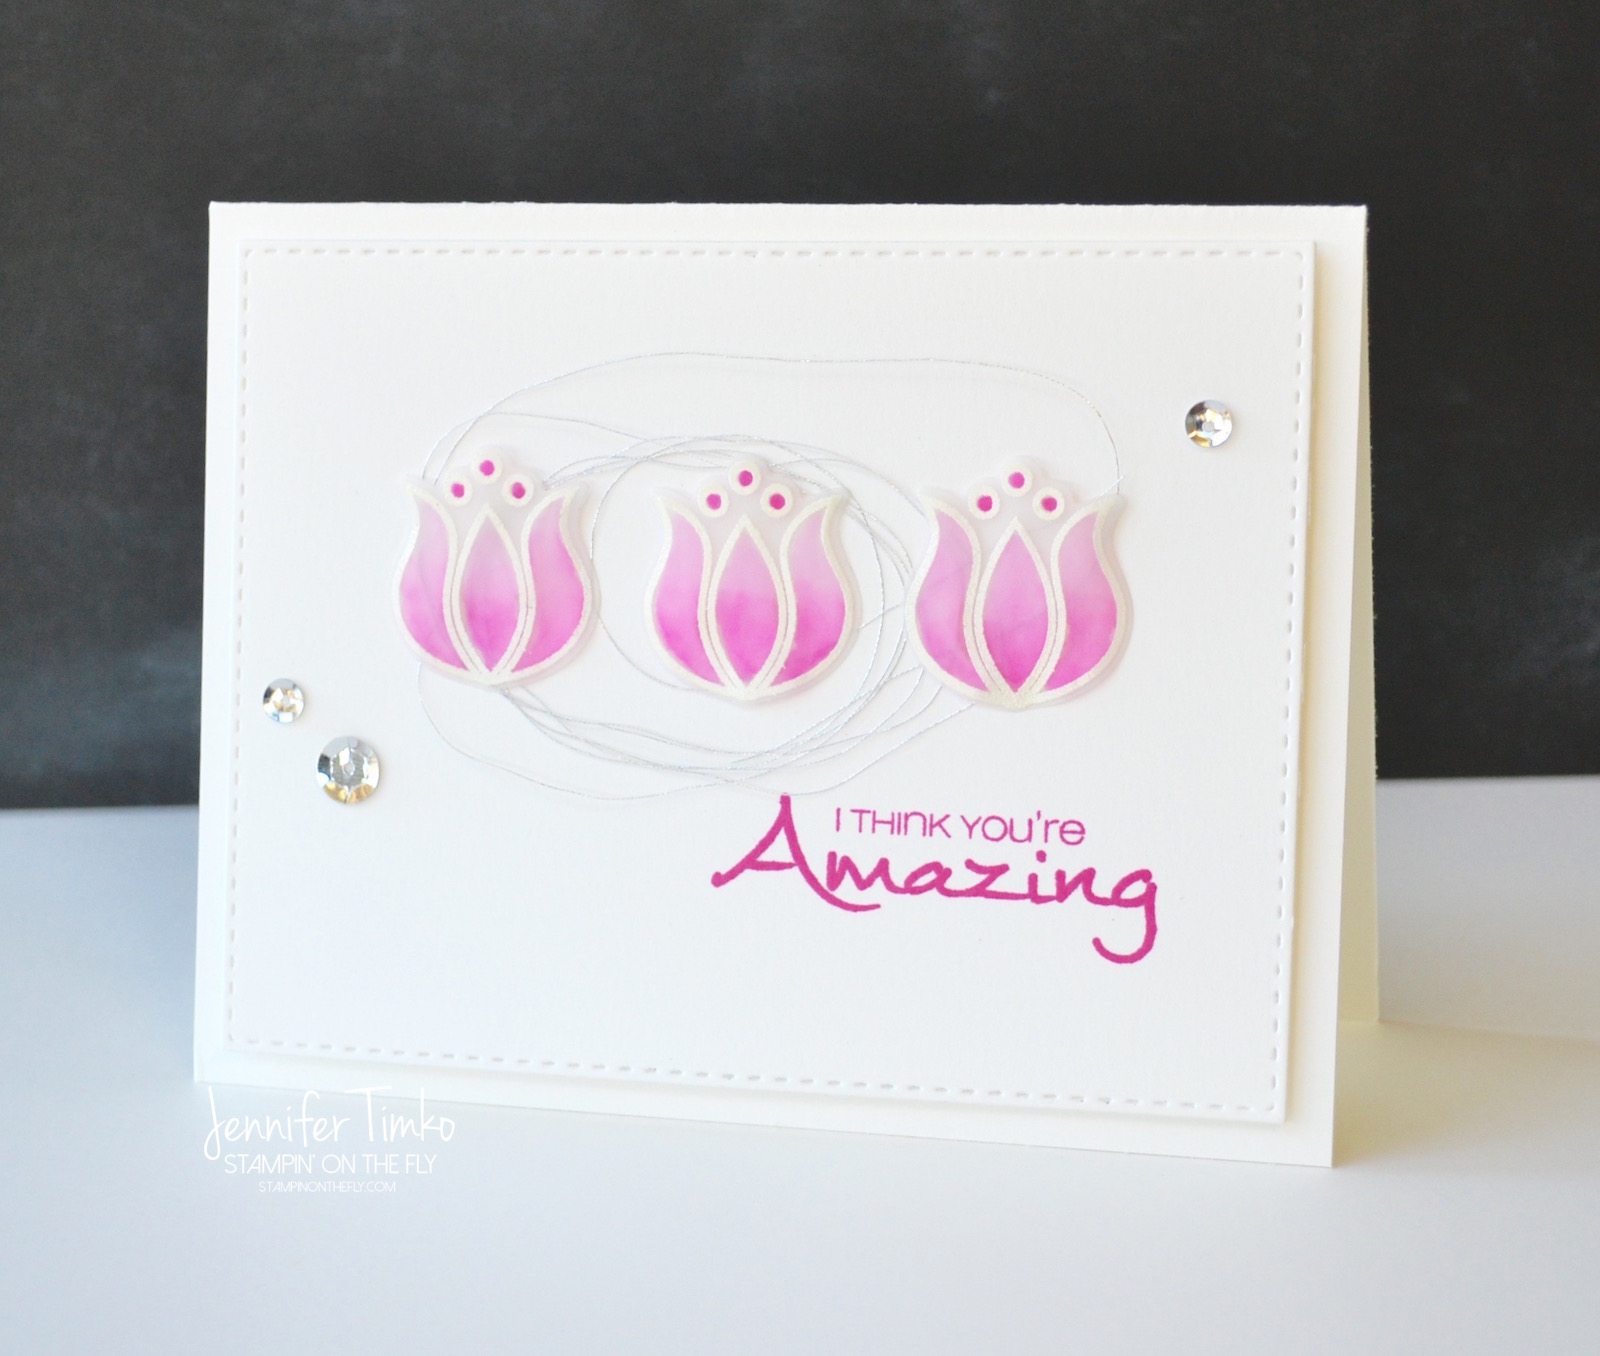
I used the Mon Ami stamp set…such a beautiful image collection! I stamped the flower 3 times with Versamark ink and then heat embossed with White Stampin’ Emboss Powder. I colored the back of the flowers using Zig Clean Color Pens. It is only one color that I used to create this ombre look. Then I cut them out with the matching Mon Ami dies. I stamped the sentiment with Picked Raspberry Distress Ink using my Misti to make sure I got perfect coverage. The Stitched Rectangles made another appearance to add a little interest. Finally, I added Silver Thread (SU) and silver sequins.
 Michele has a product launch today and she will be sharing some of the proceeds with very good causes. You can read all about it from her and her talented team. So go hop with them, get inspired and make sure you take care of your self check!
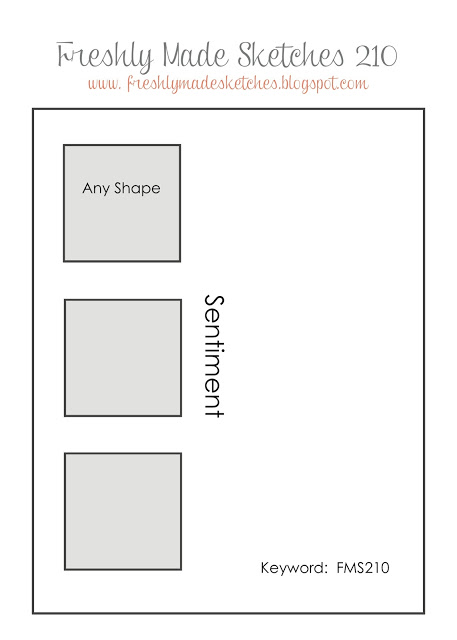
I got called out on a trip so I will not have a card for tomorrow’s Freshly Made Sketches. With any luck, I will have time on Thursday to catch up and join in. It is a really fabulous sketch!! I’ll definitely be back on Friday with a new Fancy Friday blog hop and we have some fun new things to share with you!! Until then, have a great week!
Stamps: Mon Ami (CAS-ual Fridays Stamps); Ink: Versamark, Tim Holtz Distress Inks Picked Raspberry, Zig Clean Color Pens; Paper: Thick Whisper White (SU), White Vellum (SU); Accessories: Heat Tool, White Stampin’ Emboss Powder, Sequins, Big Shot, Stitched Rectangles Dies (SSS), Zig Watercolor Pen, Silver Thread (SU)