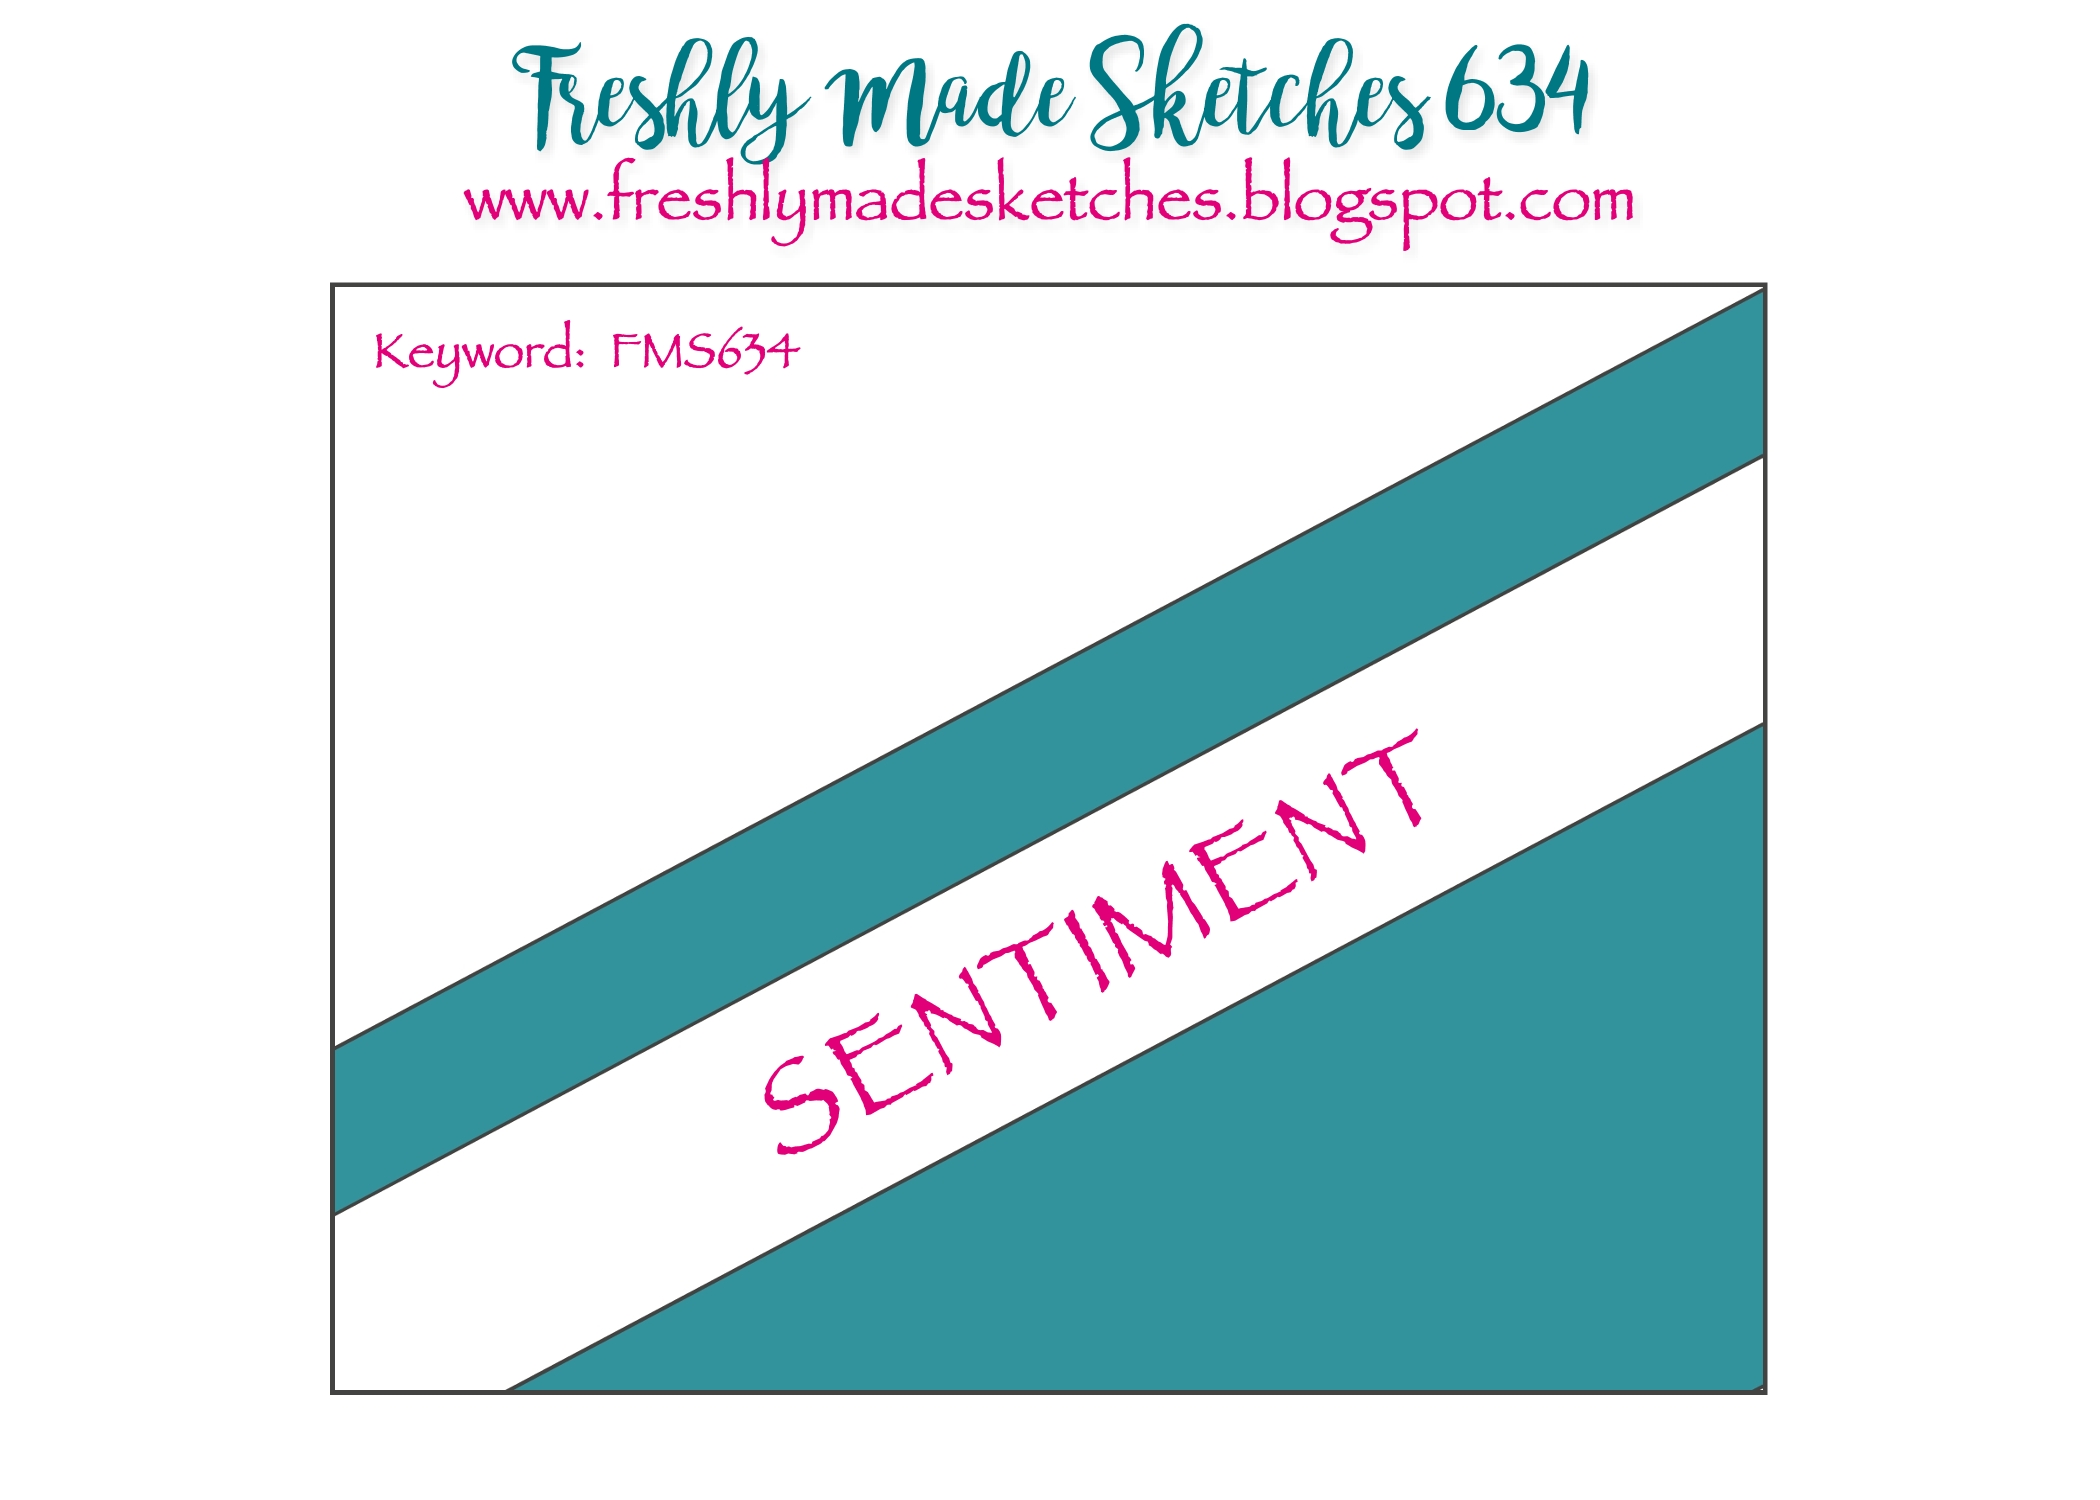
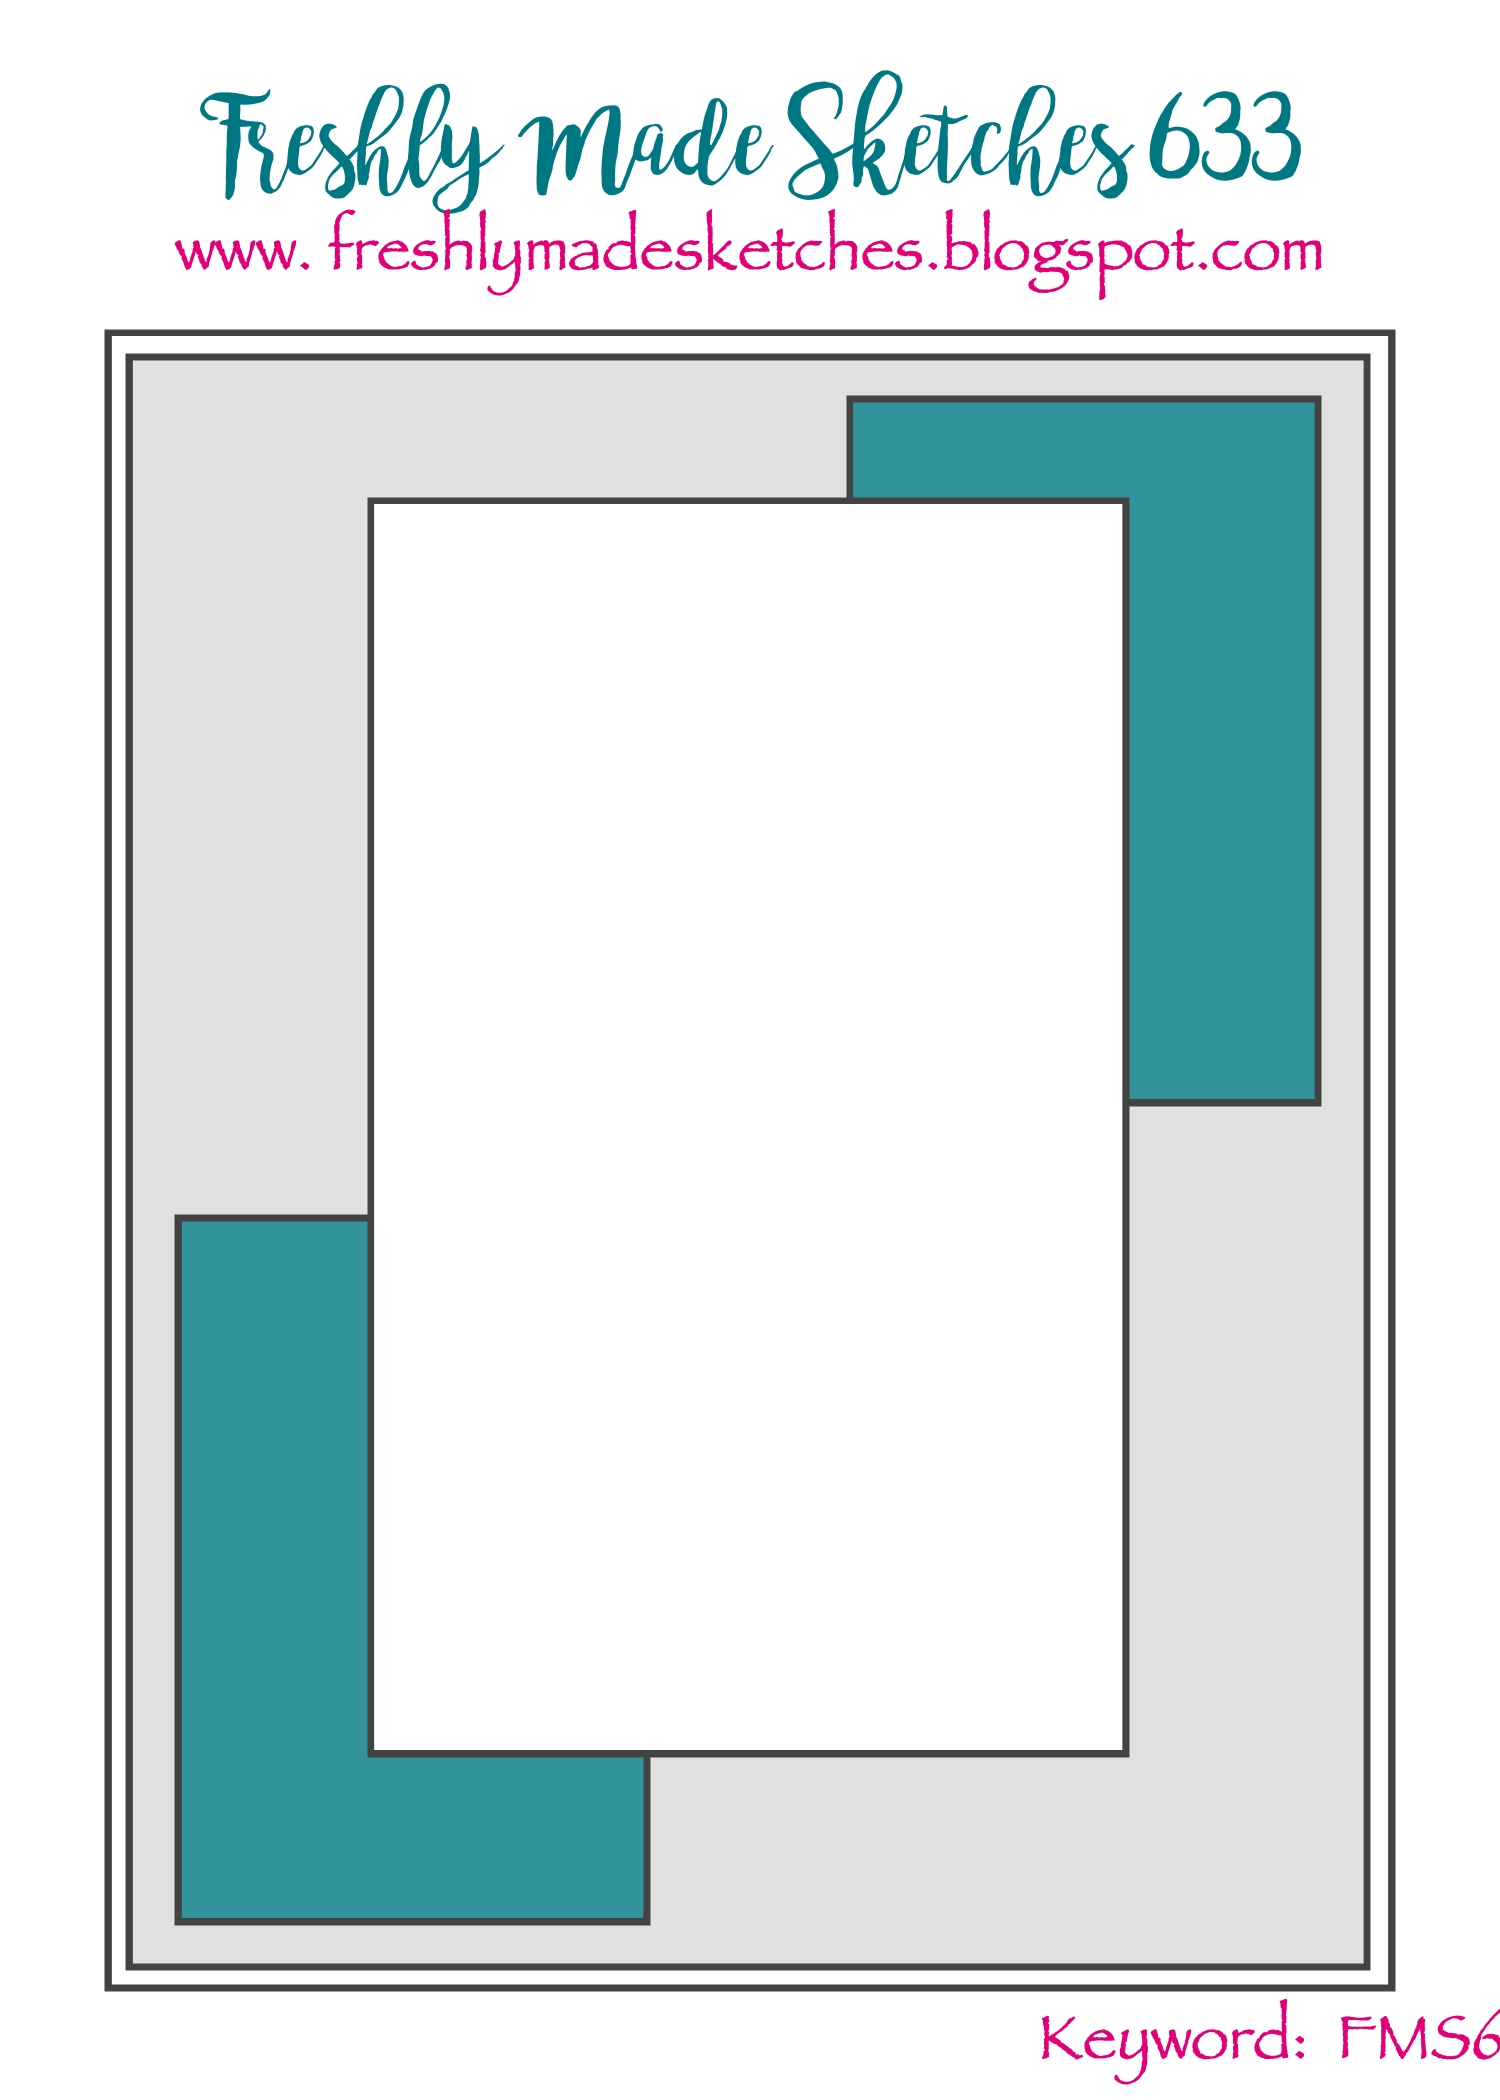
Hi friends!! Coming to you from the surface of the sun (otherwise known as Virginia). Oh, is it crazy! I hope you are not being negatively impacted by the heat or the awful storms that have been affecting so many. I decided I needed an afternoon in my nice, cool basement craft room and I got some time to play with a new-to-me product. And…I’m hooked. Our hiking superstar, Jen Brum, is our sketch designer this week for Freshly Made Sketches and I love the elegant options this one gives.

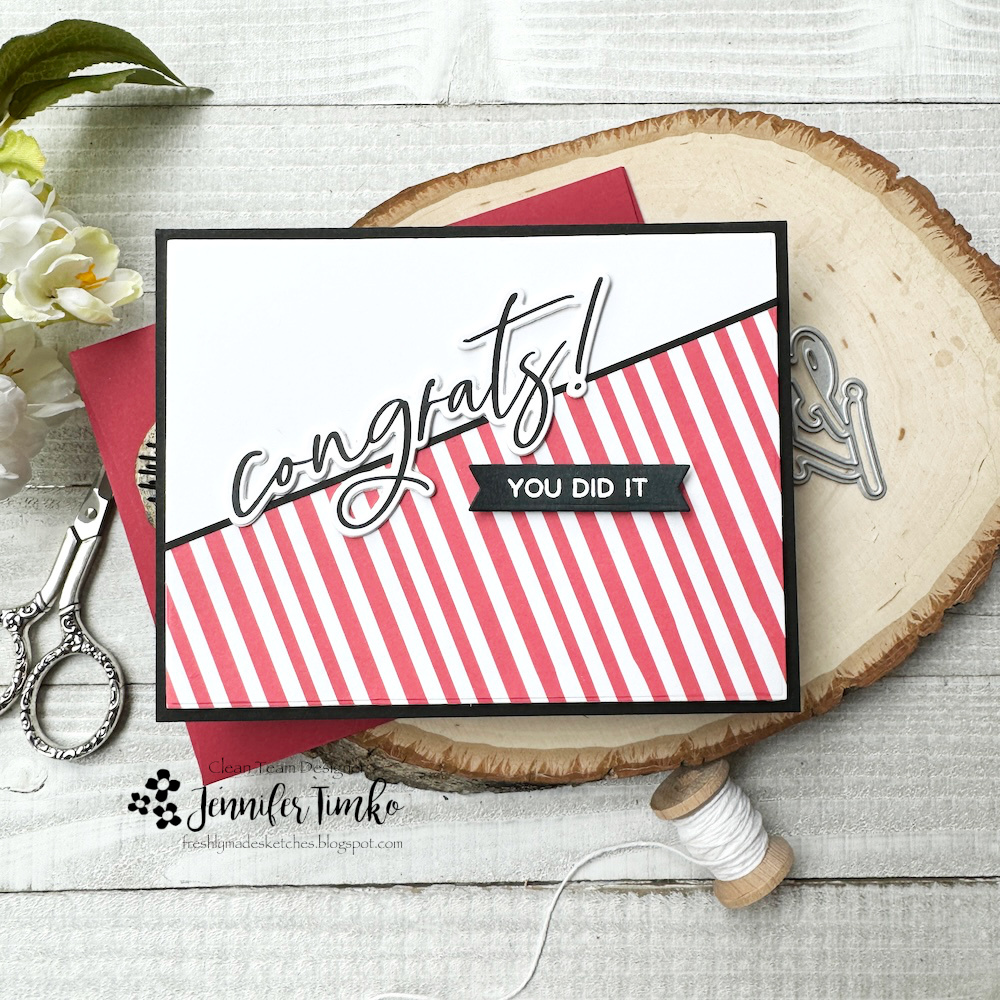
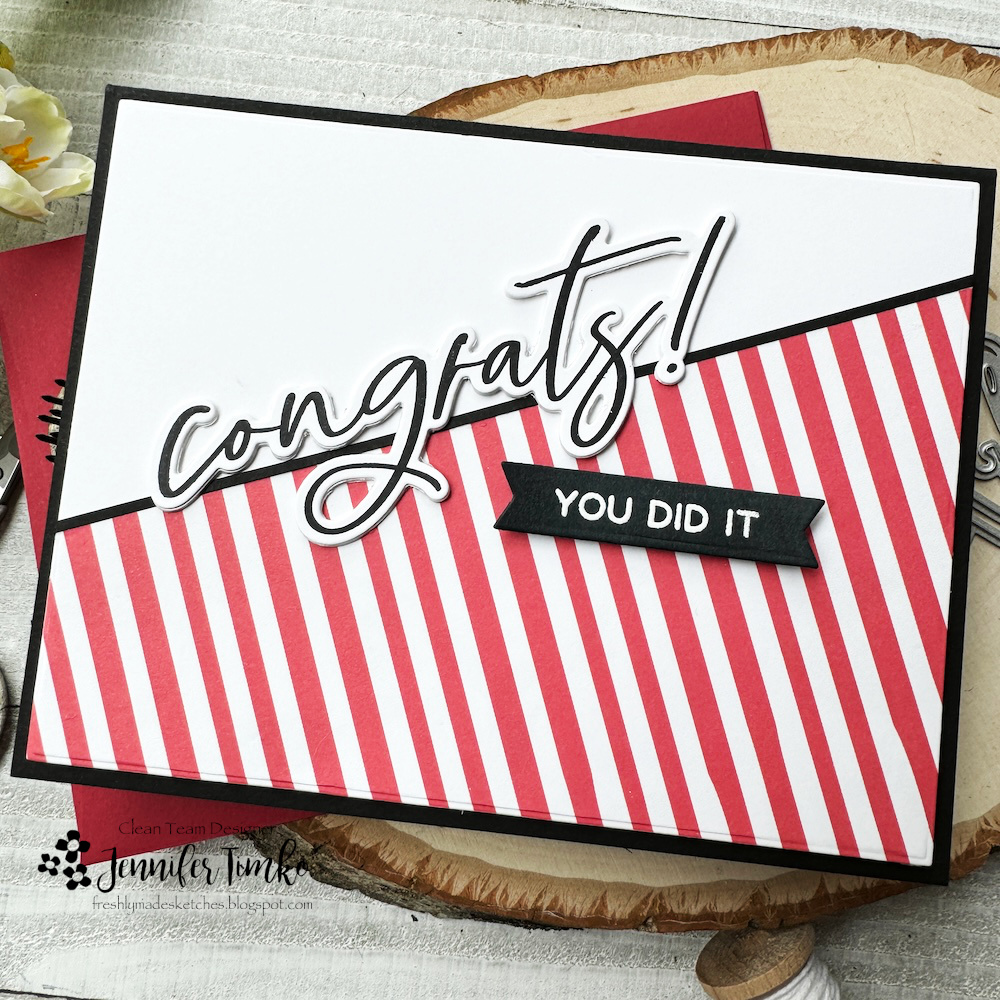
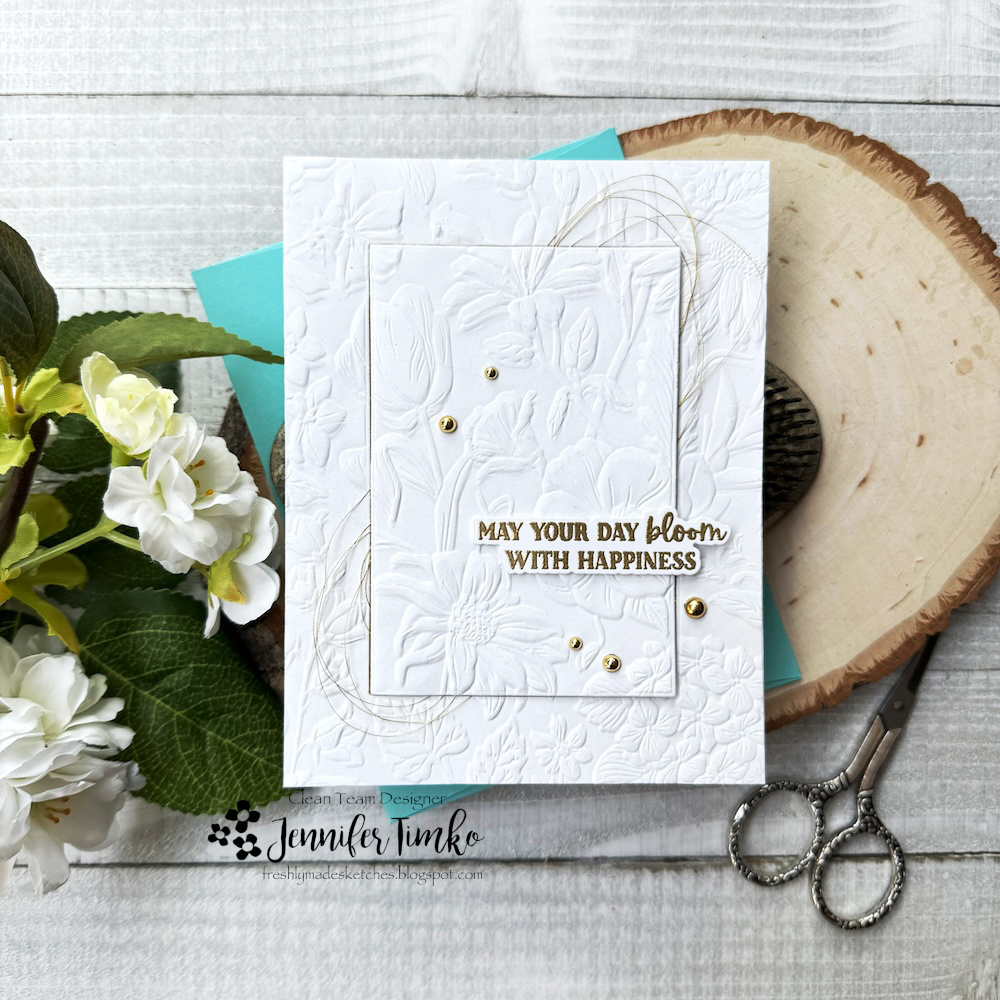
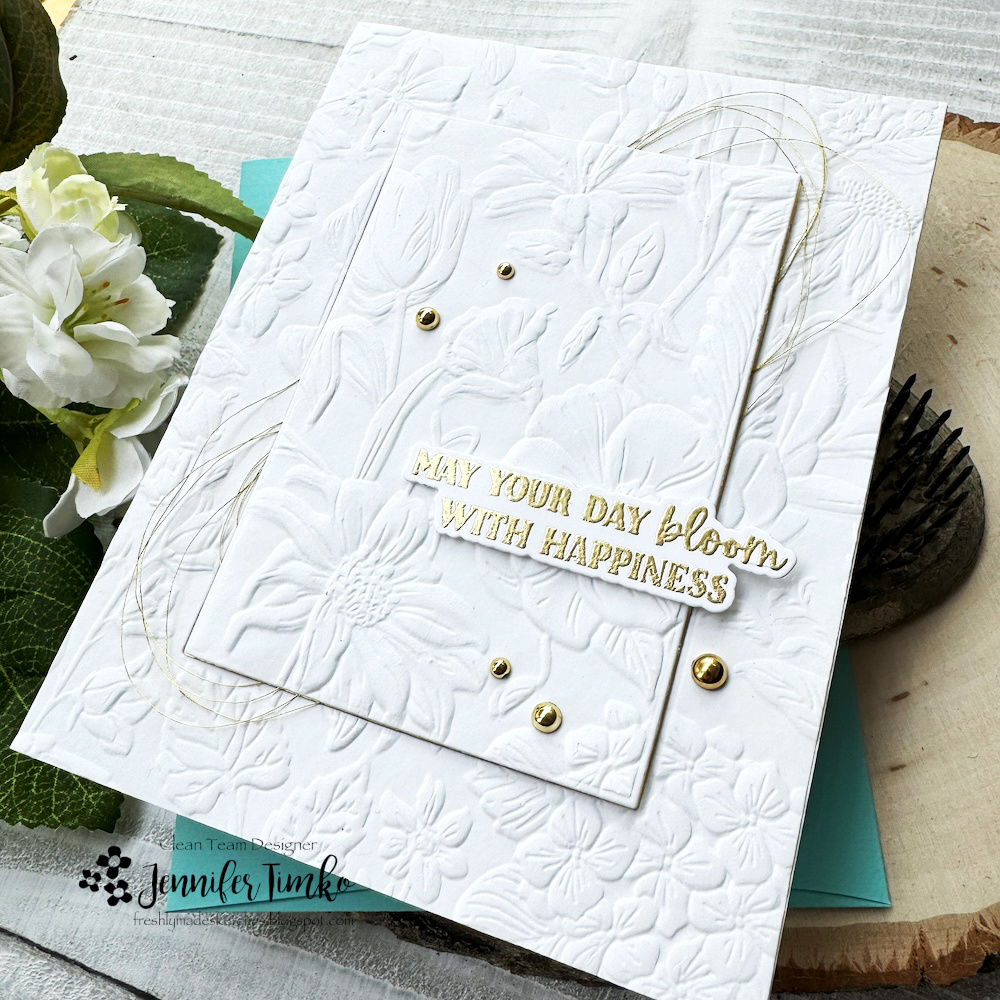
I just got the BetterPress Letterpress system from Spellbinders. And yes, I’m a late adapter!! I love the letterpress look (always have) but wanted to make sure this wasn’t a fleeting trend before I committed. I got a few plates when I ordered it and this Butterfly Bouquet was one of them. And then it matched the sketch…well almost. Except backwards. But I wanted to break open the box and give this a try so I’m sure Jen will forgive the flip. I thought the circle on the sketch lent itself to the spotlight technique.

I used the Porcelain BetterPress Cotton card panels (A2) and printed the image twice. On the second, I cut a circle out and then colored those with Karin Markers in bright, happy colors. Daring to be different, I did not use the ink that comes with the BetterPress (although it is water safe). Instead I used a known ink to me, Versafine Clair. It worked perfectly and I knew it would hold up to the watercoloring. I stamped the sentiment on part of the scrap from the watercolored panel using the same ink and words from the On the Line: Fall Florals set. The texture on this is so pretty! The paper, the detail, all of it…so in love!

I hope you will have a bit of time to play along this week. Make sure to link up so we can see your beautiful work. My summer is going by so fast…today I’m off to do some dorm shopping…oh my!! Thanks for stopping by today. I so appreciate you!