 I am so excited to share with you this month’s project with for our Fancy Friday monthly hop! If you just came over from the amazing Jeanna, welcome to the next stop. My friends and I want to be able to share with you our ideas in a monthly format. We will use different themes each month – sometimes colors, sometimes a sketch, sometimes a stamp set focus. The one thing you can count on is that it will be fancy! Over our year on the 2013 Artisan Design Team, “fancy” became our word to describe the best projects, the best new clothes, even the best pedicure colors. Now we want to share with you our take on “fancy” each month. This month our theme is “Masculine Yet Fancy”! We are making masculine cards with special elements. Because the men in our lives deserve fancy cards too!

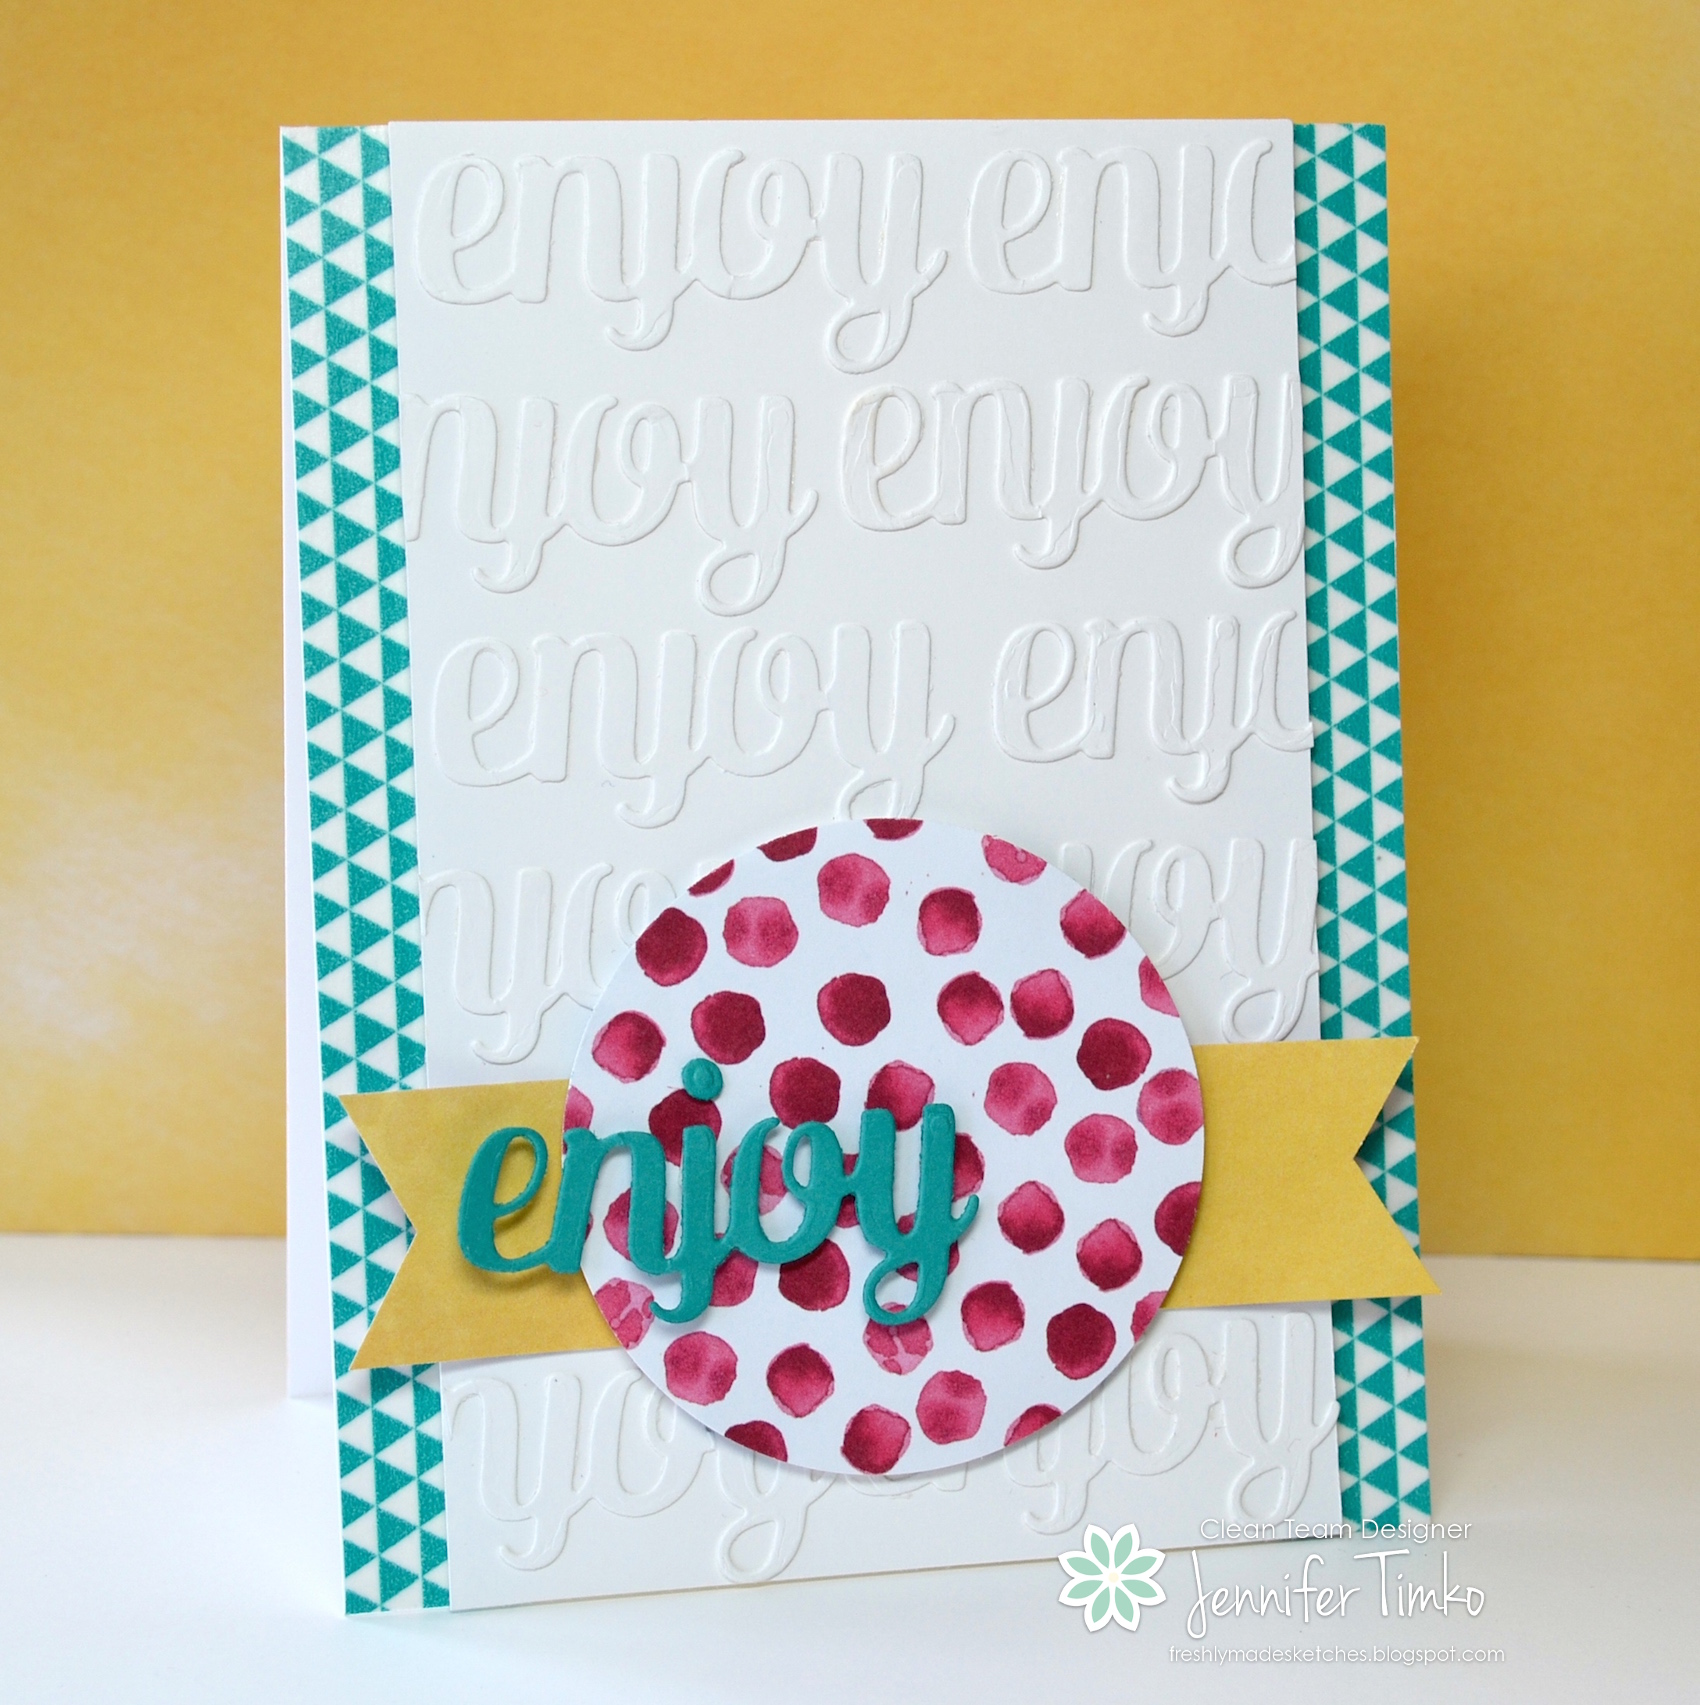
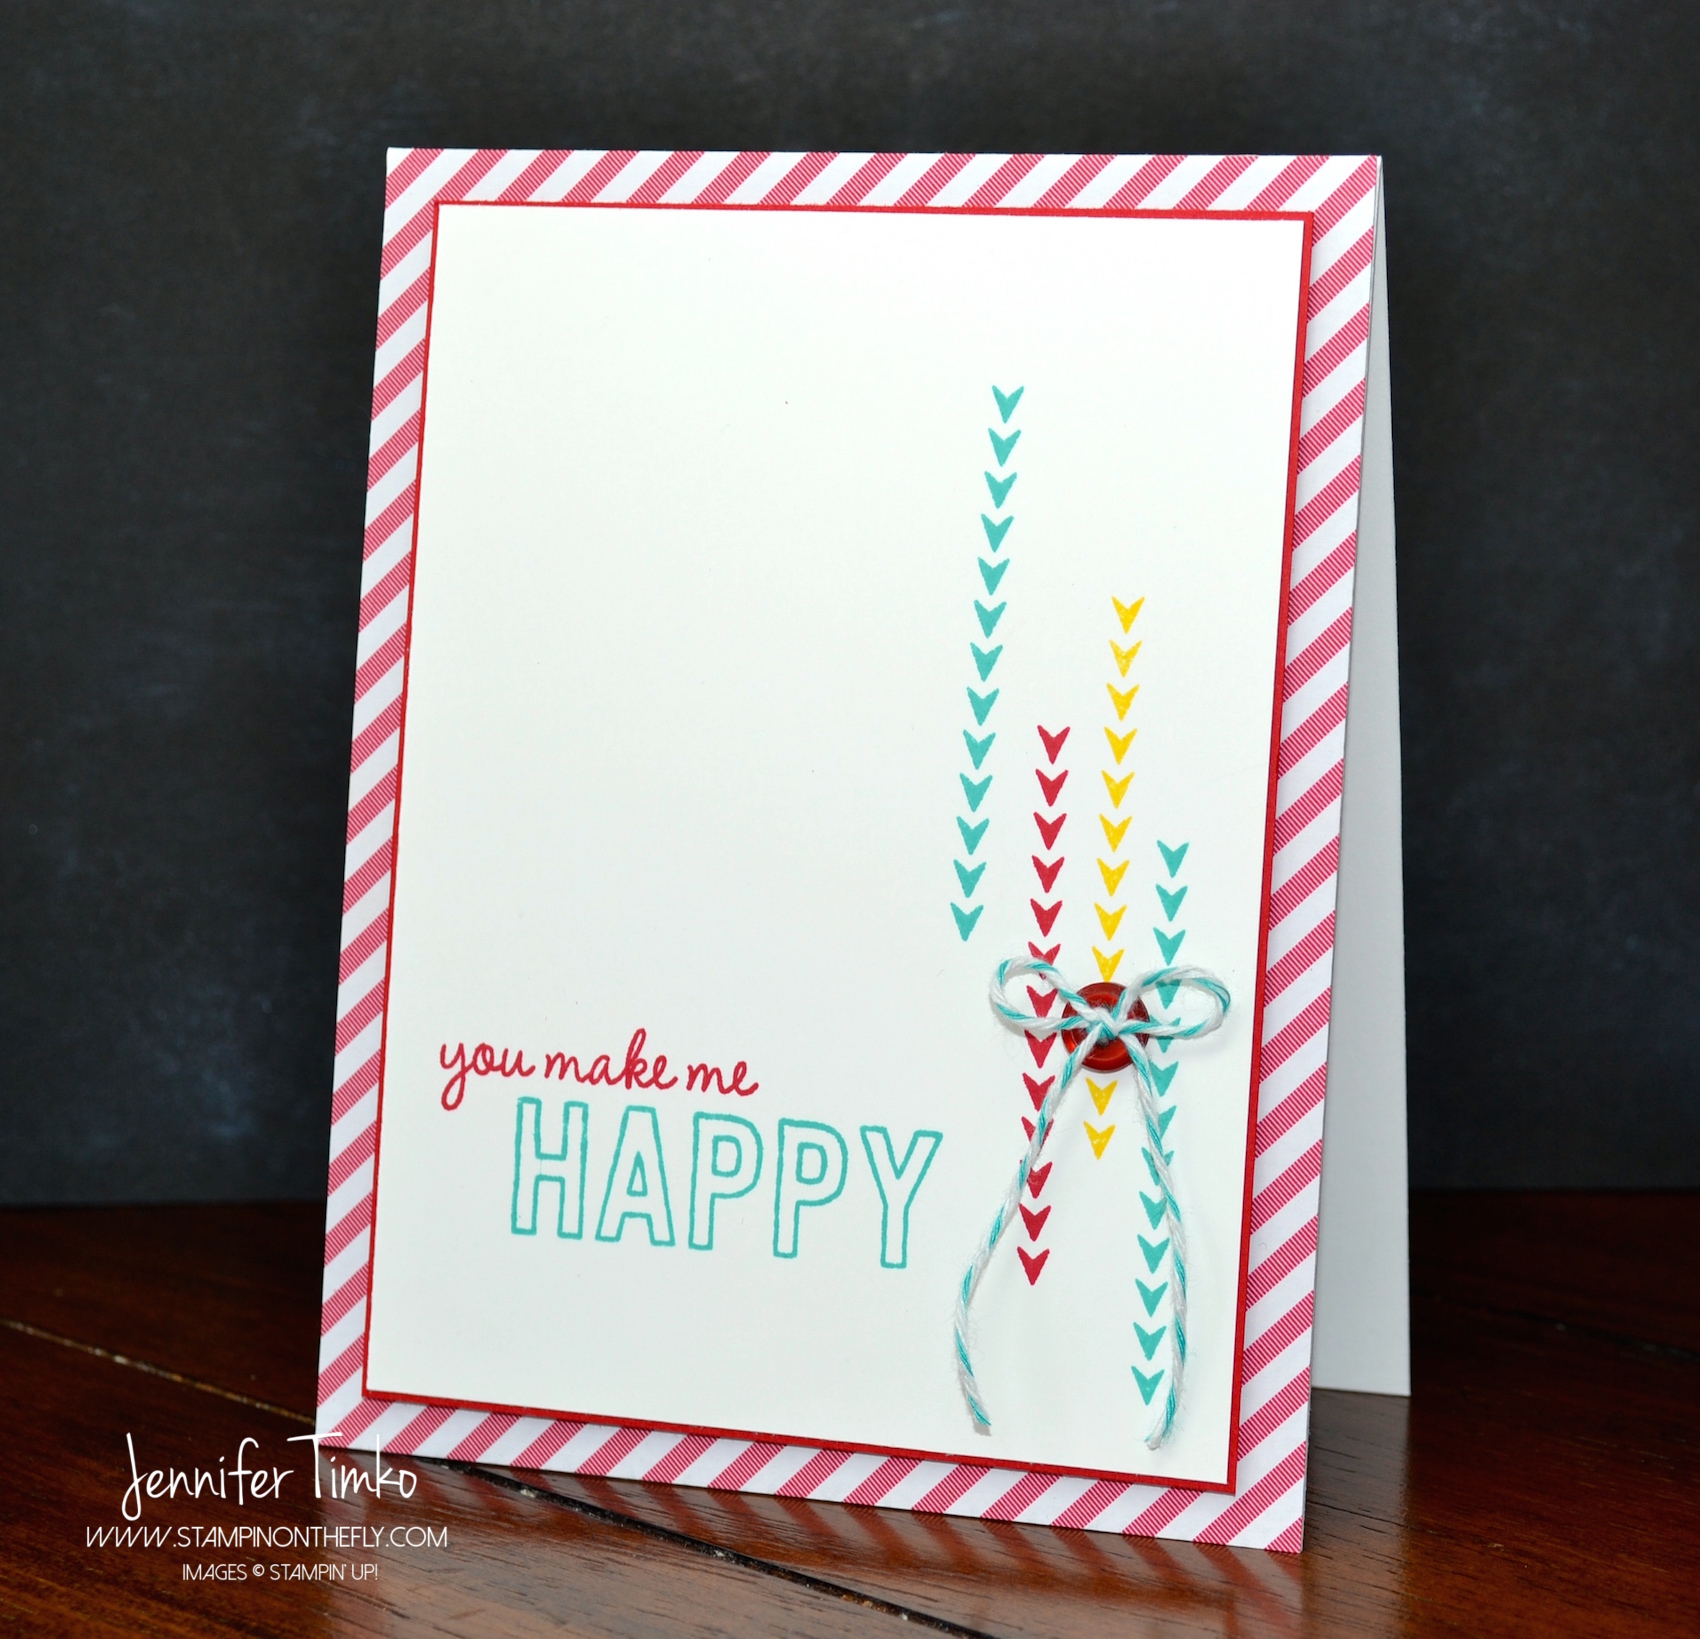
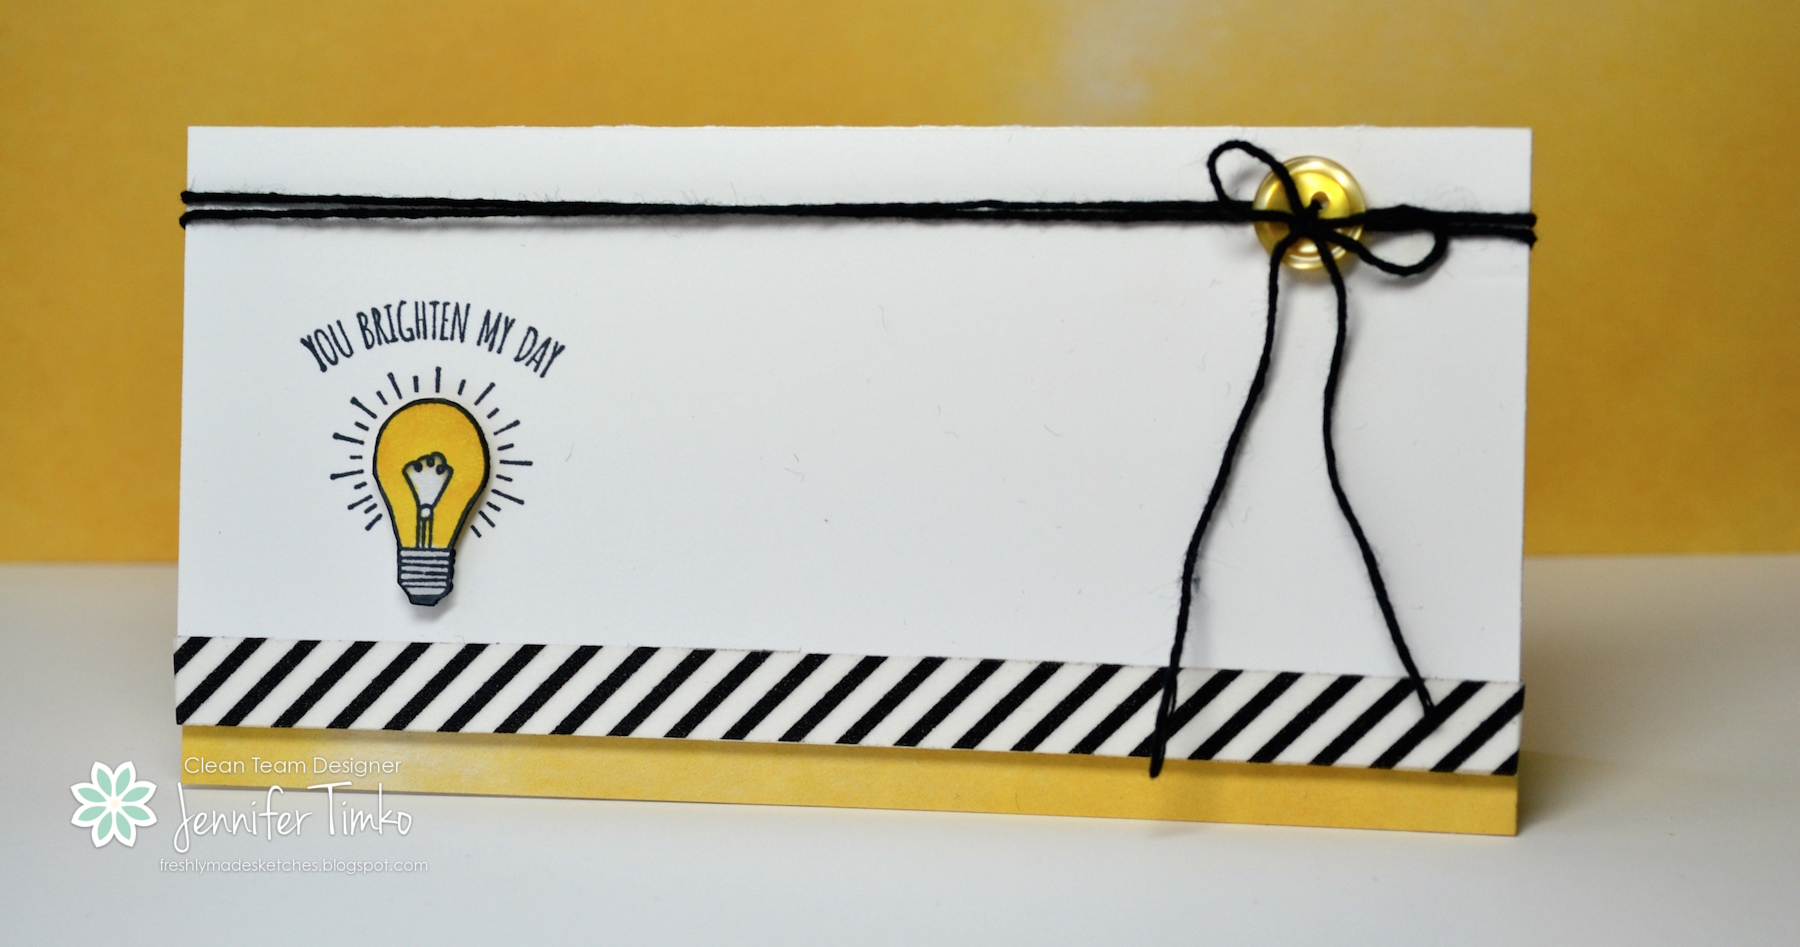
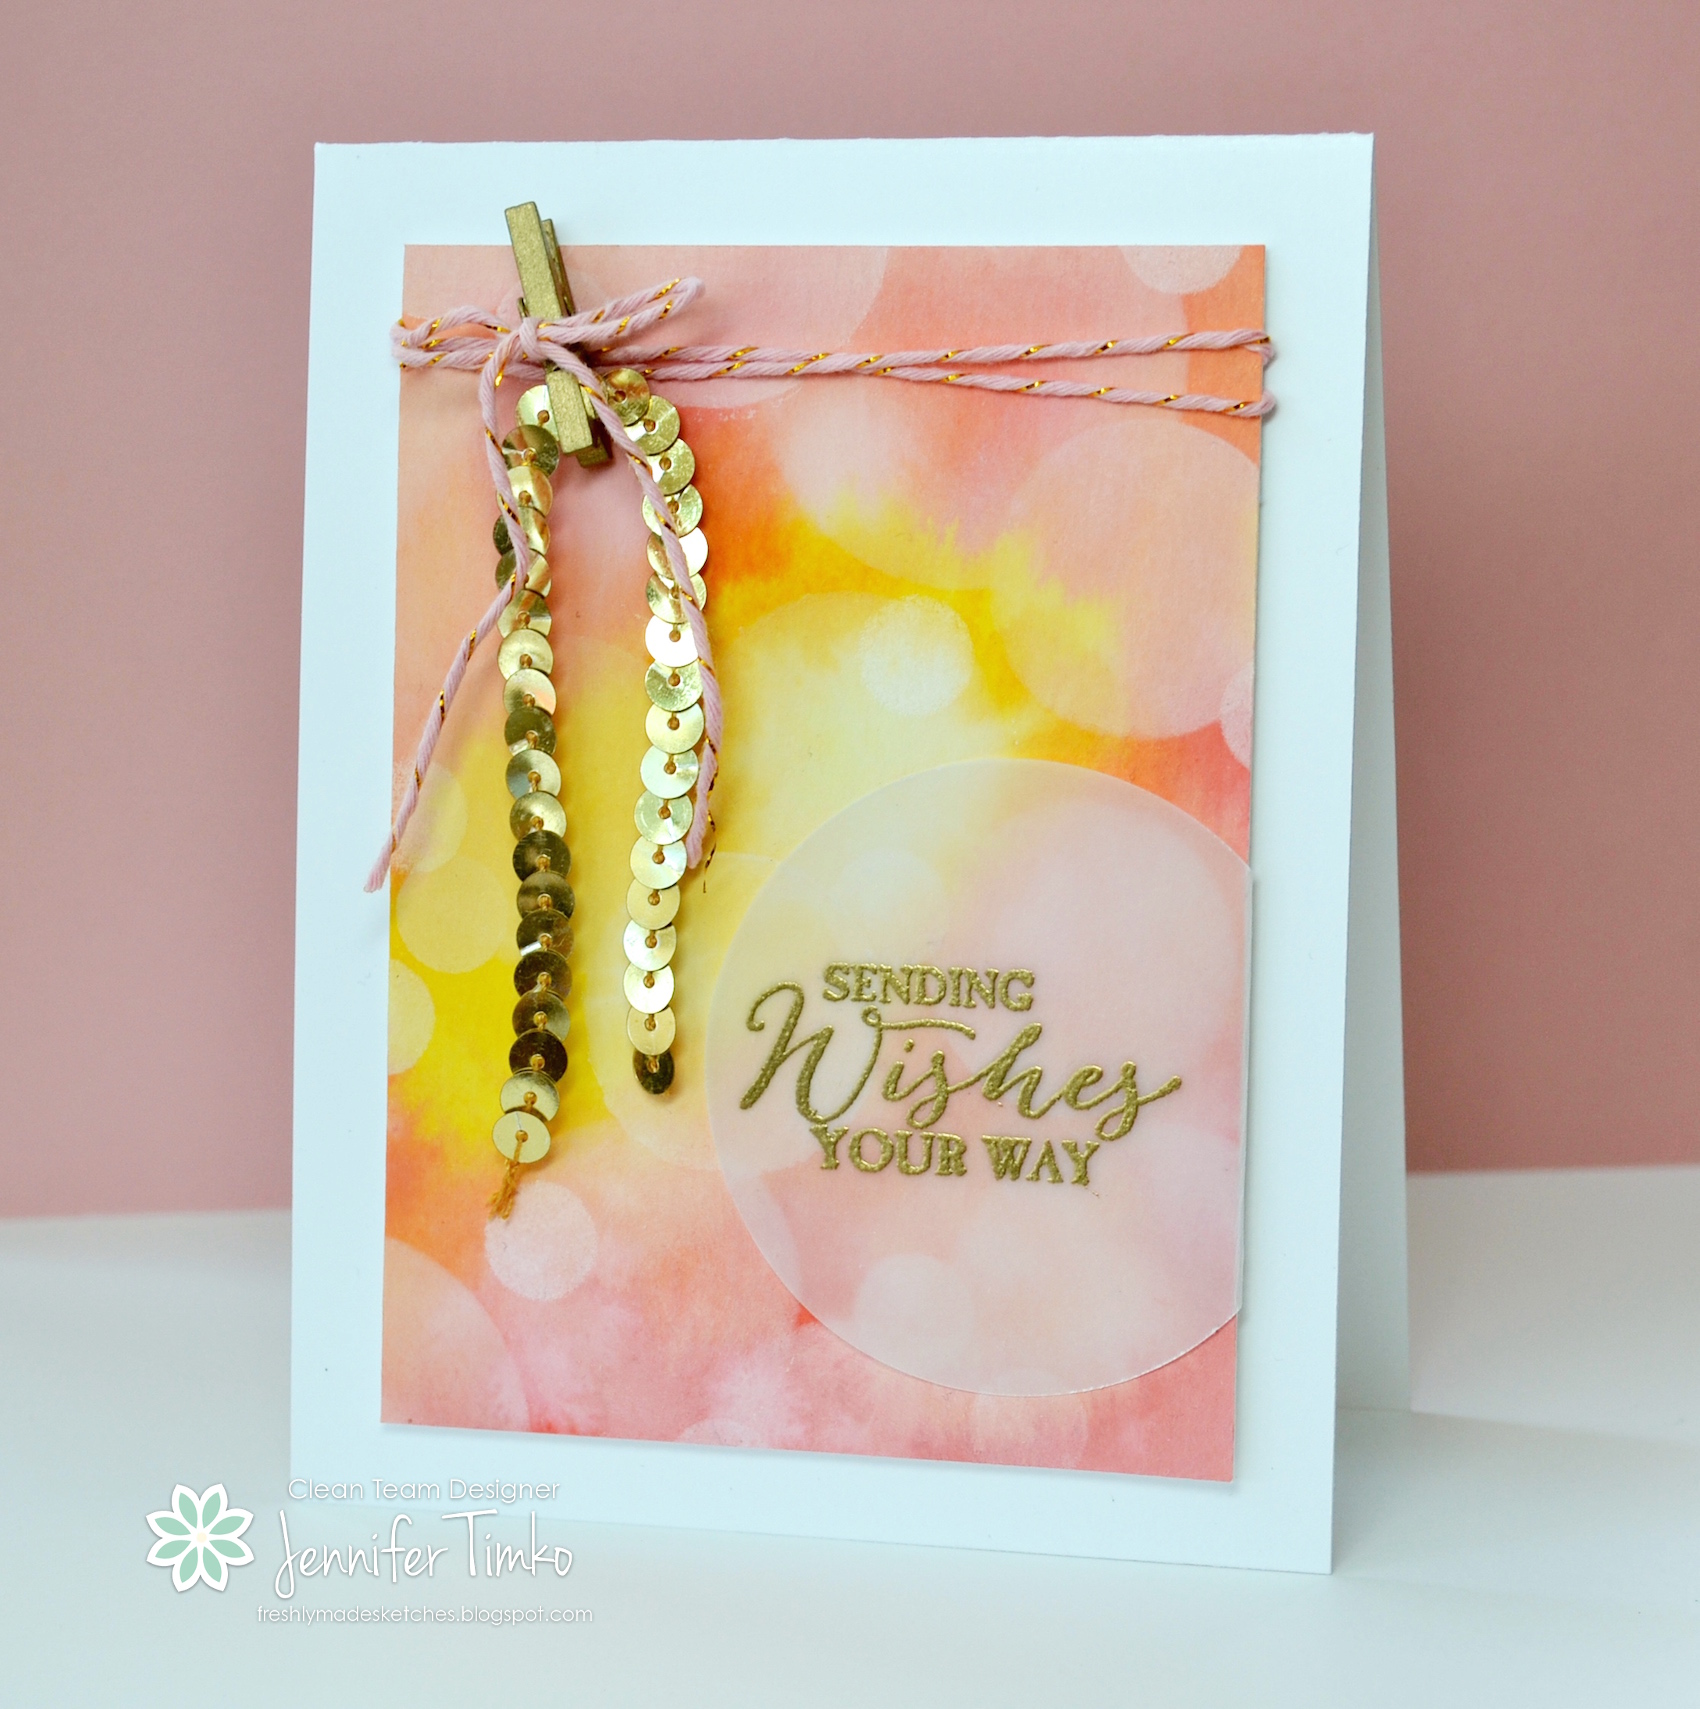
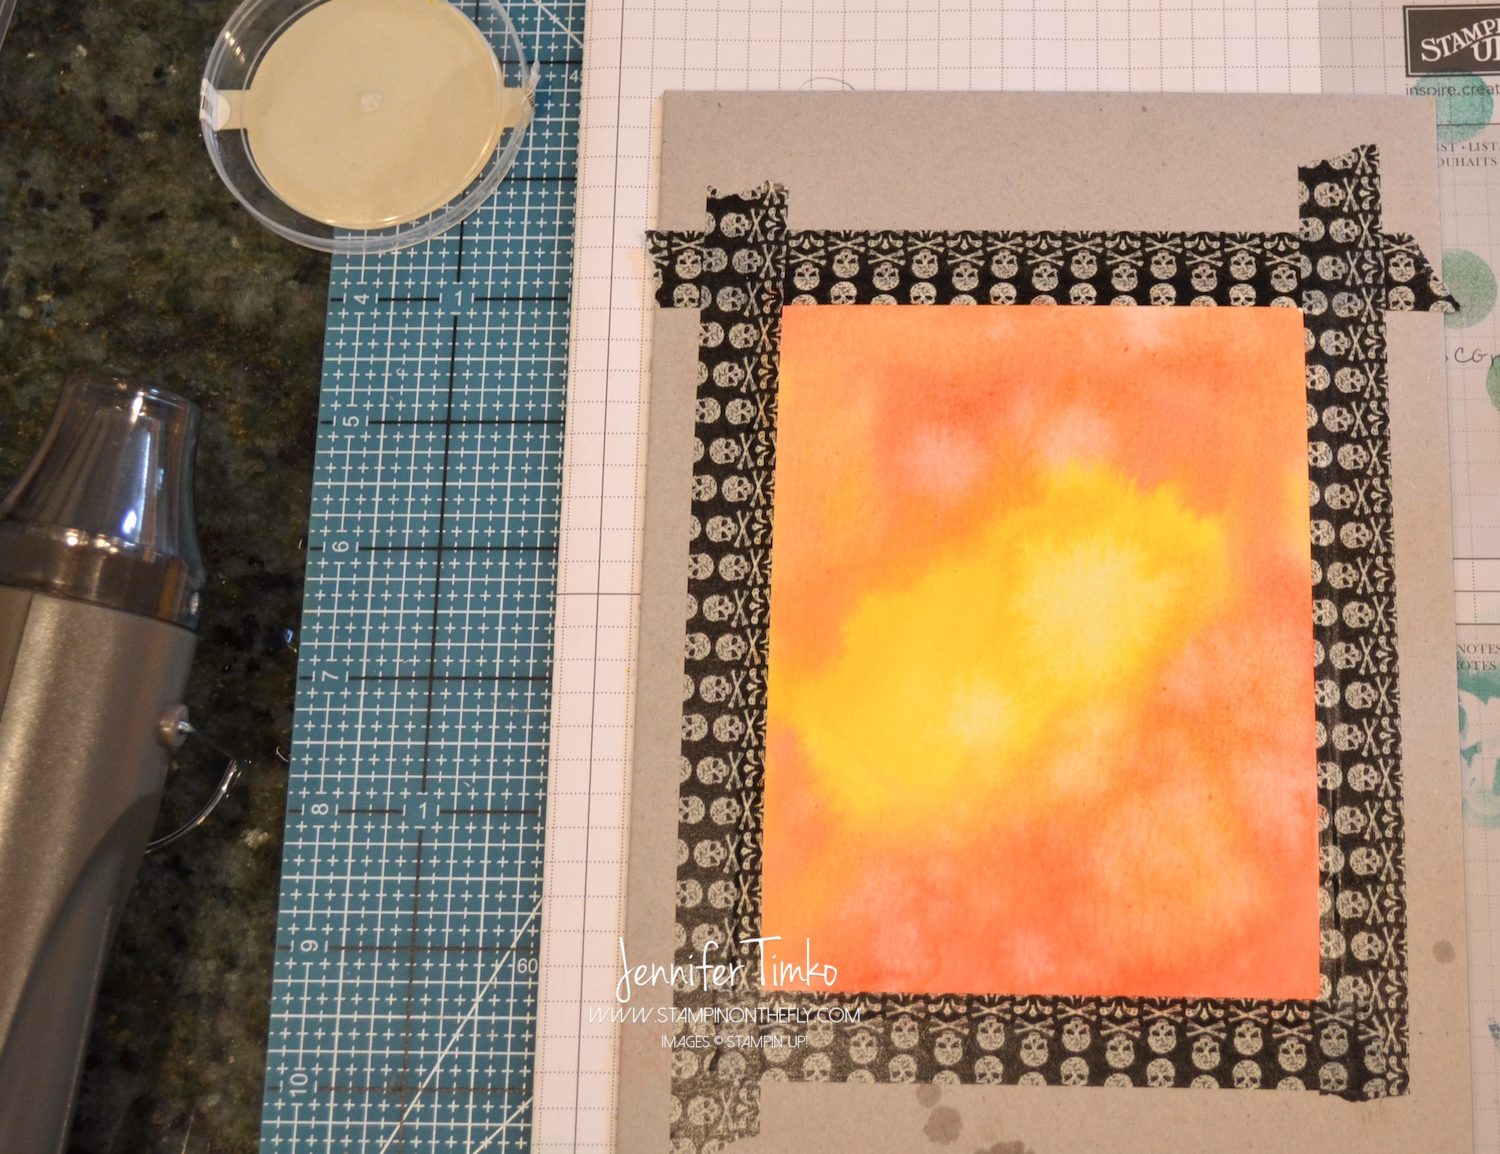
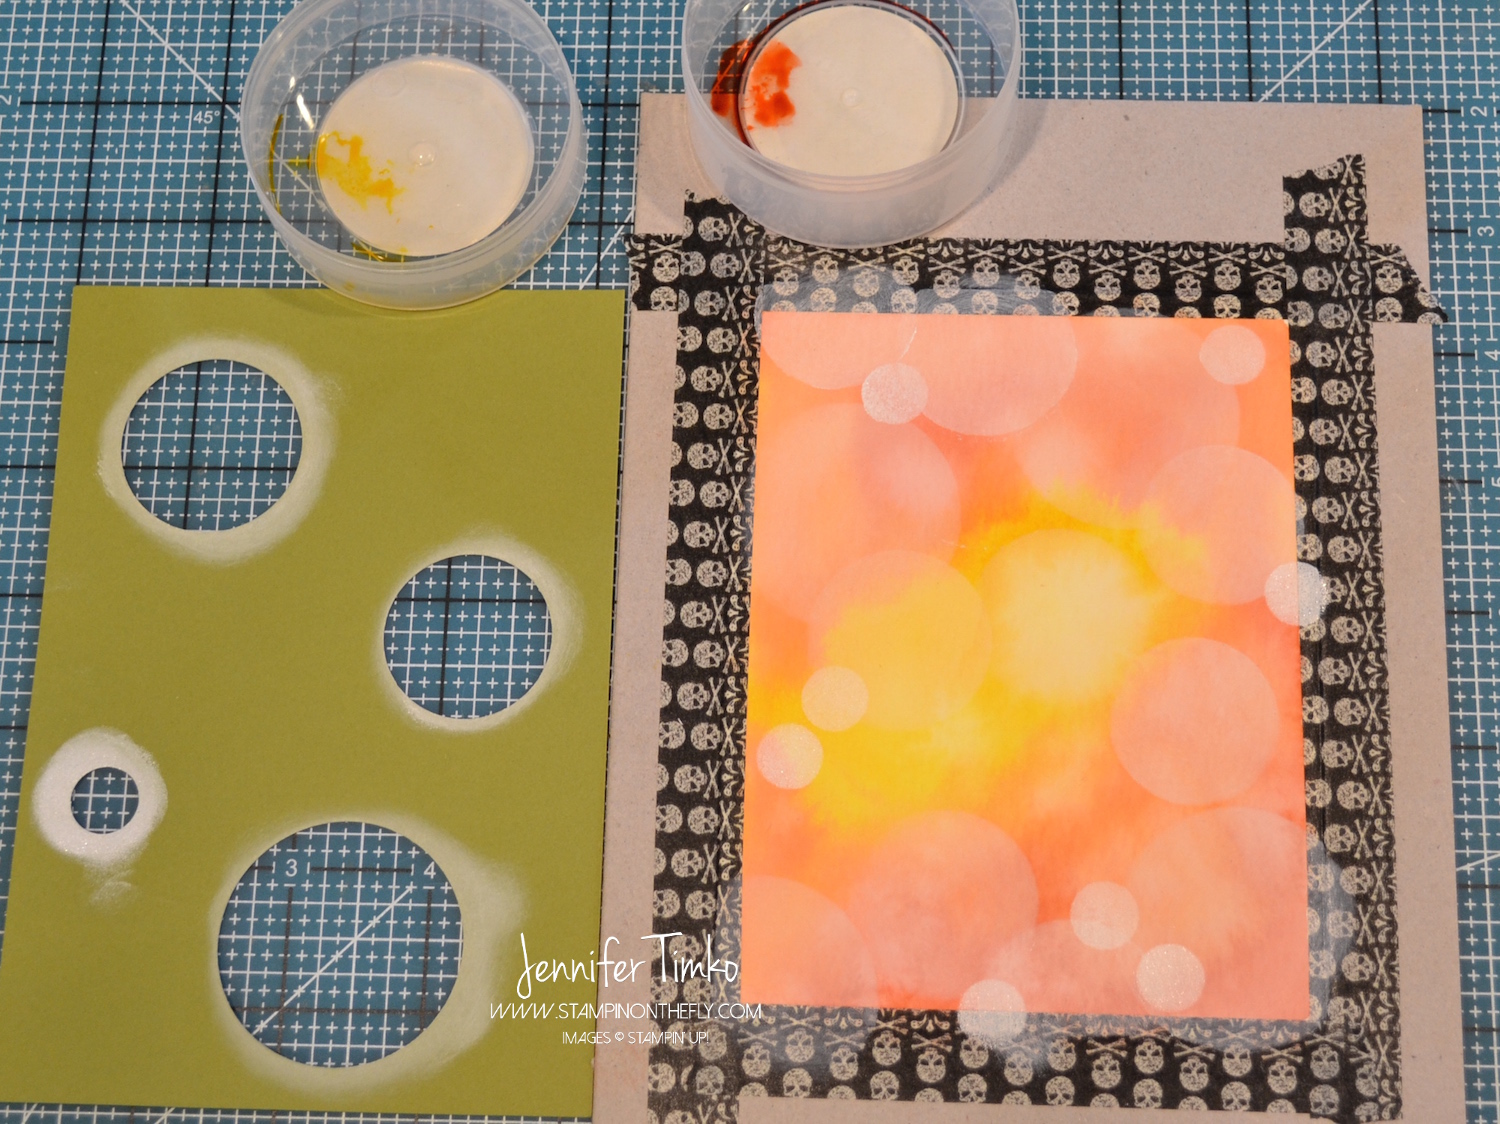
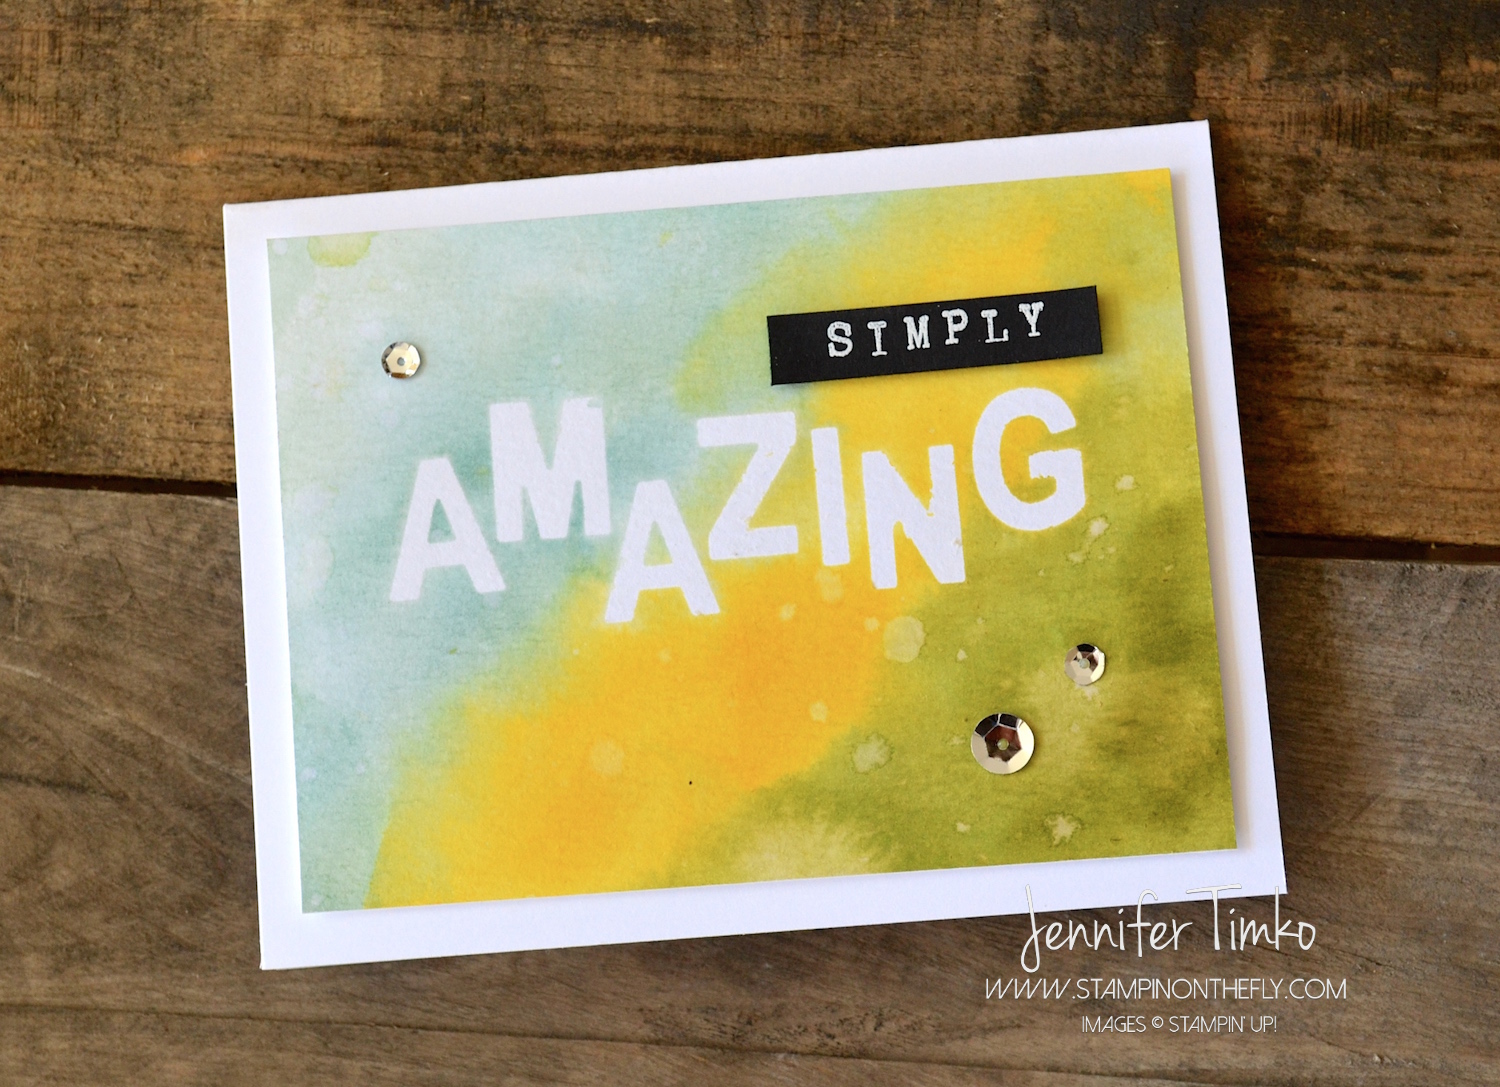
What is it about spring that makes you move to new colors?! Those of you who have been with me for a while has seen me call it “seasonal stamper’s disorder”, lol. I simply HAVE to stamp in colors that fit the temps outside. Watercoloring is another technique that seems to mean spring to me. Soft lines, imprecise splatters, no rules! This card uses the fun Little Letters Thinlits to create a word. Any word you want!! But how did I do it?! Thanks to the Stretch Your Dies class I’ve been taking, I learned this technique of masking using freezer paper (who knew?!). Kristina Werner demonstrated the how-to in the class and it works perfectly! Cut the letters out of the freezer paper, iron them on carefully, and watercolor. Then remove the masks. I used Lost Lagoon, Daffodil Delight and Old Olive classic ink to color on Watercolor paper. Once dry, I cut the panel down and peeled up the masks. FANCY!! I dialed the word “simply” into my Alphabet Rotary Stamp and stamped in Versamark ink onto Basic Black card stock and then embossed in White Stampin’ Emboss Powder. I find myself hoarding all kinds of sequins now (thanks to all the cool ones in Paper Pumpkin) and these are the Frosted Sequins from the Holiday Catalog. And guess what, you can get them right now on the Clearance Rack while supplies last! So what do you think about this one?! I’d love to hear if you think the technique is as cool as I do!! The best part is that my oldest son asked me if he could get this card or a card like it for his birthday….I’ll take that as a yes on hitting the mark with a man (or junior man) friendly card!
![]()
I told you on Wednesday that I had an announcement to make and I thought today would be a great time to share. I have an new and updated version of my Stamps on the Fly program that will launch on April 1st. Click here to see all the details!! Hint: I’m bringing my love of sketches to YOU!
We have a super special treat this week and I have the privilege of introducing our Fancy Guest Stamper. And yes, she is extremely fancy!! Hop right over and see the fabulous Kimberly Van Diepen! You are going to love what she created!
And you can click our logo above to get to the Fancy Friday Pinterest page!
Click HERE to purchase these wonderful Stampin’ Up products!
Paper: Watercolor, Basic Black, White; Ink: Lost Lagoon, Daffodil Delight, Old Olive, Versamark; Accessories: Big Shot, Little Letters Thinlits, Alphabet Rotary Stamp, White Stampin’ Emboss Powder, Heat Tool, Paint Brush, Freezer Paper, Frosted Sequins