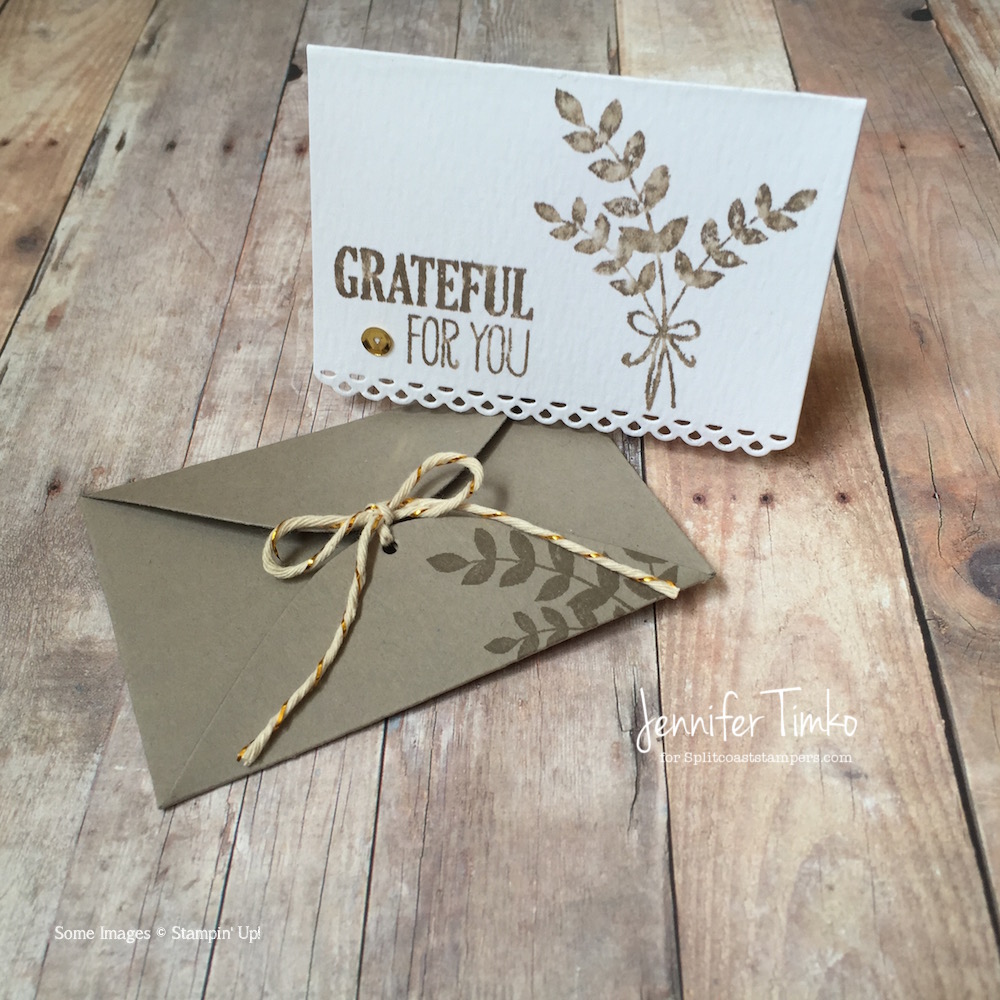
Guess what?!! It is time for another product review over at Splitcoaststampers and I could not be more excited to share today! What are we reviewing??? Misti – or the Most Incredible Stamp Tool Invented! Um…Jen….the Misti has been around for a while so what are you talking about? Let me show you!!!! Check out this video!
A direct link to the video is HERE.
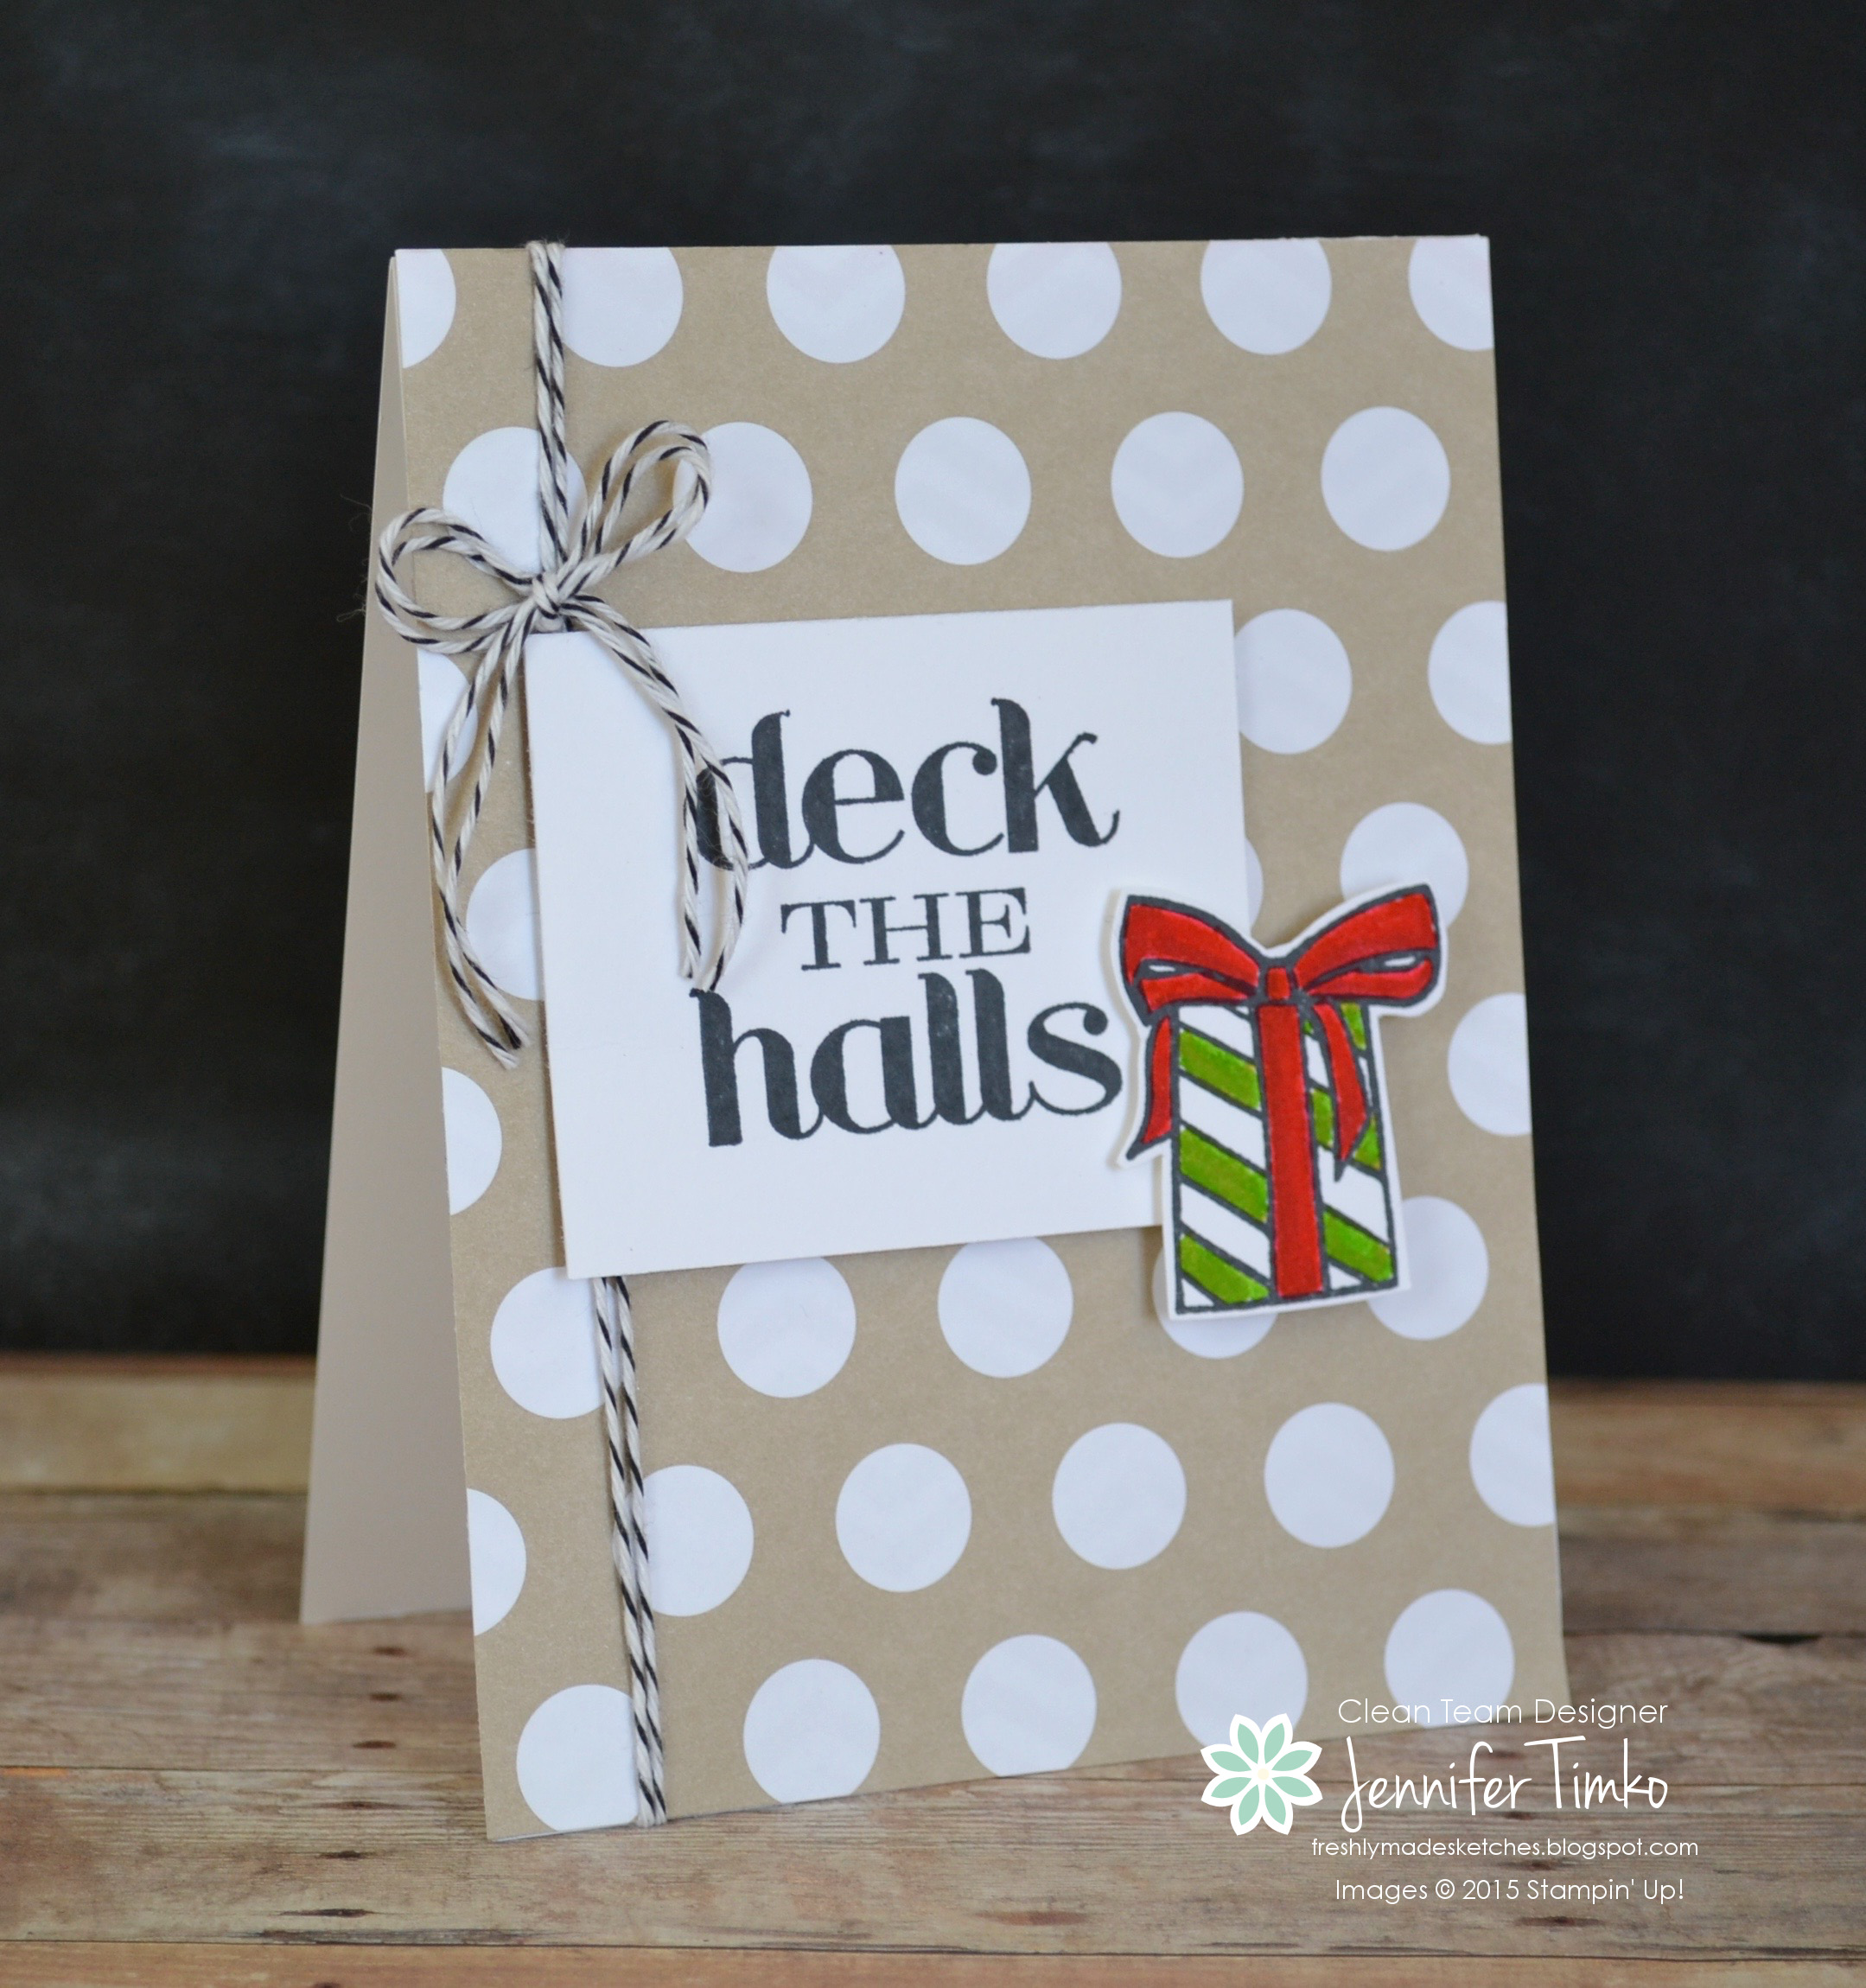
Ok, back to my card today. I pulled out this adorable set, Santa’s Gifts, and I just love it. Love the Santa and all the little images that go with him. Using my Misti to stamp with this set makes it even better. I simply cut a mask for Santa and lined up the present image on my Misti. Once I was sure it was right, I ink it up and stamped. No chance for my hand to slip and perfect placement every time. Once I had everything stamped, I used my Zig Clean Color markers to color the scene.
Want to learn more about the new configuration for the Misti? Hop right over to the Product Focus page and you can see all the reviews and projects from the whole Product Review Team!
Also make sure you take advantage of the Splitcoaststampers special savings code! You’ll find it on the Product Focus page linked above!! The code is only good through today (Oct. 22nd), so shop fast!
I’ll be back tomorrow with another project complete with a tutorial using the Misti!! Until then, have a great day!
Click HERE to purchase wonderful Stampin’ Up products!
Stamp: Santa’s Gifts; Ink: Momento Tuxedo Black, Zig Clean Color Markers; Paper: Real Red, Basic Black, Watercolor (Fabriano Cold Press) ; Accessories: Misti, Heat Tool, Clear Stampin’ Emboss Powder, Zig Watercolor Brush, Wink of Stella Clear