Happy New Year!! We are starting off the year at Freshly Made Sketches with a fun sketch designed by the lovely Cécile Ribon. I love that you can make it seasonal or not!
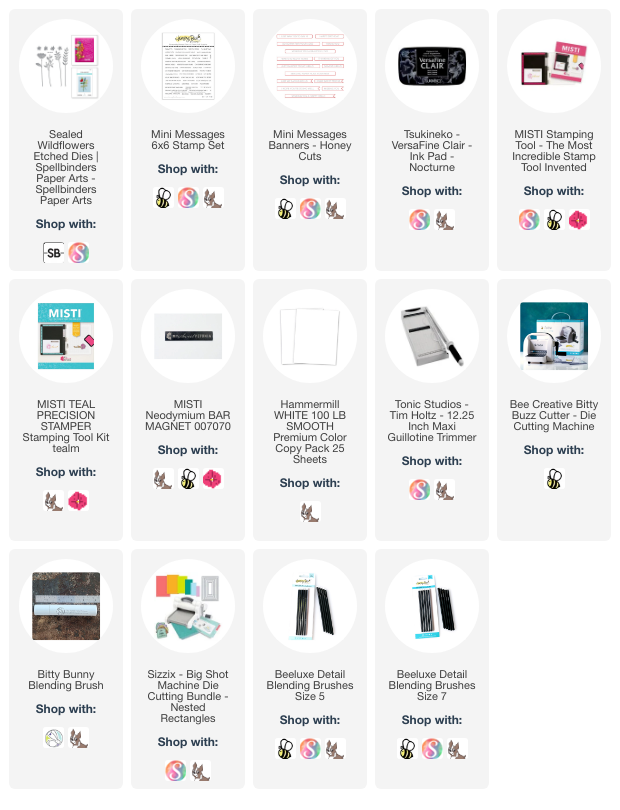
In keeping with the chaos of the season, I chose to use a little flower bunch that has been sitting on my desk for a while. A long while, actually. While I’m not sure I follow the sketch very well, it just seemed to work for me (once I opted out of making the card a square, at least). Oh by the way, these Sealed Wildflowers dies are on sale (link below).
I had a pack of “Free Bee” papers from Honey Bee stamps over where the stems were and found this one that seemed to go perfectly. A change over all the holiday cards I have been making for sure.
I hope you have a few moments to create as we move into the new year. I am grateful for you all and wish you much happiness as we move into 2025.
Thank you for another year of support! I’m so grateful for you all. A variation of some cards made using the Pinkfresh Studio Deck the Halls suite of products.
Wishing you all a very happy Christmas season and a wonderful new year!
Another card today with the newest House Mouse Stamps by Spellbinders.
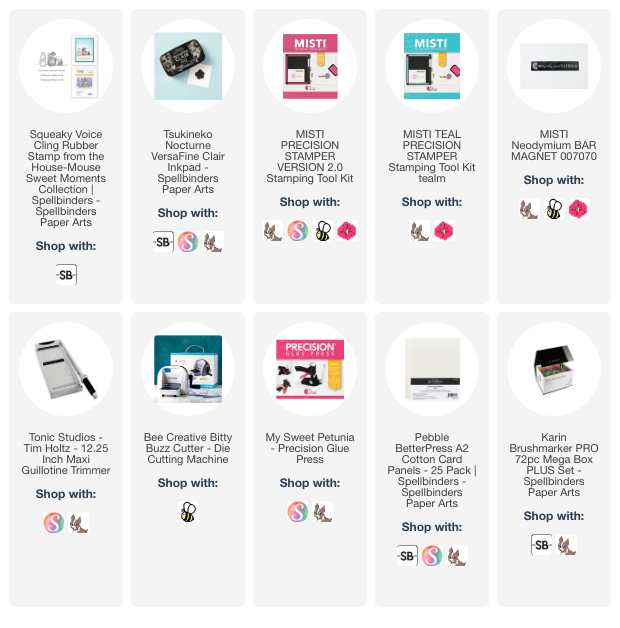
This darling image is from the Squeaky Voice set and so fun for a get well card. I opted for watercoloring on this one using my Karin Markers and a bit of regular watercolor paint for the background. The paper for this is a Pebble BetterPress Cotton Card Panel. The watercolors moved nicely on this and I love the subtle gray tone to the paper.
The sentiment is from the set and I used another panel of the card stock for the base. This olive twine from my stash was a good match so the serum bottle and I thought it added a nice touch.
Thanks for dropping in today. I’ll be back soon to share some more cards I have been making for the holidays. Until then, I hope you have a lovely weekend!
A quick post today with a set that is part of the new House Mouse release from Spellbinders.
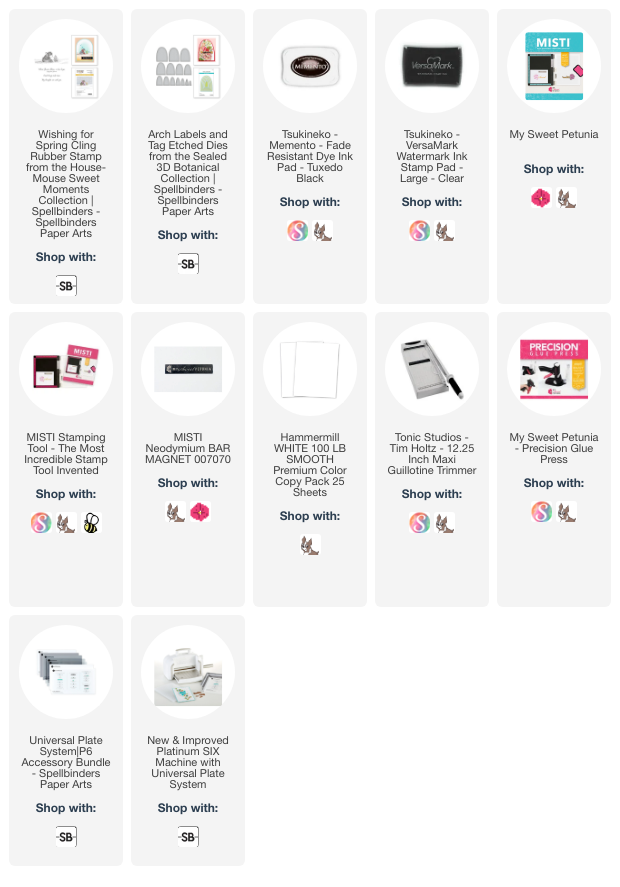
This set is called Wishing for Spring and it is so sweet. The sentiments are lovely and I thought this one was unique and fills a gap I have for encouragement cards. I did a bit of Copic coloring and added a little bit of Distress Oxide blending around the image.
The coloring was fairly simple so I could keep the focus on this adorable fellow. I thought the Arch Labels would be a bit different and a nice way to highlight the image further.
I’ll be back soon with another set from this release. Until then, see you soon!
I have the last sketch of the year for Freshly Made Sketches and our friend Jen Brum has given us one that will be fun to use throughout the holiday season. As soon as I saw it, I saw exactly what I wanted to use!
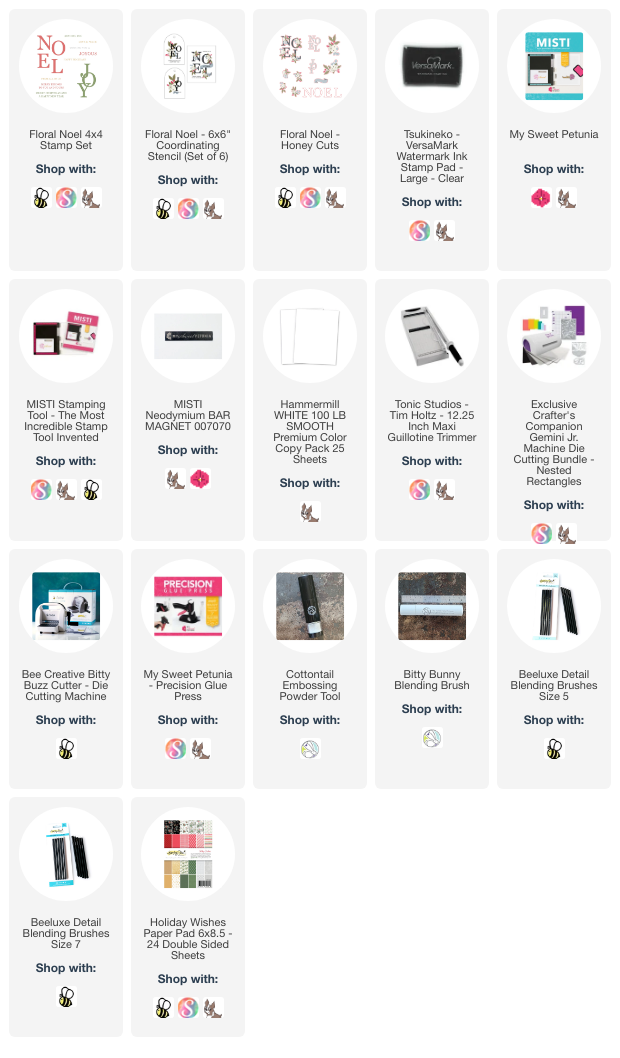
This beautiful NOEL is from the Floral Noel suite of products by Honey Bee Stamps. It comes with stencils, dies and a stamp set. I played with inking the stencils using Distress Inks and I love the fun result. Those little flowers around the letters can actually be inked without the letters too and there are separate dies to cut them. Makes this set versatile even after the holidays! After all the inking, I simply cut out the letters using those die cuts from the set.
I also inked up the banner from the same set and added a sentiment from the coordinating stamp set. For the background, I found this paper from an older paper pack and loved how the letters stood out on it. I added foam tape behind the letters for some extra dimension and that is it. Flat for easy mailing and I created an envelope for the mini-slimline card using an older envelope set.
The team was super clever in their interpretations and I think you will find it easy to use too. I hope you are able to get some crafting time in over the next few weeks and join us. I’ll be back tomorrow (I hope) with a new project. See you then!
We have a super interesting sketch this week at Freshly Made Sketches and I’m excited to see how everyone plays along with it. As always, our wonderful Kim Singdahlsen has created something fabulous!
For me, this one all started with the poinsettia. I wasn’t sure how I was going to use the five panels behind it so I just started inking the flower. I will say that inking these dies just doesn’t get old. I used a combination of of Candied Apple and Aged Mahogany Distress Inks for the flower and then Bundled Sage and Peeled Paint for the leaves. Once they were done, I thought they needed a little something else, so…splatters! White Metallic Ink and some black refill ink for those.
As that was drying, I decided that I was going to do the panel all in white but with texture. So I cut the strips apart, glued them in the sketch pattern and then let them dry a bit. Once done, I ran them through with the Snowy Pines 3D Embossing Folder and I’m so excited with the effect! The rest of the card was easy from there. I picked a sentiment from the Wonder of Christmas Stamp Set and cut it out with the coordinating dies. The textured panel is popped up on foam tape so you can really see the interesting shape.
The team has shown a number of ways to use this sketch and I hope you will give it a try too. Thanks so much for stopping in today. See you soon!
Happy Thanksgiving week to those who celebrate in the US! I am, shockingly, home this week…first time in a long time. Which means I get to cook and feed the hungry hoard of college kids (who are now home and I’m hearing the sounds of brotherly discussions of college, video games, etc as I type). We have a fabulous sketch this week by my lovely friend Linda Callahan and I love this little trio of options. No surprise, I didn’t really follow the sketch that closely but, well, that happens!
I started with the Lovely Layers: Winter Greenery and played with my new Distress Spritzes. I got two colors to experiment with (Bundled Sage and Salvaged Patina) and they are really pretty. There is a metallic quality to them and they have more shine than I could capture in my photos. For more coverage, I inked the card stock first with regular Distress Inks (same colors) and then added the Spritz. For the gray branch, I just inked it up with Hickory Smoke and then sprayed on Hero Arts White Iridescent Shimmer Spray to match the shine of the others. The little berries only have the Shimmer Spray on them.
For the background, I used the Snowy Pines 3D Embossing Folder. The texture and design on it is so pretty and it means I didn’t need to do anything else but add the sentiment. The Mini Messages: Holiday seemed just right for the sketch and I used the coordinating Mini Messages Banners dies to cut it out.
I hope you will have a little bit of crafting time this week. And if you are celebrating with family, I wish you safe travels and enjoying lots of delicious food and company! Thanks for stopping in today. See you soon!
Happy to be back today with the latest sketch from Freshly Made Sketches. Our designer this week is none other than one of our team leaders, the amazing Jen Mitchell. I think I may have broken a record with how fast this idea came into my head for the sketch.
I pulled out the new Floral Noel suite of products from Honey Bee Stamps. Super fun! I stenciled the flowers using distress inks and then cut with the coordinating dies. The sentiment comes in the coordinating stamp set and I embossed it with gold embossing powder. I love how the dies are so detailed when cutting it out, too.
Something about the combination of gold with rustic elements always makes me happy so I pulled out some burlap ribbon from my stash for the sketch crossing element. I added some gold card stock behind the white panel for a little more shine and then found this print in my older patterned papers (it is SU).
Hope you enjoy this one and will come over to play along too. Thanks so much for stopping in!
I am the sketch designer this week for Freshly Made Sketches. Naturally, I designed it to use some new things. Because why not?! I thought the wide open space on this one would appeal to many and be helpful for any holiday or fall creating you are up to.
So let me start with this. How stinking cute is this gingerbread house?!!! And there are three of them in the set. This is the new Lovely Layers: Alice’s Gingerbread Lane from Honey Bee Stamp’s latest release. I am sometimes hesitant to get die sets that seem fussy but this one practically jumped into my cart. I immediately had a vision of it with glittery snow details so that is what I went with.
I cut all the pieces from white card stock (Hammermill) and inked them using Distress Inks with my Bitty Bunny Blending Brushes and my Beeluxe Blending Brushes. There is a great layering guide for the die cuts so you don’t have to guess how to put things together. I’ll list my colors at the bottom of my post. For the glittery elements, I tried a technique I have seen to make glitter stick better and I think it was a success. You could totally use a glitter/glimmer paper for the die cuts too but I find that they are never a match for the whites in my card and this allows me just to use basic card stock. All you have to do is ink the element up with Versamark Ink (or an embossing ink), sprinkle on Distress Frosted Crystal powder and heat it up. You actually overheat it a bit and that makes it sticky. Right from the heat, you add the Rock Candy Glitter and then add a bit more heat to make it grab on. I did this on white but imagine how pretty it is on inked paper or colored card stock!
To add even more glitter, I wanted to stencil on snow. Using an older stencil, I added Prima Texture Paper Paste (I got it on Amazon). I pulled the stencil off and quickly added the Rock Candy glitter and the paste holds onto the glitter as it dries. Finally I just put everything together and added a sentiment from the new Wonder of Christmas Stamp Set.
Colors of Distress Ink: Gingerbread color – Vintage Photo; Door, roof, step – Aged Mahogany plus Candied Apple; Trees – Bundled Sage; Window frame – Ground Espresso; Window panes – Fossilized Amber; Background – Distress Oxide Inks blended – Salty Ocean, Faded Jeans, Black Soot
I hope you have fun with this sketch. I appreciate you stopping in today. Have a wonderful day!
Apparently I remain in a sunflower state of mind. This week’s sketch at Freshly Made Sketches is courtesy of our lovely Jacquie Southas and her split panel design is so great to use.
I pulled out my Copics to play with this amazing set from Honey Bee Stamps. There are three flowers in the set along with leaves and sentiments. I loved this side facing flower so that was where I started. I colored with a handful of yellows and browns and greens and then added some stippling for detail and depth.
For the sketch, I used the Fall Leaves 3D Embossing Folder on a piece of card stock and then just cut it apart. Easy peasy! The sentiment is also from the stamp set and is sweet, don’t you think?
Thanks so much for stopping in today. I appreciate you all!
Primary Sidebar
We use cookies on our website to give you the most relevant experience by remembering your preferences and repeat visits. By clicking “Accept”, you consent to the use of ALL the cookies.
This website uses cookies to improve your experience while you navigate through the website. Out of these, the cookies that are categorized as necessary are stored on your browser as they are essential for the working of basic functionalities of the website. We also use third-party cookies that help us analyze and understand how you use this website. These cookies will be stored in your browser only with your consent. You also have the option to opt-out of these cookies. But opting out of some of these cookies may affect your browsing experience.
Necessary cookies are absolutely essential for the website to function properly. This category only includes cookies that ensures basic functionalities and security features of the website. These cookies do not store any personal information.
Any cookies that may not be particularly necessary for the website to function and is used specifically to collect user personal data via analytics, ads, other embedded contents are termed as non-necessary cookies. It is mandatory to procure user consent prior to running these cookies on your website.