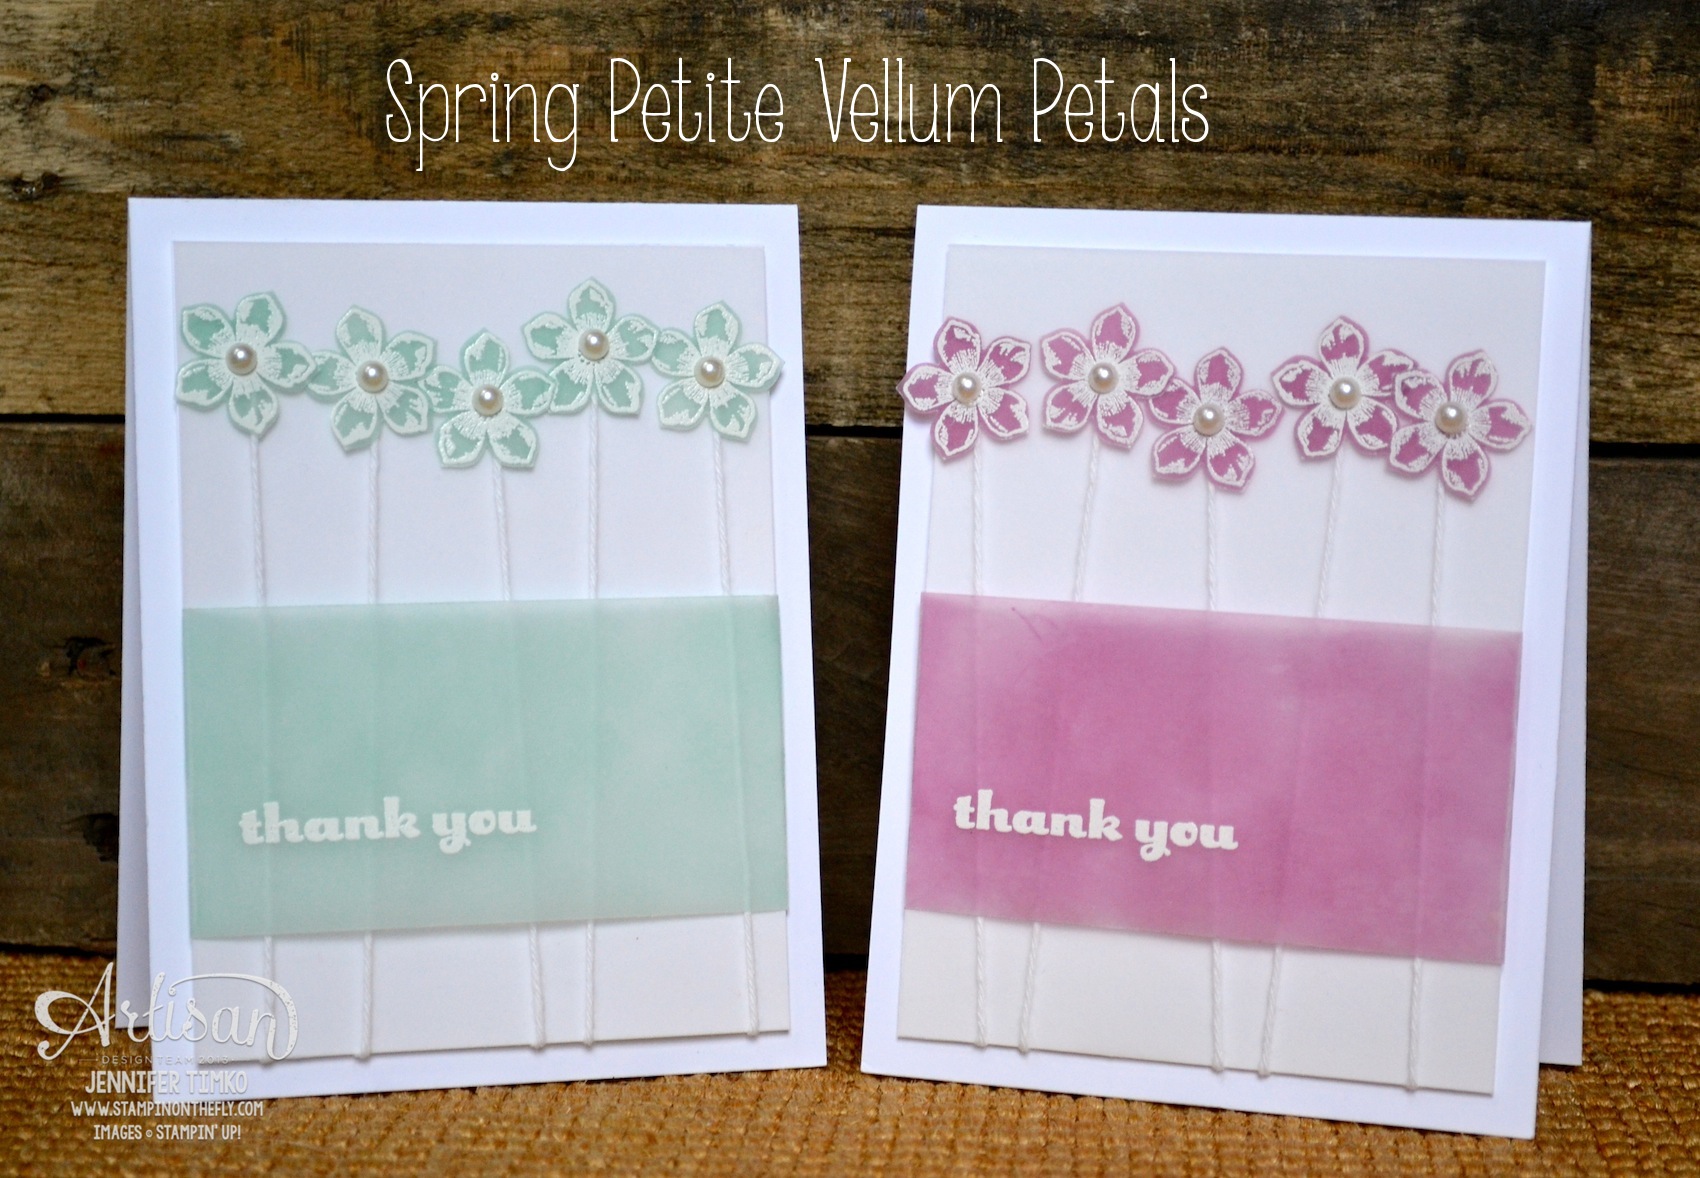
The Artisan Design Team’s March box of products is all about spring! While spring still seems to be elusive, it is here in my stamp room. Hopefully it will be in my yard soon too!! This is the last project with our April box and I have really loved this box! If you have come over from amazing Jeanna, welcome to the next stop. If you are starting here, just continue around using the next buttons until you get back to me.
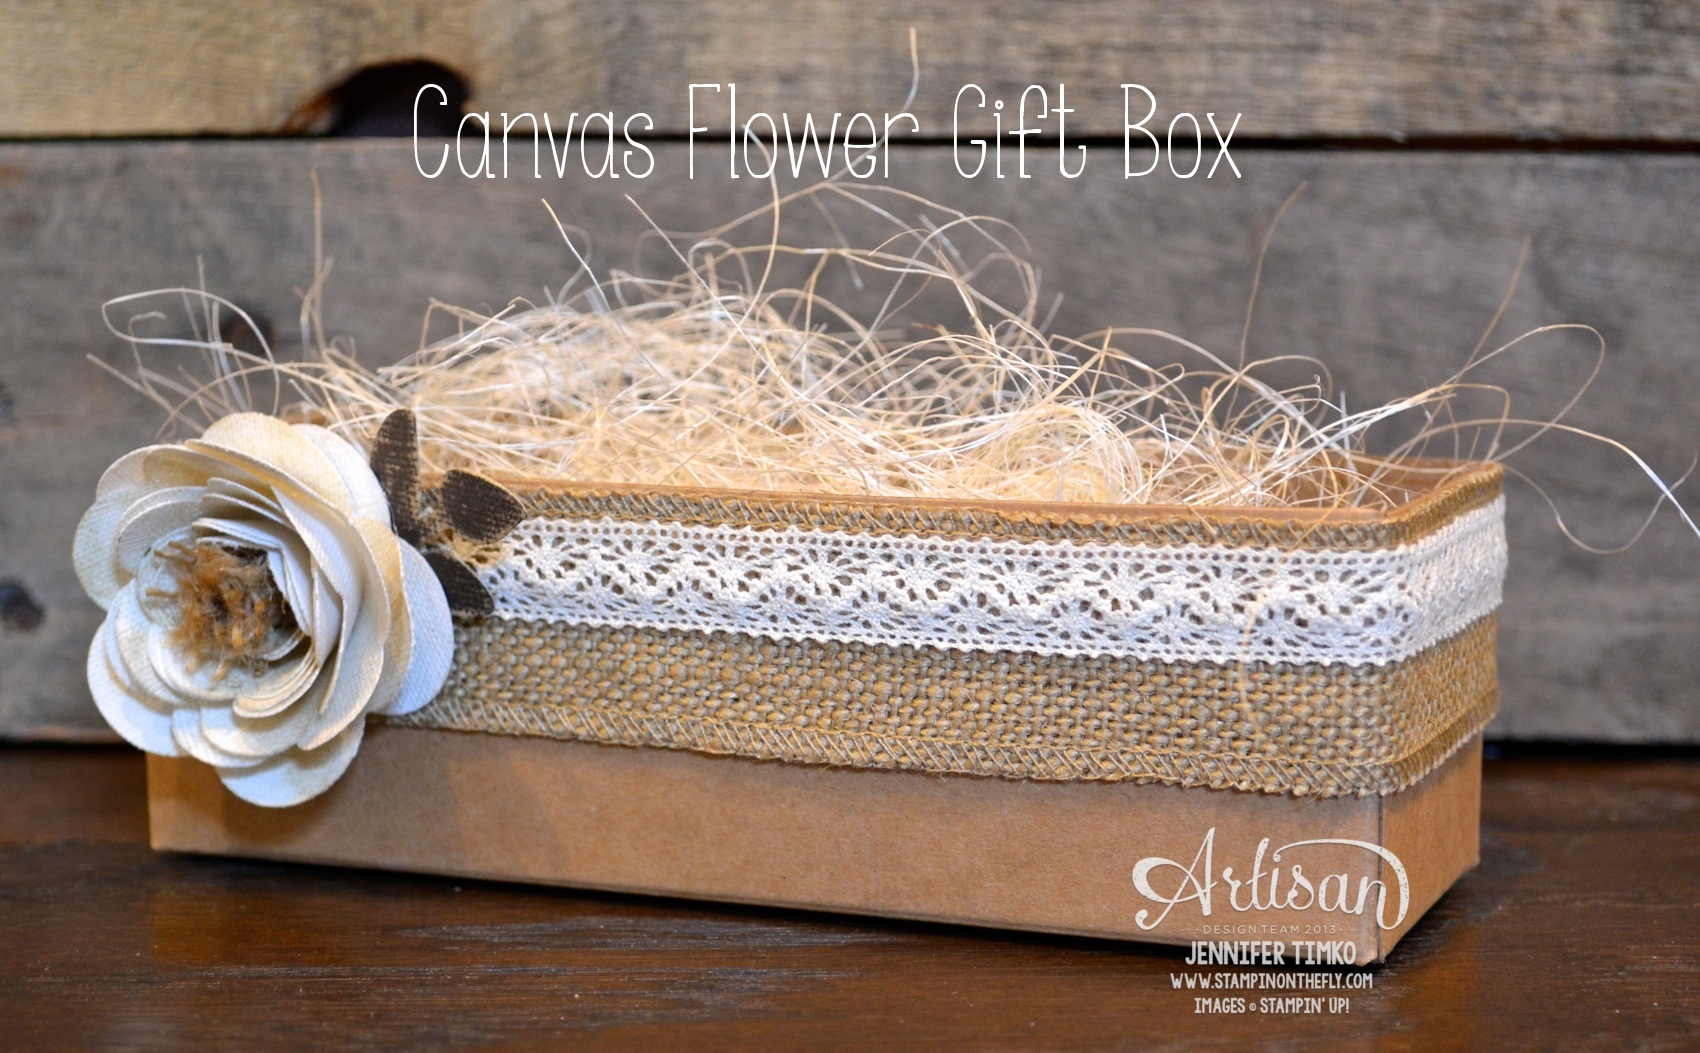
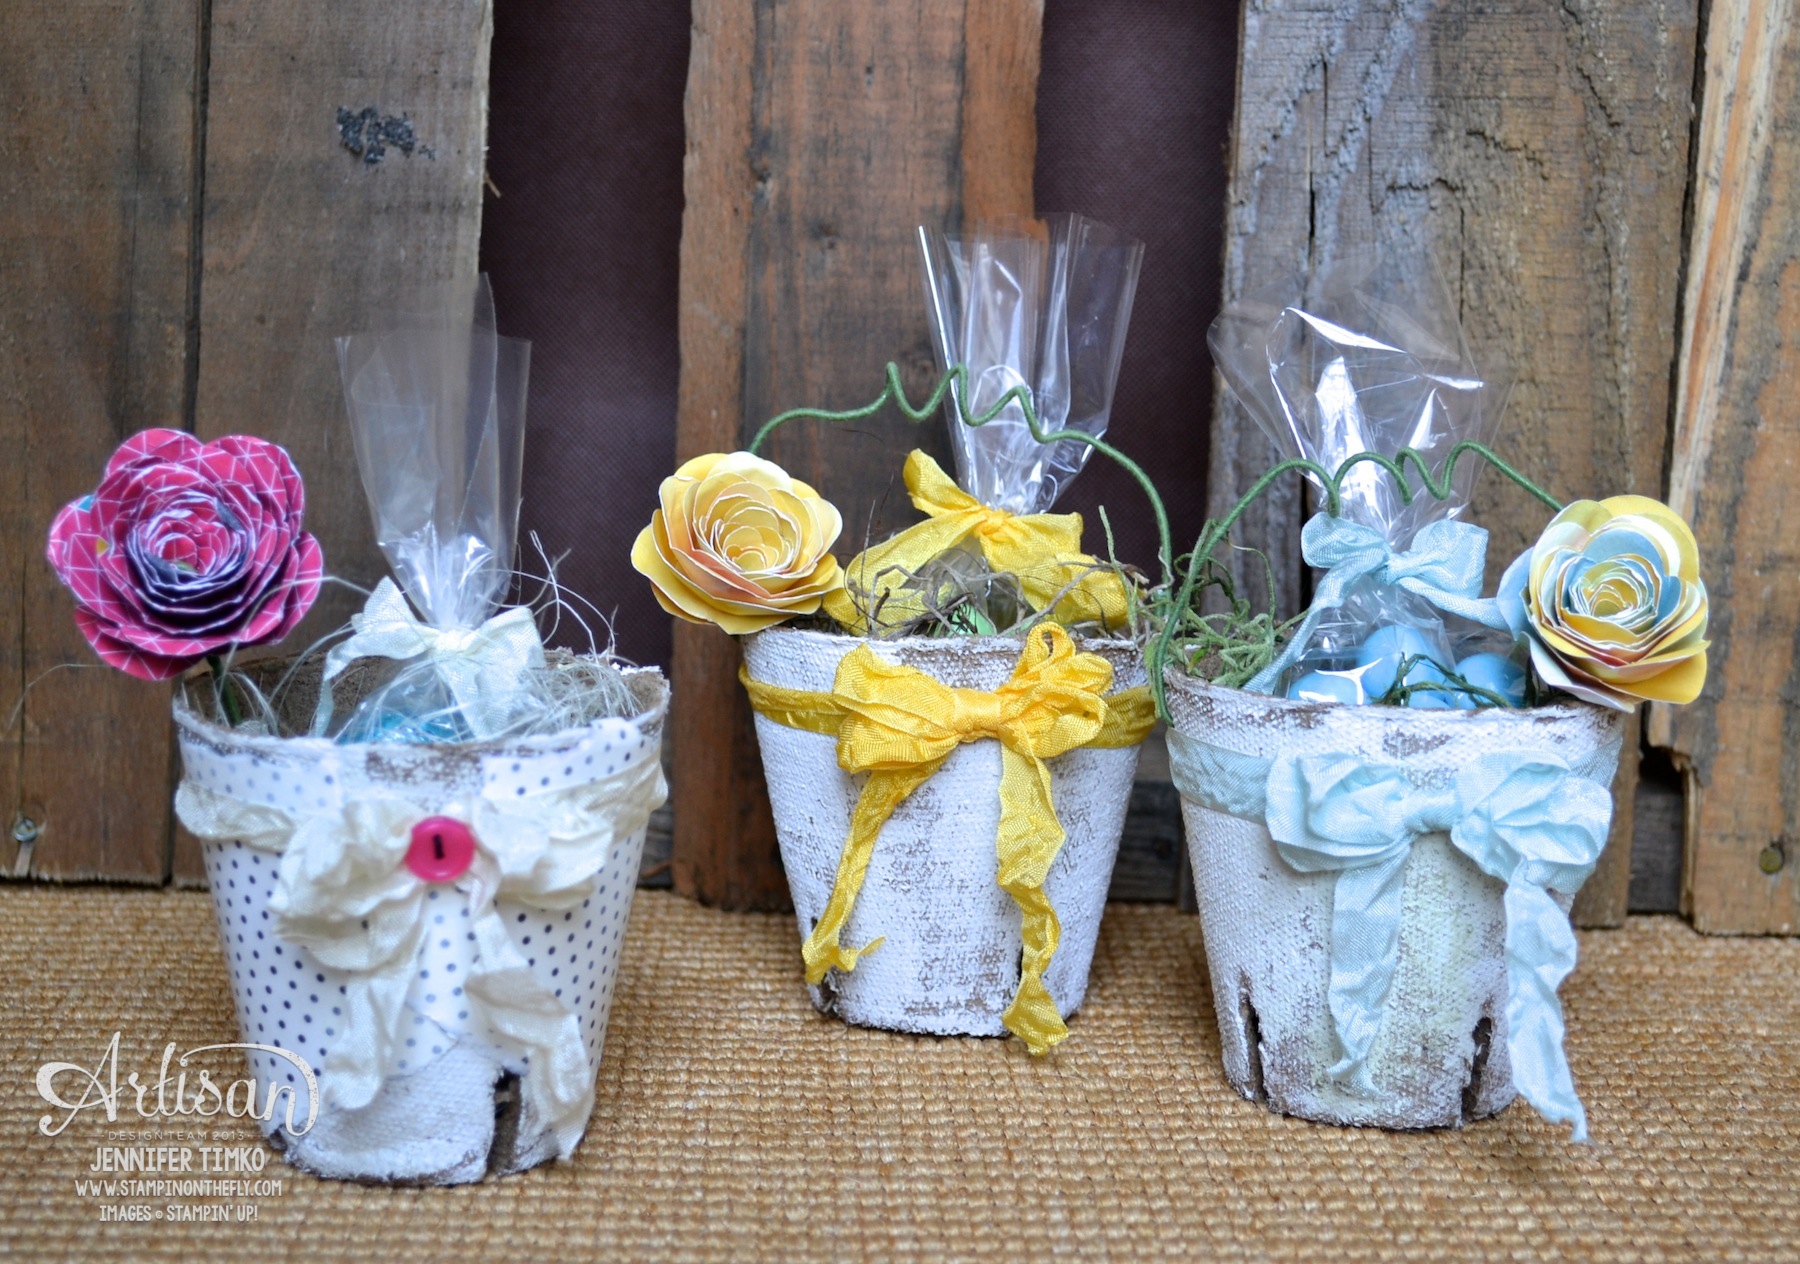
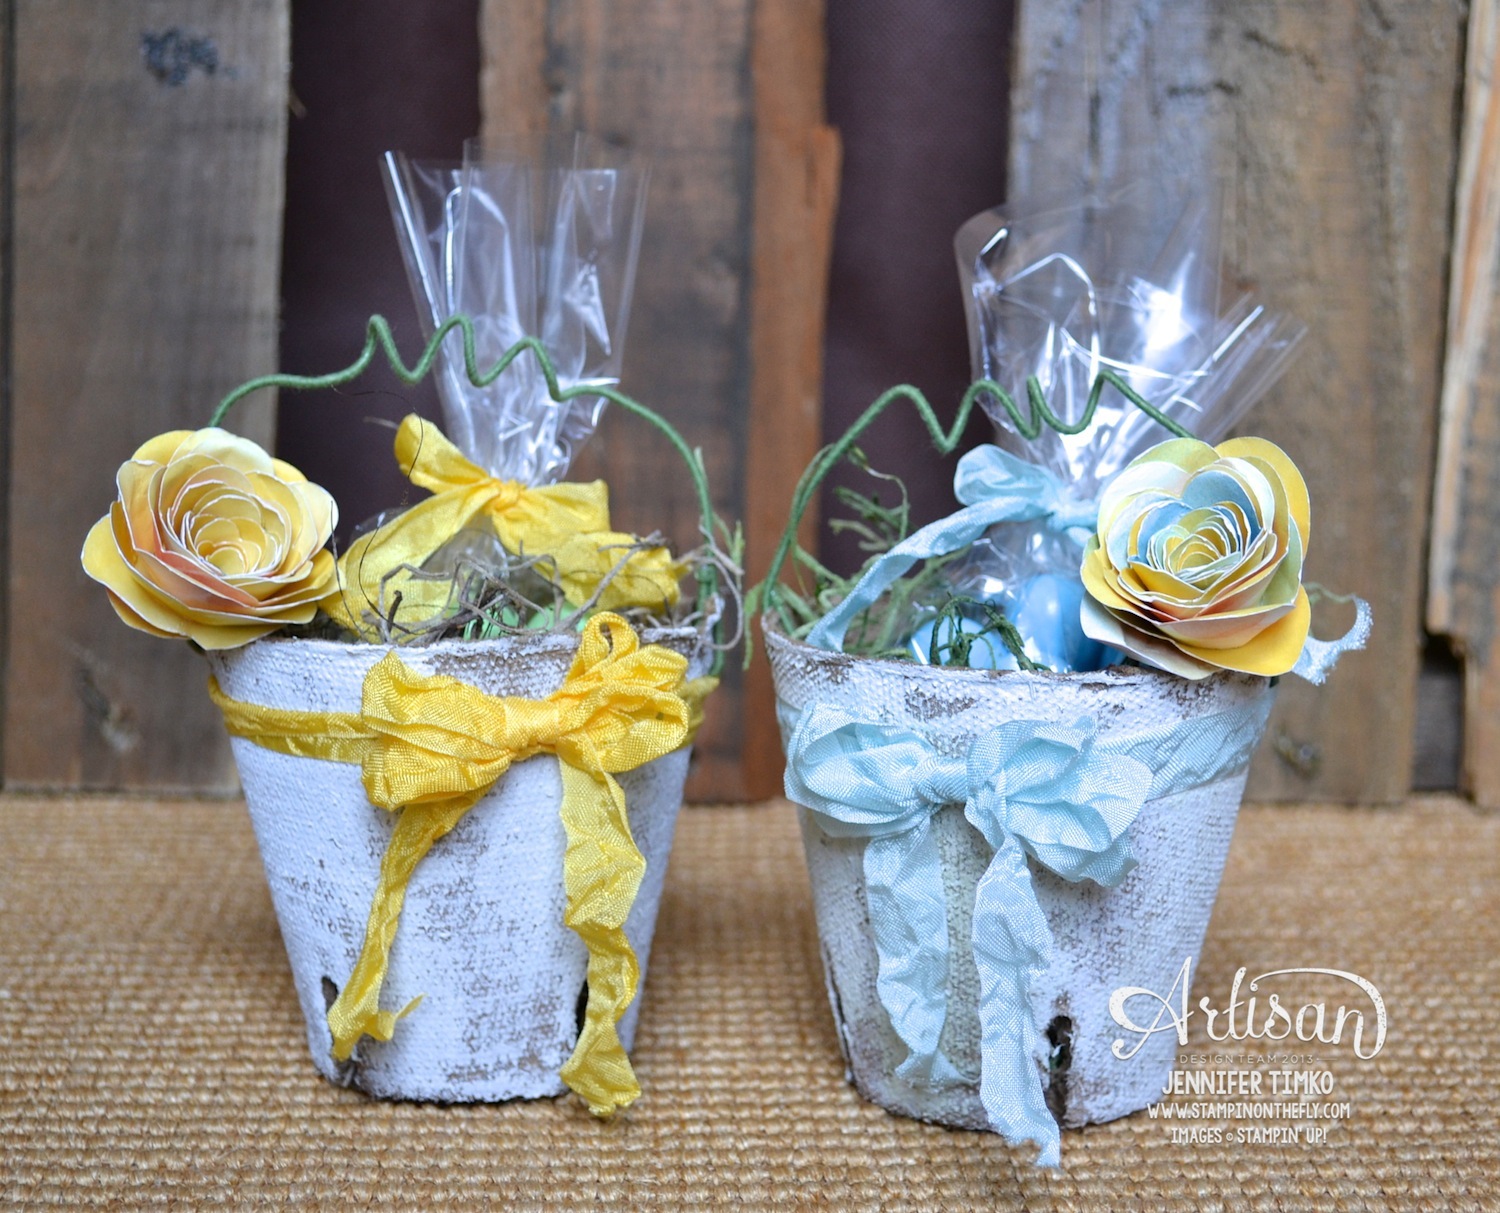
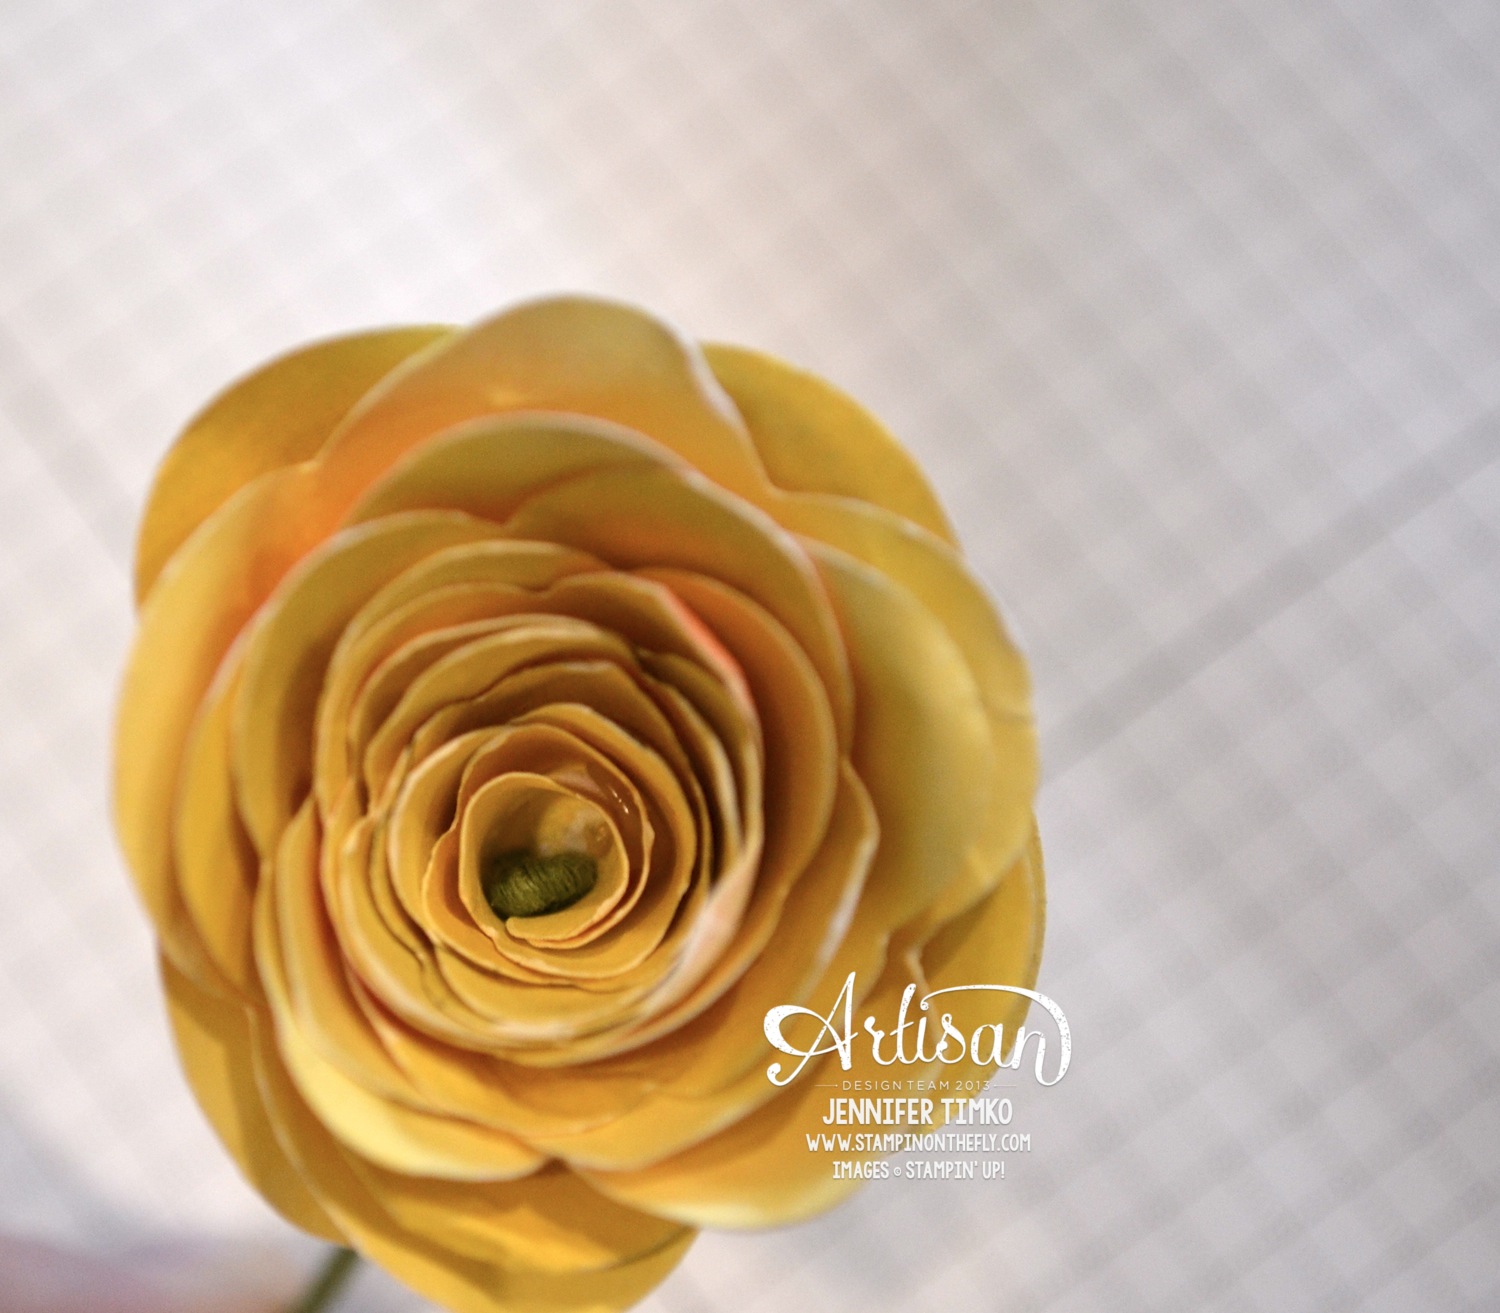
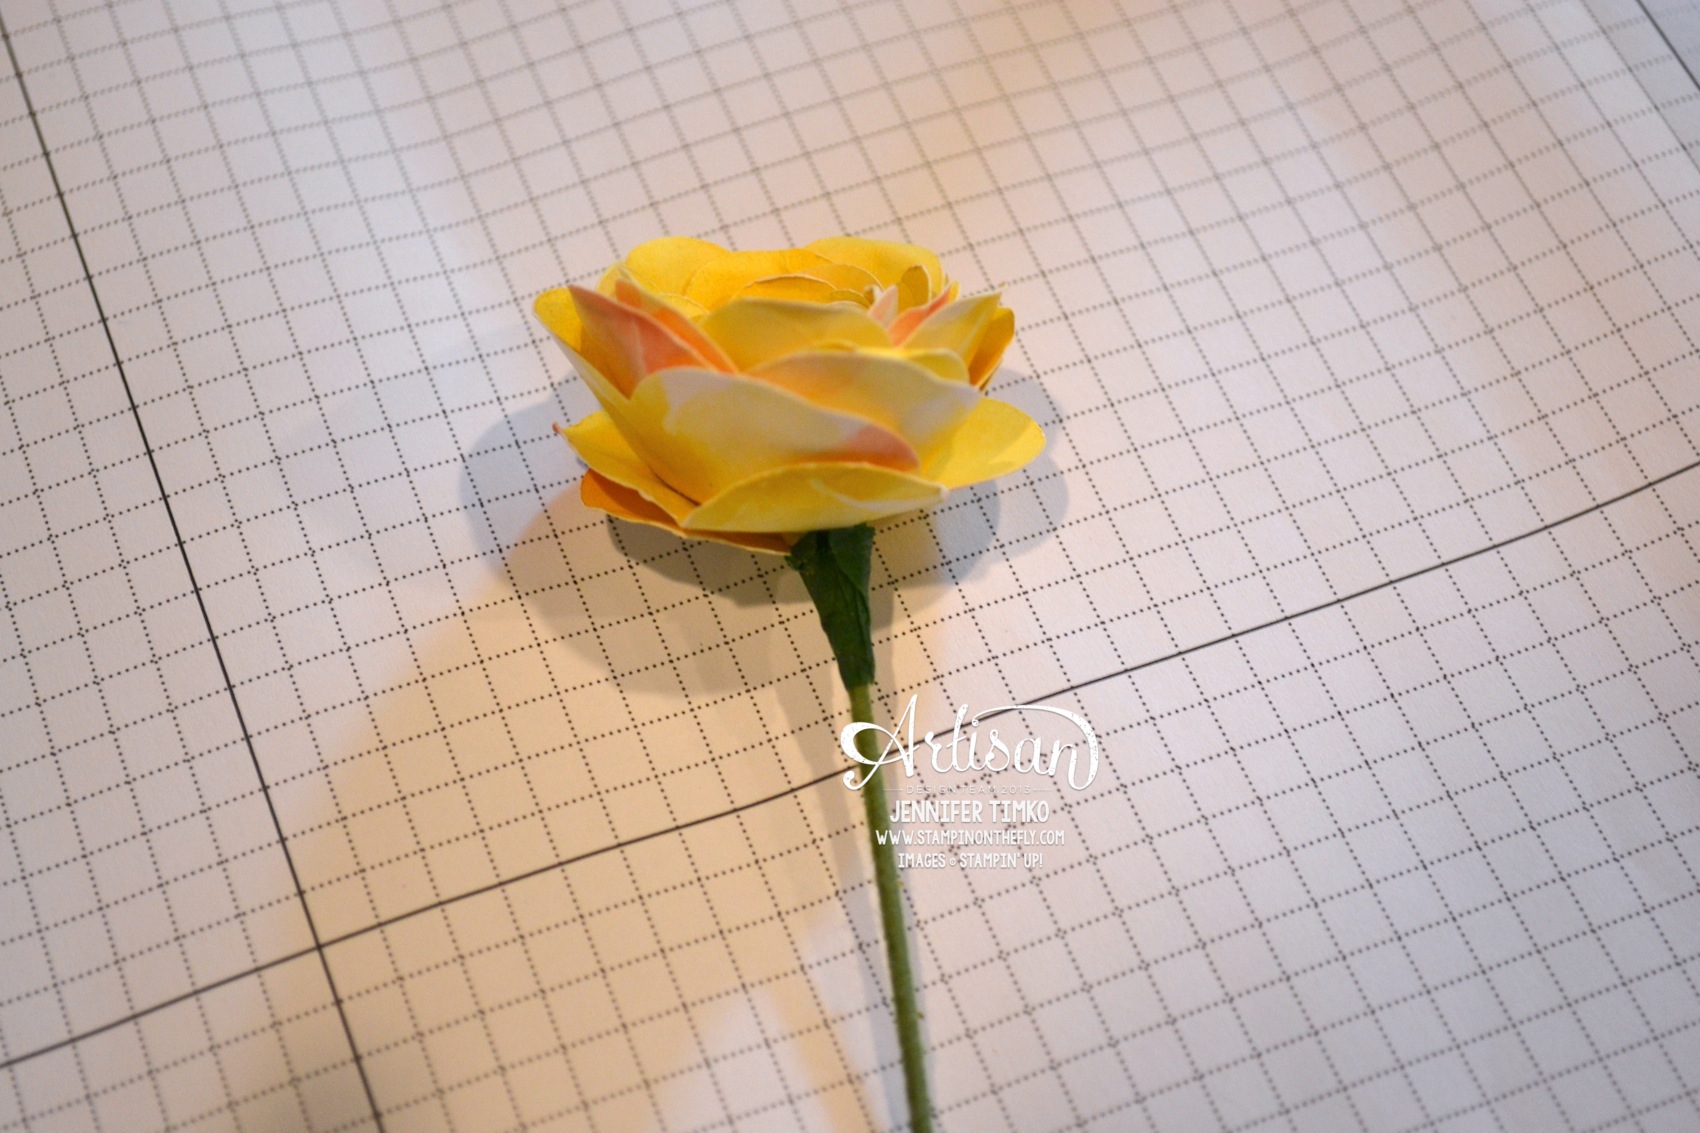
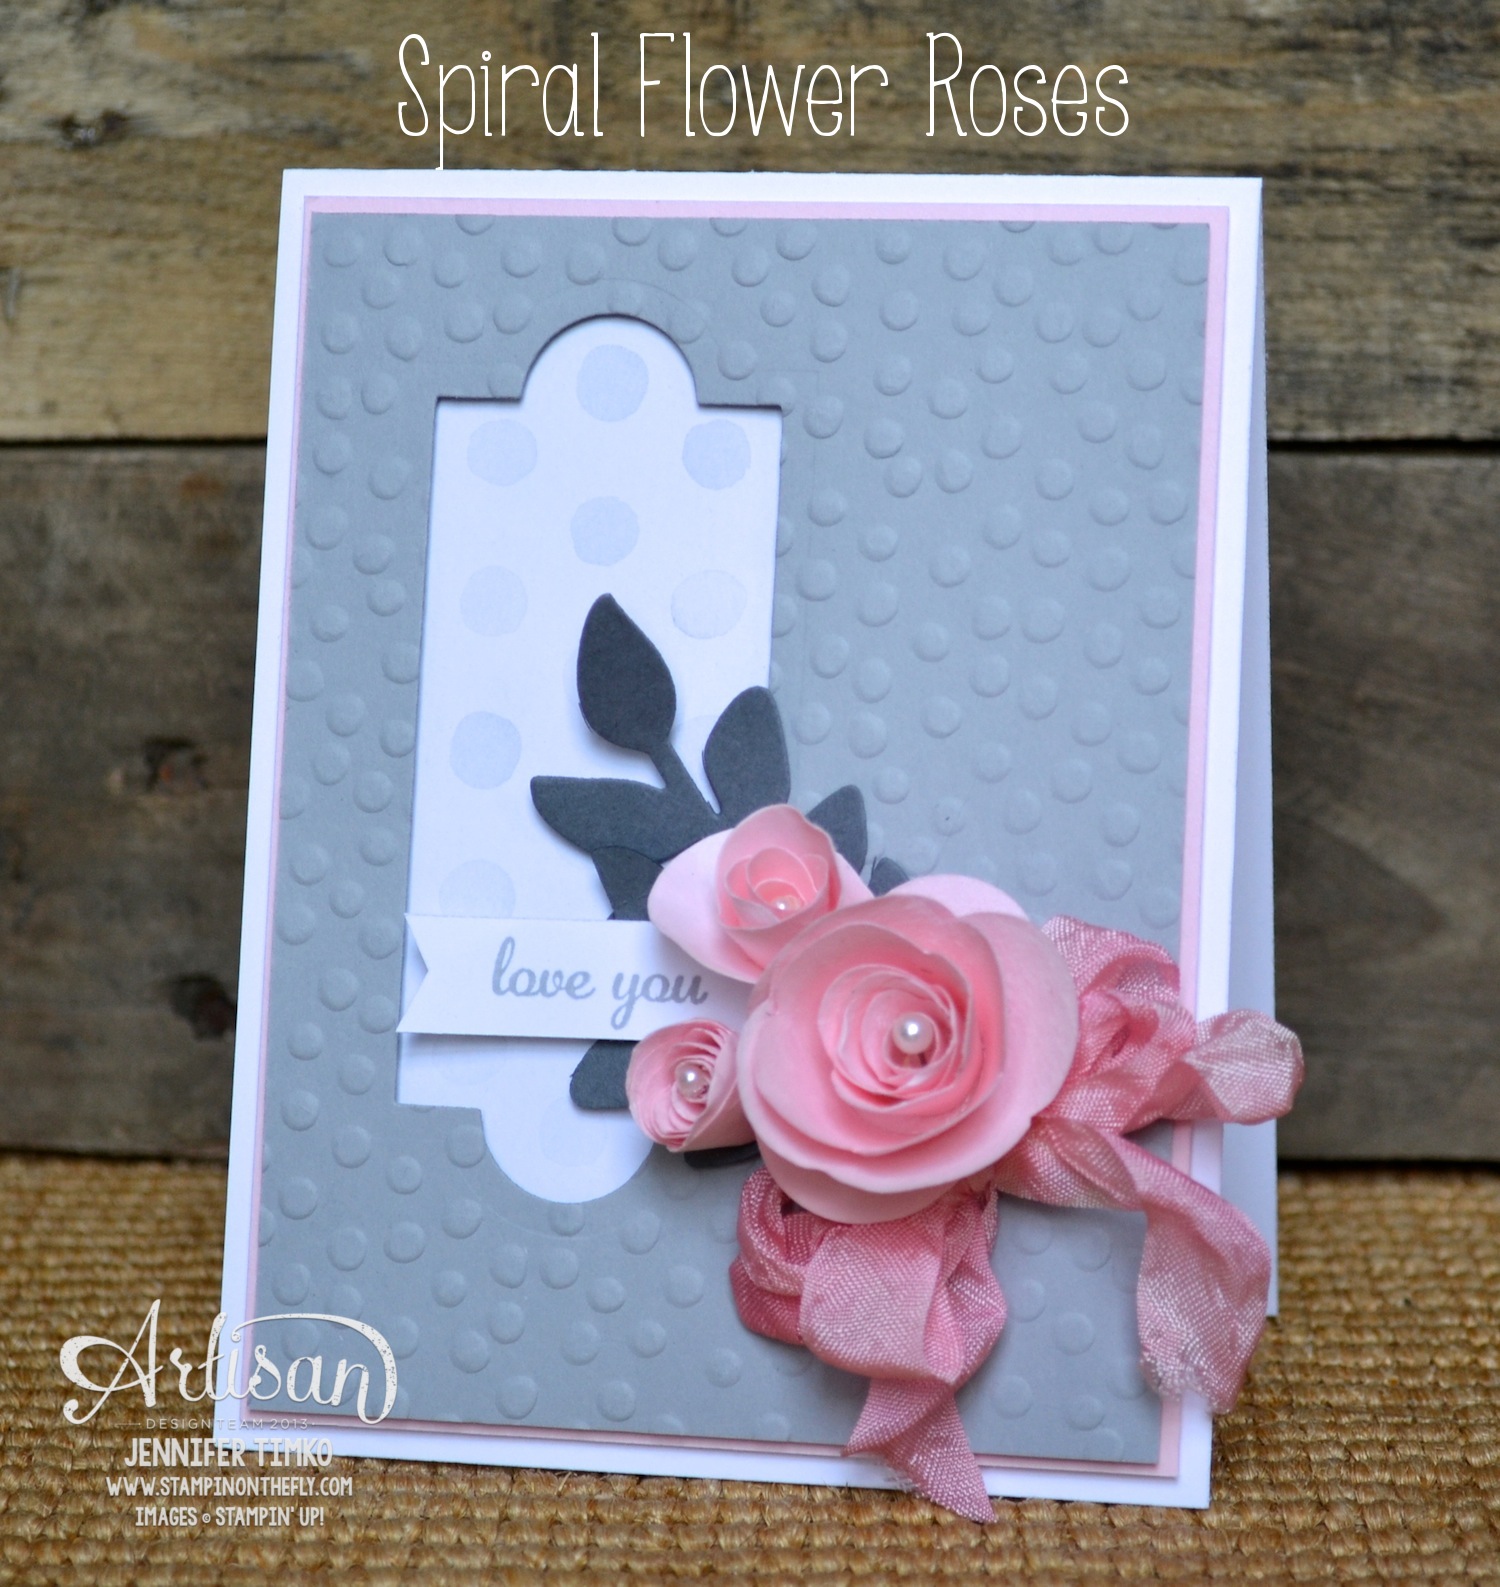
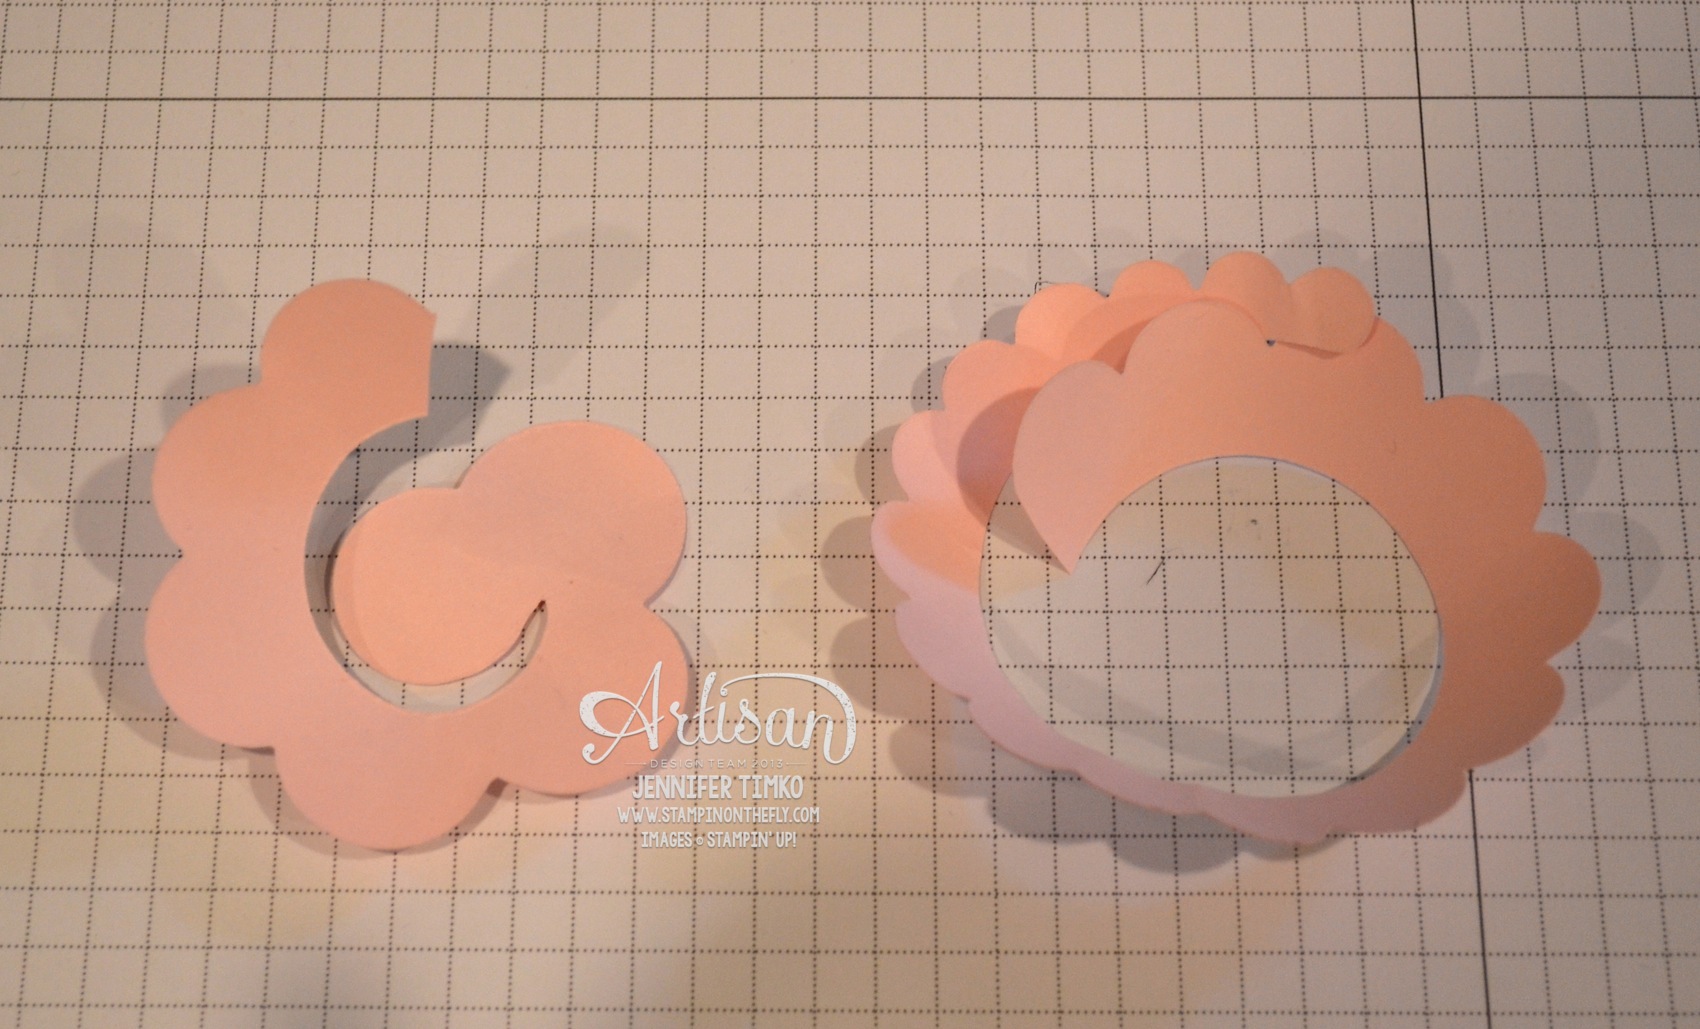
I needed a gift box for a hostess recently and I though the Spiral Flower Die would be perfect (again). Ok…I really am smitten with this die! So many different looks for your flowers! This time I used a Tag a Bag Gift Box as the base. I wrapped around a piece of Burlap Ribbon (I just love this ribbon) and then added on some Victoria’s Crochet Trim. Pretty together, don’t you think? Then I pulled out my Canvas Creations for the flower. I cut out two of them to create this one. Here is a close up:
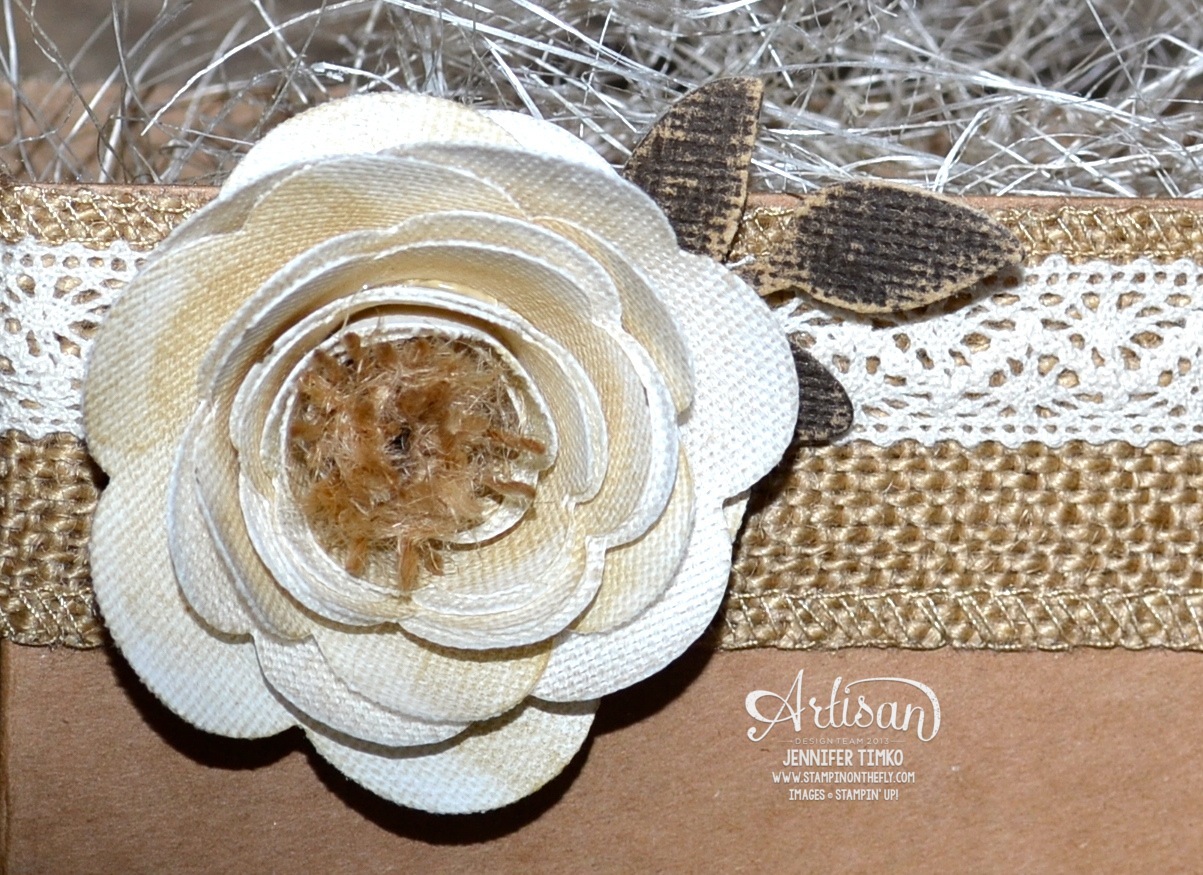
I sponged them (see below) pretty quickly and then rolled the two together and hot glued them together. Then I took another small piece of Burlap Ribbon (about 1-1/2″) and cut it in half down the middle. This leaves you with two halves held together by the stitching. Set one aside for another flower (make two of these while you are at it because you WILL find a use for them). On the other, snip along the non-stitched side with the Fringe Scissors then roll up and glue in the center of your flower. I used the leaf framelit from Secret Garden Framelits on some Core’dinations Early Espresso and sanded it to get the distressed look. Hot glue all of these onto you box and fill.
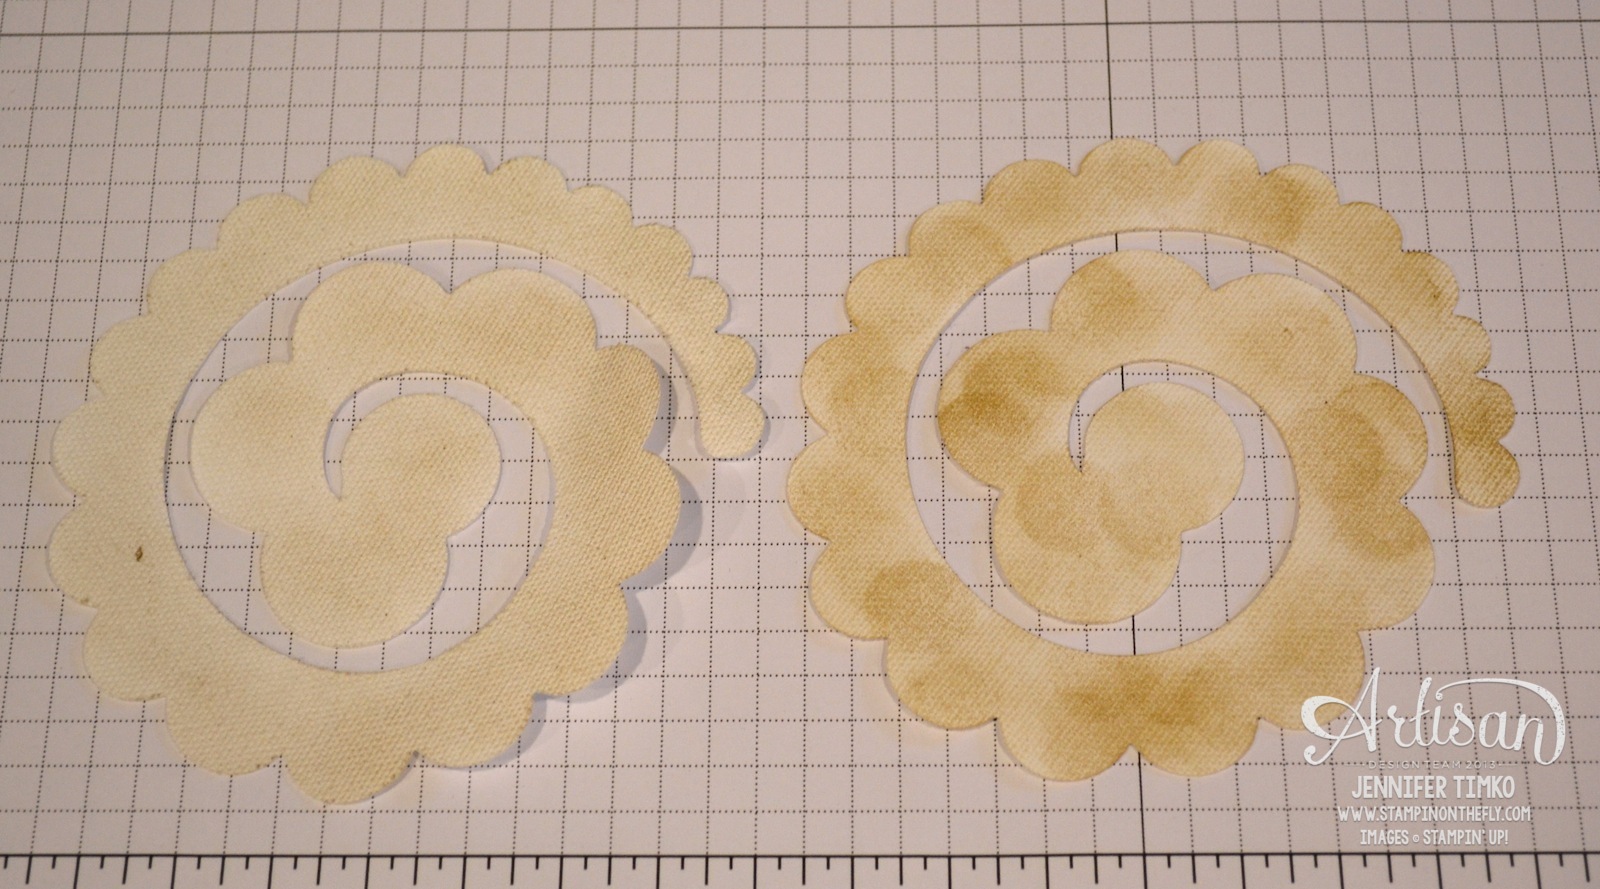
Here is a picture of my sponging. I told you it was fast! I didn’t really take the time to make it neat since you just don’t see the sponge dauber marks when it gets rolled up. I put the lighter one in front, staggered just a little, when rolling. Using your Bone Folder to add a little curl first is helpful, just like when you are rolling paper.
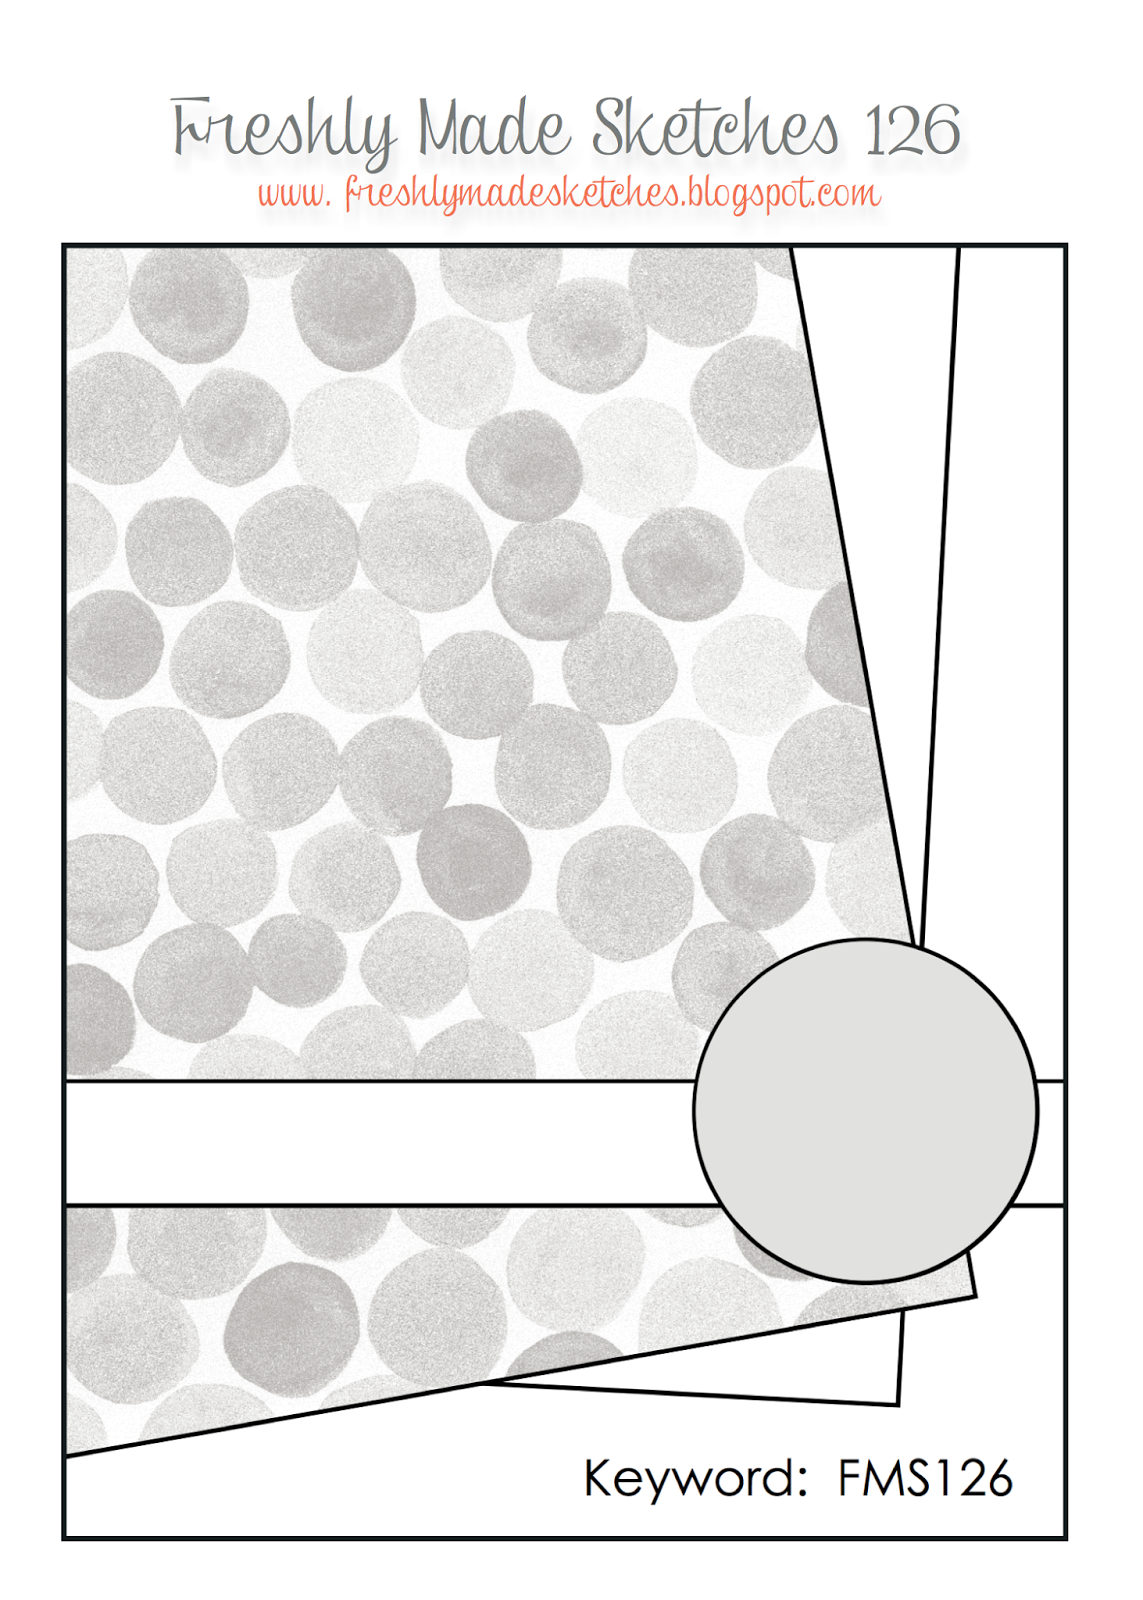
I hope you have enjoyed our projects this month. The team has created some truly beautiful things. I just ooh and aah each week! Back in the morning with the latest from Freshly Made Sketches.
Okay, off to go visit the awesome Mercedes Weber. I can’t wait for you to see what she has created! Make sure you hop around the whole loop to take a look at beautiful creations by the whole team…you’ll be happy you did!
Click HERE to purchase any of these wonderful Stampin’ Up products.
Ink: Crumb Cake; Paper: Core’dinations Early Espresso; Accessories: Tag a Bag Gift Box, Big Shot, Secret Garden Framelits, Burlap Ribbon, Victoria Crochet Trim, Canvas Creations, Sponge Daubers, Fringe Scissors, Hot Glue