The Artisan Design Team’s March box of products is all about spring! As I type this, there are 8 inches of snow that just fell so I’m even more excited for you to see all that we have for you this week. Some of you may have already seen the projects since they are from Stampin’ Up’s Facebook Showcase posted last Friday. If you have come over from amazing Jeanna, welcome to the next stop. If you are starting here, just continue around using the next buttons until you get back to me.
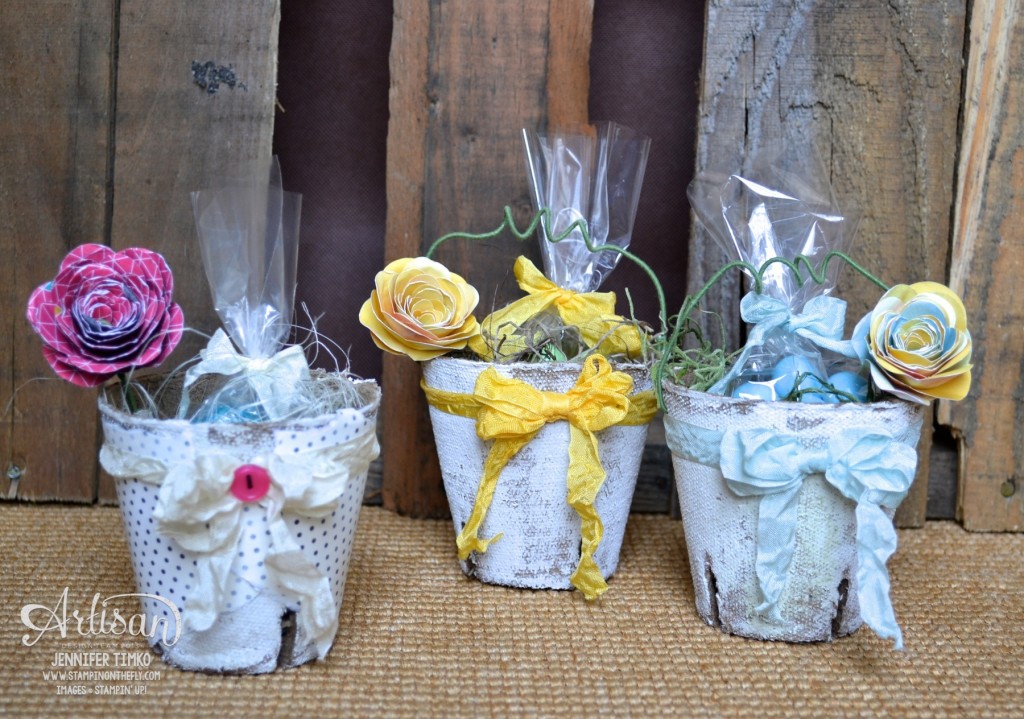 Spring is the time for baskets, don’t you think? Something about them just makes me happy. I thought it would be fun to show you this variety of little baskets made for my sons’ teachers. They are all made basically the same way but with slight variations. To start, get some little peat pots (you know, the ones for starting seeds). They are readily available right now at home stores. There are different shapes and sizes and they are super inexpensive. Get a few while you are there. You will want to make more! I took each of the three pots and painted them with Gesso. This is an acrylic surface prep and I think you could use acrylic paint instead if that is what you have. Paint it on haphazardly. You don’t want total coverage. Set it aside to dry.
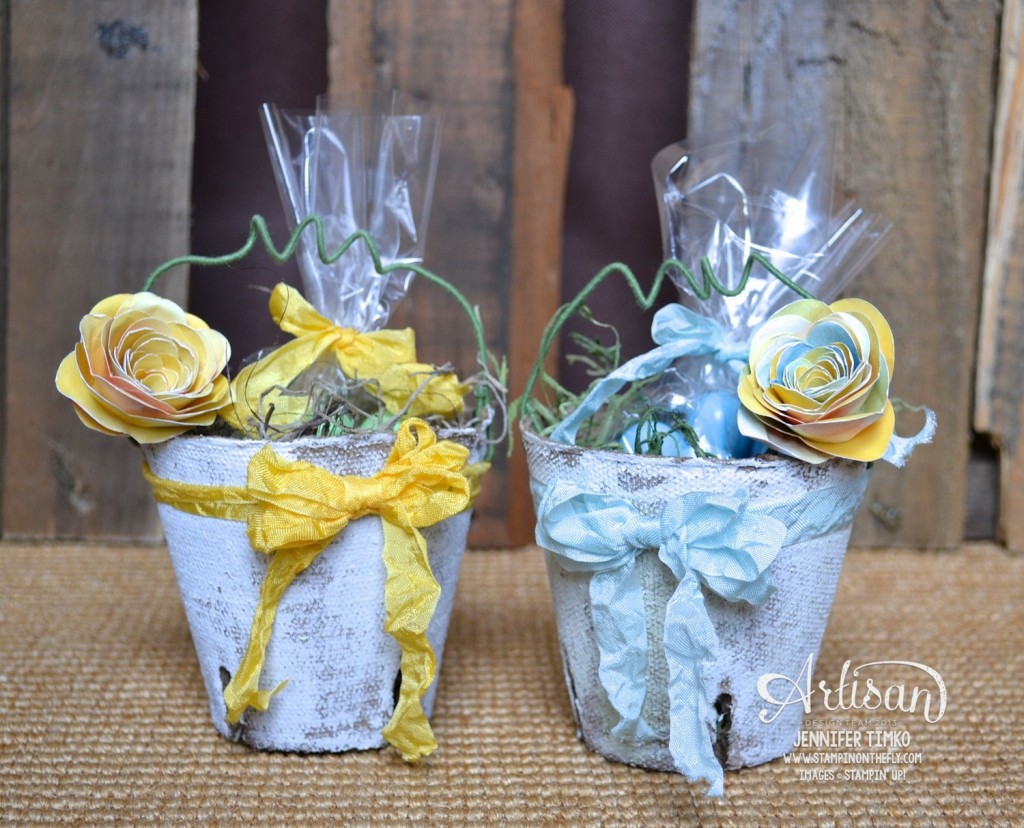 While you are waiting, take some floral wire and cut enough for a handle (be generous, you can trim extra later). In the middle, wrap the wire around a pencil to get the curves and then fold each side down to create the handle. With your Piercing Tool, poke a hole where you want the handle to attach. Made sure it isn’t too close to the edge since the pot is really soft. Bend the end of the handle to a 90 degree angle and put through the hole then bend it the rest of the way up to attach it completely. I used needle nosed pliers for this. Do the same for the other side taking care not to pull too hard on the already attached side. I spritzed Daffodil Delight Seam Binding with water then crumpled and let dry. I created the bow first and then wrapped around another piece of Seam Binding and attached at the front using hot glue. Then the bow was attached using hot glue. Yes…the bow is an illusion. It looks tied on but it isn’t. Most of my bows work this way since it is so much easier to tie the bow separately! I filled a 4″x6″ Cellophane Bag with candy treats and tied with more Seam Binding. Then I added filler and the bag and placed a flower on the side (details below).
For the blue basket, just a couple of changes. First, I sponged a little Old Olive ink over the Gesso to give a mossy look. Use a light hand! The ribbon is Soft Sky Seam Binding but otherwise the same technique.
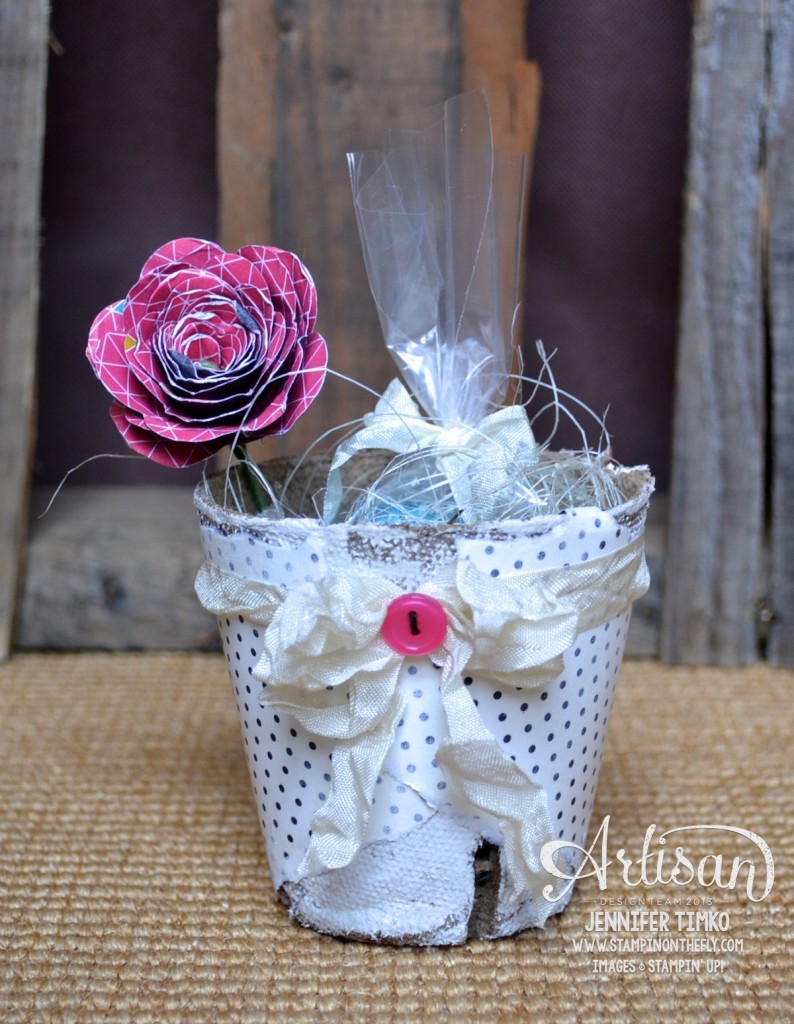
I got a little more ambitious for the third basket. I tore a piece of Modern Medley DSP and attached it to the pot using Mod Podge. Once dry, I put on some more Gesso to tone the paper down a bit. I chose to leave off the handle and instead added a button to the bow before attaching. Very Vanilla Seam Binding was the ribbon of choice for this one.
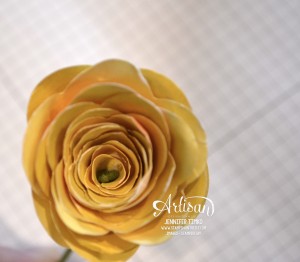
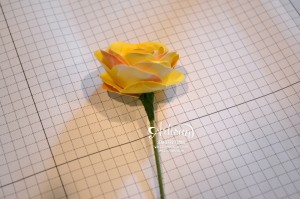
Ok…the flowers. These were really fun to do and pretty simple once you get the technique down. The Spiral Flower Die is your best buddy on this! Choose your DSP (I chose Watercolor Wonder for the first two and Kaleidescope for the third). Cut out two of the spirals flowers. Spritz them with water, crumple them, re-straighten them and then roll them up at the same time to give a fuller flower. Using your Silicone Craft Sheet as a base, add a dollop of hot glue to the bottom and secure them together.
Using your Piercing Tool, poke a small hole through the center of the flower. Take a piece of floral wire and bend the top down and “smoosh” it together to create a closed hook (kind of like a shepherd’s hook). Push the other end of the floral wire through the hole you made and pull until the hook creates your center.
Then using floral tape, wrap around from the base down about 1/2″ inch to create the flower’s sepal. This also keeps the flower from slipping back down the stem. Place the stem into the basket, trimming to the right length as needed with wire cutters.
I am pretty sure it takes almost as much time to write this as it did to make it. Really, it isn’t hard and the results are so worth it. These would be lovely as a spring party decoration or as favors for a spring shower. I hope like these as much as I do. I think this might be one of my favorite projects I have ever made!
Okay, off to go visit the awesome Mercedes Weber. I can’t wait for you to see what she has created! Make sure you hop around the whole loop to take a look at beautiful creations by the whole team…you’ll be happy you did!
Click HERE to purchase any of these wonderful Stampin’ Up products.
Ink: Old Olive; Paper: Watercolor Wonder DSP, Kaleidescope DSP, Modern Medley DSP; Accessories: Daffodil Delight Seam Binding, Soft Sky Seam Binding, Very Vanilla Seam Binding, Big Shot, Spiral Flower Die, 4″x6″ Cellophane Bags, Rose Red Button, Silicone Craft Sheet, Peat Pots, Floral Wire, Floral Tape, Gesso, Mod Podge, Hot Glue



9 Comments
Mod Podge! Gesso! Gotta get me some! Great idea with the pots! Would be perfect for Easter treats coming up!
now, i need to make these too! Love all the little touches that you put into these! .. I have some events coming up that these are perfect for! Lucky teachers!
Gorgeous!
Okay…these are amazing!!! I don’t think we can get peat pots here yet!!!! I was going to do something for the teachers and these would be perfect if I could get my act together!!!!! So creative!!!! You amaze me!
Jennifer you have out done yourself again!! These are just darling.
I just love these wonderful baskets – I’ve made something similar in the past but used color – I love the white washed look and your curly handle and lovely blooms!
I have got to make some flowerssssssssssssssssss. Why have’t I oped this die?
Such adorable gifts! Thanks for the tips on making the flowers.
These are adorable Jen! I am sure the teachers will love these! I’m going to have to keep these in mind for Mother’s Day gifts 🙂