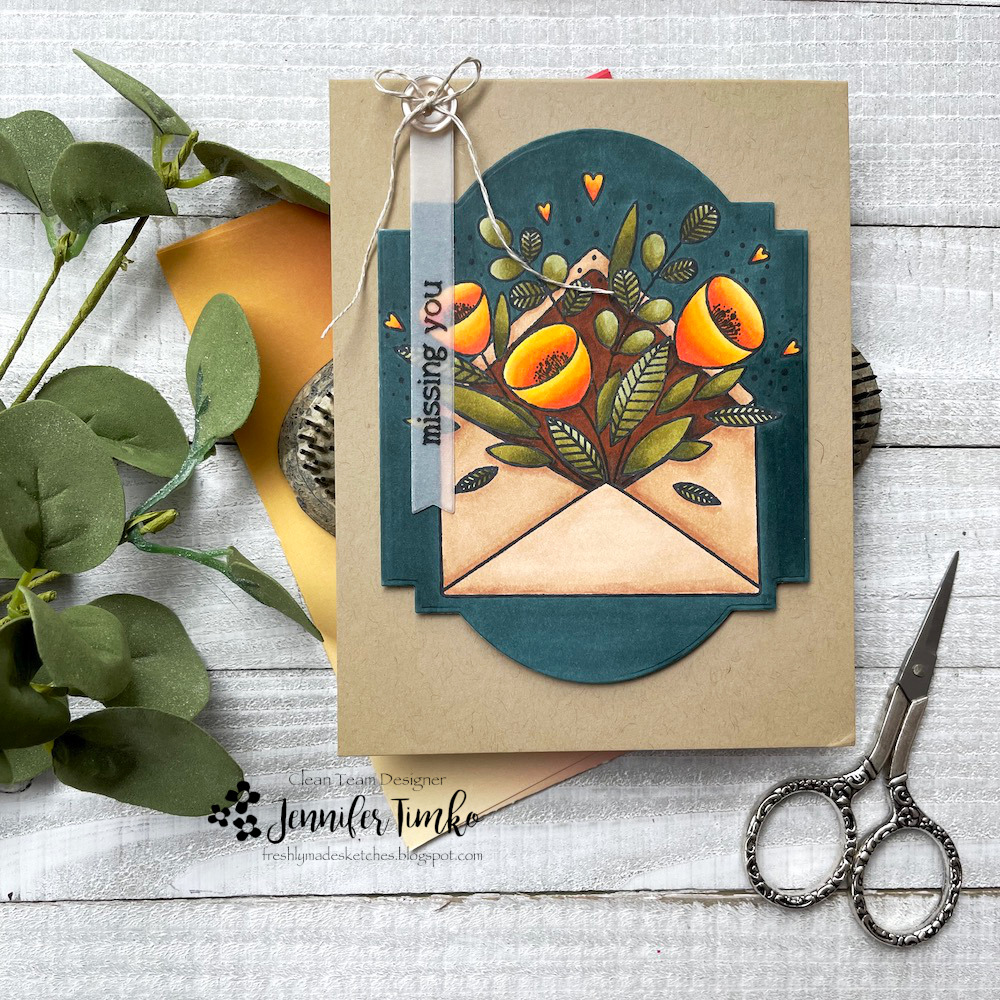
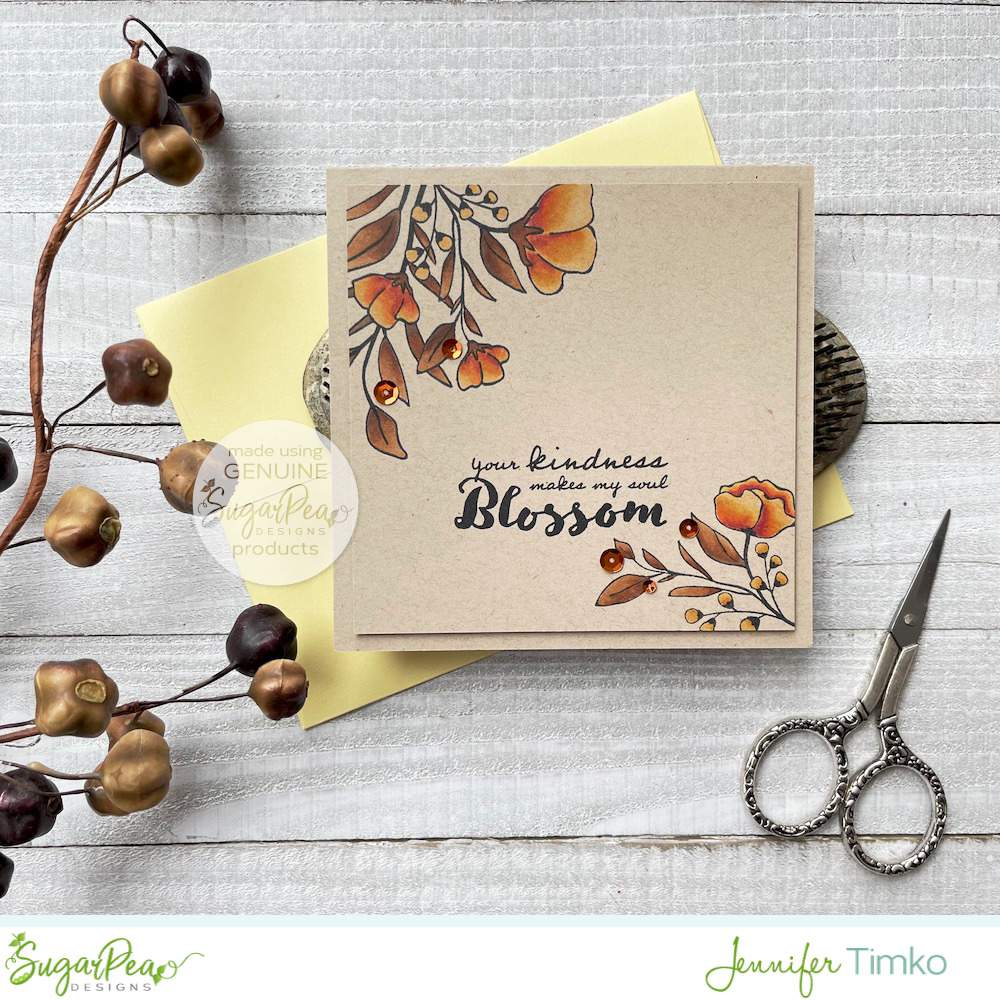
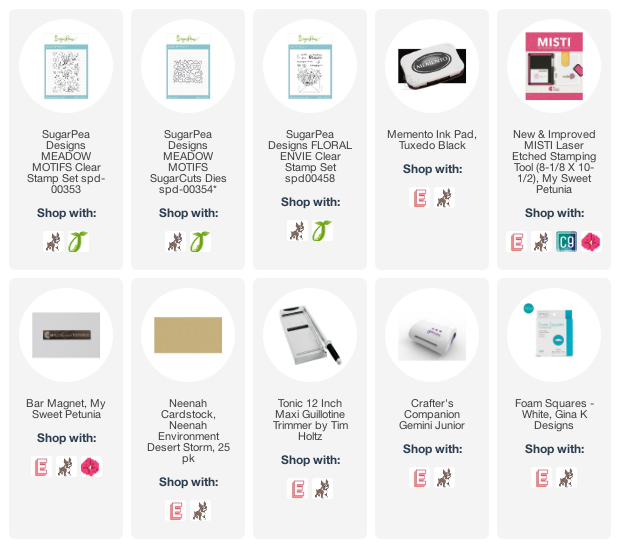
We are approaching the days where the nights are getting cooler here in Virginia and my stamping turns to fall colors. I pulled out my muted yellows and browns for today’s card that is created for the SugarPea Designs blog.
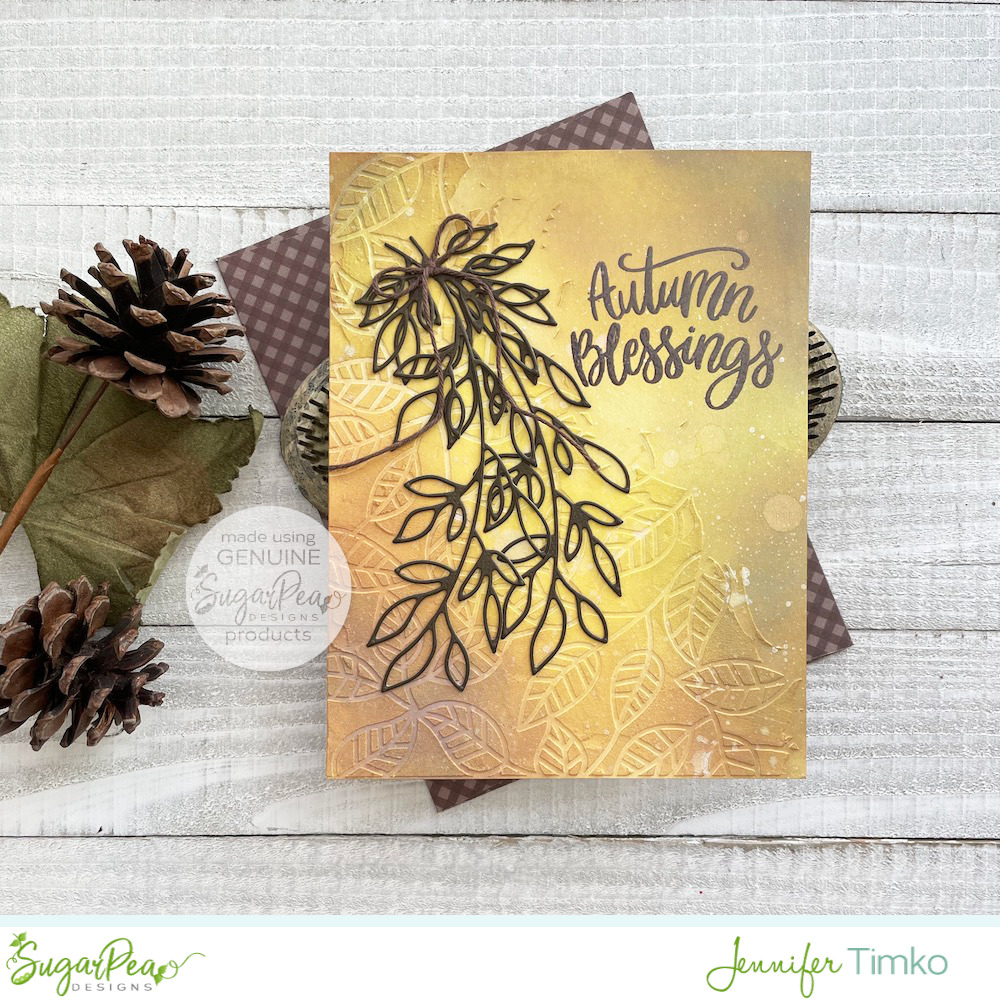
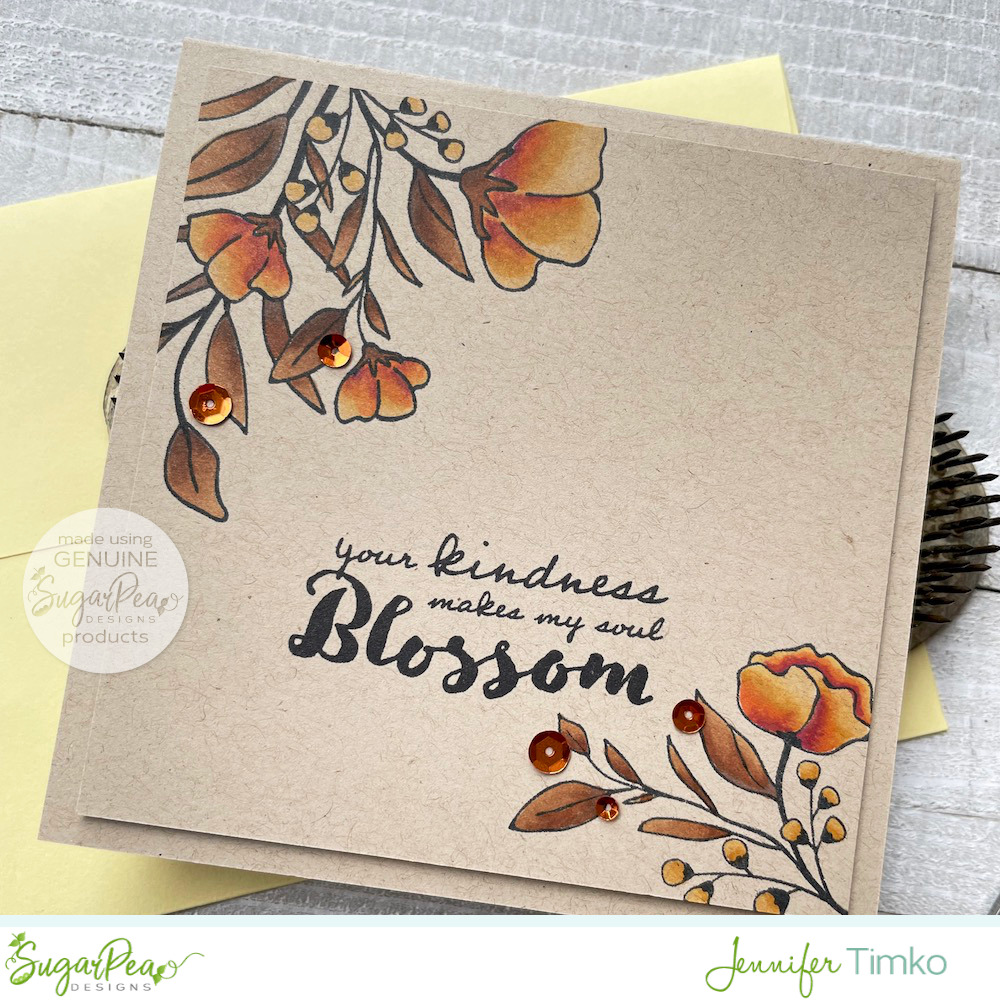
Many times when I make cards, I have an idea of the finished project in my head. This was not that card. I just wanted to play with texture and followed along where the card took me. It all started with the Leaf Canopy Stencil. I used textured embossing paste through the stencil and then left a space open for a sentiment. Once the paste was dry, I blended on Distress Oxide Inks in Fossilized Amber, Peeled Paint and then added a bit of Distress Ink in Vintage Photo. I splattered on some water and then some simmer spray for a bit of detail.
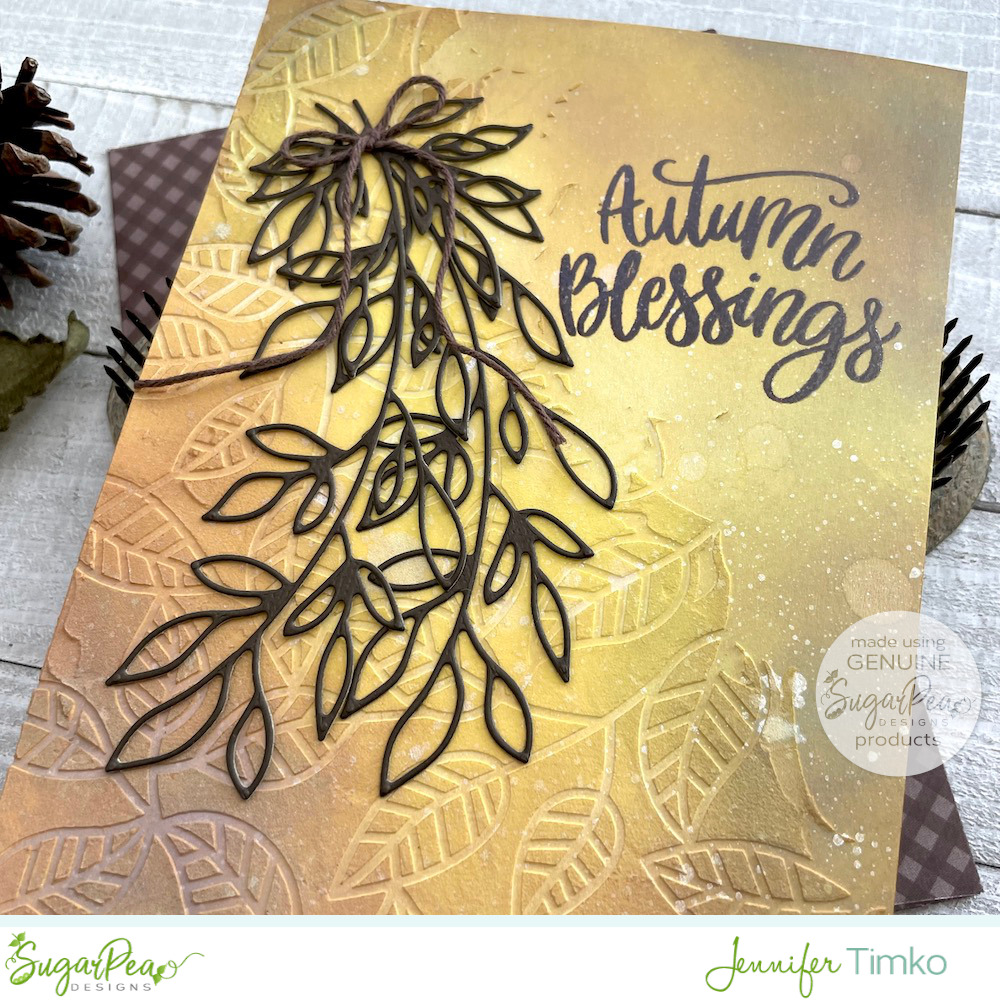
I thought this gorgeous sentiment from the Autumn Blessing Stamp Set was perfect for the open space. I stamped it in brown ink, then heat embossed with clear embossing powder to help it pop a bit more. Still wasn’t looking finished so I cut some leaf sprigs with the SugarCut – Botanical Branches dies out of brown card stock. I added a bit of brown twine to finish it.
I hope you enjoy this taste of fall and are inspired to just sit down and create, letting the process take you along. Have a wonderful day!