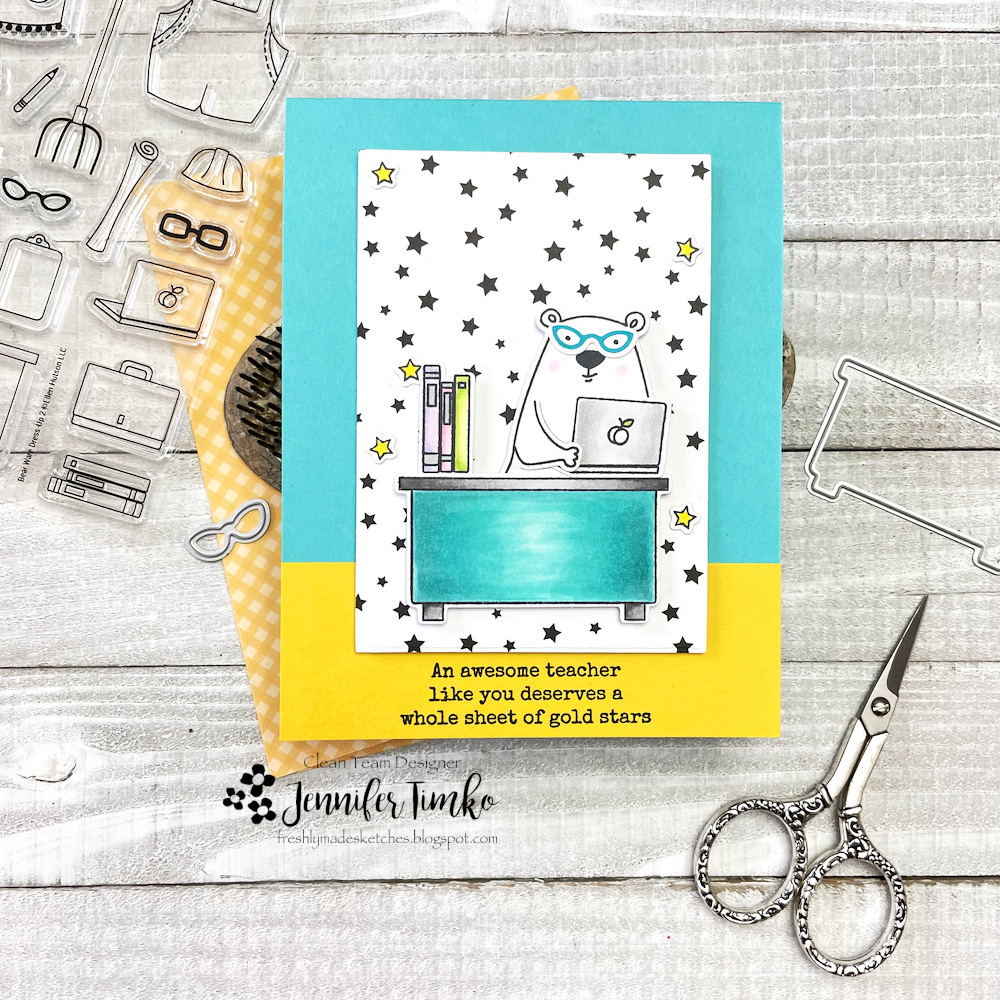
Today I have a fun surprise for you! I’m the guest over at Ellen Hutson but I wanted to share here too. I showed you some of the new Bear Ware product line during the latest release and I have a new project using them.
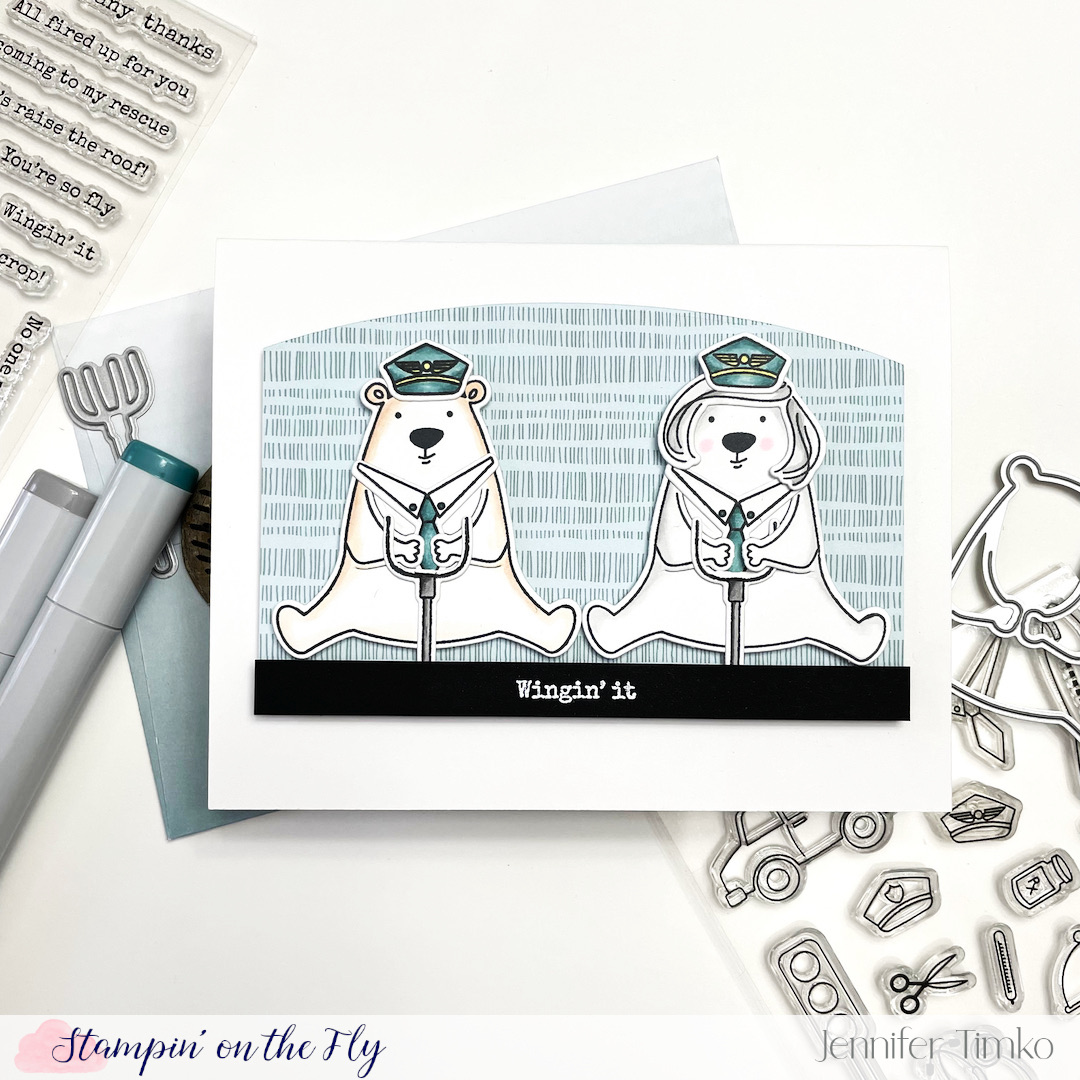
I think you can see the motivation in today’s project! Did you know that only about 6% of commercial pilots are women? And far less of those are Captains (left seat and in command). There are lots of reasons for those numbers but it starts with young people understanding that flying is a career option for women. And THAT starts with a vision. If you can see it, you can be it!
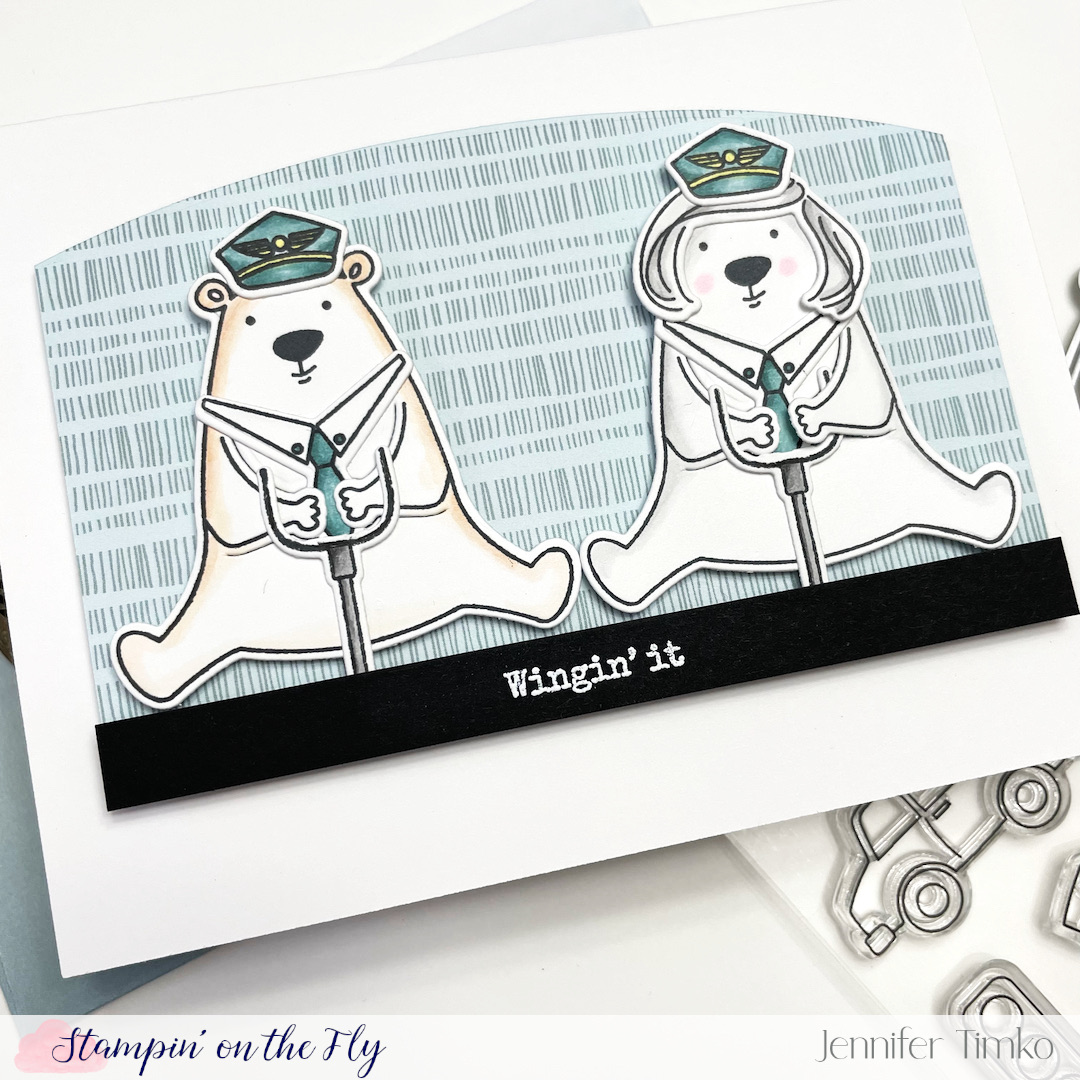
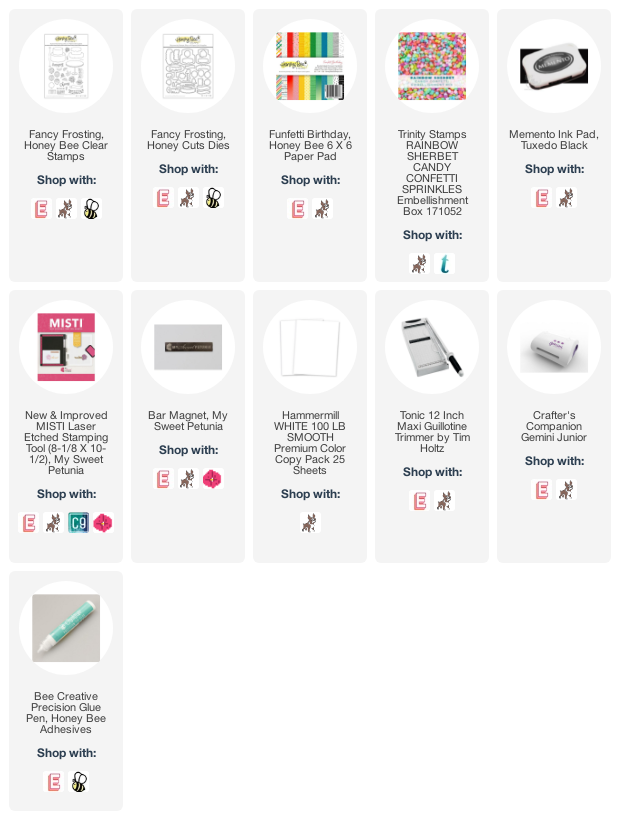
And you know, it can be as simple as images for stamping. And THAT was my goal for today’s project. Normalizing the idea that women are pilots and that women are the Captain! I have all the how-to on this card over at the company blog including how I turned a pitchfork into a yoke (steering column). I hope you will go over to visit and leave me a note there. If you are inspired to shop, I’d appreciate you using my affiliate links below.
I hope you have a fabulous day! Thanks so much for stopping in.