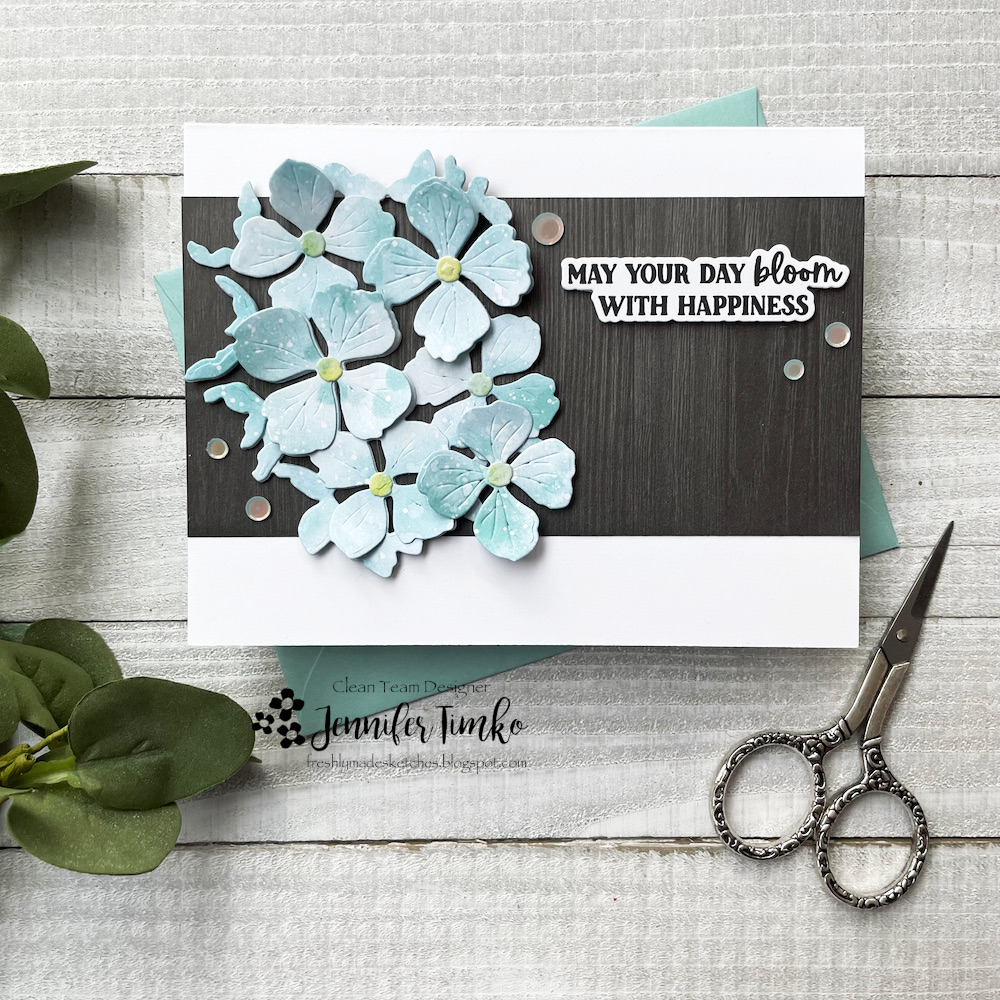
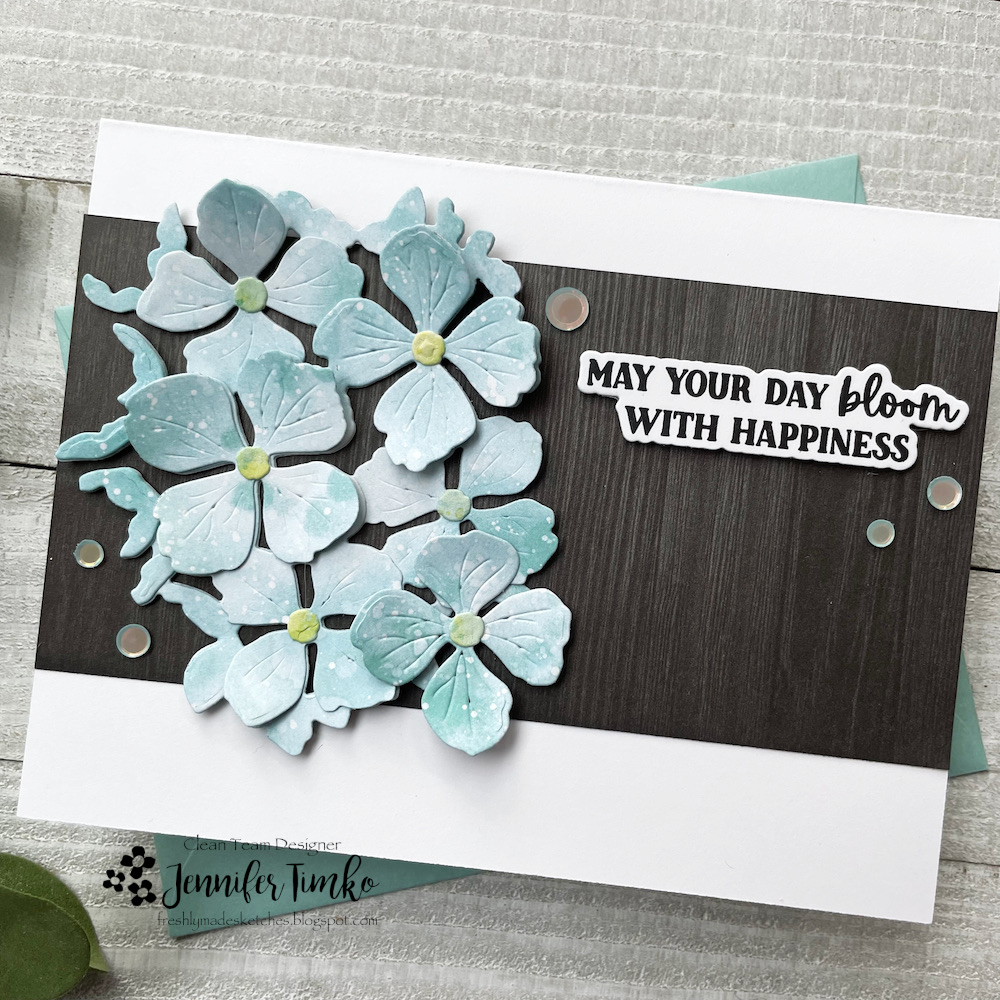
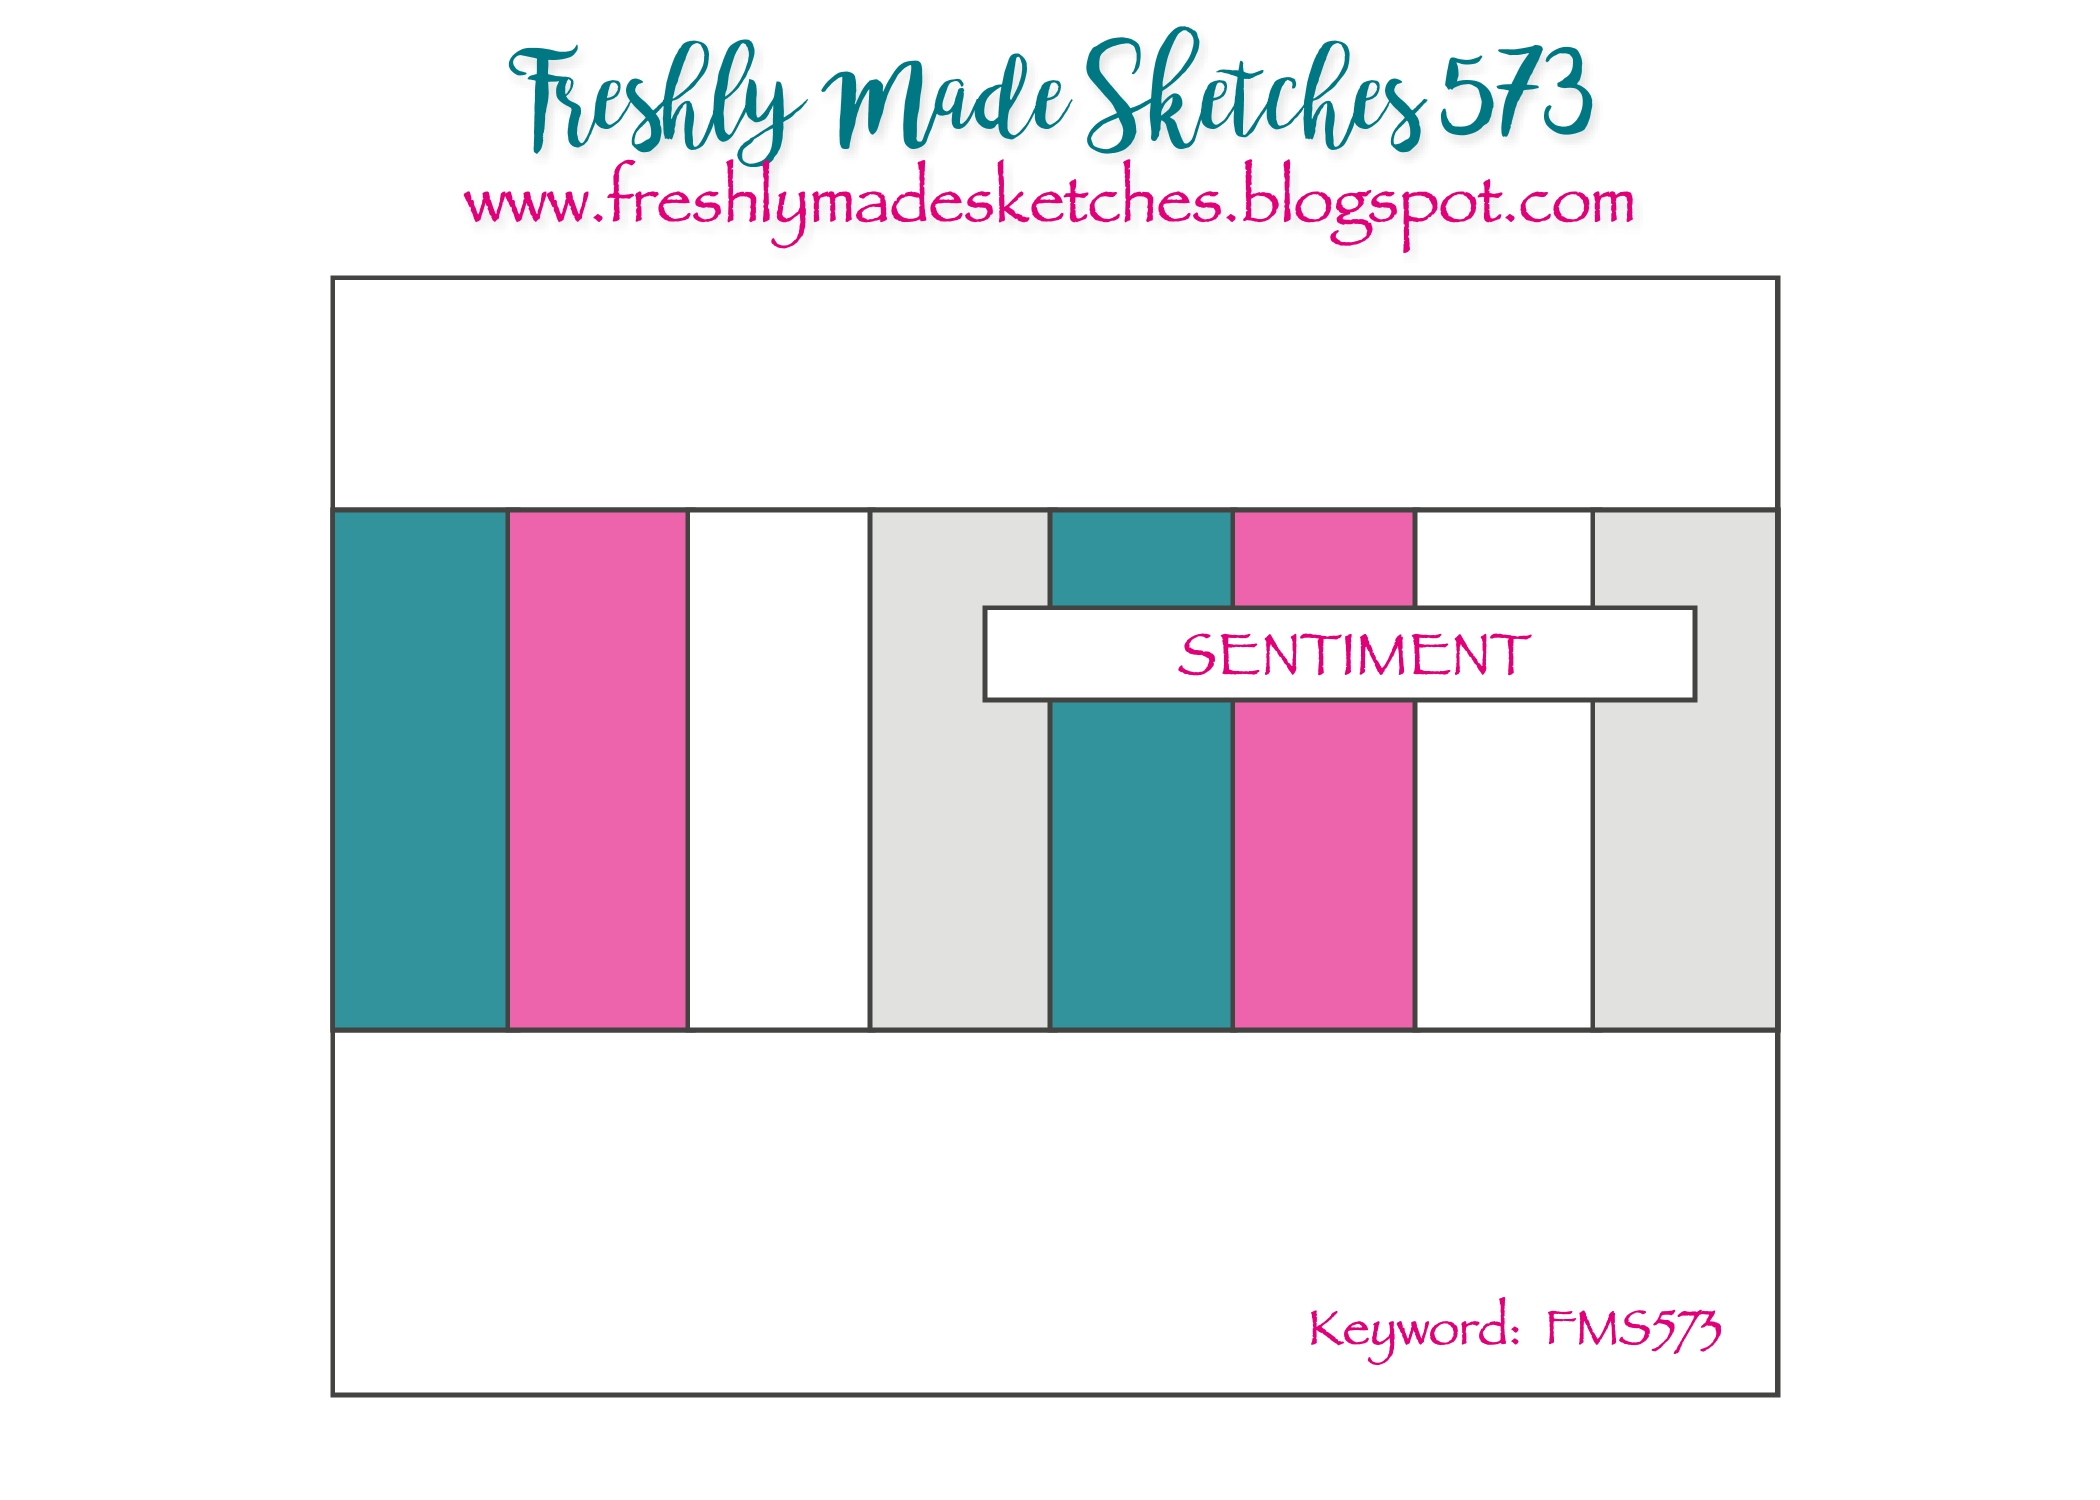
I was in a bit of a time crunch for creating this week’s Freshly Made Sketches card. In fact, I thought I would just have to miss out. But Kim Singdahlsen created a great one and I had an a-ha moment. I thought that her panel could be a wood print and a card was born.
I chose one of the prints from the Grain and Grunge Paper Pack since it looked a bit like the pattern of the sketch. But then what? Yeah, I know it shocks you but I thought flower die cut! I went to one I had not used in a bit, Lovely Layers: Hydrangea. I love this one. As a total shortcut, I used another paper print for the flowers. All that color variation and texture…on the paper. No extra work for me!
The only thing left was to choose a sentiment. I love this one from the Seeds of Kindness set. It is great for a birthday or just to cheer someone. I added some Trinity Stamps Confetti Embellishments to finish. Simple, but I really love it!
You’ll see that the team has a variety of interpretations and that just means it is a great sketch. Come over and give it a go! Back out to work later today. I hope you have a wonderful rest of your week!
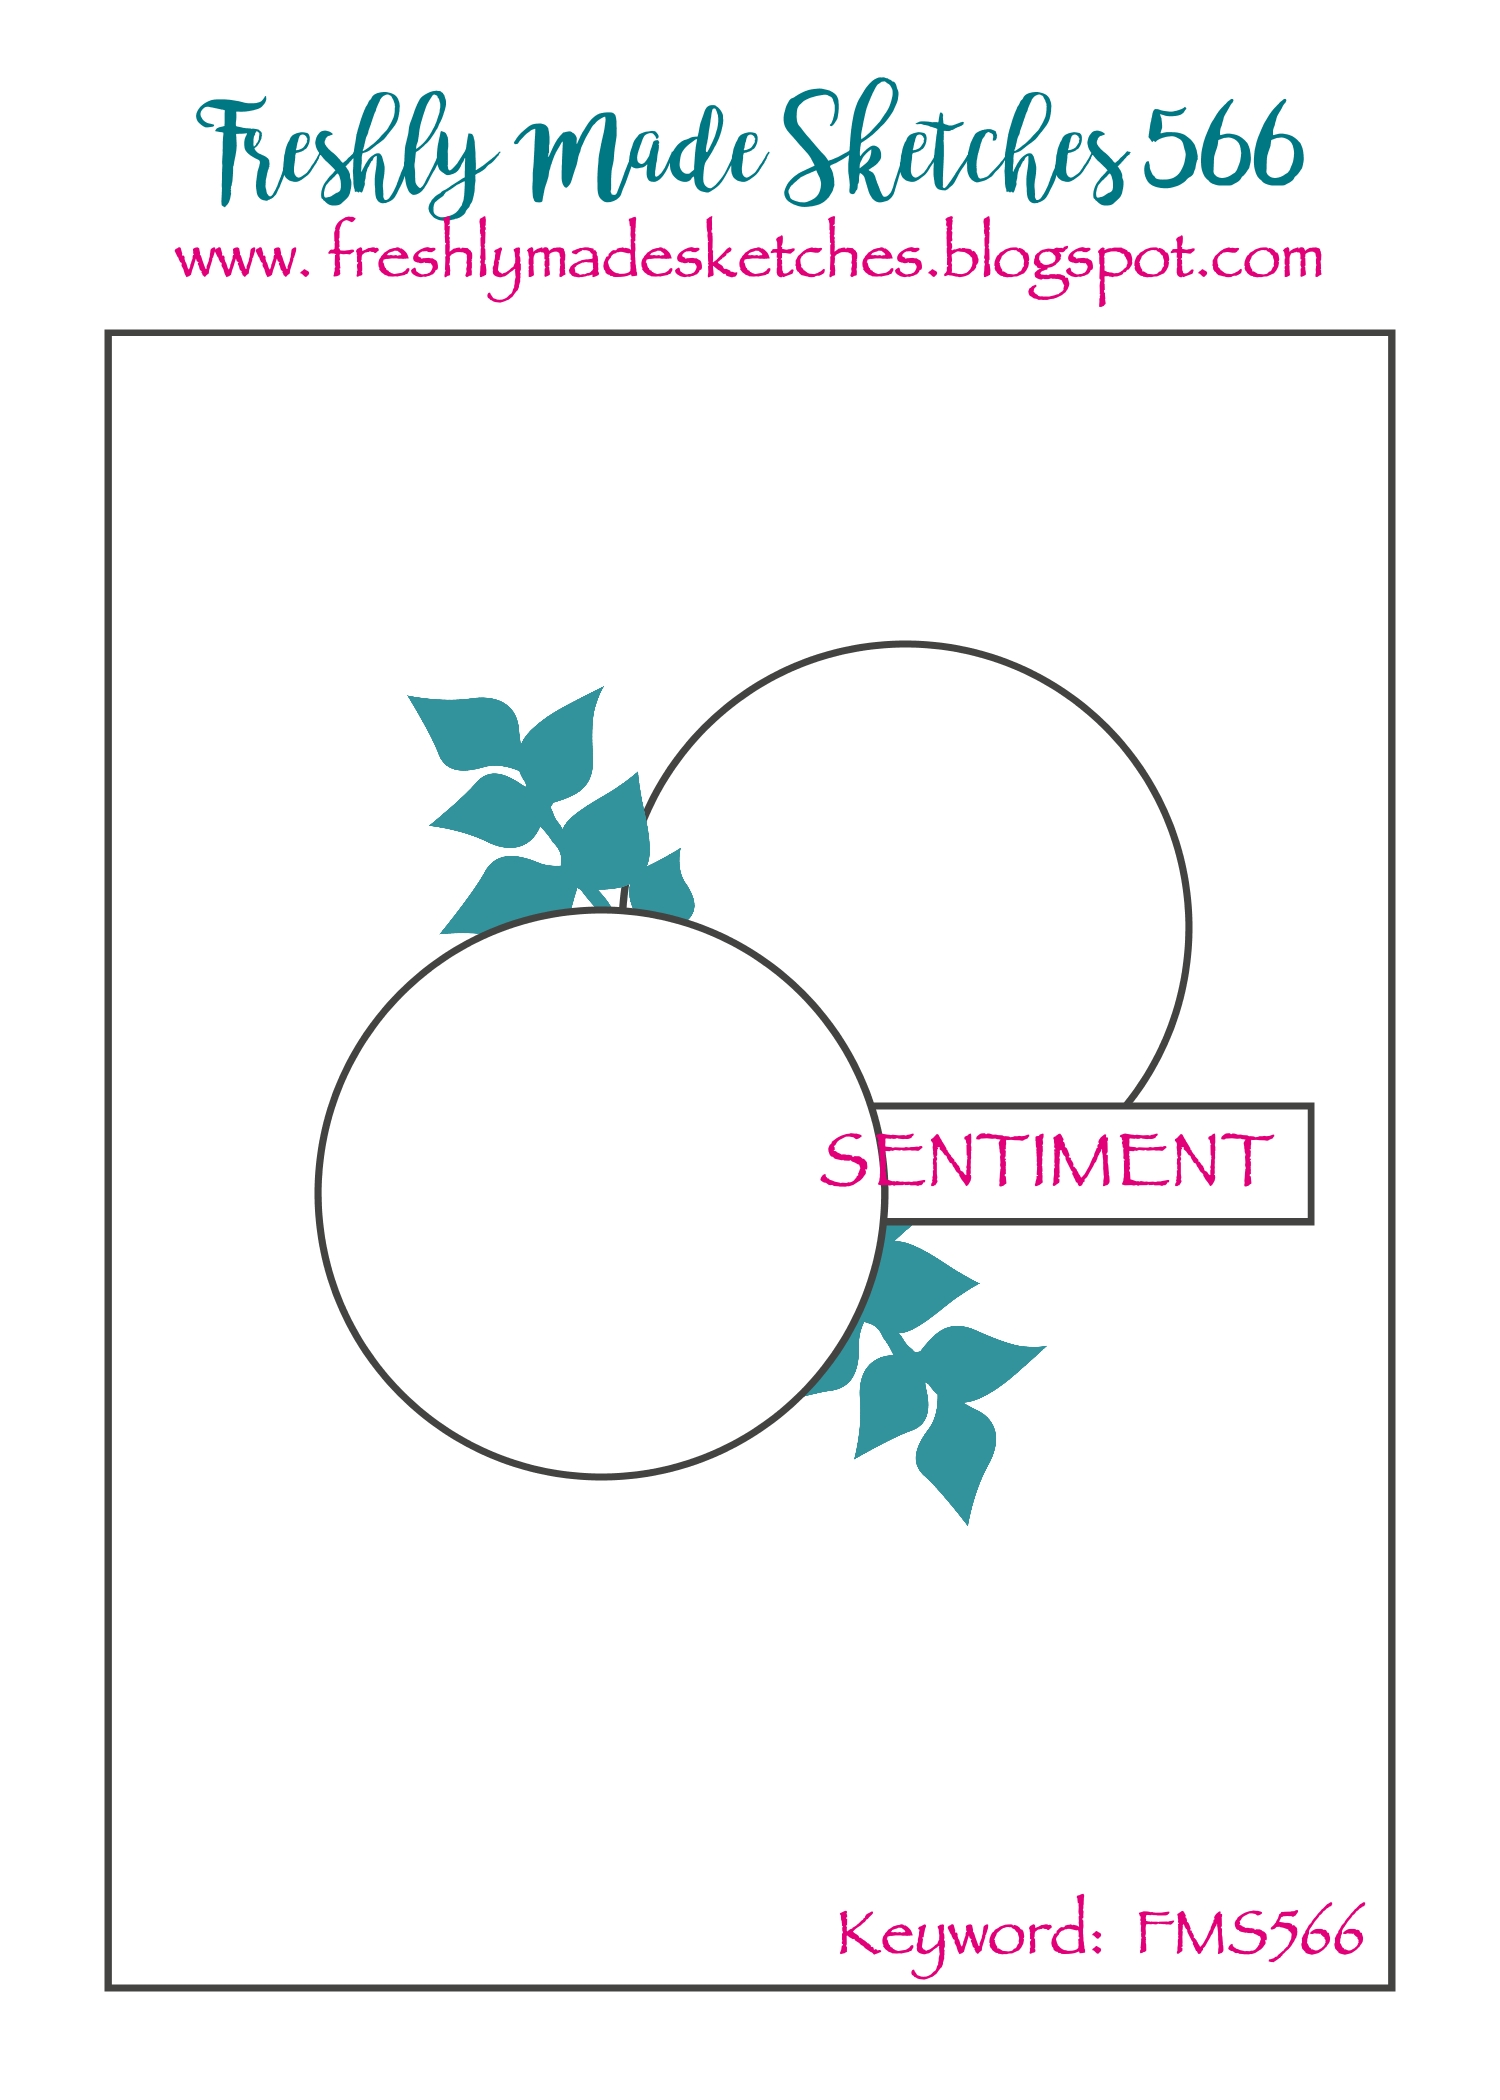
I’m sharing the last Freshly Made Sketches challenge of the year and it is just fabulous for last minute holiday cards or cards made when you are done with holiday cards. The wonderful Narelle has one with tons of possibility, as you can see with the team’s cards.
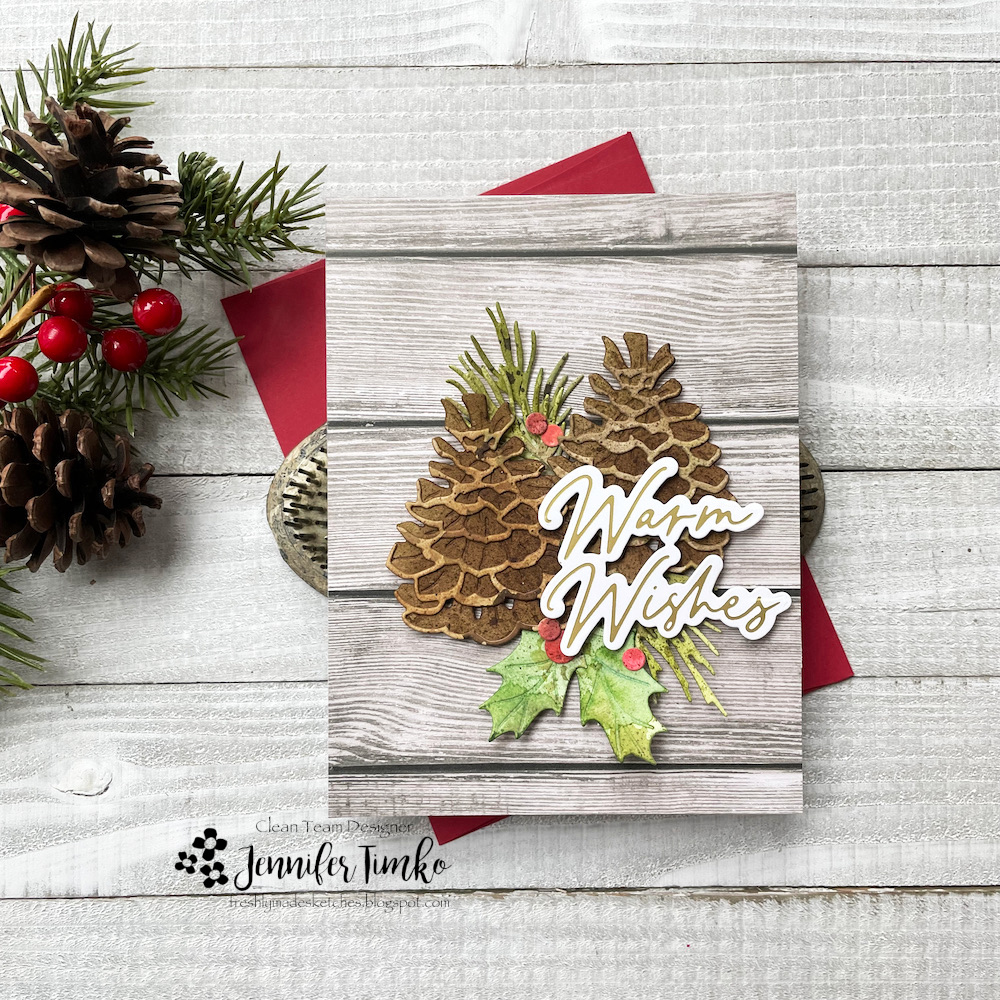
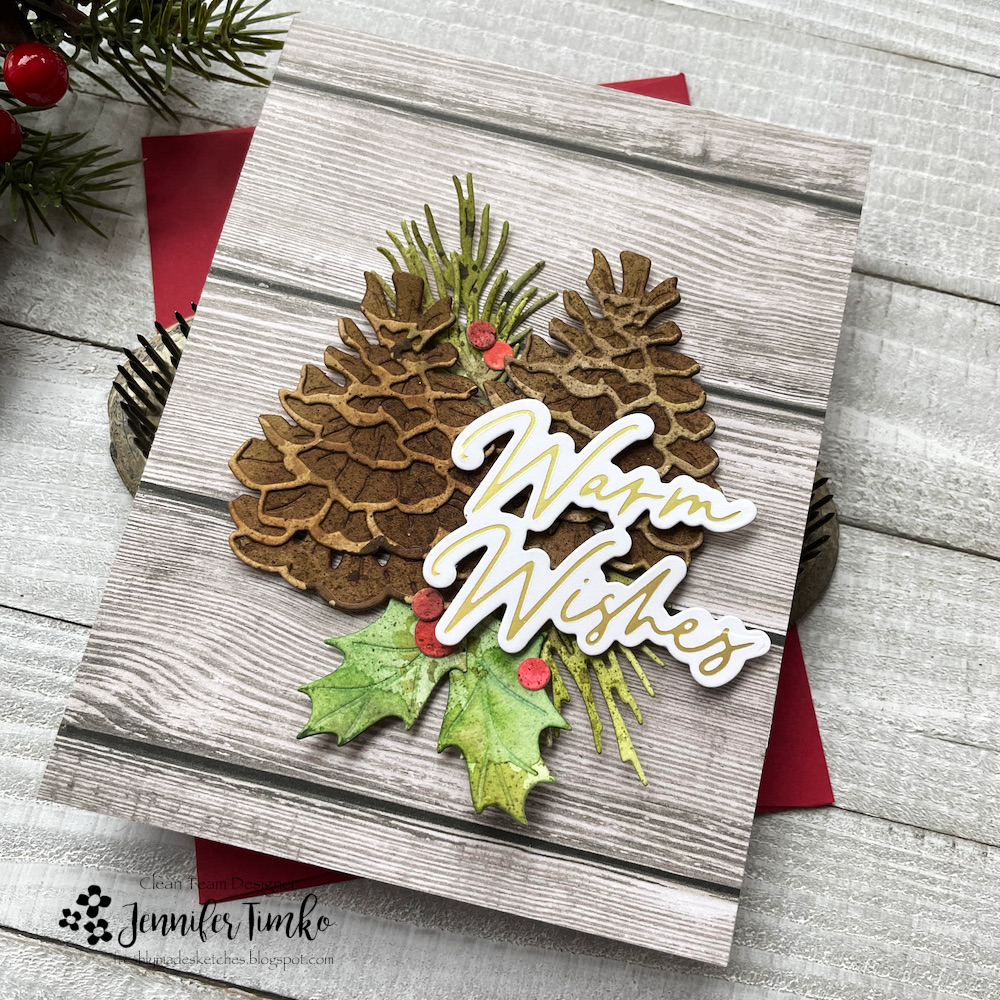
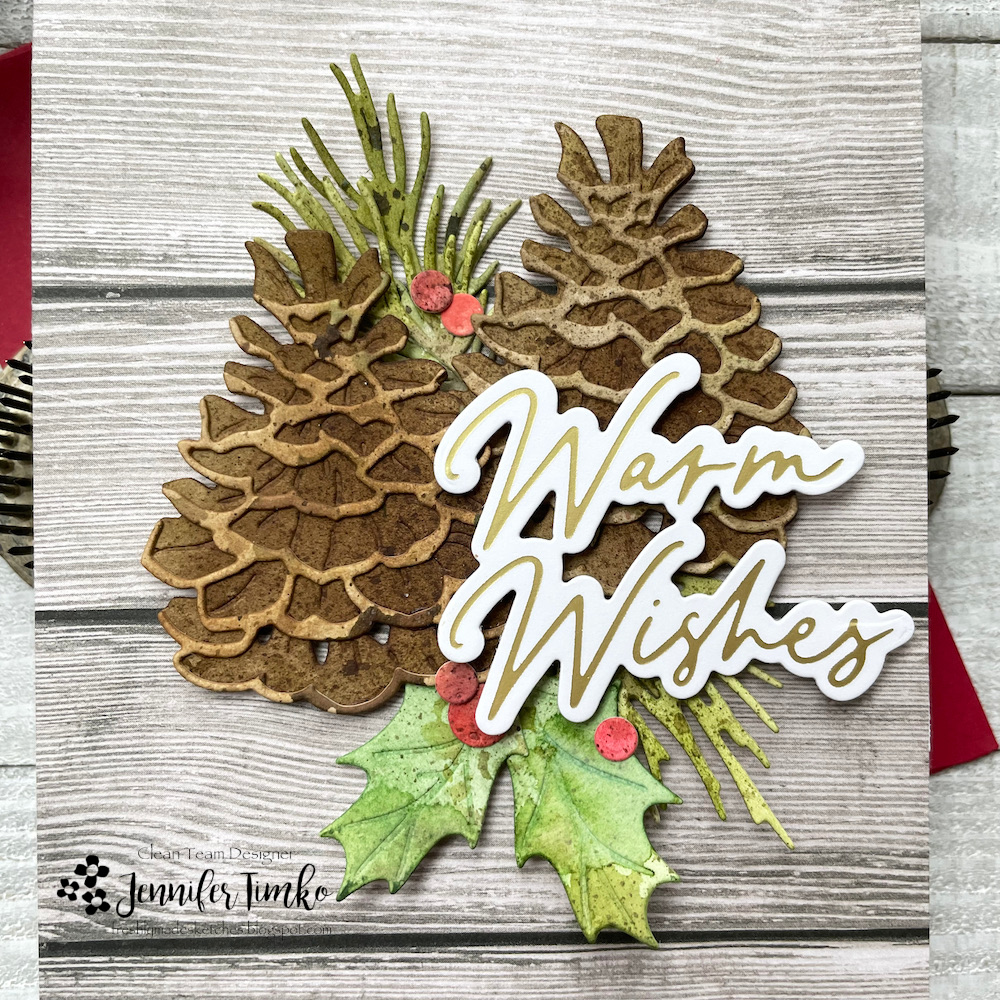
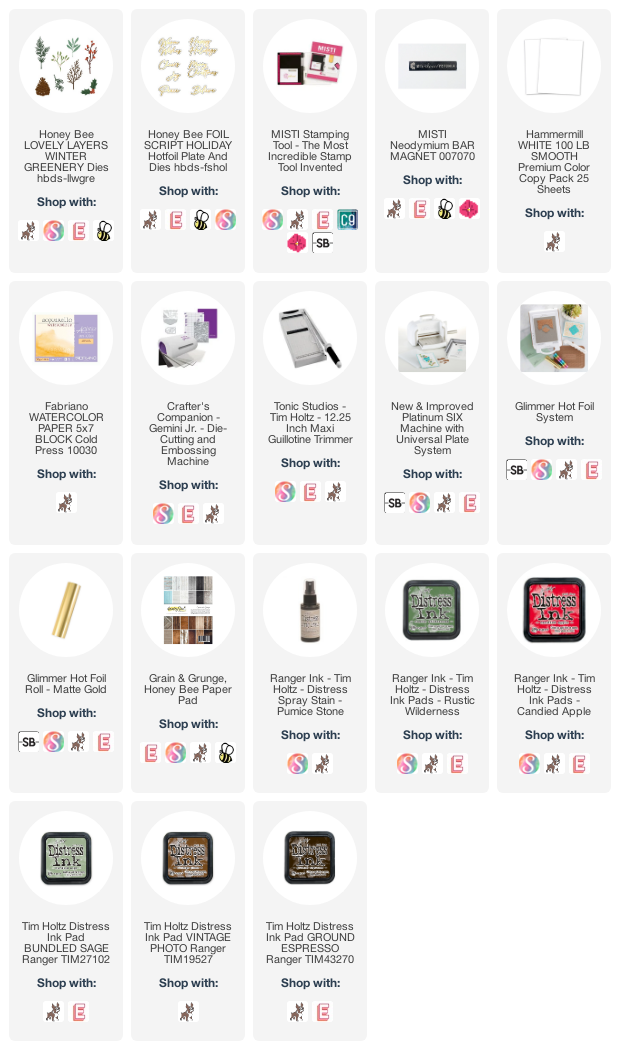
In a crazy move, I made a card that is NOT a painted tree! I reverted back to some of my favorite dies of the season from Honey Bee Stamps. These Lovely Layers: Winter Greenery elements are just so pretty and I had not used the pinecones yet. I thought they were perfect for the sketch. I started with a piece of watercolor paper that I sprayed with Pumice Stone Distress Spray and added some Rustic Wilderness Distress Ink. I was just neutral with texture as a starting point.
Using that piece of paper, I cut out all of the elements for the card. All the little color textures on the pieces are because of that first layer of ink. Once each piece was cut, I added more Distress Ink to color each one its proper shade. I used Distress Ink because it is more sheer so I kept the other details and splatters.
I played around with the placement of the elements and then went to decide the background. I found this taupe-ish wood grain in my Grain and Grunge Paper Pack that was perfect. The gold foiled sentiment was just the right size for the sketch and I love the bit of shine it adds.
I hope you will come over and join us if you have time to craft during the holidays. You can join multiple times and we love seeing all you create! Thanks for stopping by today. Back soon with a few more cards I’ve been making for the holidays.
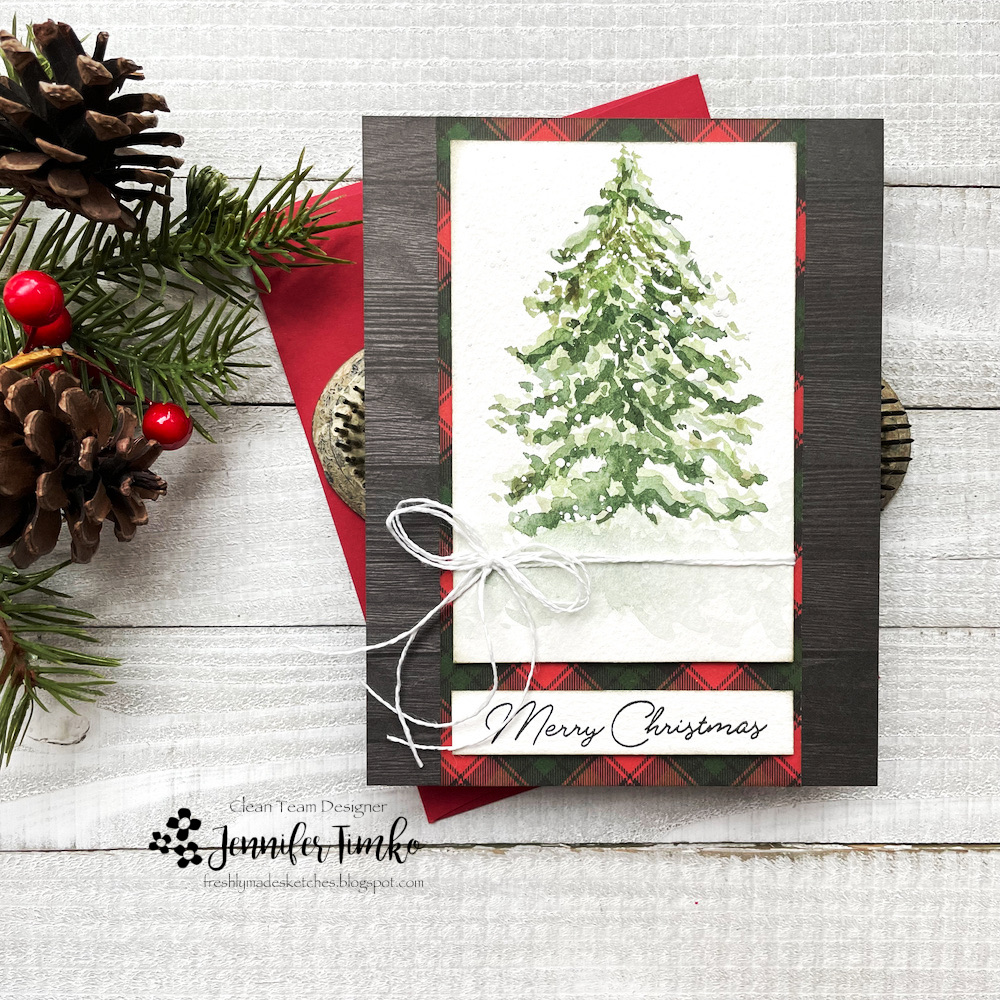
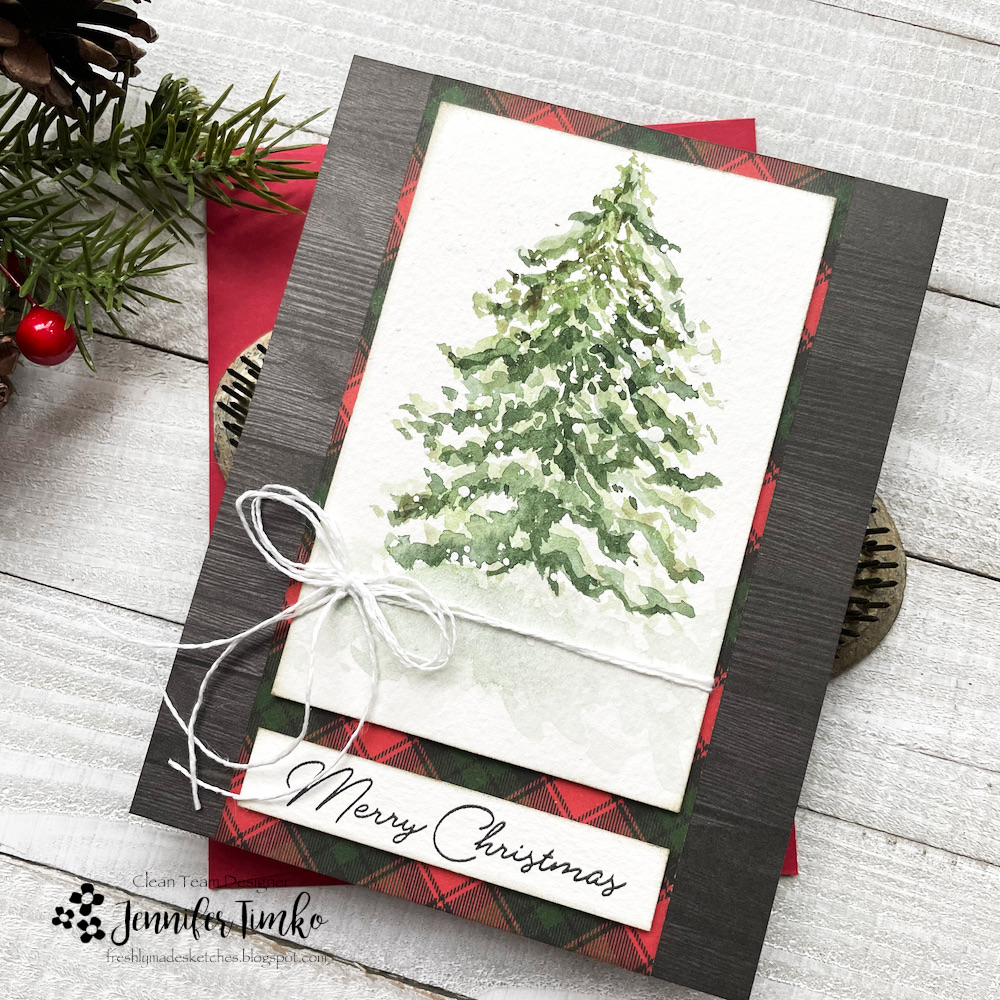
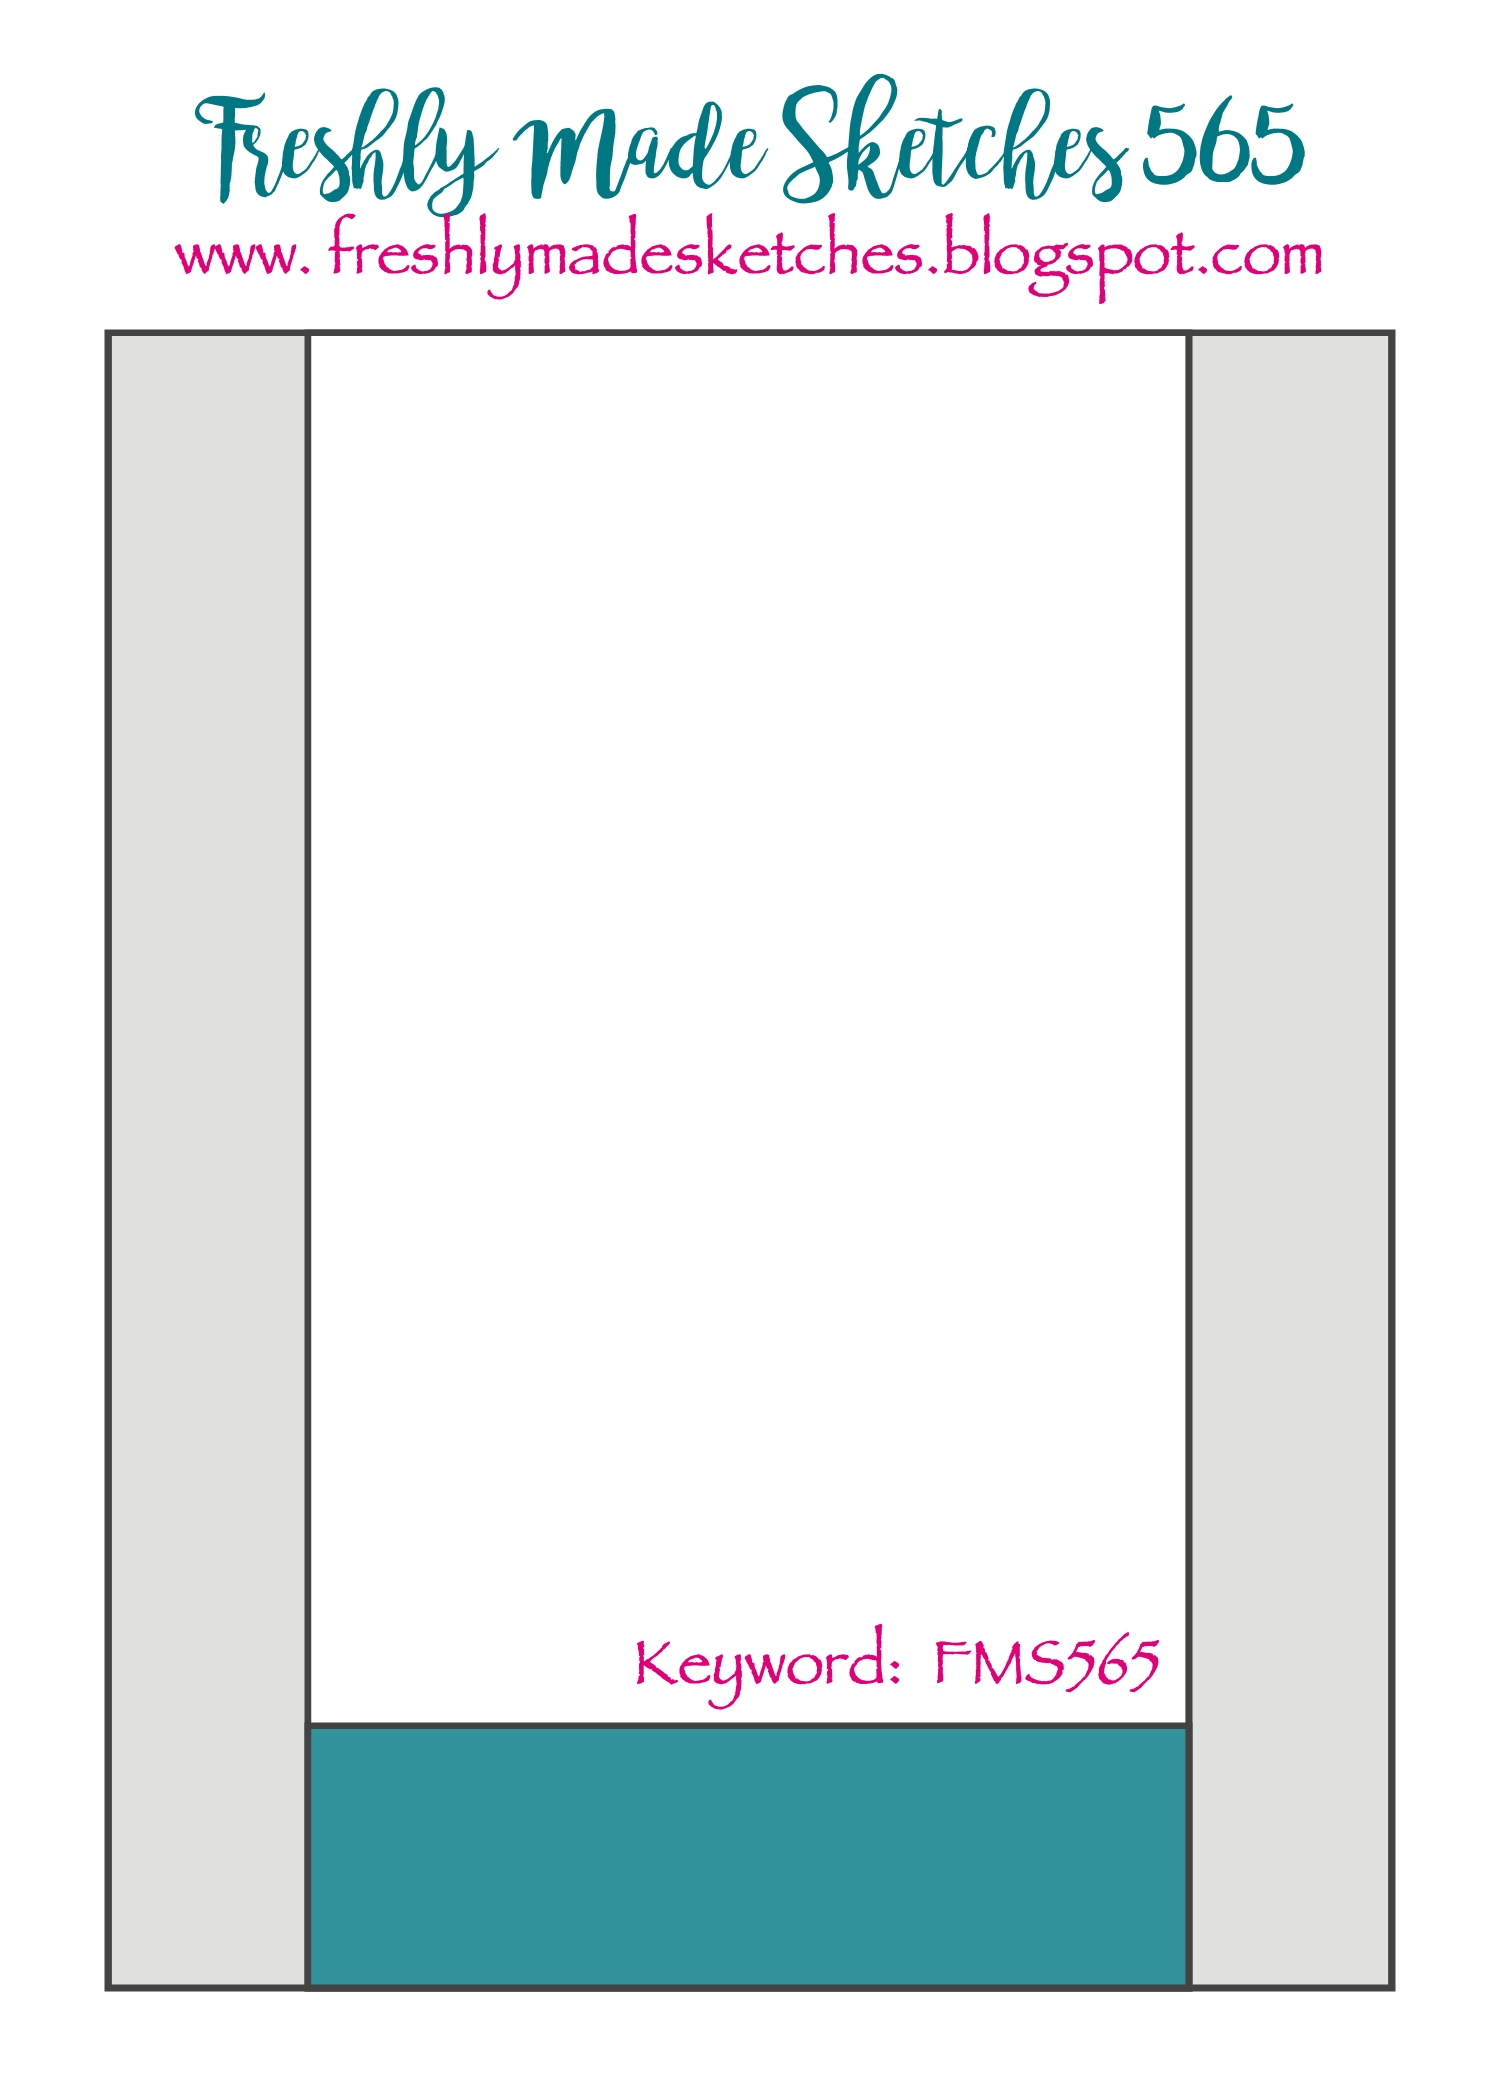
Happy Wednesday! I am back today with the latest sketch from Freshly Made Sketches and another watercolor tree. Truly, I’m obsessed. I did get a question on the tutorial on the watercolor trees. Dawn has a group on Facebook called WPlus9 Encourage Creativity where she has lives twice a week or so. The tree painting was on November 15th. Now, on to the latest sketch from the incredible Karren Johnson.
Armed with my confidence from the last watercolor tree, I attempted another style and, oh my word, it worked! I wanted to use it with the sketch this week and had to play around with backgrounds that worked. I finally settled on some patterned paper from Honey Bee Stamps.
I love this traditional plaid behind the tree and thought the dark wood print grounded the card nicely. In keeping with the sketch (loosely, at least) I chose a sentiment from Inside: Holiday Sentiments (Honey Bee Stamps). I had added a few gouache splatters to the tree after painting but still thought it needed a little something extra. A twine bow seemed to be just the right amount of detail.
I hope you’ll come over to join us for this week’s challenge. This sketch is perfect for those last minute holiday cards! I appreciate you dropping by. See you again soon!
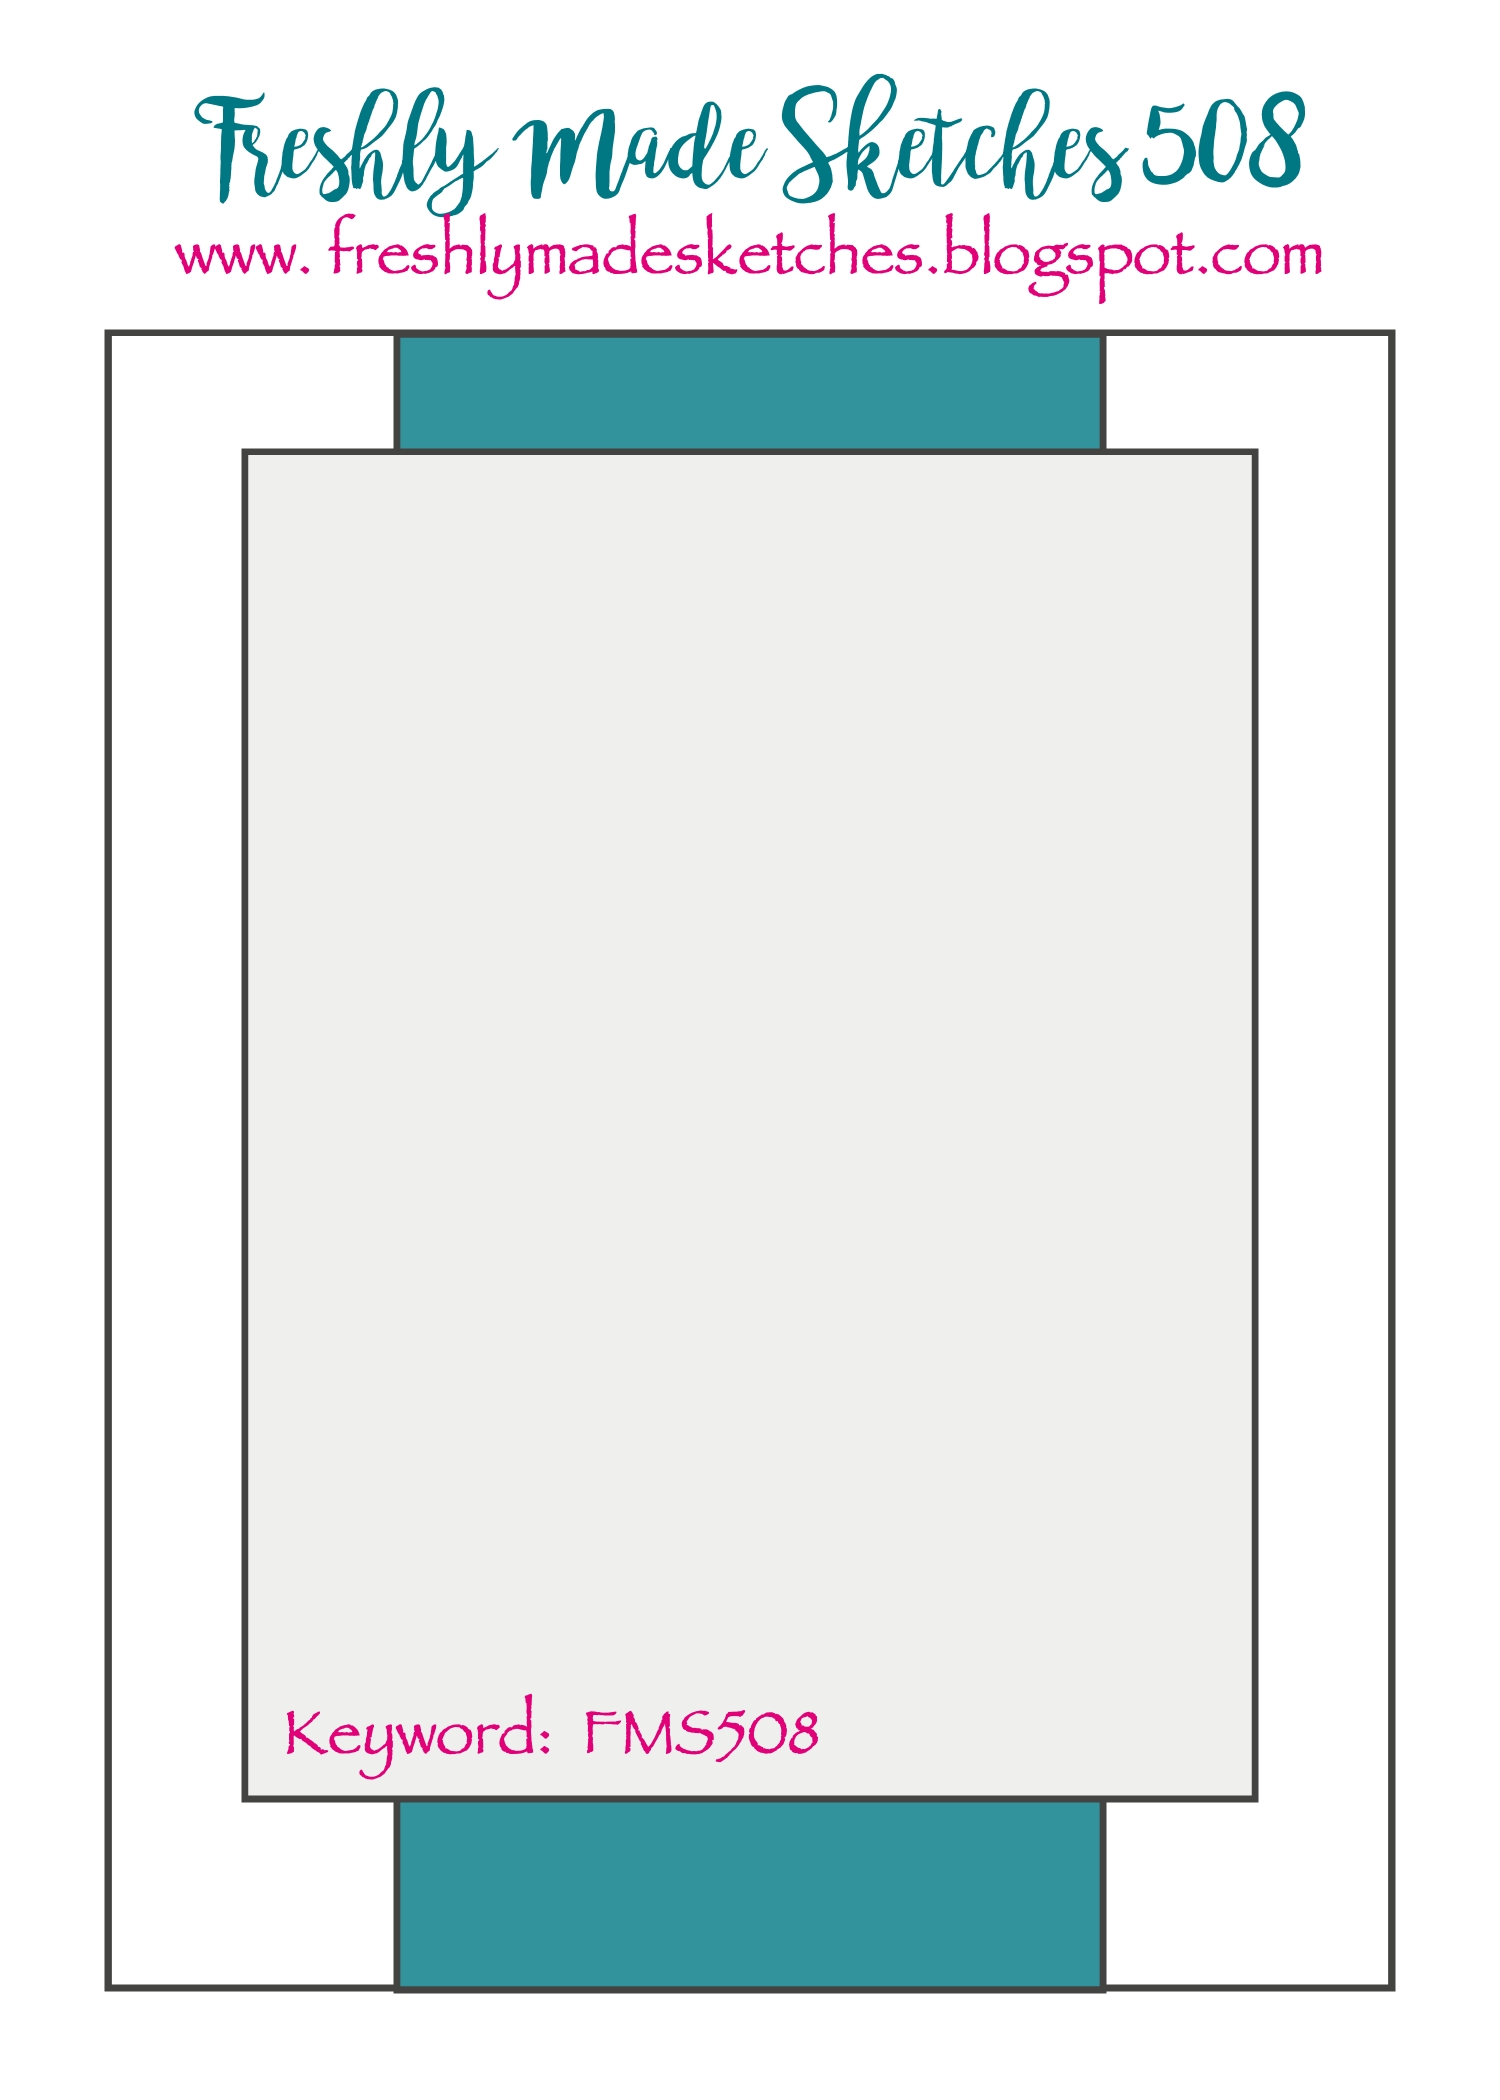
I’m super excited to share a combination card today. It is Honey Bee Stamps Instagram Hop day (with chances to win!!) and I used the Freshly Made Sketches challenge for my sketch inspiration. Perfect timing for this fabulous sketch designed by the fabulous Jacquie Southas.
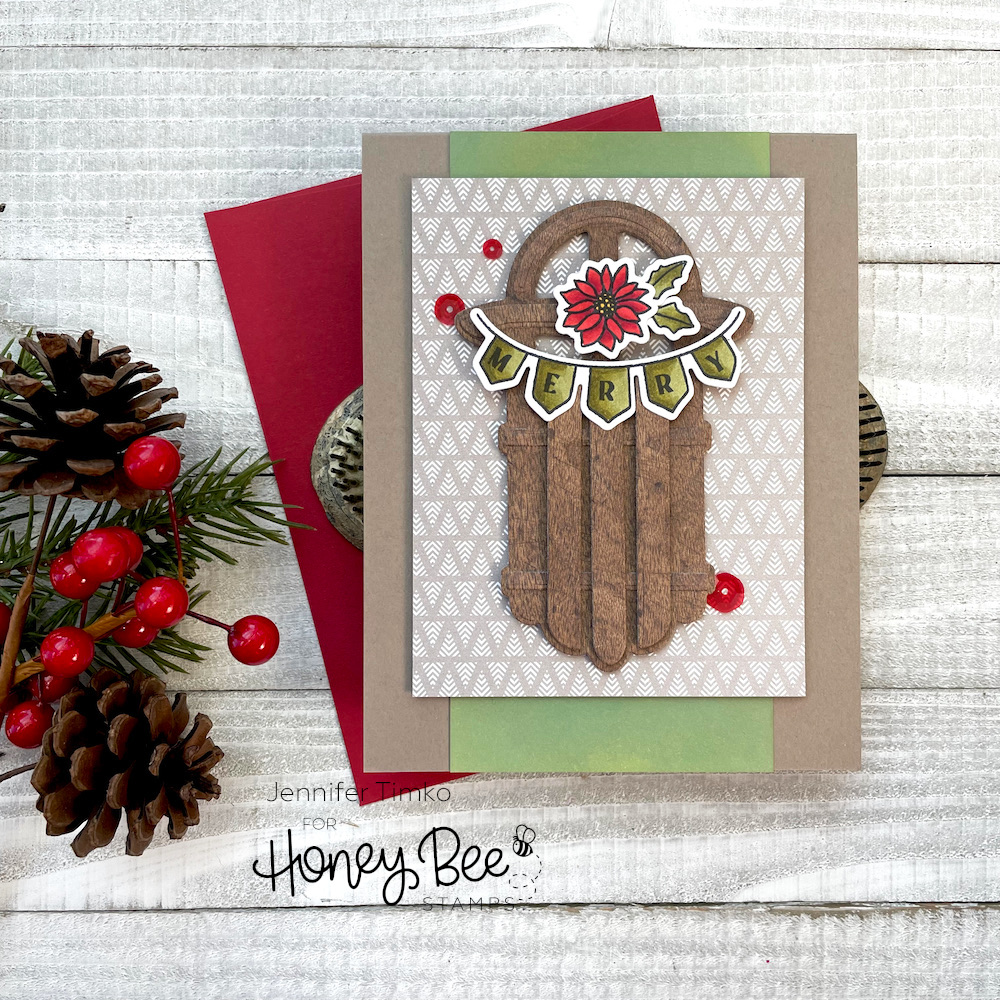
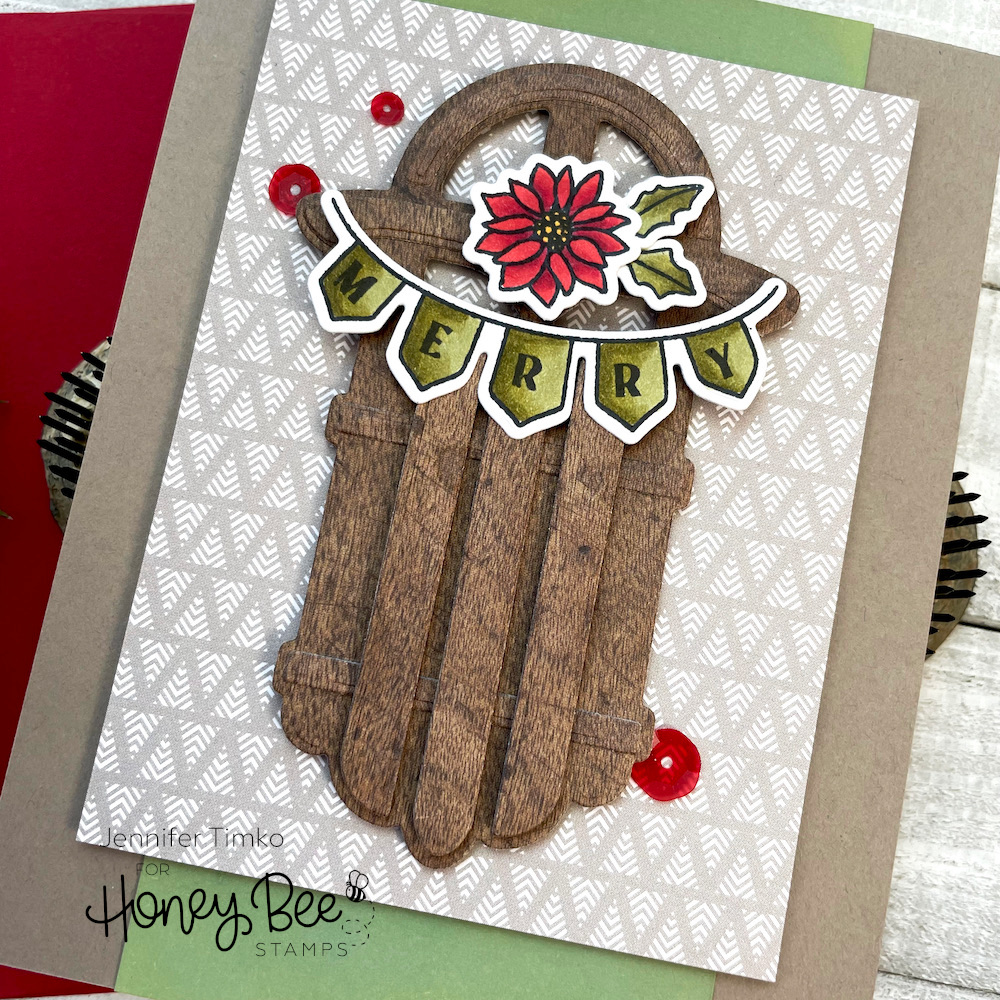
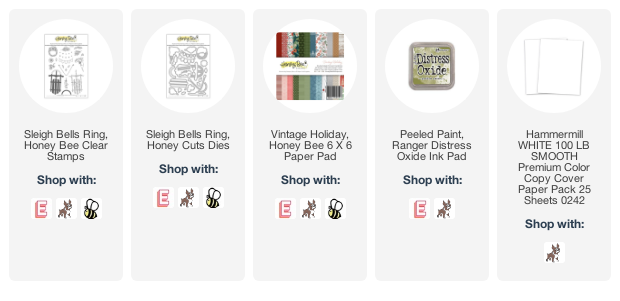
When I saw the sketch, I knew just the focal point I wanted to use. Sleigh Bells Ring is a new stamp and die set from Honey Bee Stamps and it is a treat to use. The sled die is so fun and full of details but yet easy to put together. I used some wood grain paper from my stash for the sled. Then I used some of the elements from the stamp set to decorate the sled.
Once I had the sled built, I thought this cool print from the Vintage Holiday paper pack was added wonderful texture and was great for the sketch. I inked a panel with Peeled Paint Distress Oxide Ink and put it all on a taupe base.
Come over to Instagram to hop with us for a chance to win and I hope to see you playing along with the sketch. Thanks for stopping in today!
Yes, you read that right. Freshly Made Sketches is celebrating 500 sketches. A decade ago, the amazing Lesley started this challenge during a time when “clean” stamping was not a dominant style. She put together an idea of clean, but not always simple, designs based on layouts. BRILLIANT! I played along as a player from the first challenge and soon joined the team. It has been my biggest consistent inspiration in my stamping and it has been a great joy to be on this team for so many years.
As you can imagine, 10 years of a challenge is really worth celebrating. We have sponsors and the winners will simply be randomly chosen from all the players this week. Additionally, I have a personal prize too! As a thank you for the support you have given me over these many years, I will choose a winner from all who comment on this post. See the end of the post for details.
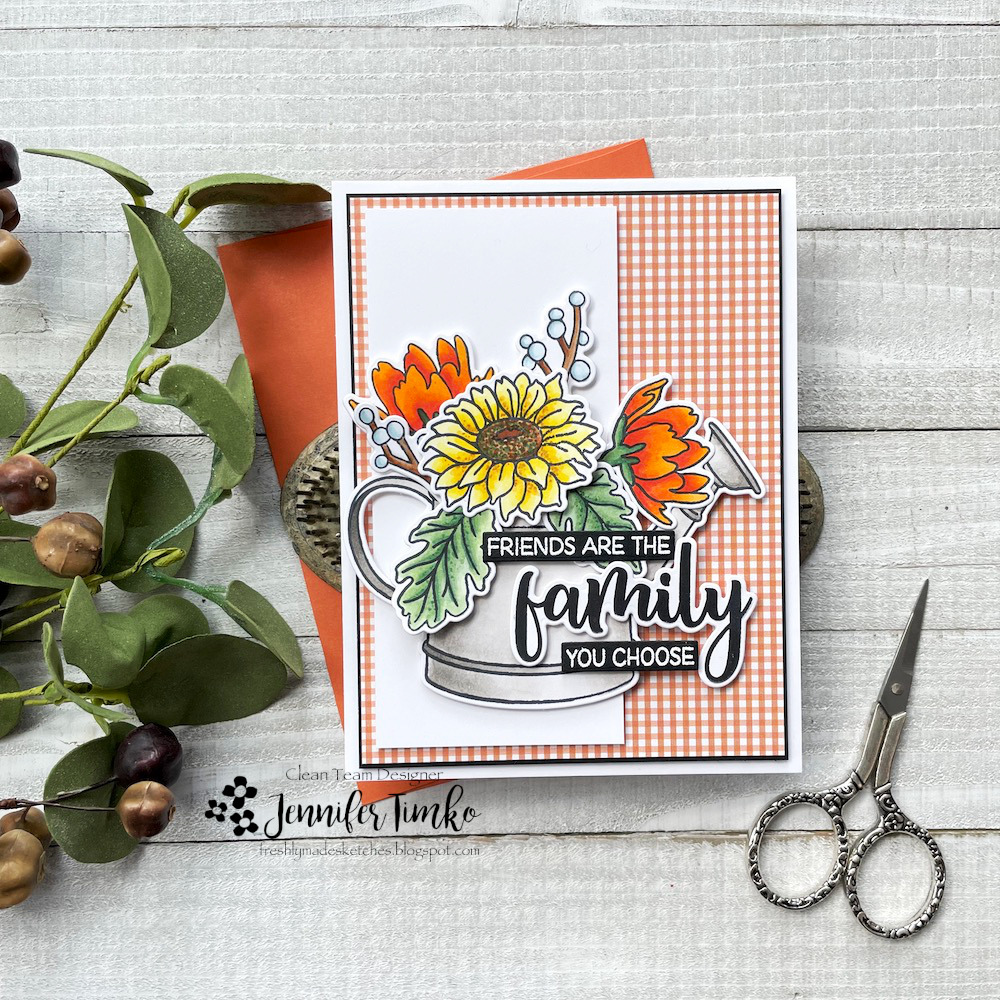
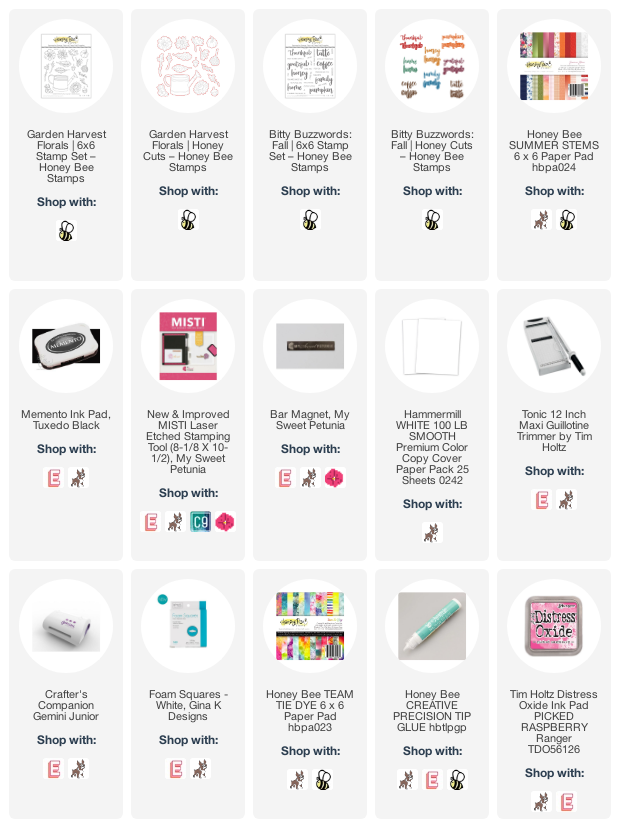
I love that Linda chose 5 layers for the sketch as a nod to the 500 milestone. I wanted to explore a little more on some of the products from the Honey Bee Stamps release we just featured. The Garden Harvest Florals is such fun to color and I thought it would be perfect for this sketch. All of the elements were colored with Copic Markers. I chose a pretty gingham from the Summer Stems paper pack that had a bit of a late summer/early fall feel.
The sentiment is my favorite part of the card. It comes from the Bitty Buzzwords: Fall stamp and die set. Truly, this sums up how I feel about this team. Some have been together for the whole 10 years, some joined us more recently, but all are amazing. In every possible definition of the word, our happy little group is a team. And one that has given me immeasurable joy!
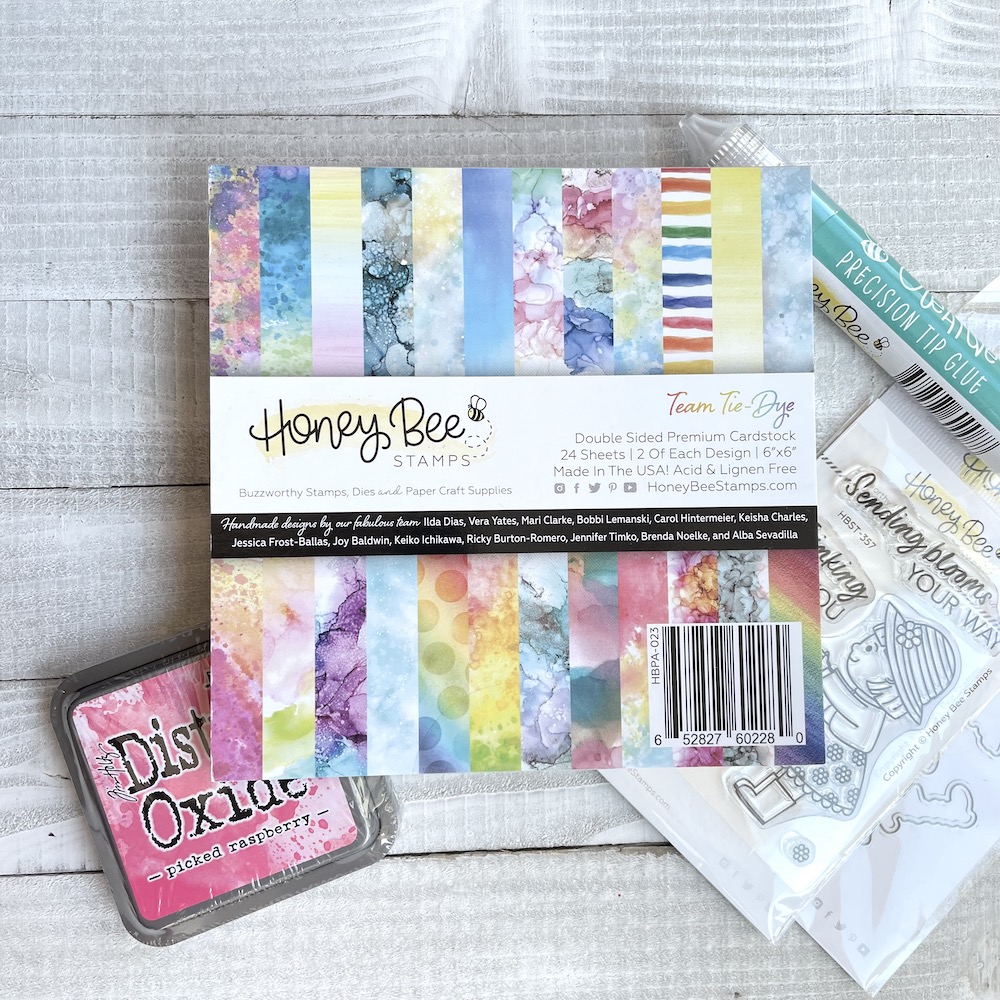
For my personal giveaway, I will send the above products to one lucky winner, randomly chosen from those who comment on this post. Giveaway is limited to those in the US only. It include: Distress Oxide Picked Raspberry Ink and products from Honey Bee Stamps: Team Tie Dye Paper Pack, Precision Tip Glue, Bee Young: Blooms Stamps and Dies. Winner will be contacted via information left when you comment.
Again, thank you for playing along, supporting our fun challenge and for always sharing your time and talents in our gallery. We are so grateful you have included us in your crafty adventures!
Welcome to the Honey Bee Stamps Autumn Splendor Release Sneak Peeks! Today is day four of our peeks at the new release and, as usual, you will be totally wow’d by all the amazing sets. Tonight the release goes live!!
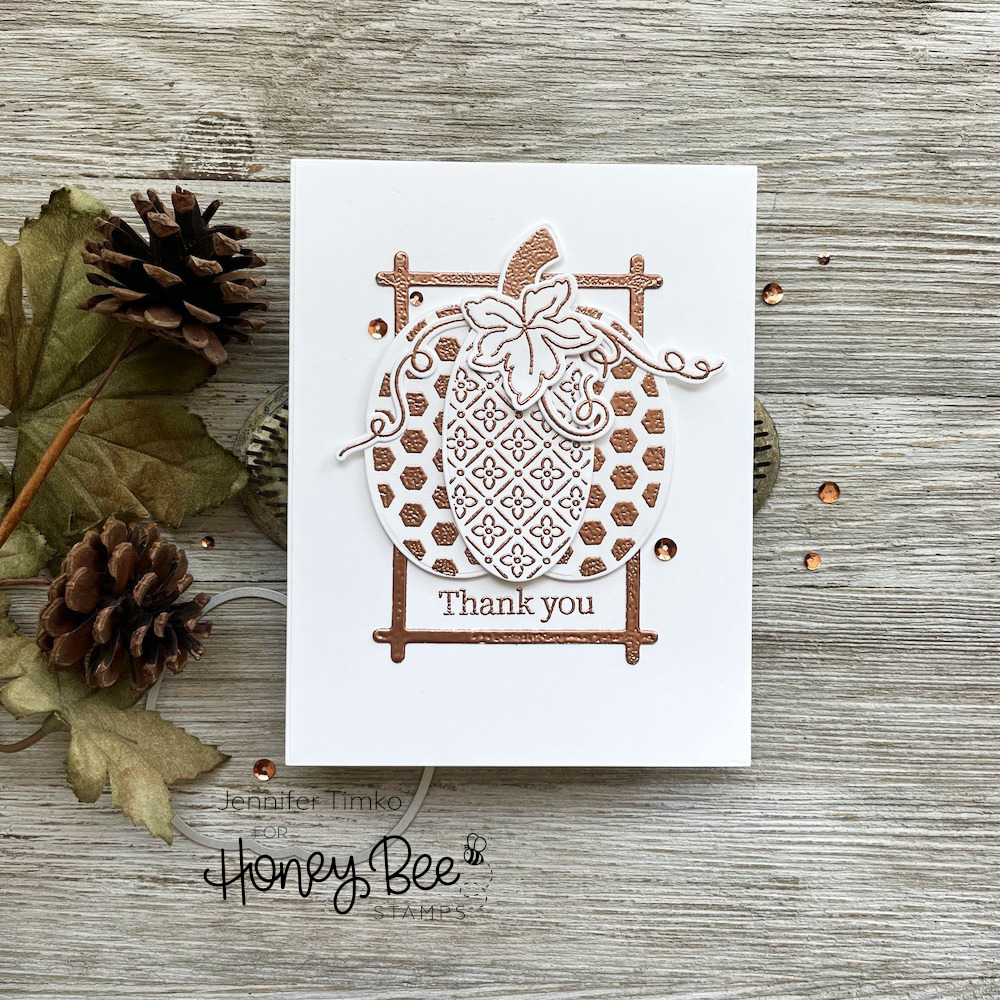
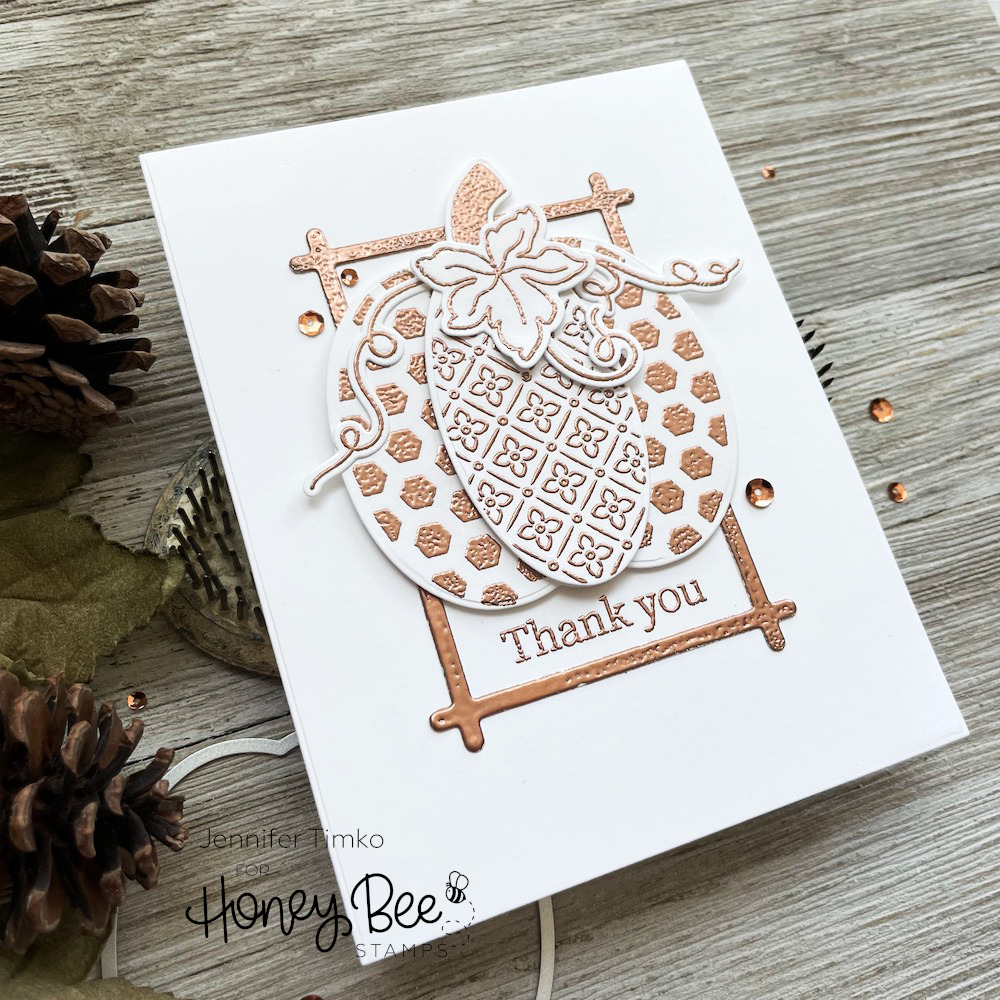
I am going to confess that fall is my favorite season. I love all the fall things! And pumpkins rank really high on the list. This Patchwork Pumpkin set comes with so many options to build adorable pumpkins with a never-ending variety of patterns. I thought that copper embossing would be a fun way to show a couple of the patterns. For the inner oval, I stamped, embossed and then cut. But for the outer layer (which is actually only a mid sized layer in the set) I cut the paper first and then lined up the stamp in my Misti for stamping with Versamark and then heat embossing. I only had to line up the image once since the die is symmetric. I just turned it around to stamp the other side!
I stamped some fo the elements in the set, embossed and cut them out too. I love the little vines! The frame is part of the new Sentiment Frames die set. I cut it from white paper and then “smooshed” it into my Versamark pad and added embossing powder, then heated. The sentiment is from the Inside: Thankful Sentiments set introduced on day 2. I cannot wait to use this set more and try all the patterns!
So glad you stopped in today. I hope you will consider shopping with me via my links when they go live later tonight. There is no additional cost to you and it helps me keep my little blog running. Thanks for joining me for all the fun on this release!
Welcome to the Honey Bee Stamps Autumn Splendor Release Sneak Peeks! Today is day three of our peeks at the new release and, as usual, you will be totally wow’d by all the amazing sets.
I’m going to be real here. Based on the reaction to the last flower (the Coneflower), I’m sure this Sunflower Honey Cut set is going to fly out the door. Fly! So be ready to get it fast. I went on a tried and true path and used the dies on the prints from the Team Tie Dye paper. Then, on the flower petals, I added some Copic Marker shading for more depth. The paper had already done most of the work so the shading was super easy but adds so much.
I added gold and black splatters on all the elements and set them aside to dry. Then I started working on my base. I used Neenah Desert Storm paper with the new Mini Slimline Sweet Stacks dies. Once cut, I brushed on Distress Ink in Antique Linen and Vintage Photo then added splatters to match the flower. Once dry, I pondered my sentiment. And then… the obvious, most awesome sentiment jumped right out. I know, I know. But I really made me happy! I stamped in Versamark and heat embossed with Gold Embossing Powder.
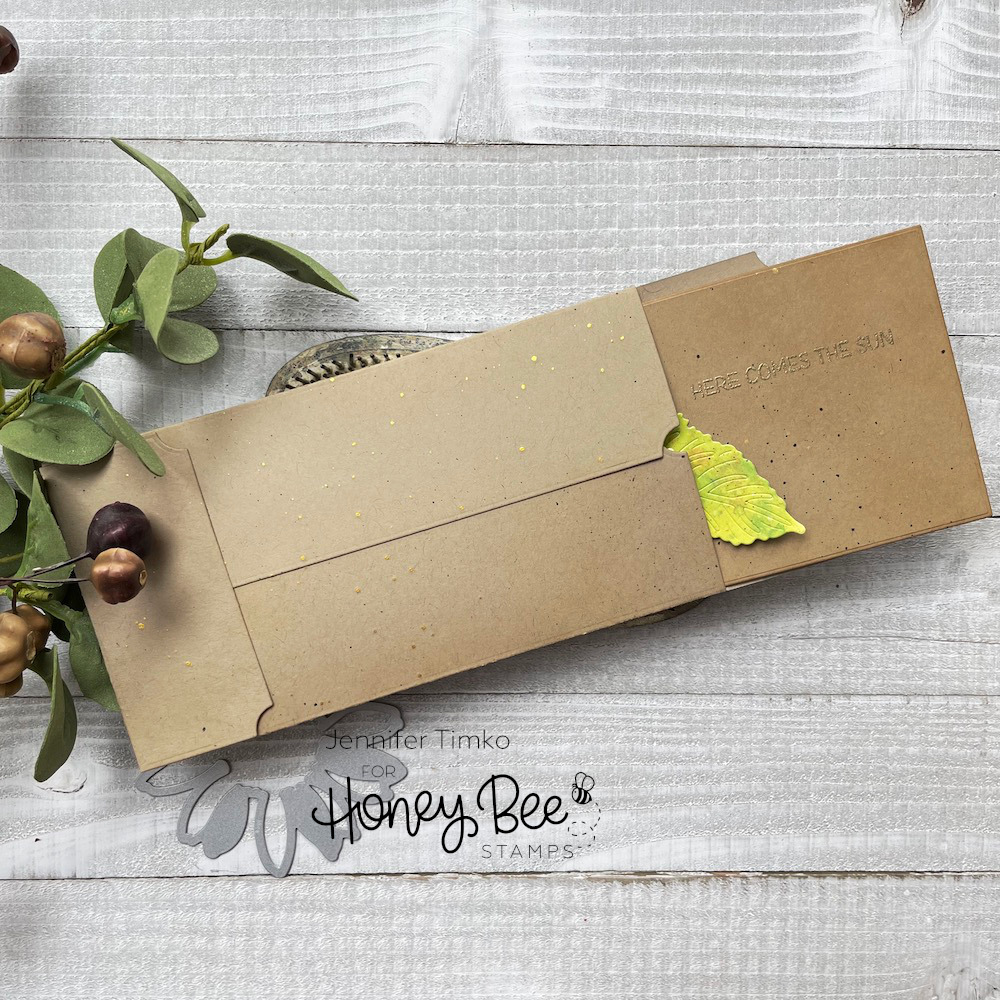
Putting the card together was easy after that. I used strategic foam tape to give the flower dimension and then attached it to the base. But I wasn’t done yet. This card needed its very own special envelope! The new Mini Slimline Envelope Honey Cuts are brilliantly designed. There are a couple of styles: rounded edges or the ticket edge I used here. It is super easy to piece together too so your special card can have that last special touch! I added the same ink and splatters to the envelope that I used on the card. And now just look. When the recipient goes to pull out the card, they see the sentiment first!! Oh. My. Word. Again, I may be overly pleased with myself but this just make my creative day!
So glad you stopped in today. Back tomorrow for day four of the peeks! Have a beautiful day!
Welcome to the Honey Bee Stamps Autumn Splendor Release Sneak Peeks! Today is day two of our peeks at the new release and, as usual, you will be totally wow’d by all the amazing sets.
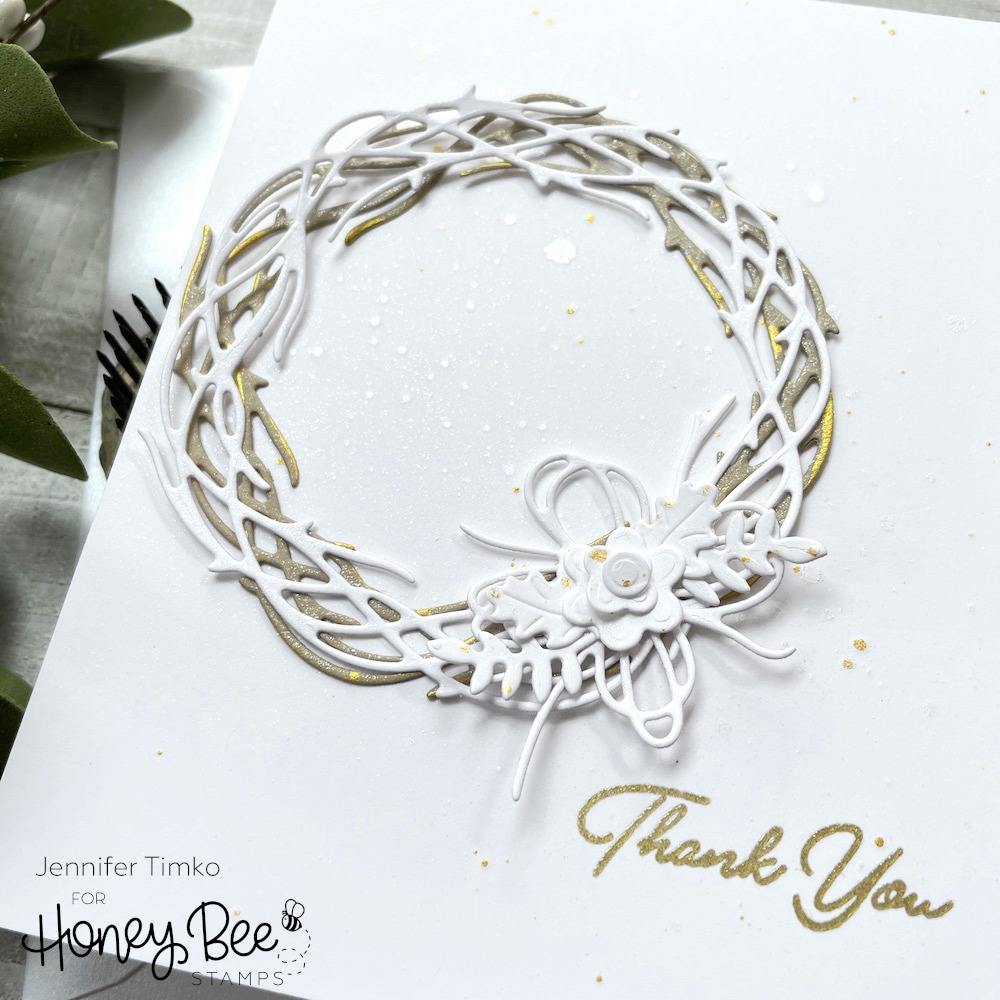
Today I get to show you some beautiful dies and a must-have sentiment set. Introducing the Grapevine Wreath Honey Cut Dies, Itty Bitty Fall Flowers Honey Cut Dies, and the Inside: Thankful Sentiments Stamp and Honey Cut Dies (These affiliate links will not be live until the release opens for sale on August 23rd after the Release Party on IG and FB at 9p CT.)
There are so many things to be made with this Grapevine Wreath! I’m thinking holiday cards already, to be honest. But today, I just wanted to go monochromatic and elegant. I love the result. I cut the wreath twice, once from white and once from Desert Storm. I also cut the bow and then used the Itty Bitty Fall Flowers Honey Cuts for even more elements. I added splatters of gold and white shimmer to my base and all the elements.
To add even more shine, I stamped the sentiment from Inside: Thankful Sentiments in gold ink and heat embossed with clear embossing powder. I admit that getting a good photo on this card was a challenge but I think you can see enough of the details to appreciate the shimmer.
So glad you stopped in today. Back tomorrow for day three of the peeks! Have a beautiful day!
Welcome to the Honey Bee Stamps Autumn Splendor Release Sneak Peeks! Today is day one of our peeks at the new release and, as usual, you will be totally wow’d by all the amazing sets.
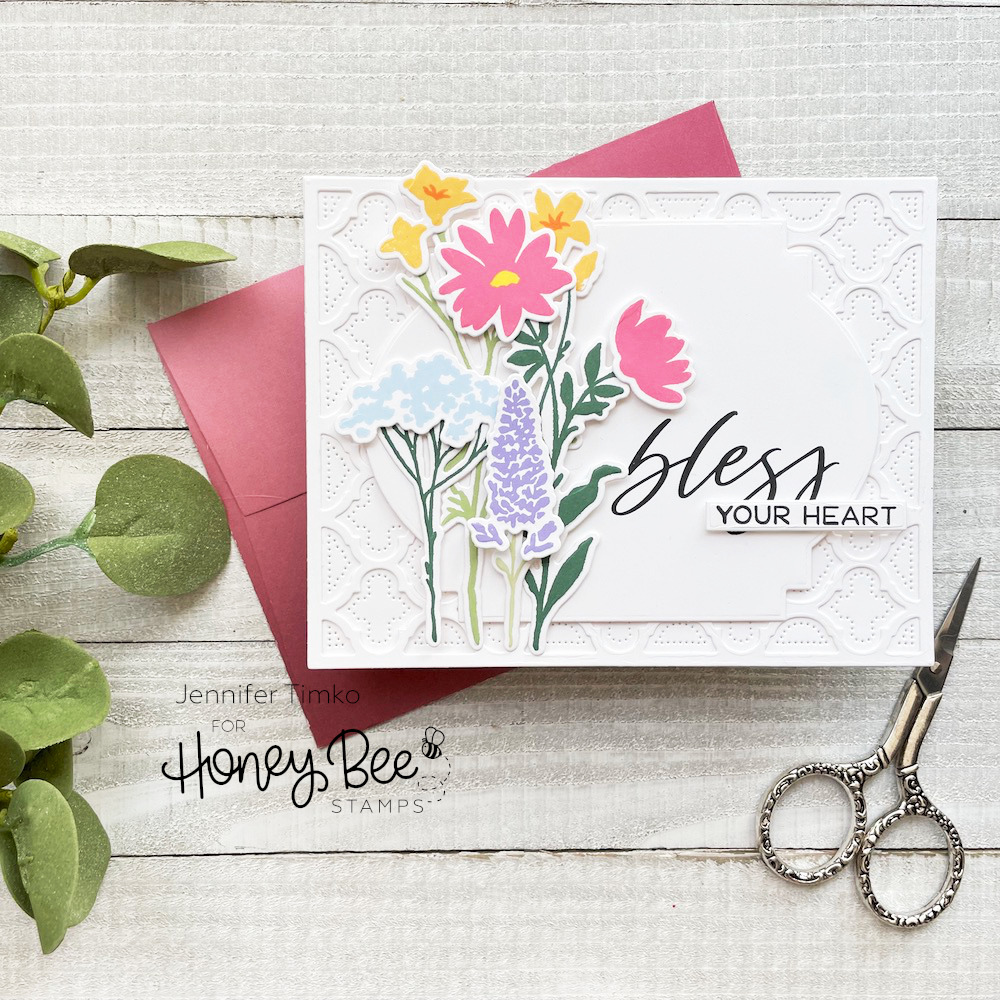
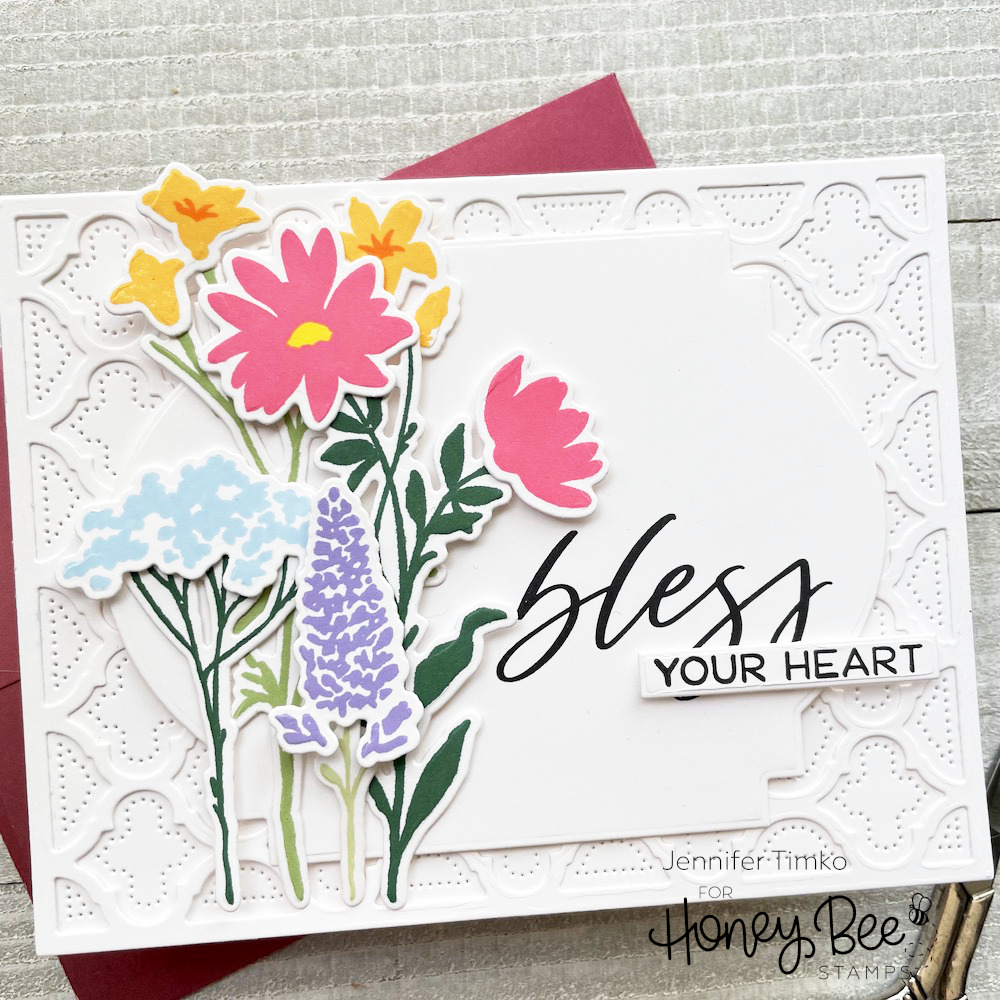
The Bold Botanicals set is really a flower lover’s dream. So many solid images that are great for layering with the coordinating dies like I did or direct to card stamping. They line up easily and have thoughtful designs. I stamped them using Altenew inks in a variety of summer colors. Then, I pulled out the new Stacking Art Deco Labels as a layer for arranging the flowers. I love this shape and it will be so easy to use on so many kinds of cards.
When I saw the shape, it reminded me of the style in the Quatrefoil A2 Coverplates so I added those as a base for more interest. Now let’s get to the sentiment. The new Praying Big Time set is full of kind sentiments. So naturally, I chose the only one with a bit of snark. Yep, I do speak fluent “southern”! Something about this with the rest of the card using pretty elements made me chuckle. And if you can’t make yourself laugh while stamping….. Needless to say, you will enjoy this whole set and I will use it a lot.
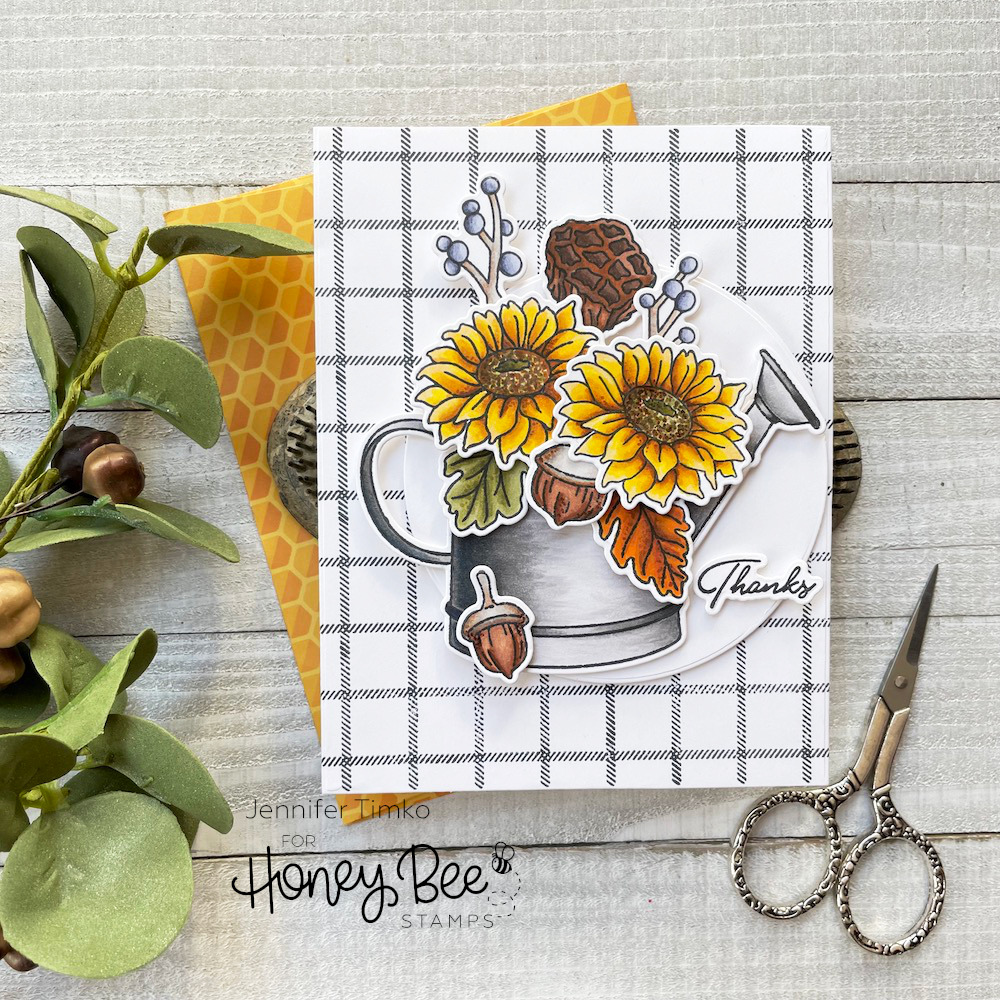
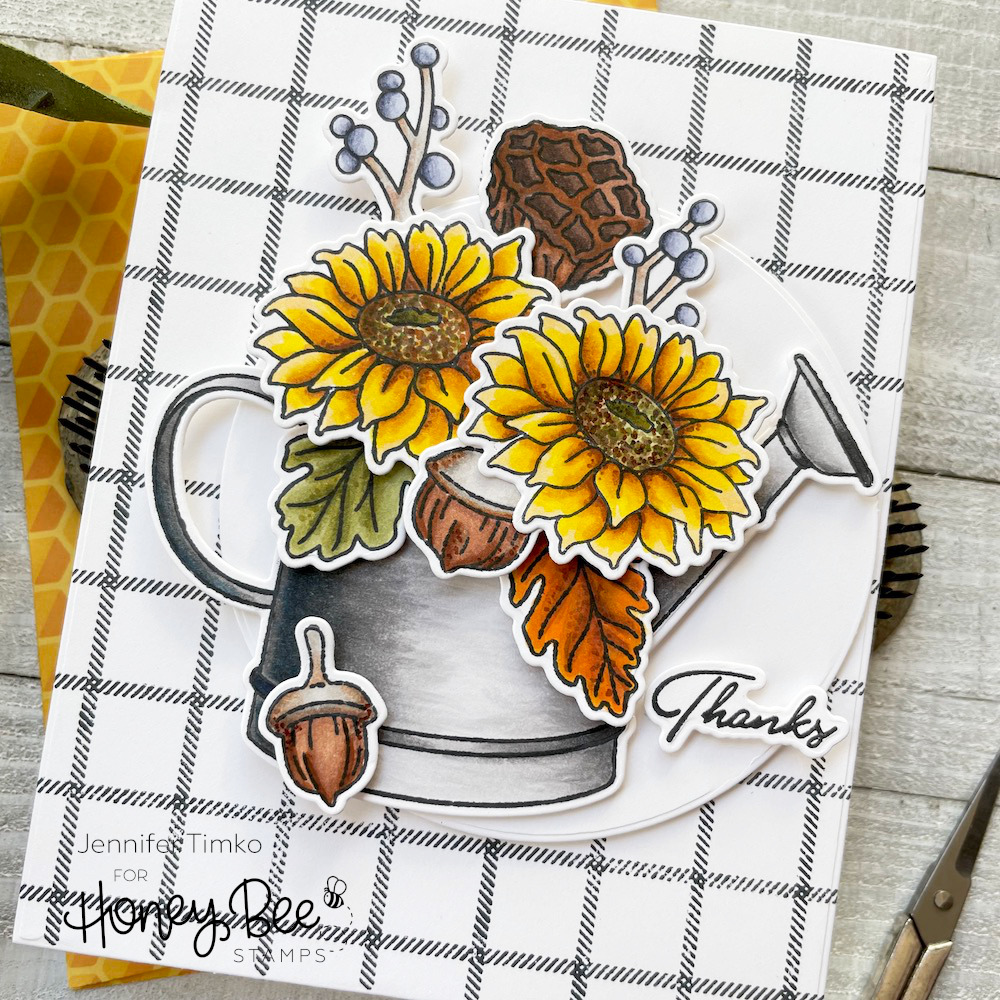
For my next card, I moved on to fall! The Garden Harvest set is so incredibly beautiful with fall images you will not be able to resist. I stamped a number of them (and the sunflowers twice) and just sat down to enjoy coloring with my Copic Markers.
Once done, I added them onto a circle cut with the new Sweet Stacks: Circle Dies which will be a workhorse in the stamp room. The older Farmhouse Check Background was the perfect detail for the base. And that sentiment…a bit of a peek into tomorrow’s showings.
So glad you stopped in today. Back tomorrow for day two of the peeks! Have a great start to your weekend.
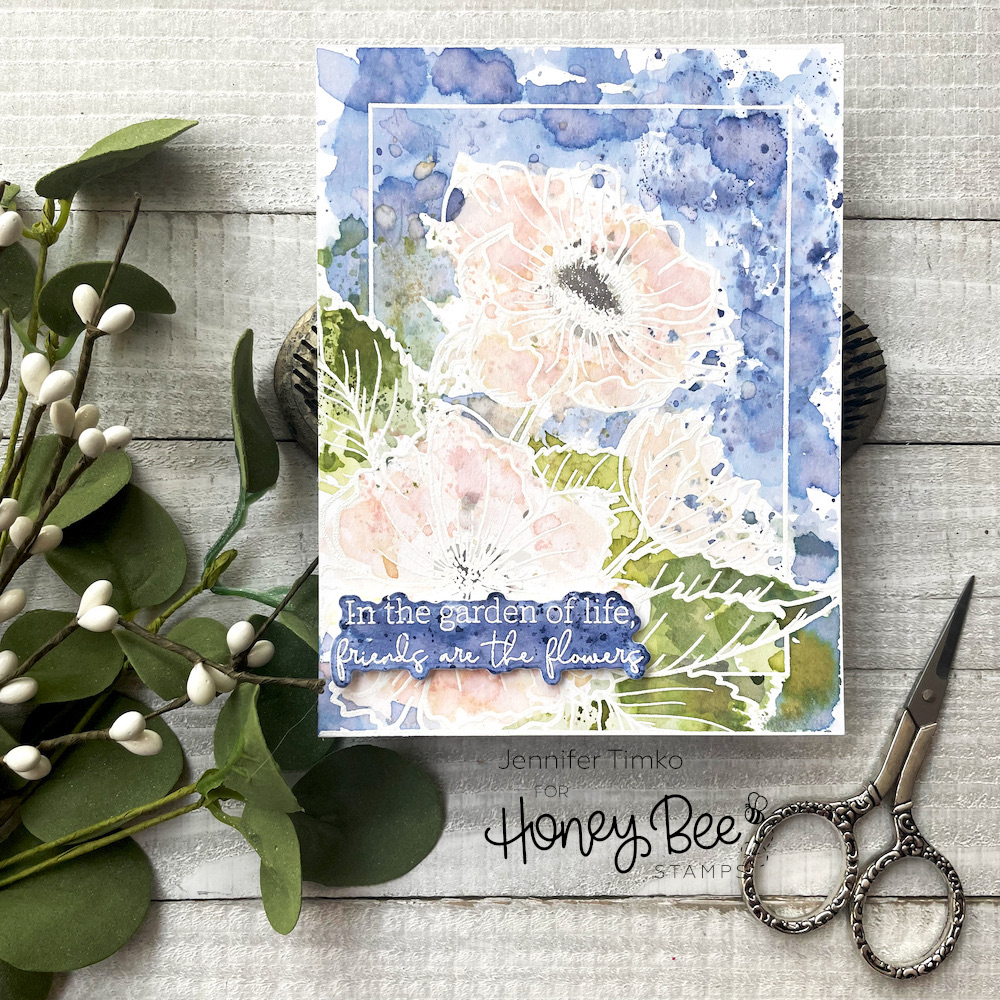
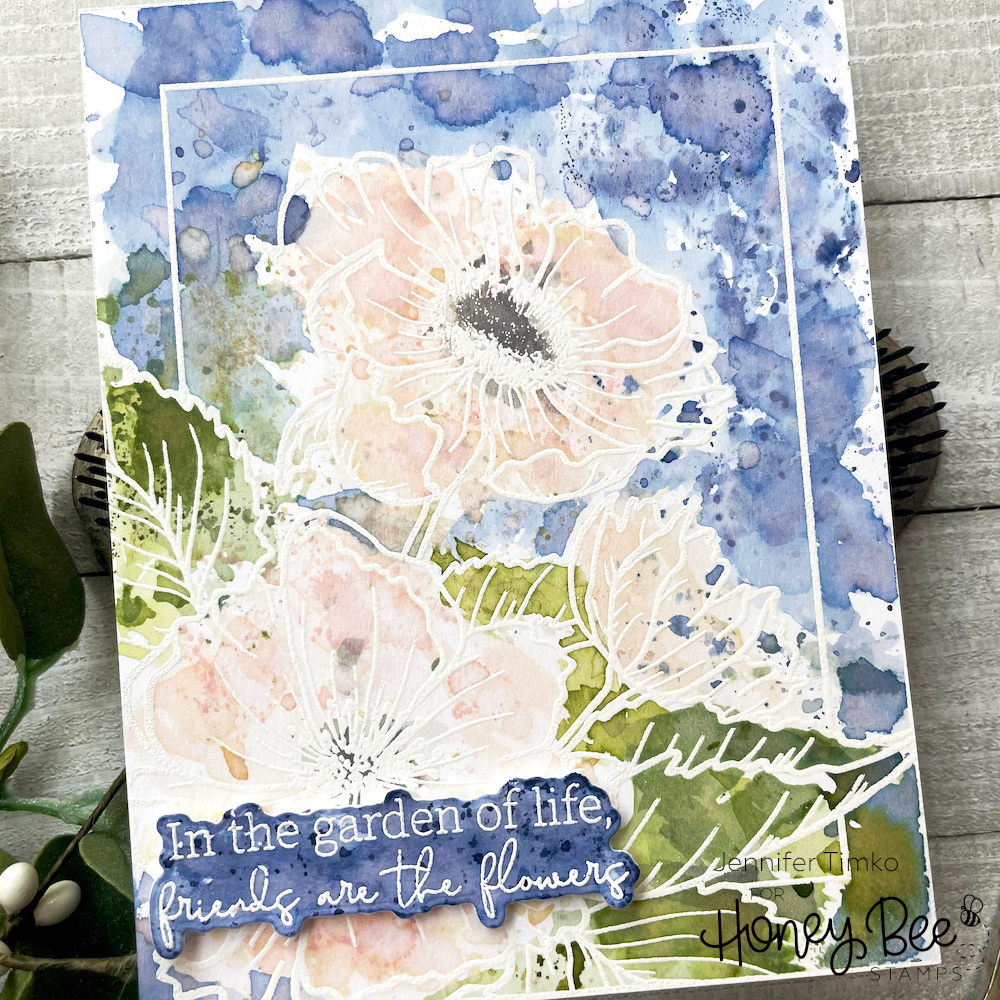
Sharing today for Honey Bee Stamps! I needed a day just to “play” in the stamp room and I thought I should pull out this new Framed: Anenomes stamp set. It is a gorgeous image and one that can be colored with so many mediums. I chose a very loose watercolor look with Distress Ink.
I stamped the image using Versamark Ink onto Tim Holtz Heavystock paper. It is made for distress ink techniques. For each color, I simply “smooshed” the ink from a mini pad onto a small clear block then added water with a paint brush. I took the block direct to paper to apply the color. Using a small block help you keep a little more control on where the color goes but still leaves it loose. If you need a bit more color in a specific place, you can add it with a paint brush. This is a layering process so leave time to allow drying to happen in between adding colors or additional ink.
Because I love the look of pale anemones, I made the leaves and the background bold and kept the flowers in muted tones of Tattered Rose and Antique Linen. For the sentiment, I stamped and heat embossed it onto more of the Heavystock paper. Then I colored it with the Chipped Sapphire in the same way as I did the flower except I made sure there was a bit more solid coverage as a base.
I hope you enjoy this card! Let me know if this makes sense or if you would rather see a video on how to create this look. Thanks so much for dropping in today!
Primary Sidebar
We use cookies on our website to give you the most relevant experience by remembering your preferences and repeat visits. By clicking “Accept”, you consent to the use of ALL the cookies.
This website uses cookies to improve your experience while you navigate through the website. Out of these, the cookies that are categorized as necessary are stored on your browser as they are essential for the working of basic functionalities of the website. We also use third-party cookies that help us analyze and understand how you use this website. These cookies will be stored in your browser only with your consent. You also have the option to opt-out of these cookies. But opting out of some of these cookies may affect your browsing experience.
Necessary cookies are absolutely essential for the website to function properly. This category only includes cookies that ensures basic functionalities and security features of the website. These cookies do not store any personal information.
Any cookies that may not be particularly necessary for the website to function and is used specifically to collect user personal data via analytics, ads, other embedded contents are termed as non-necessary cookies. It is mandatory to procure user consent prior to running these cookies on your website.