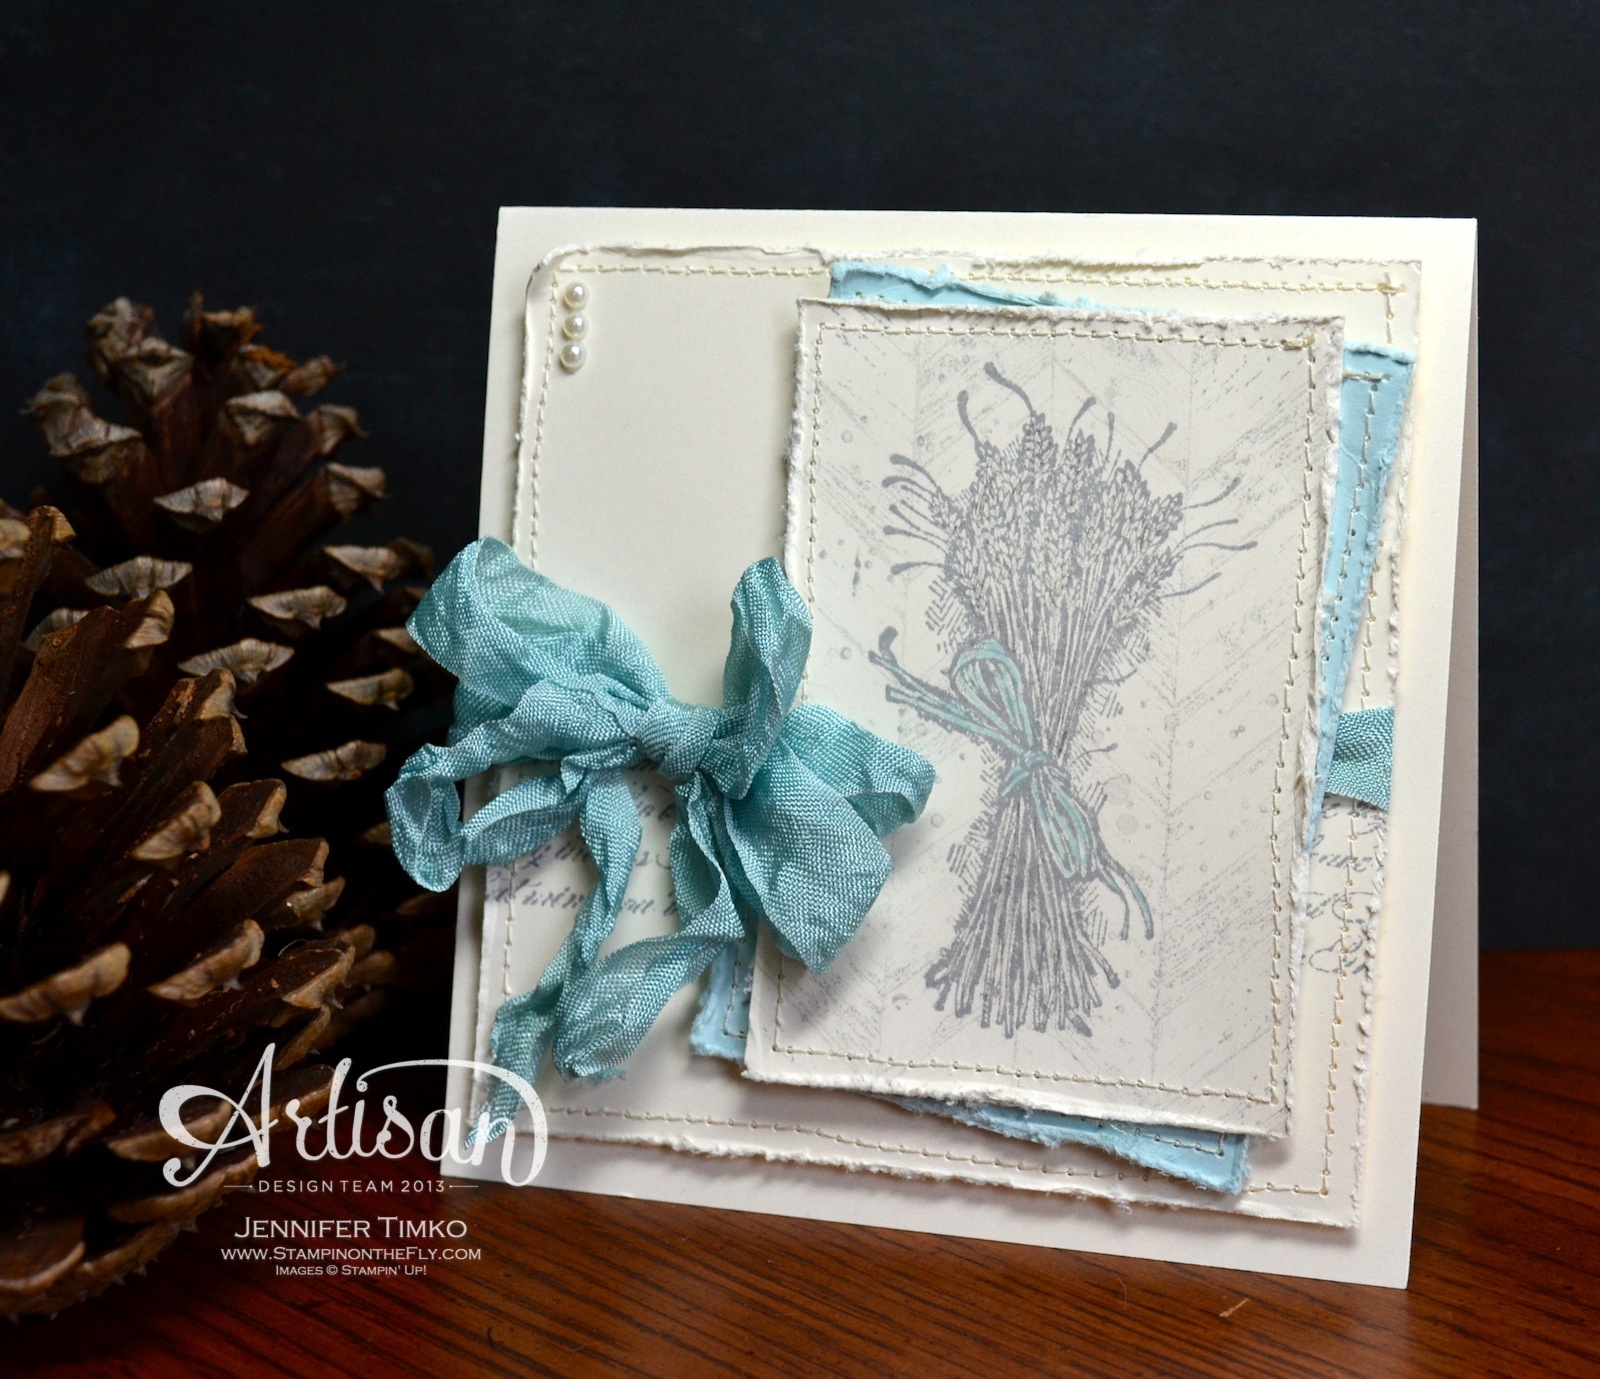
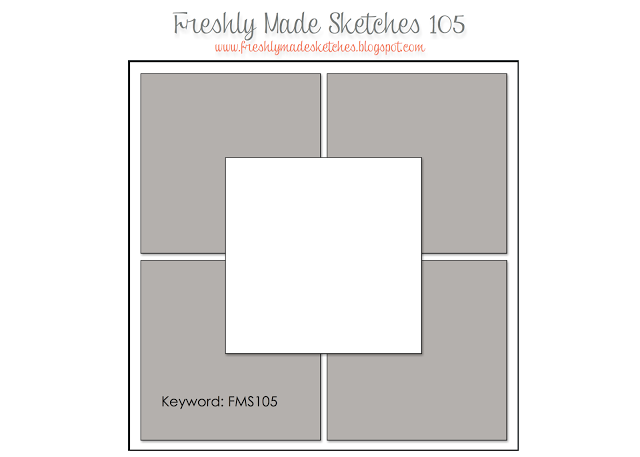
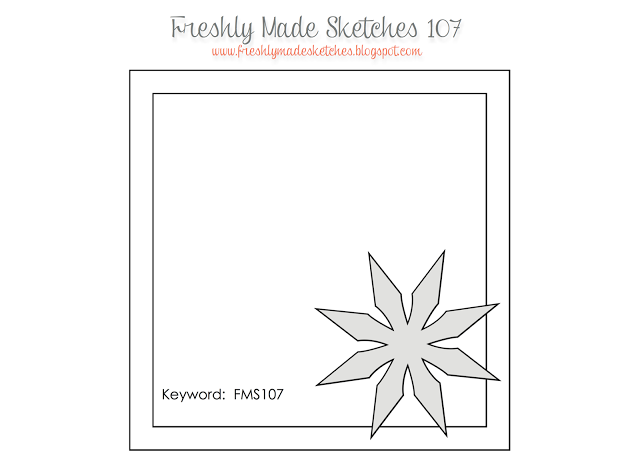
 I am excited to bring you the Freshly Made Sketches challenge sketch today. I am the sketch hostess this week! As I pondered what to make, I thought it would be fun to keep in really simple. This sketch can use a punch, a die cut or a stamp…I’m sure you will wow me with your creations. The Design Team certainly has!
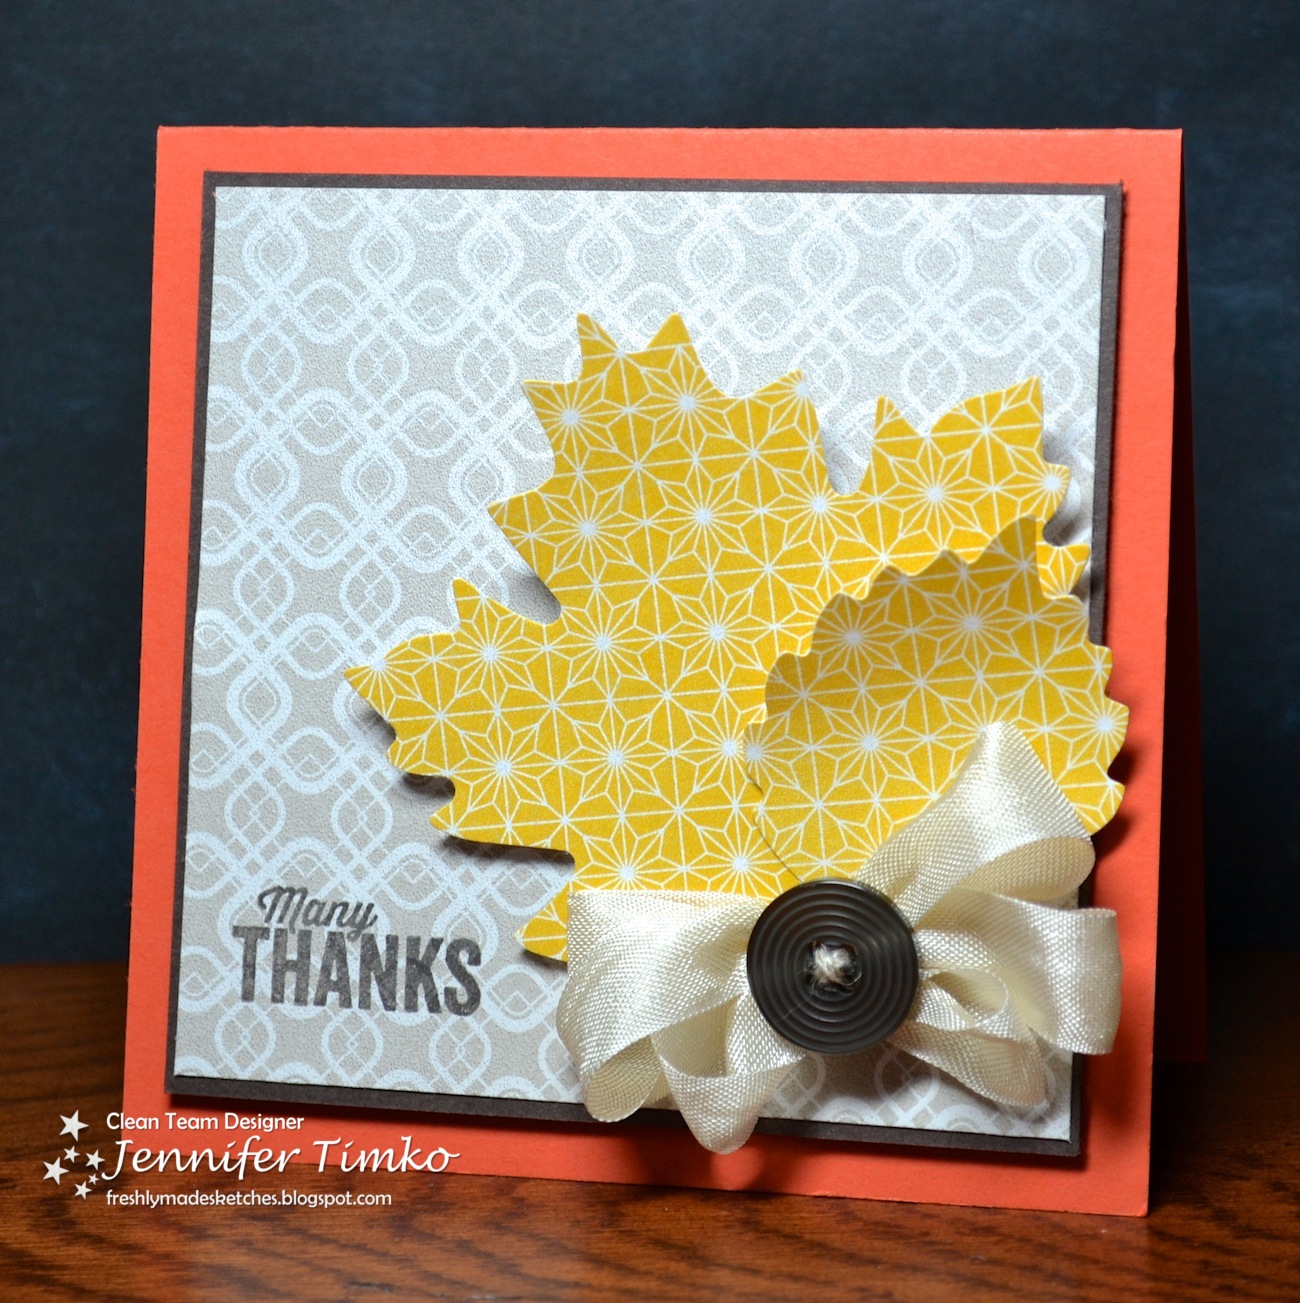
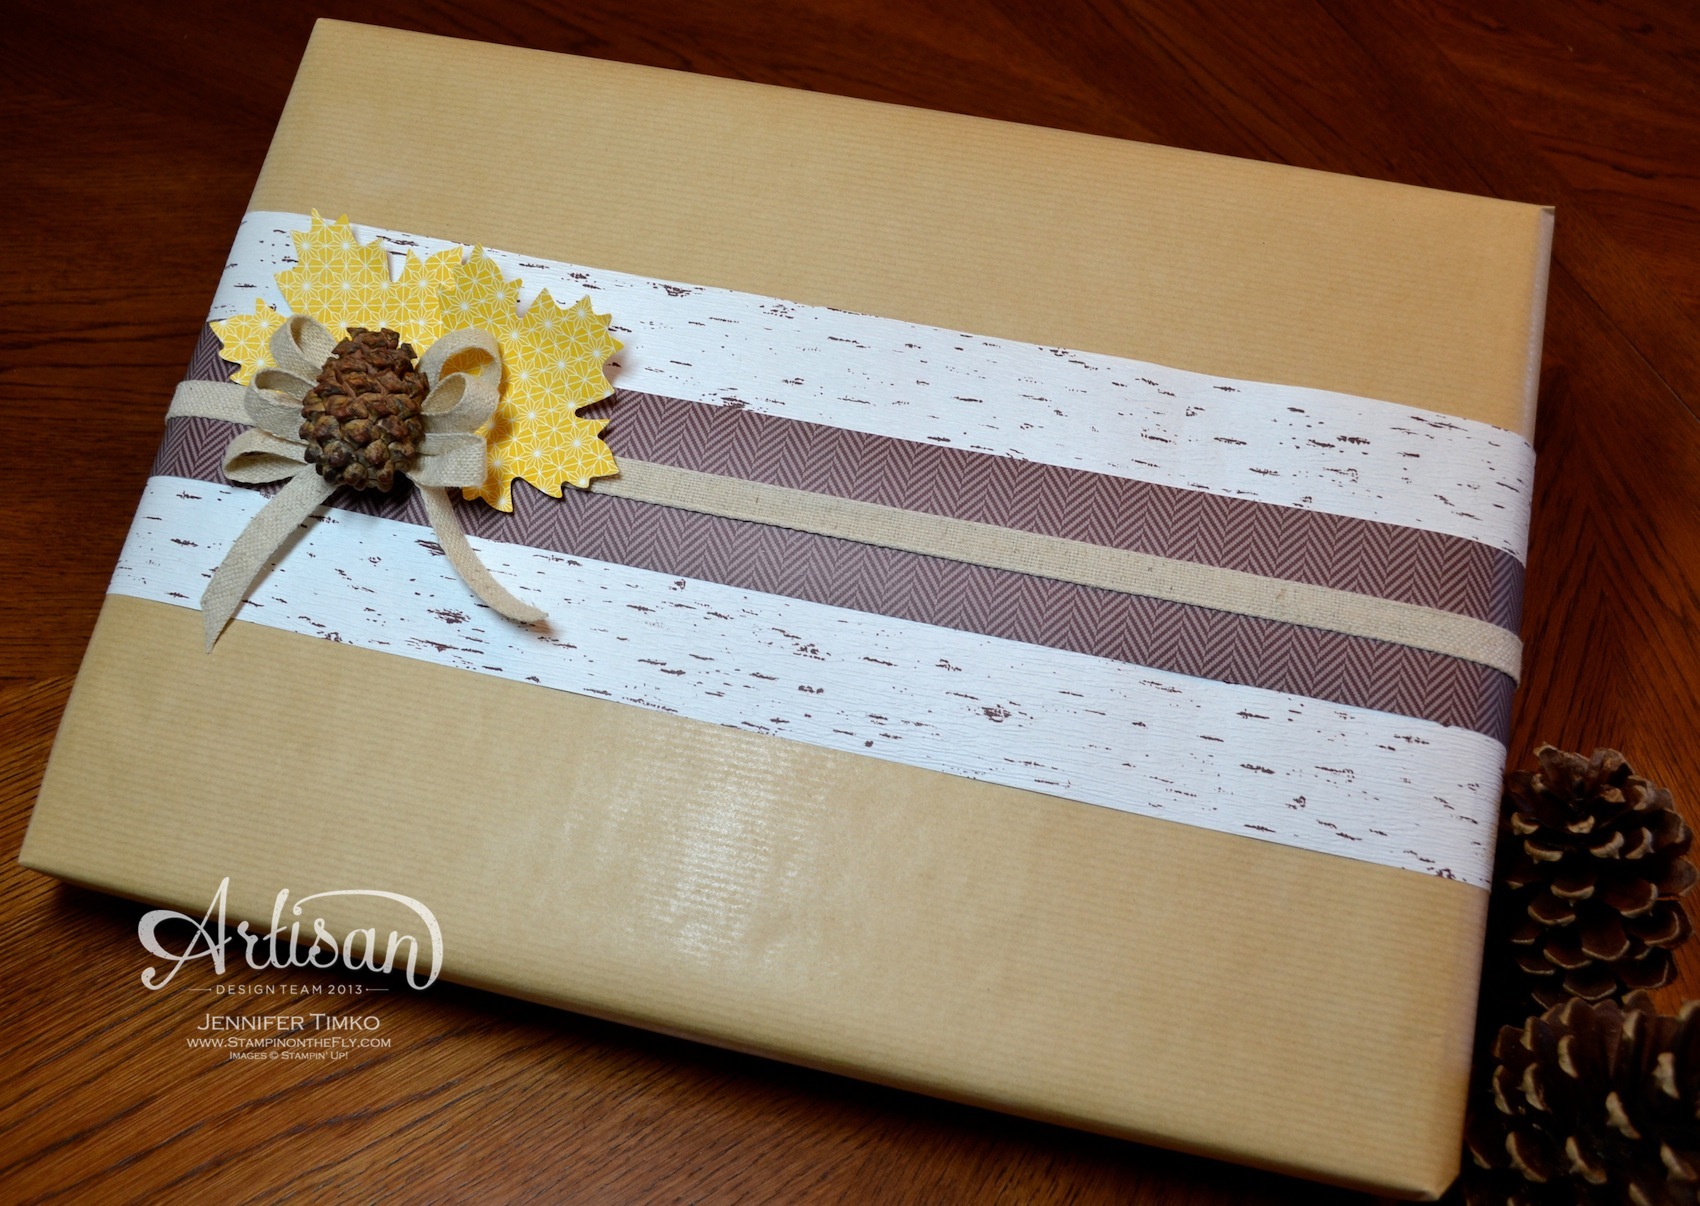
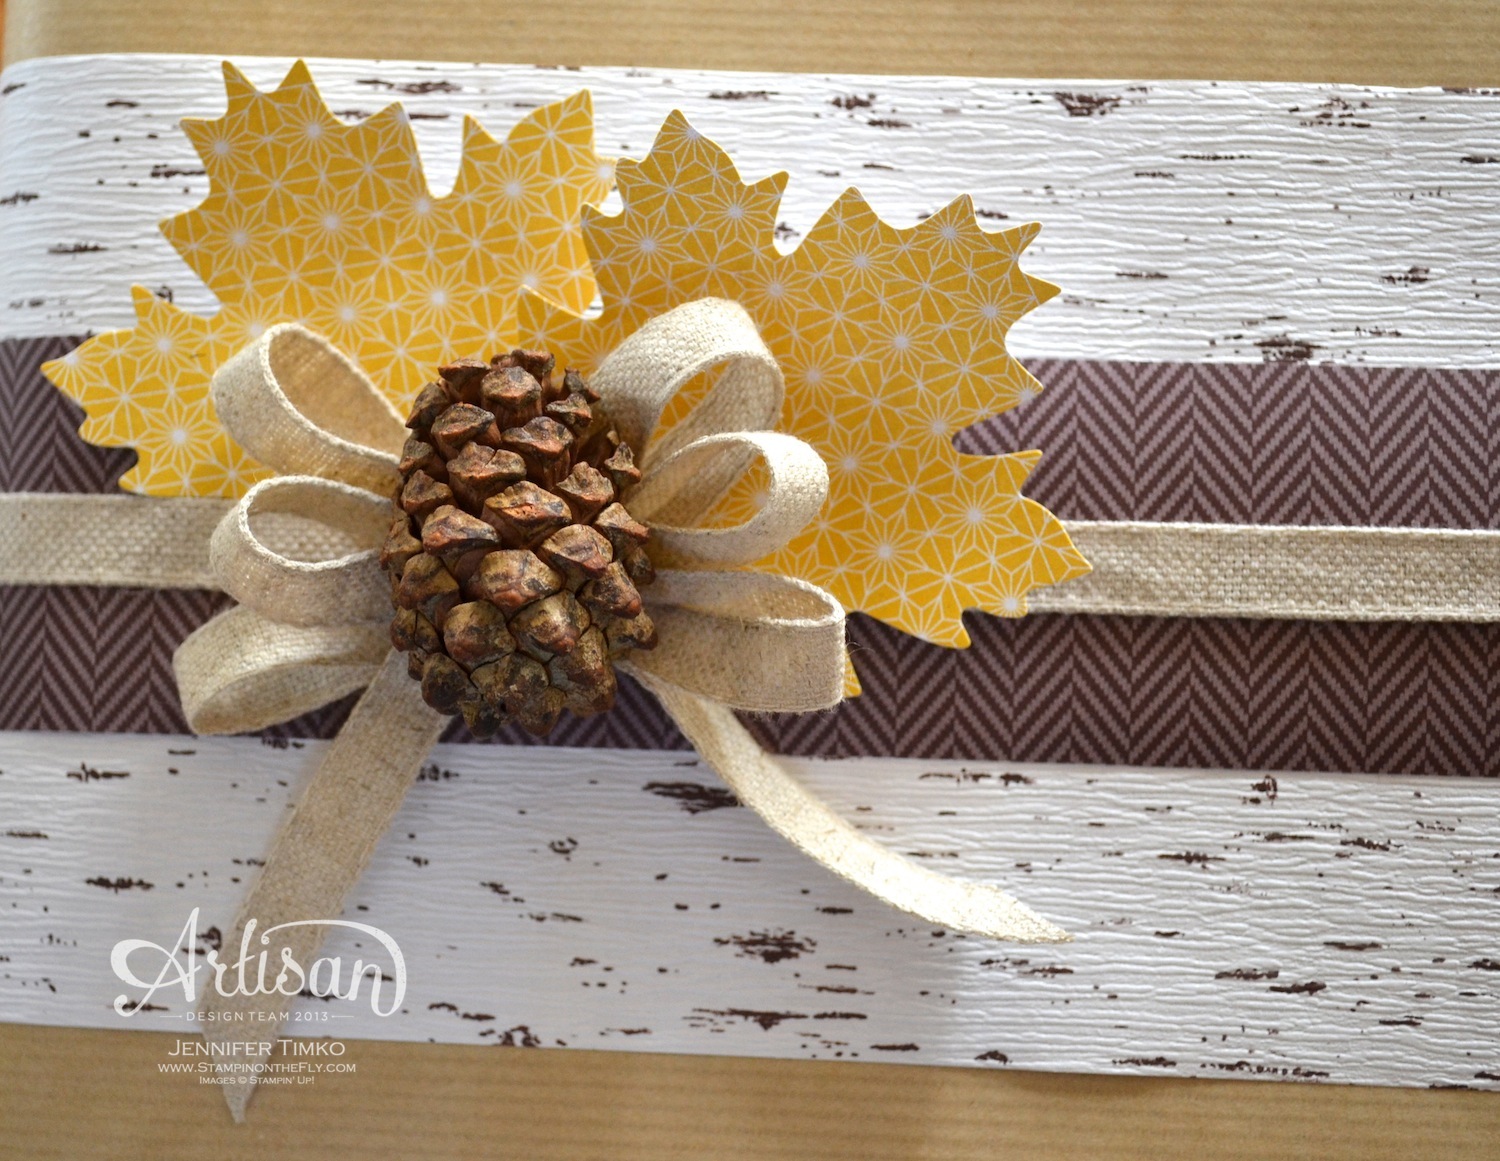
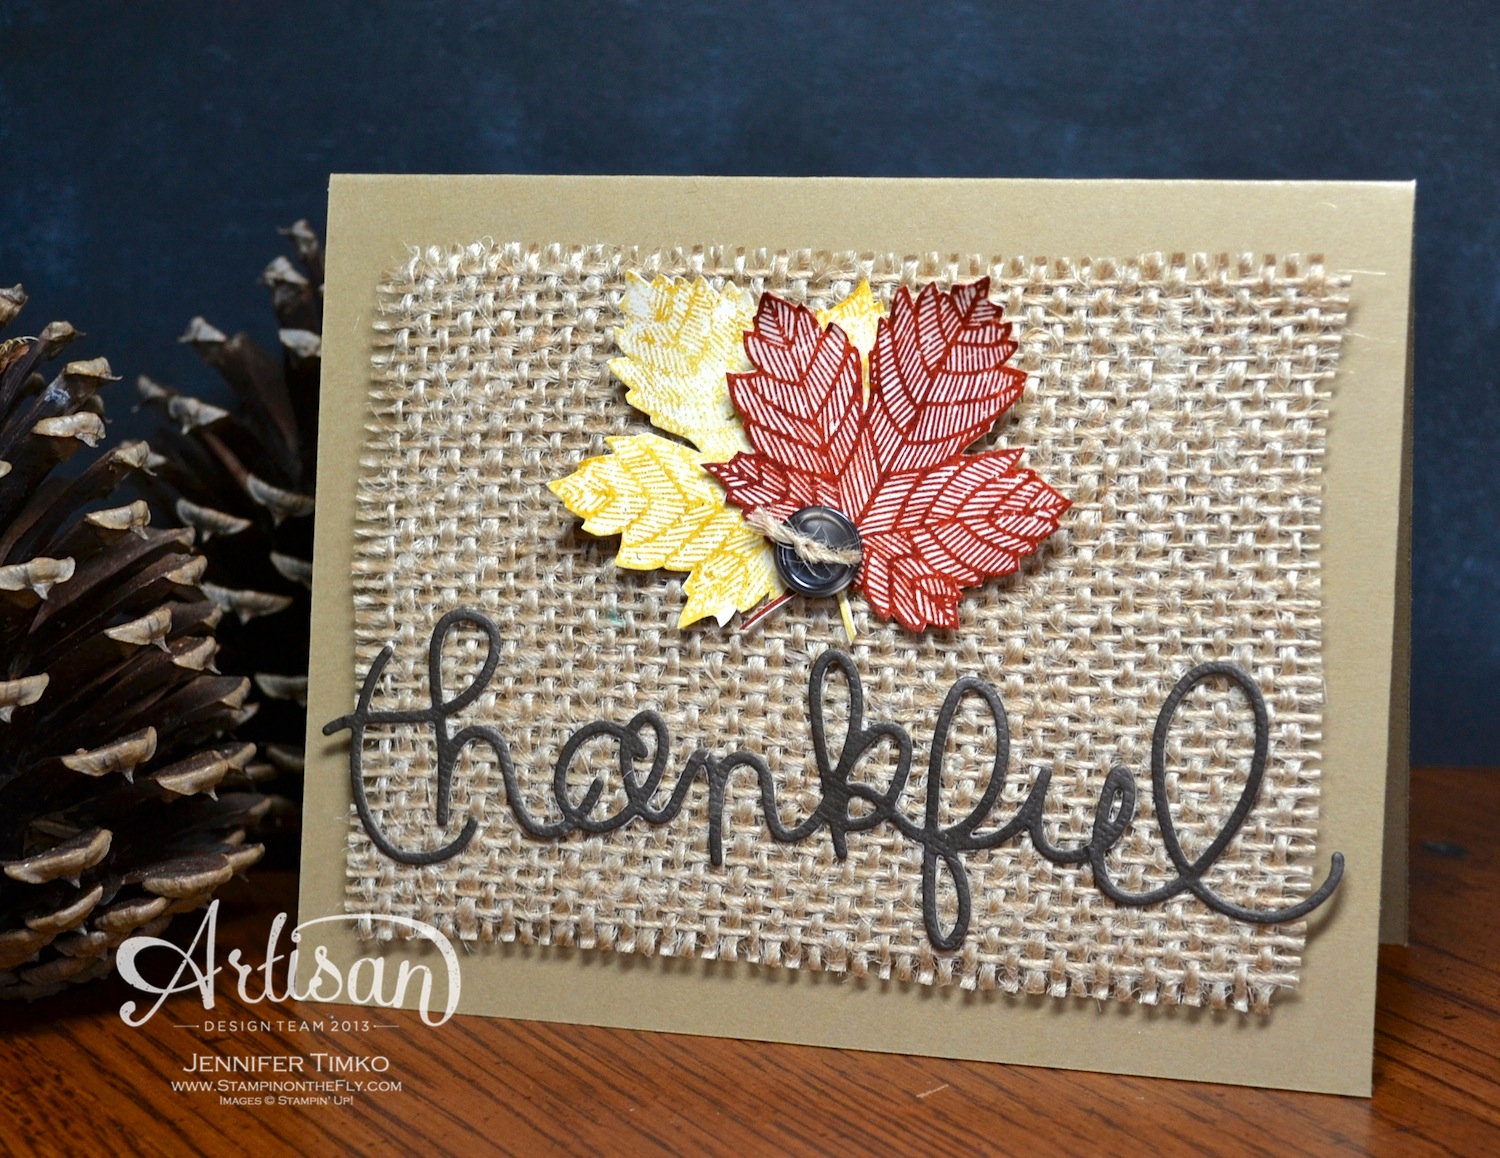
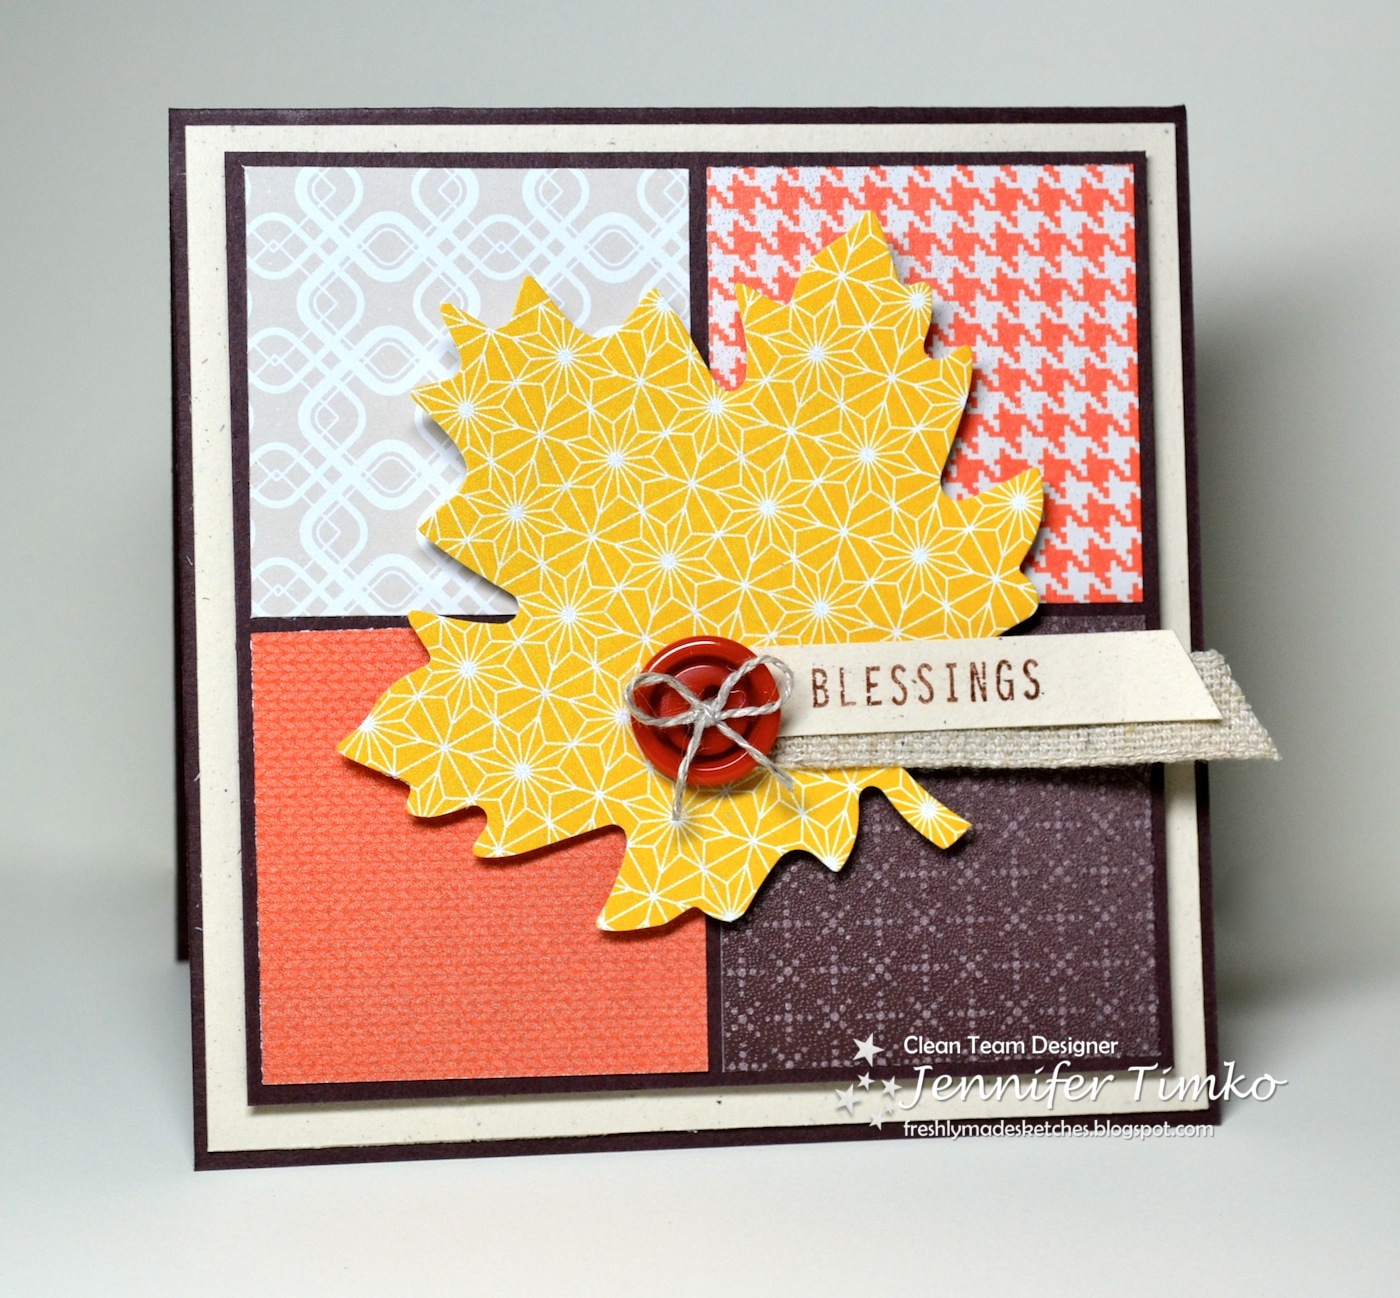
In my Artisan Wednesday Wow post that went up earlier, I told you I was starting a series of projects that could be created with the Thankful Tablescape Simply Created Kit. This card uses the leaves (just like the present) to embellish the card. I combined them with a pattern from Sweater Weather DSP, which is also a pattern from the kit. The sentiment is from the new and awesome photopolymer set Another Thank You. You’ll be seeing more of that too! I created the bow in the same way as the one on the present, this time using Very Vanilla Seam Binding.
Short and sweet today. I hope you like the sketch and I can’t wait to see the gallery! Thanks so much for dropping in today. I’ll see you again soon!
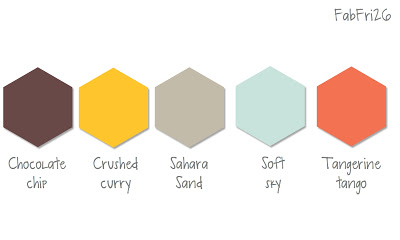
Stamp: Another Thank You Photopolymer; Paper: Sweater Weather DSP, Early Espresso, Tangerine Tango; Ink: Early Espresso; Accessories: Thankful Tablescape Simply Created Kit, Neutrals Button, Linen Thread, Dimensionals