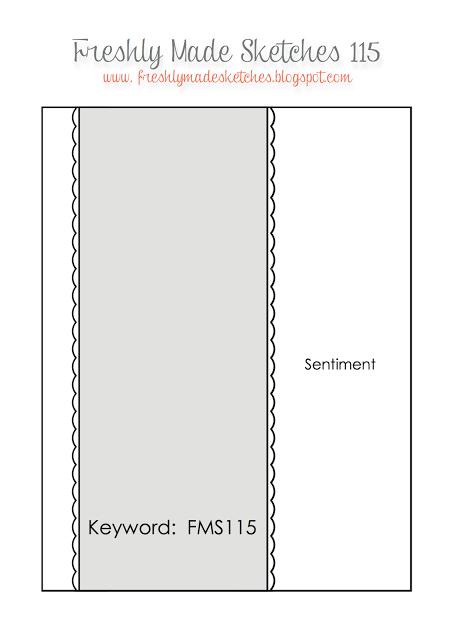
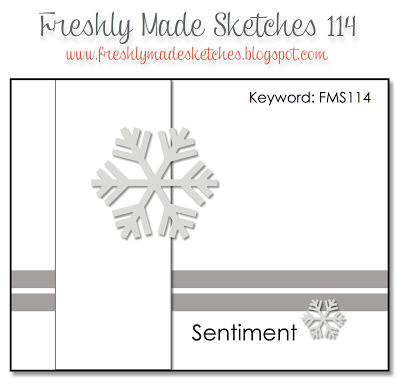
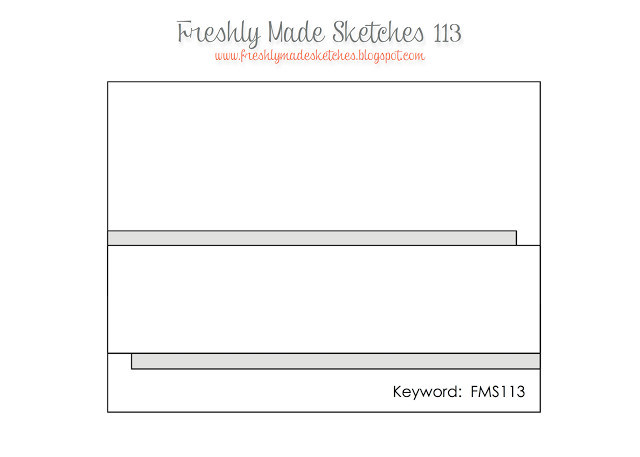
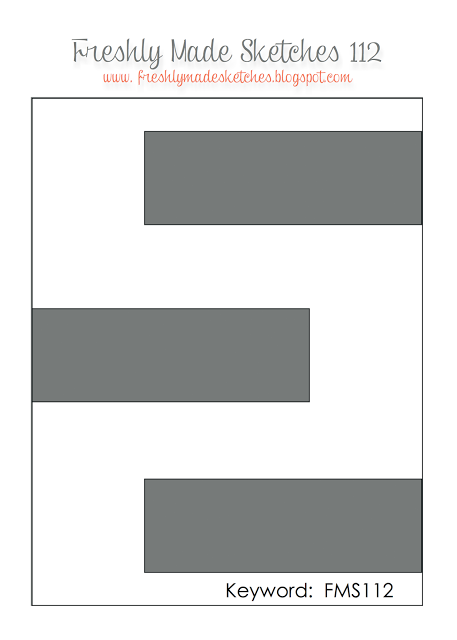
Well, it is Wednesday again. Is it just me or is Christmas coming WAY too fast?! Thank goodness for this fun sketch over at Freshly Made Sketches! The wonderful Narelle Farrugia has given us this one. Of course she has shown an elegant way to use it and the rest of the team has outdone themselves!

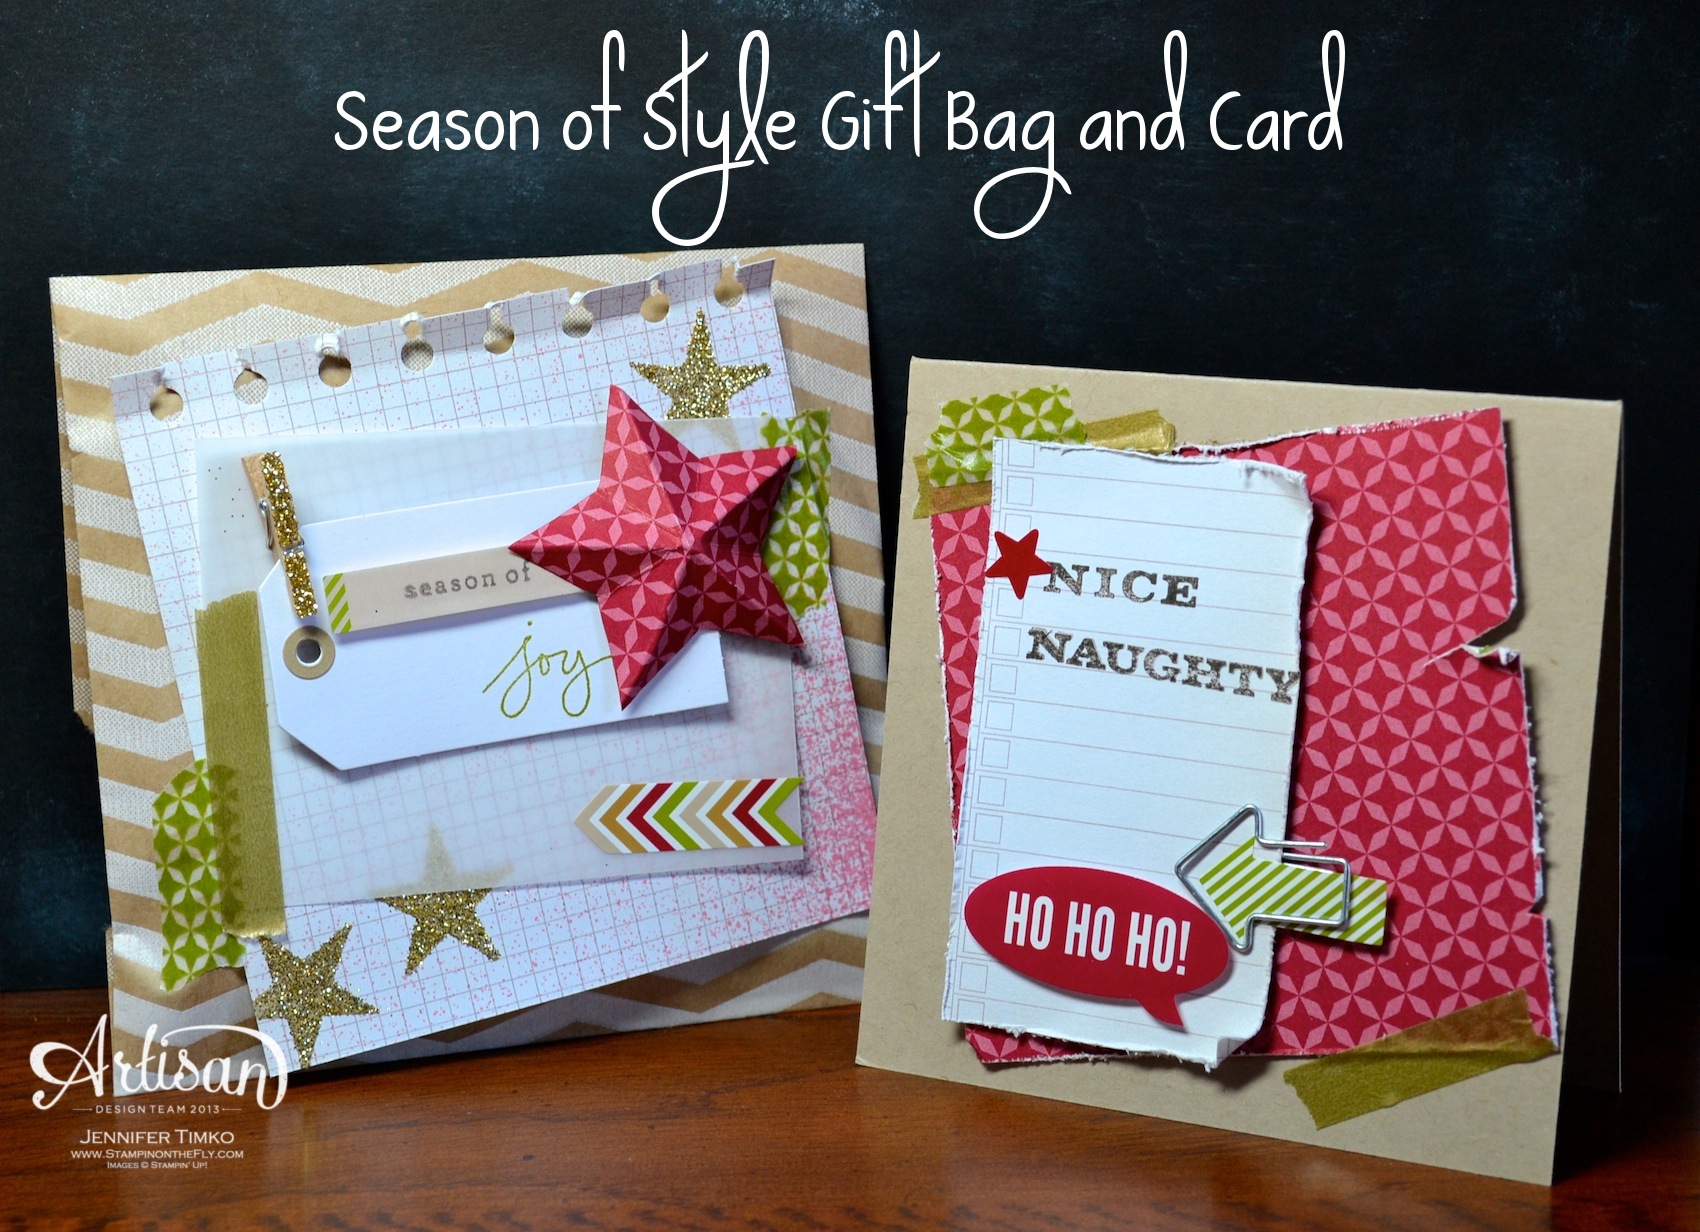
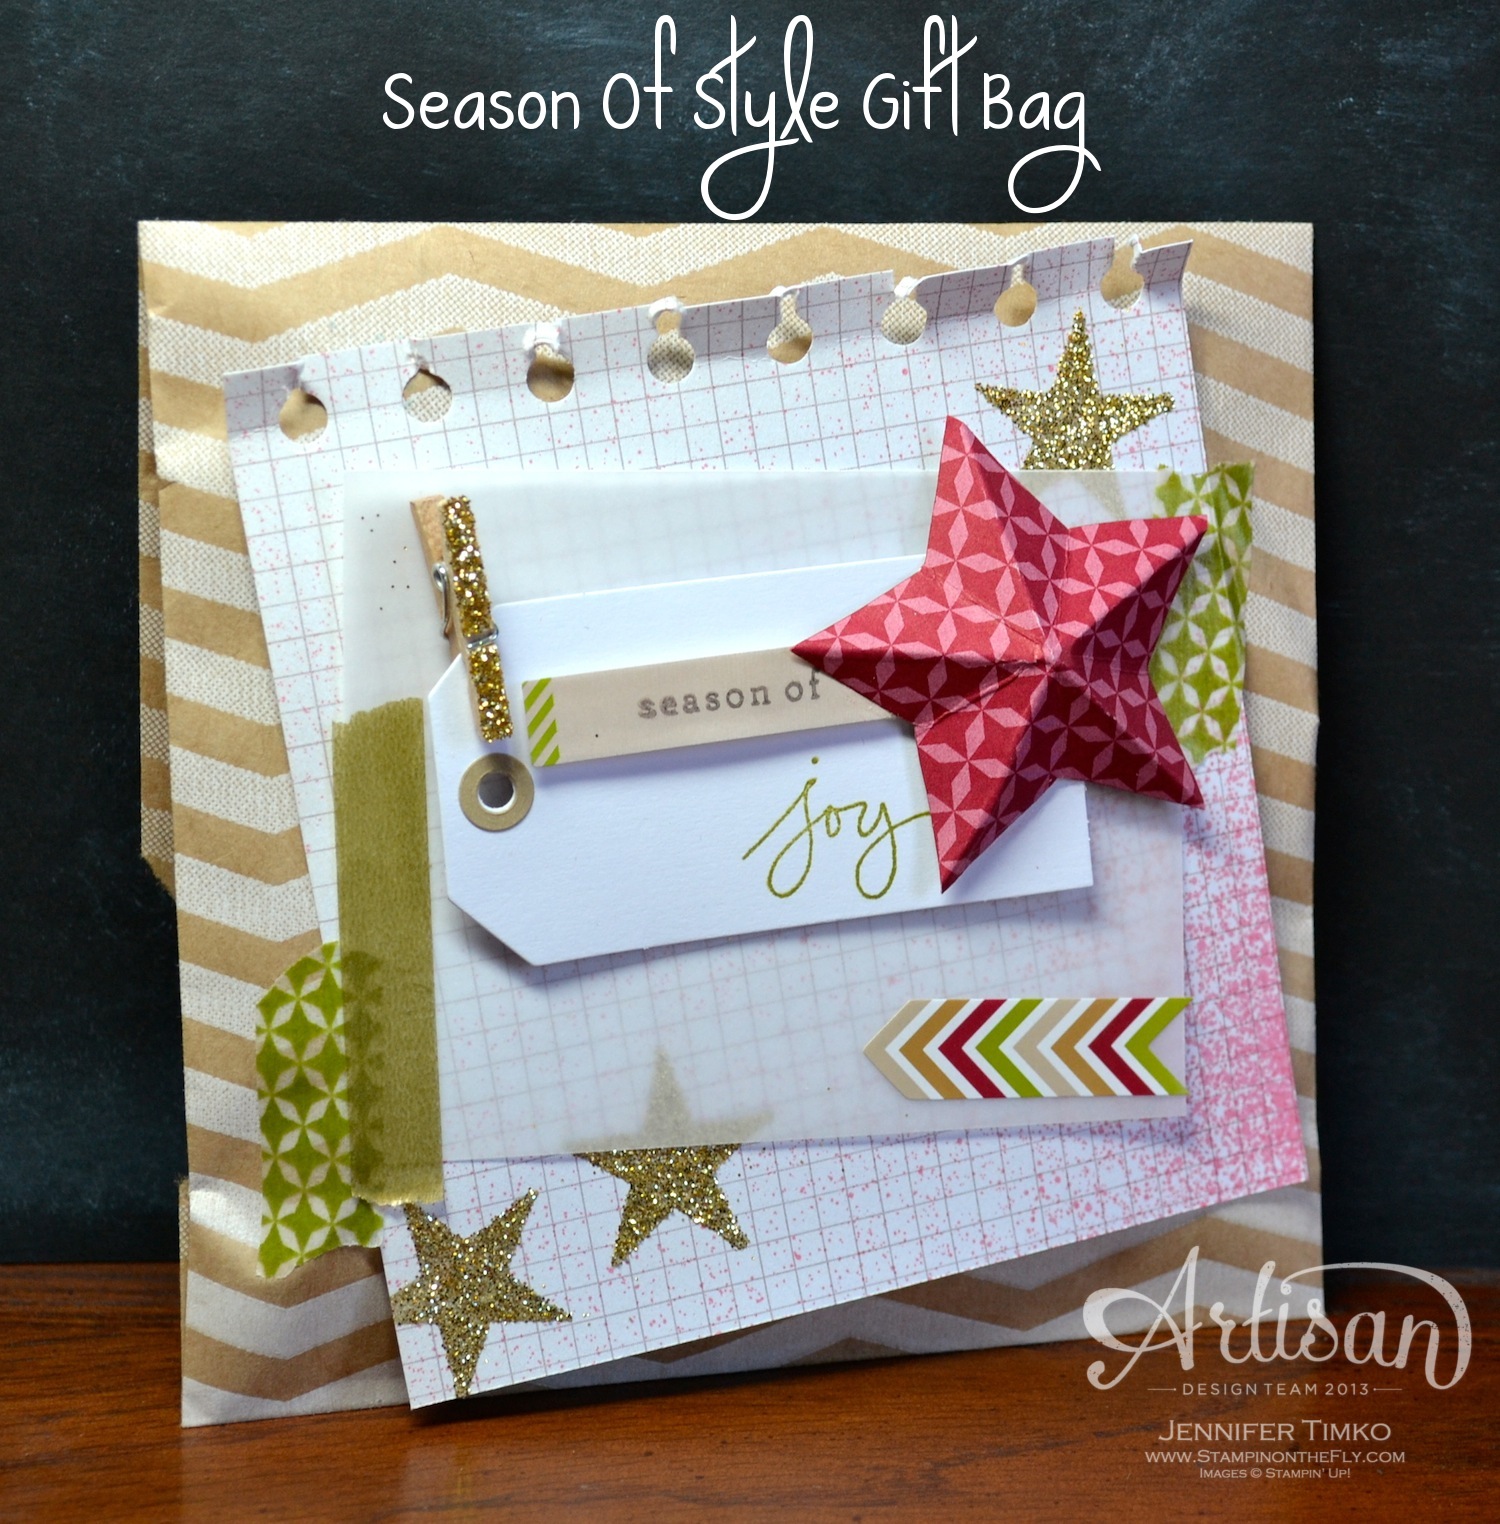
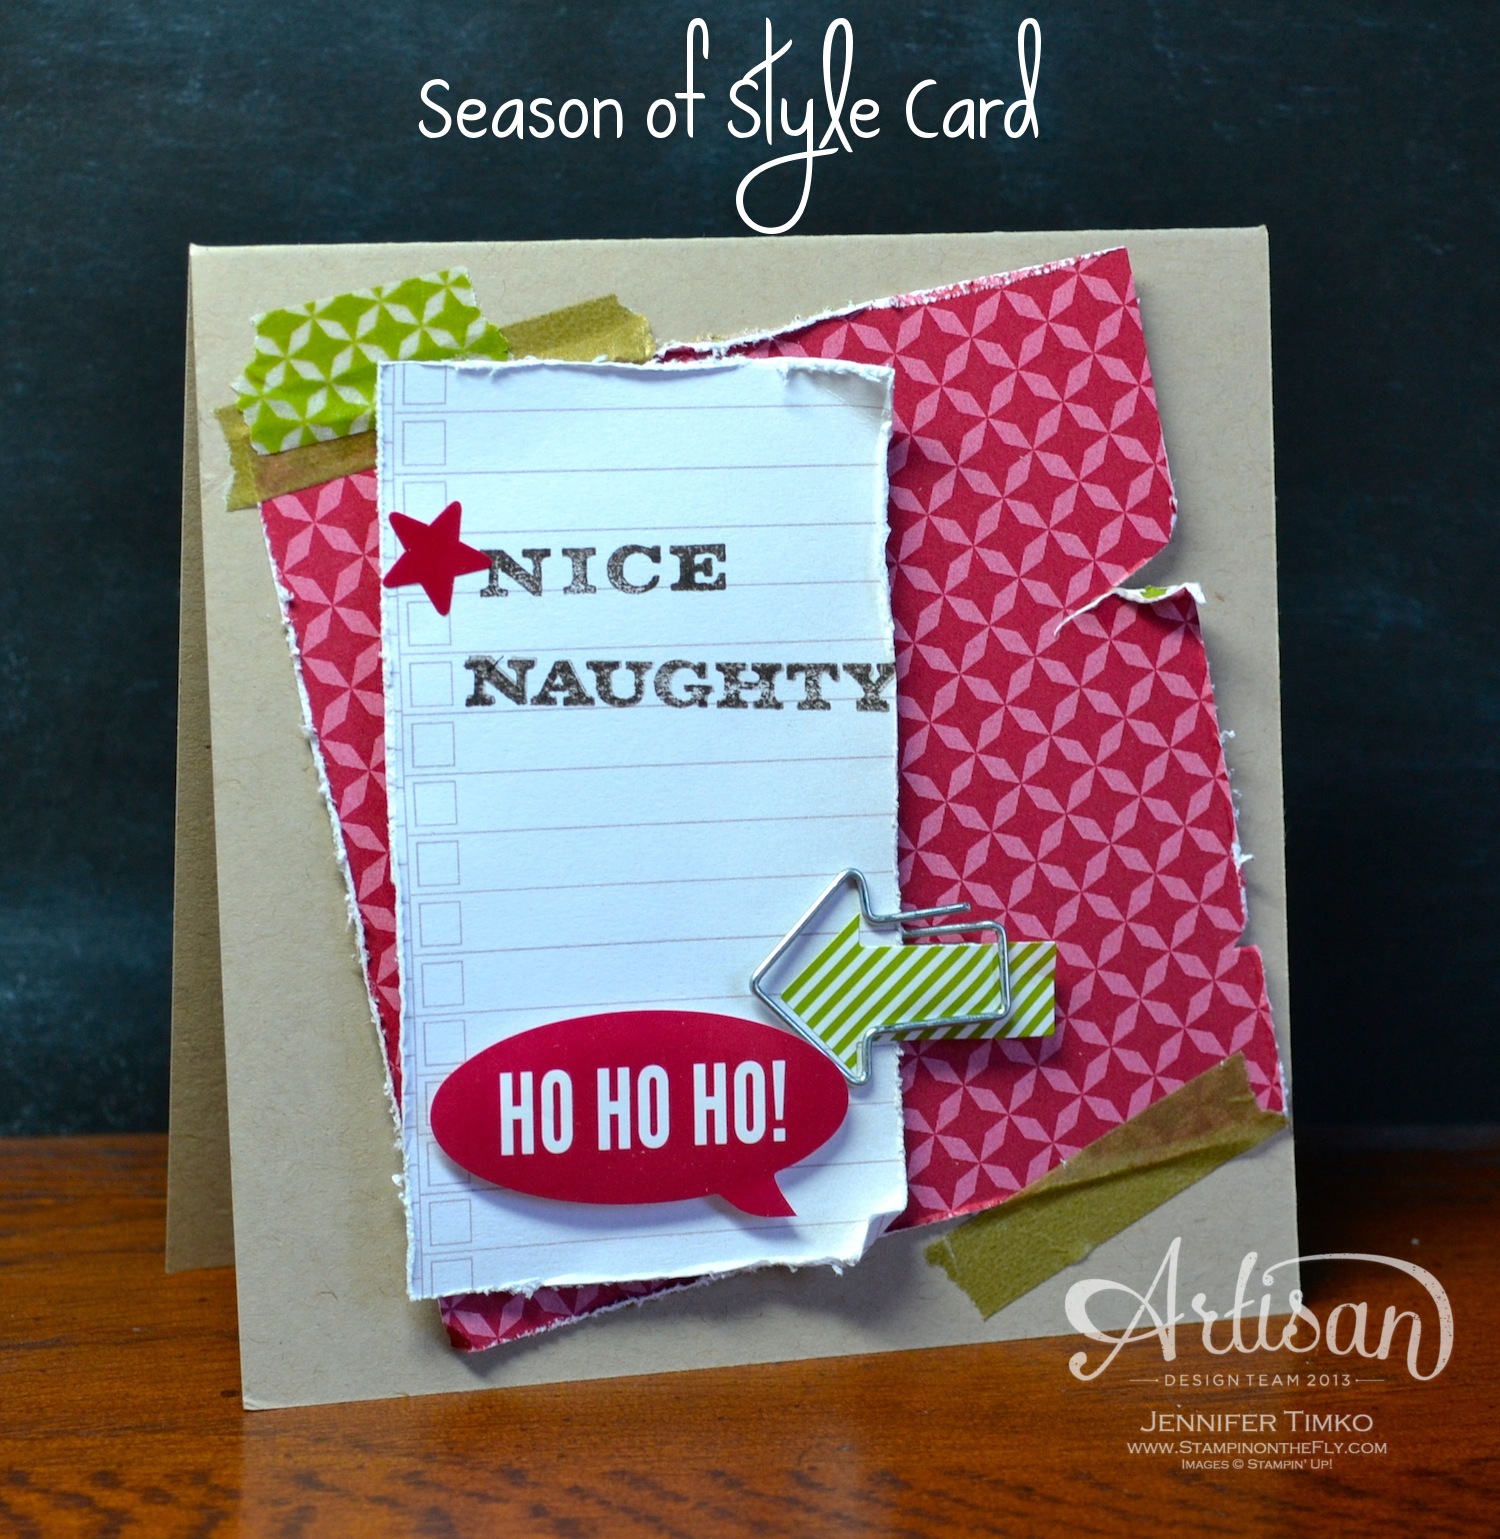
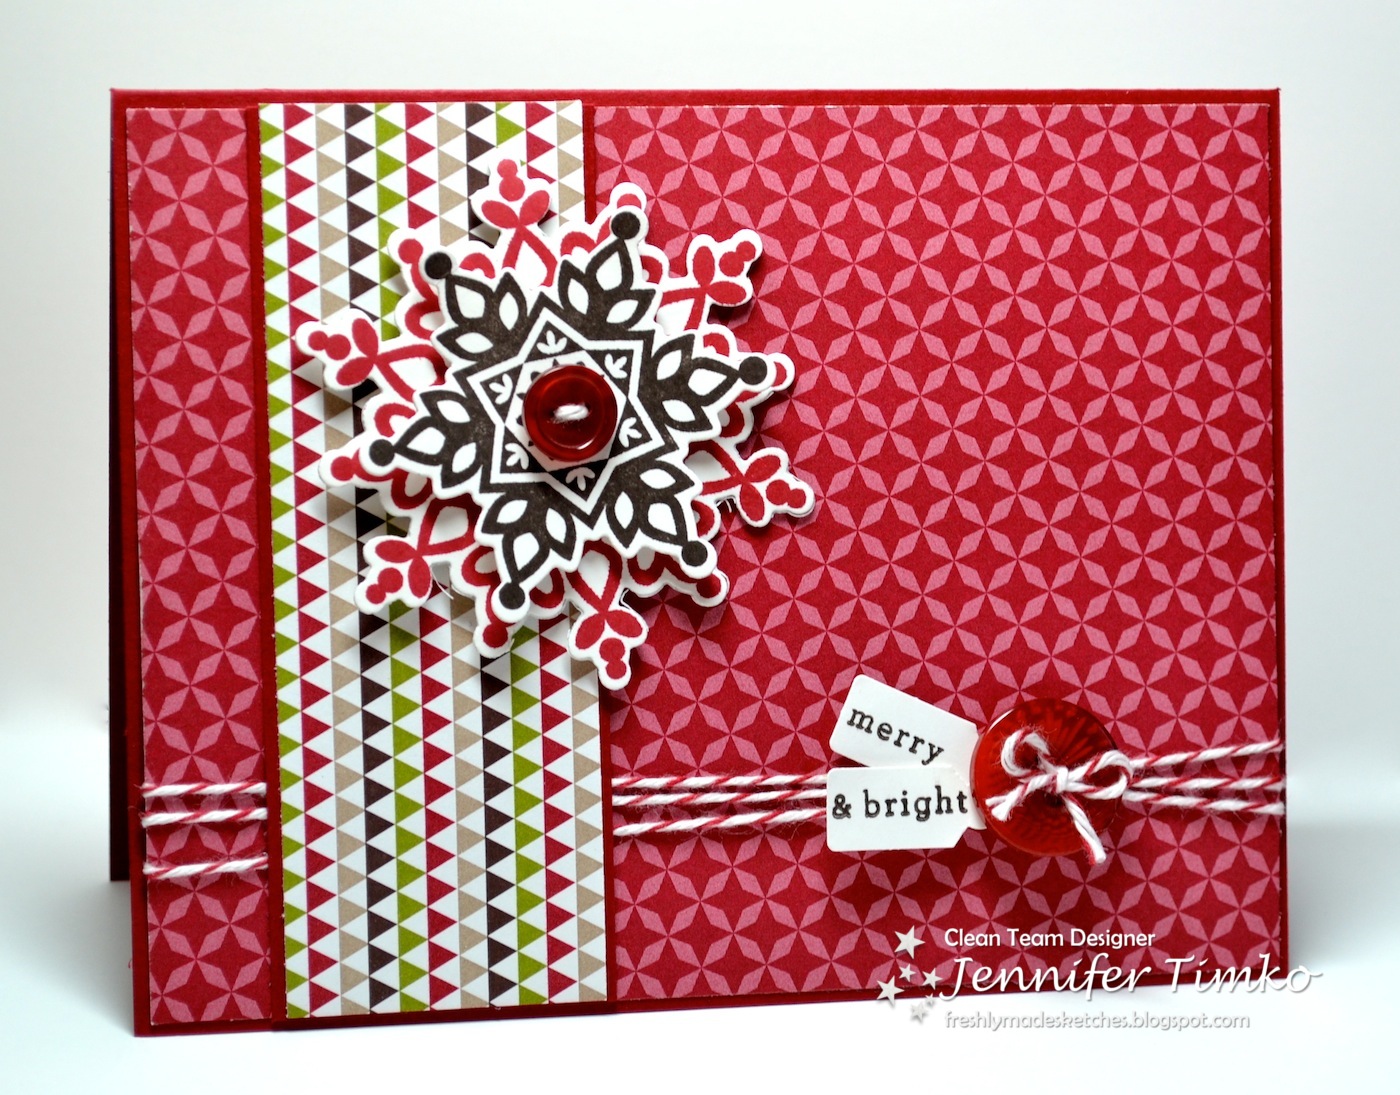
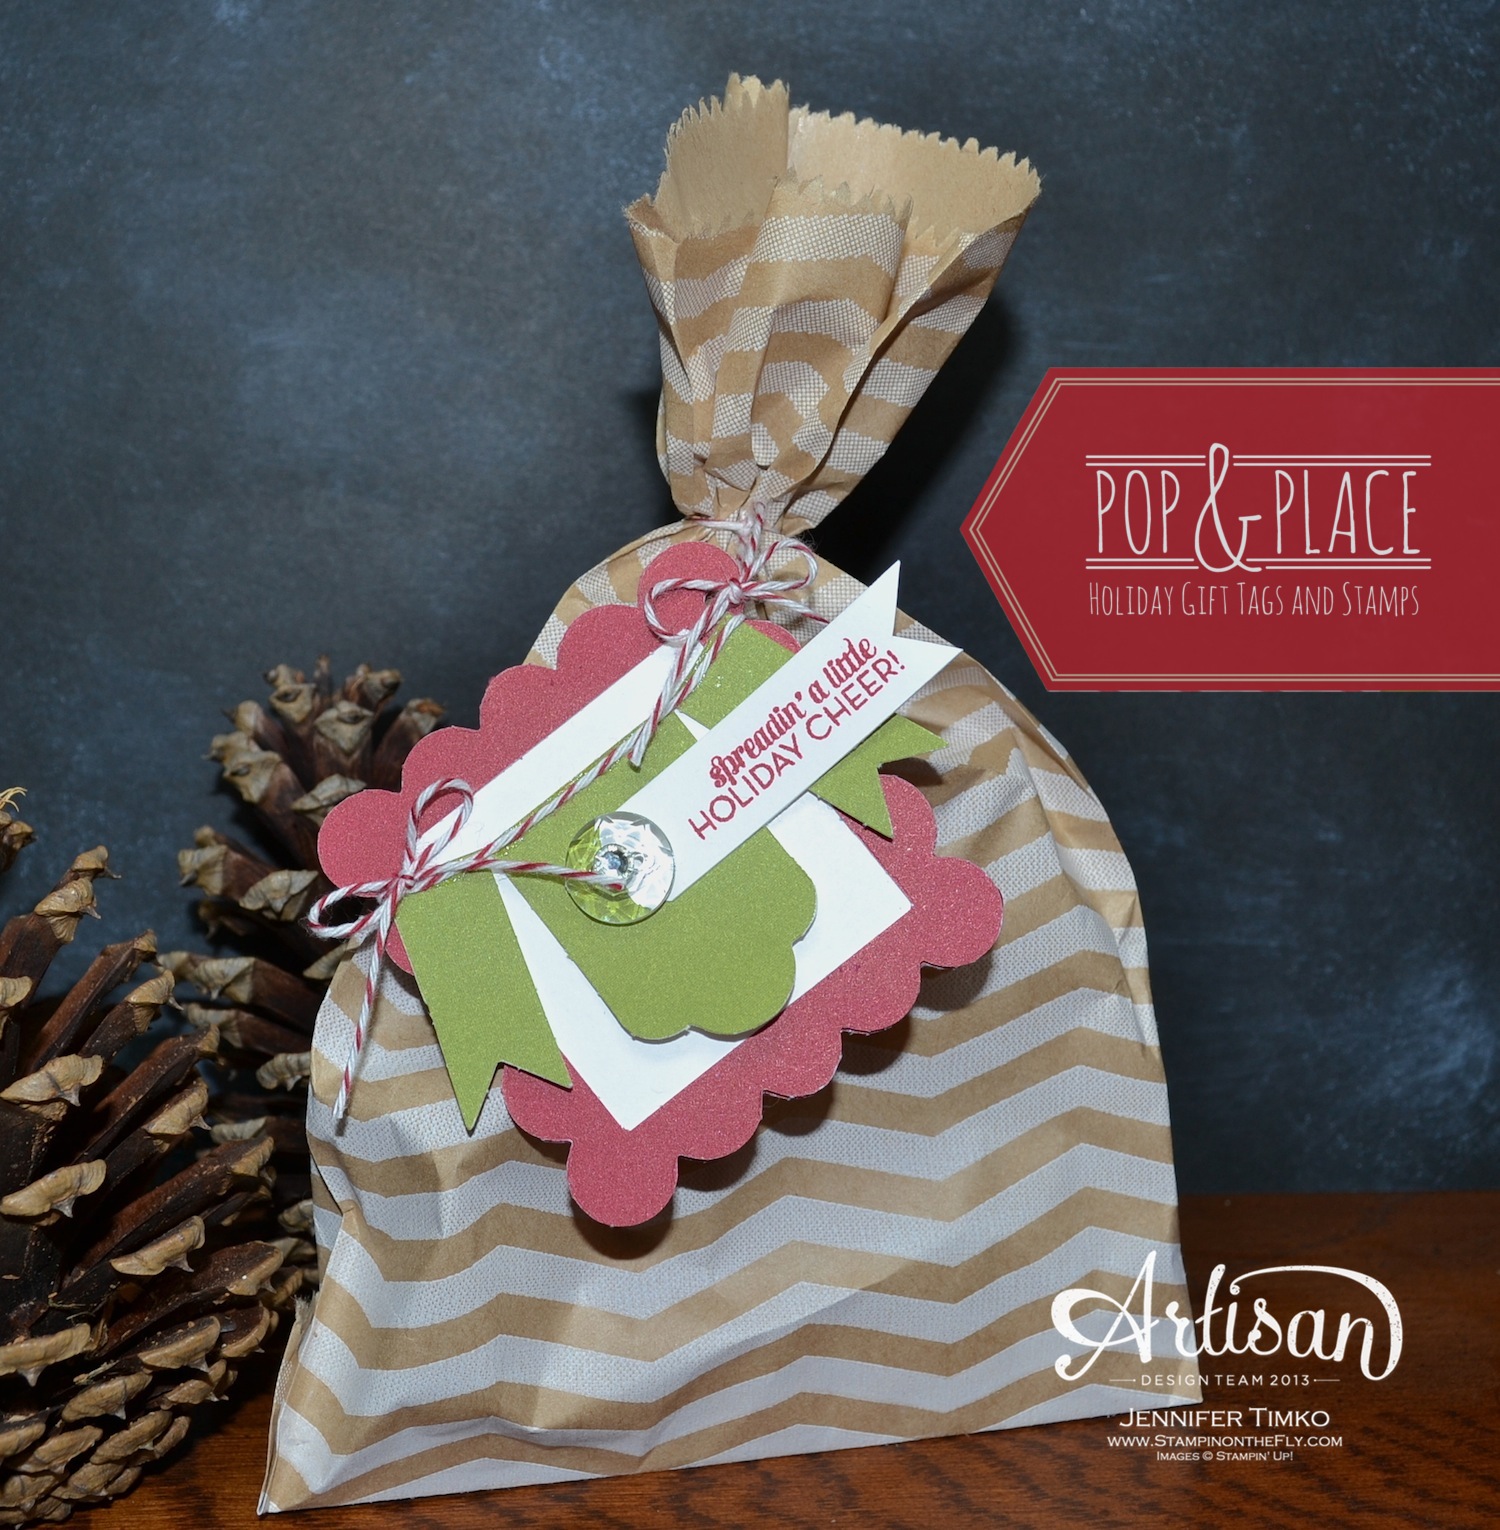
I thought I’d focus on the candy cane stripes from Season of Style DSP and the Merry Little Christmas stamp seemed like a perfect match. I also pulled out a new product to make my life SOOO much easier. The brand new Banner Punch will be available to customers starting on Jan. 28th as a free (yes, FREE) option during Stampin’ Up’s annual Sale-a-bration promotion. I was able to get it early as an Artisan Design Team member and other demonstrators can get it now too. Yes, there are so many perks to begin a demo! The punch and the paper did most of the work and I just added on a button tied up with Baker’s Twine to finish it off.
I hope you are able to join us this week because I know you’ll have fun working with this sketch! Make sure you let Narelle know how much you enjoy it!
My house has been more chaotic than usual this week with lots of ice and snow in Virginia. My kids had two days off from school (lots of happiness there) and they have a late start today. I’m hoping to finish my Christmas cards today once I shuffle them out the door. Wish me luck! Thanks for stopping in today. Hope your week is great!
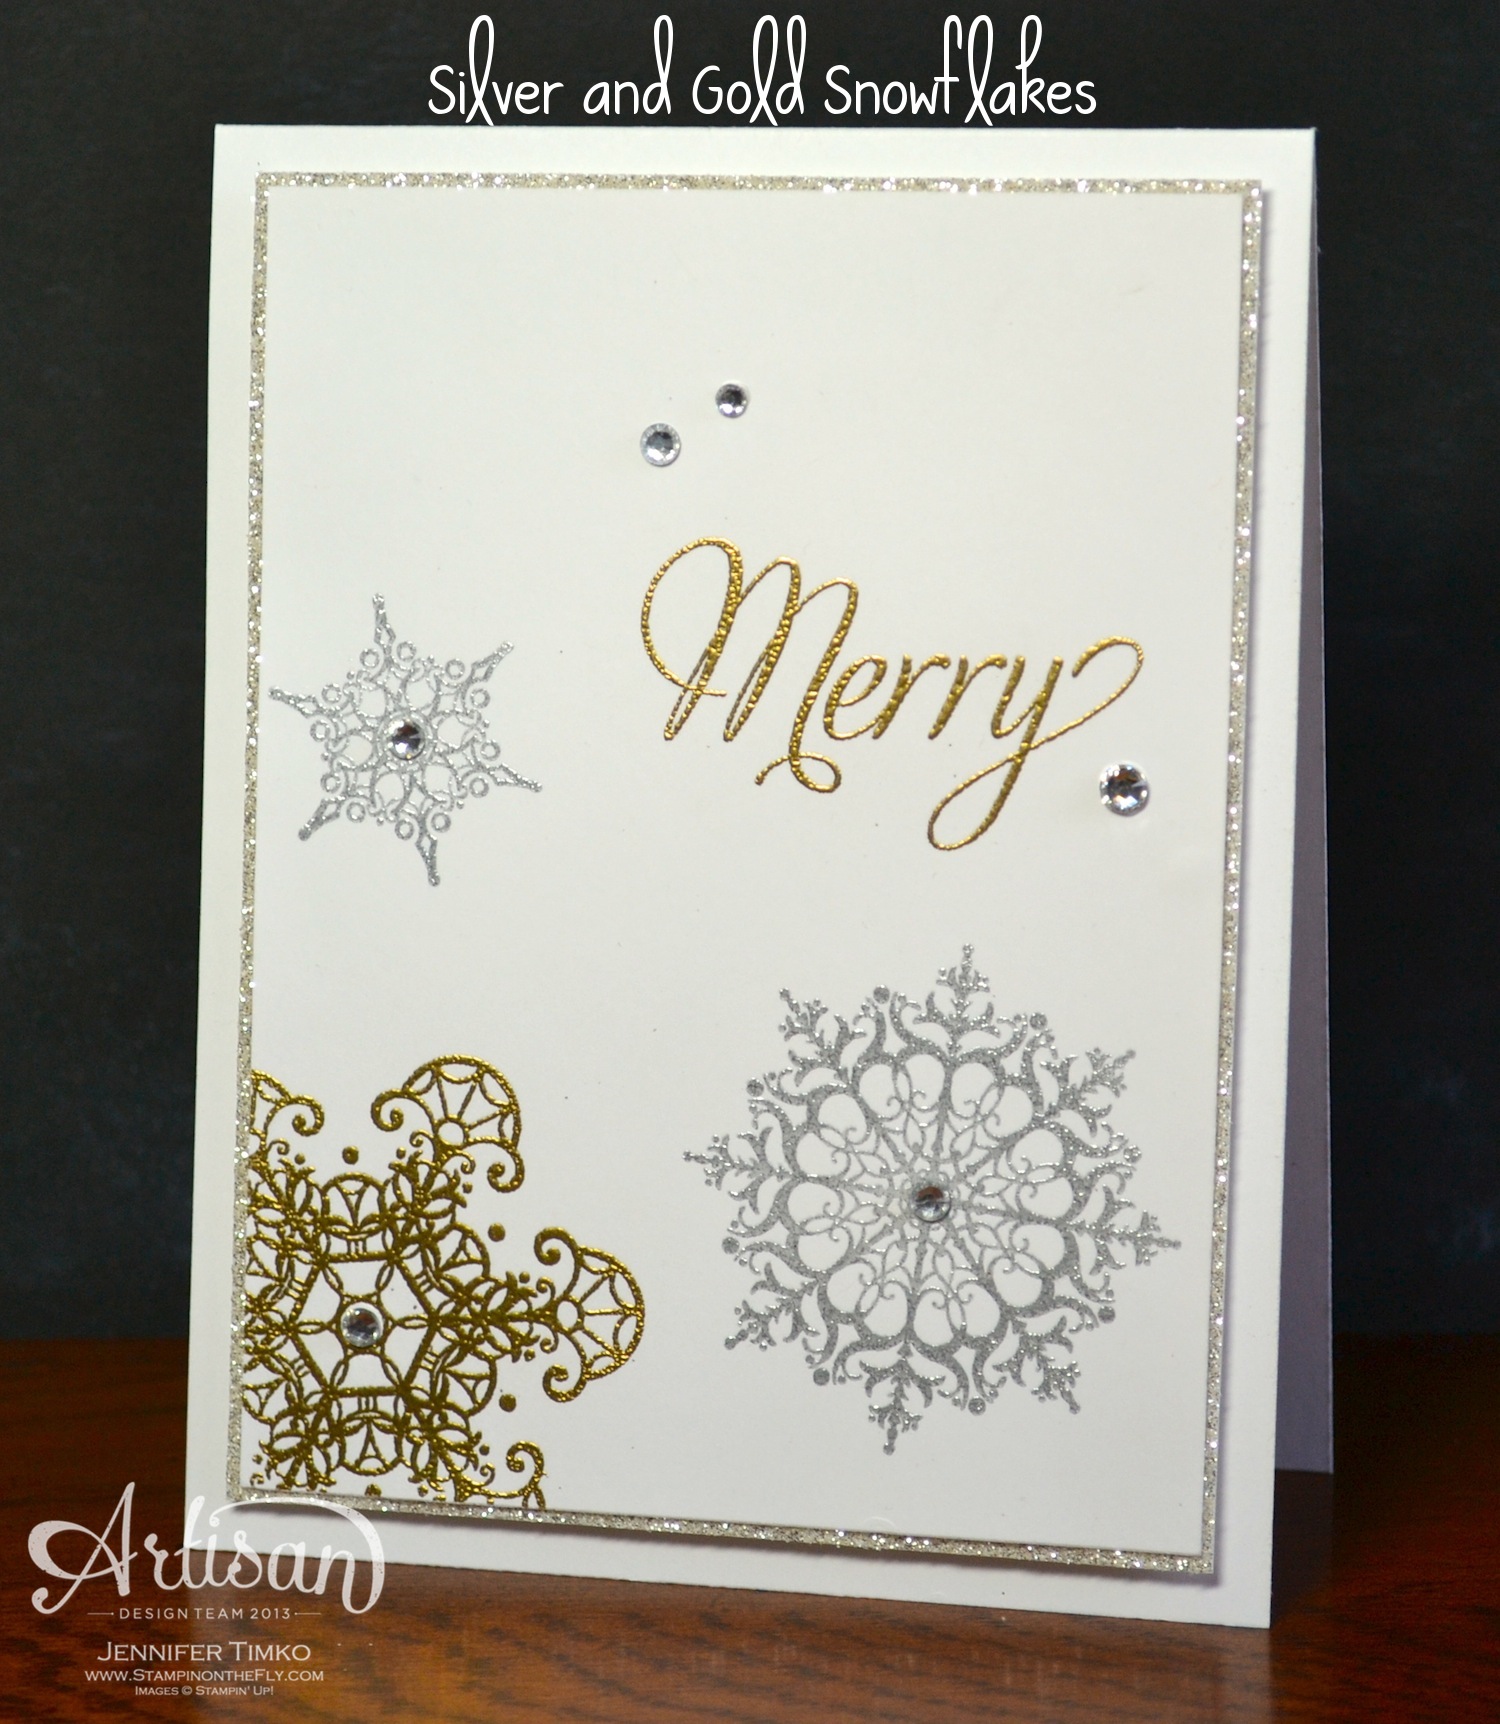
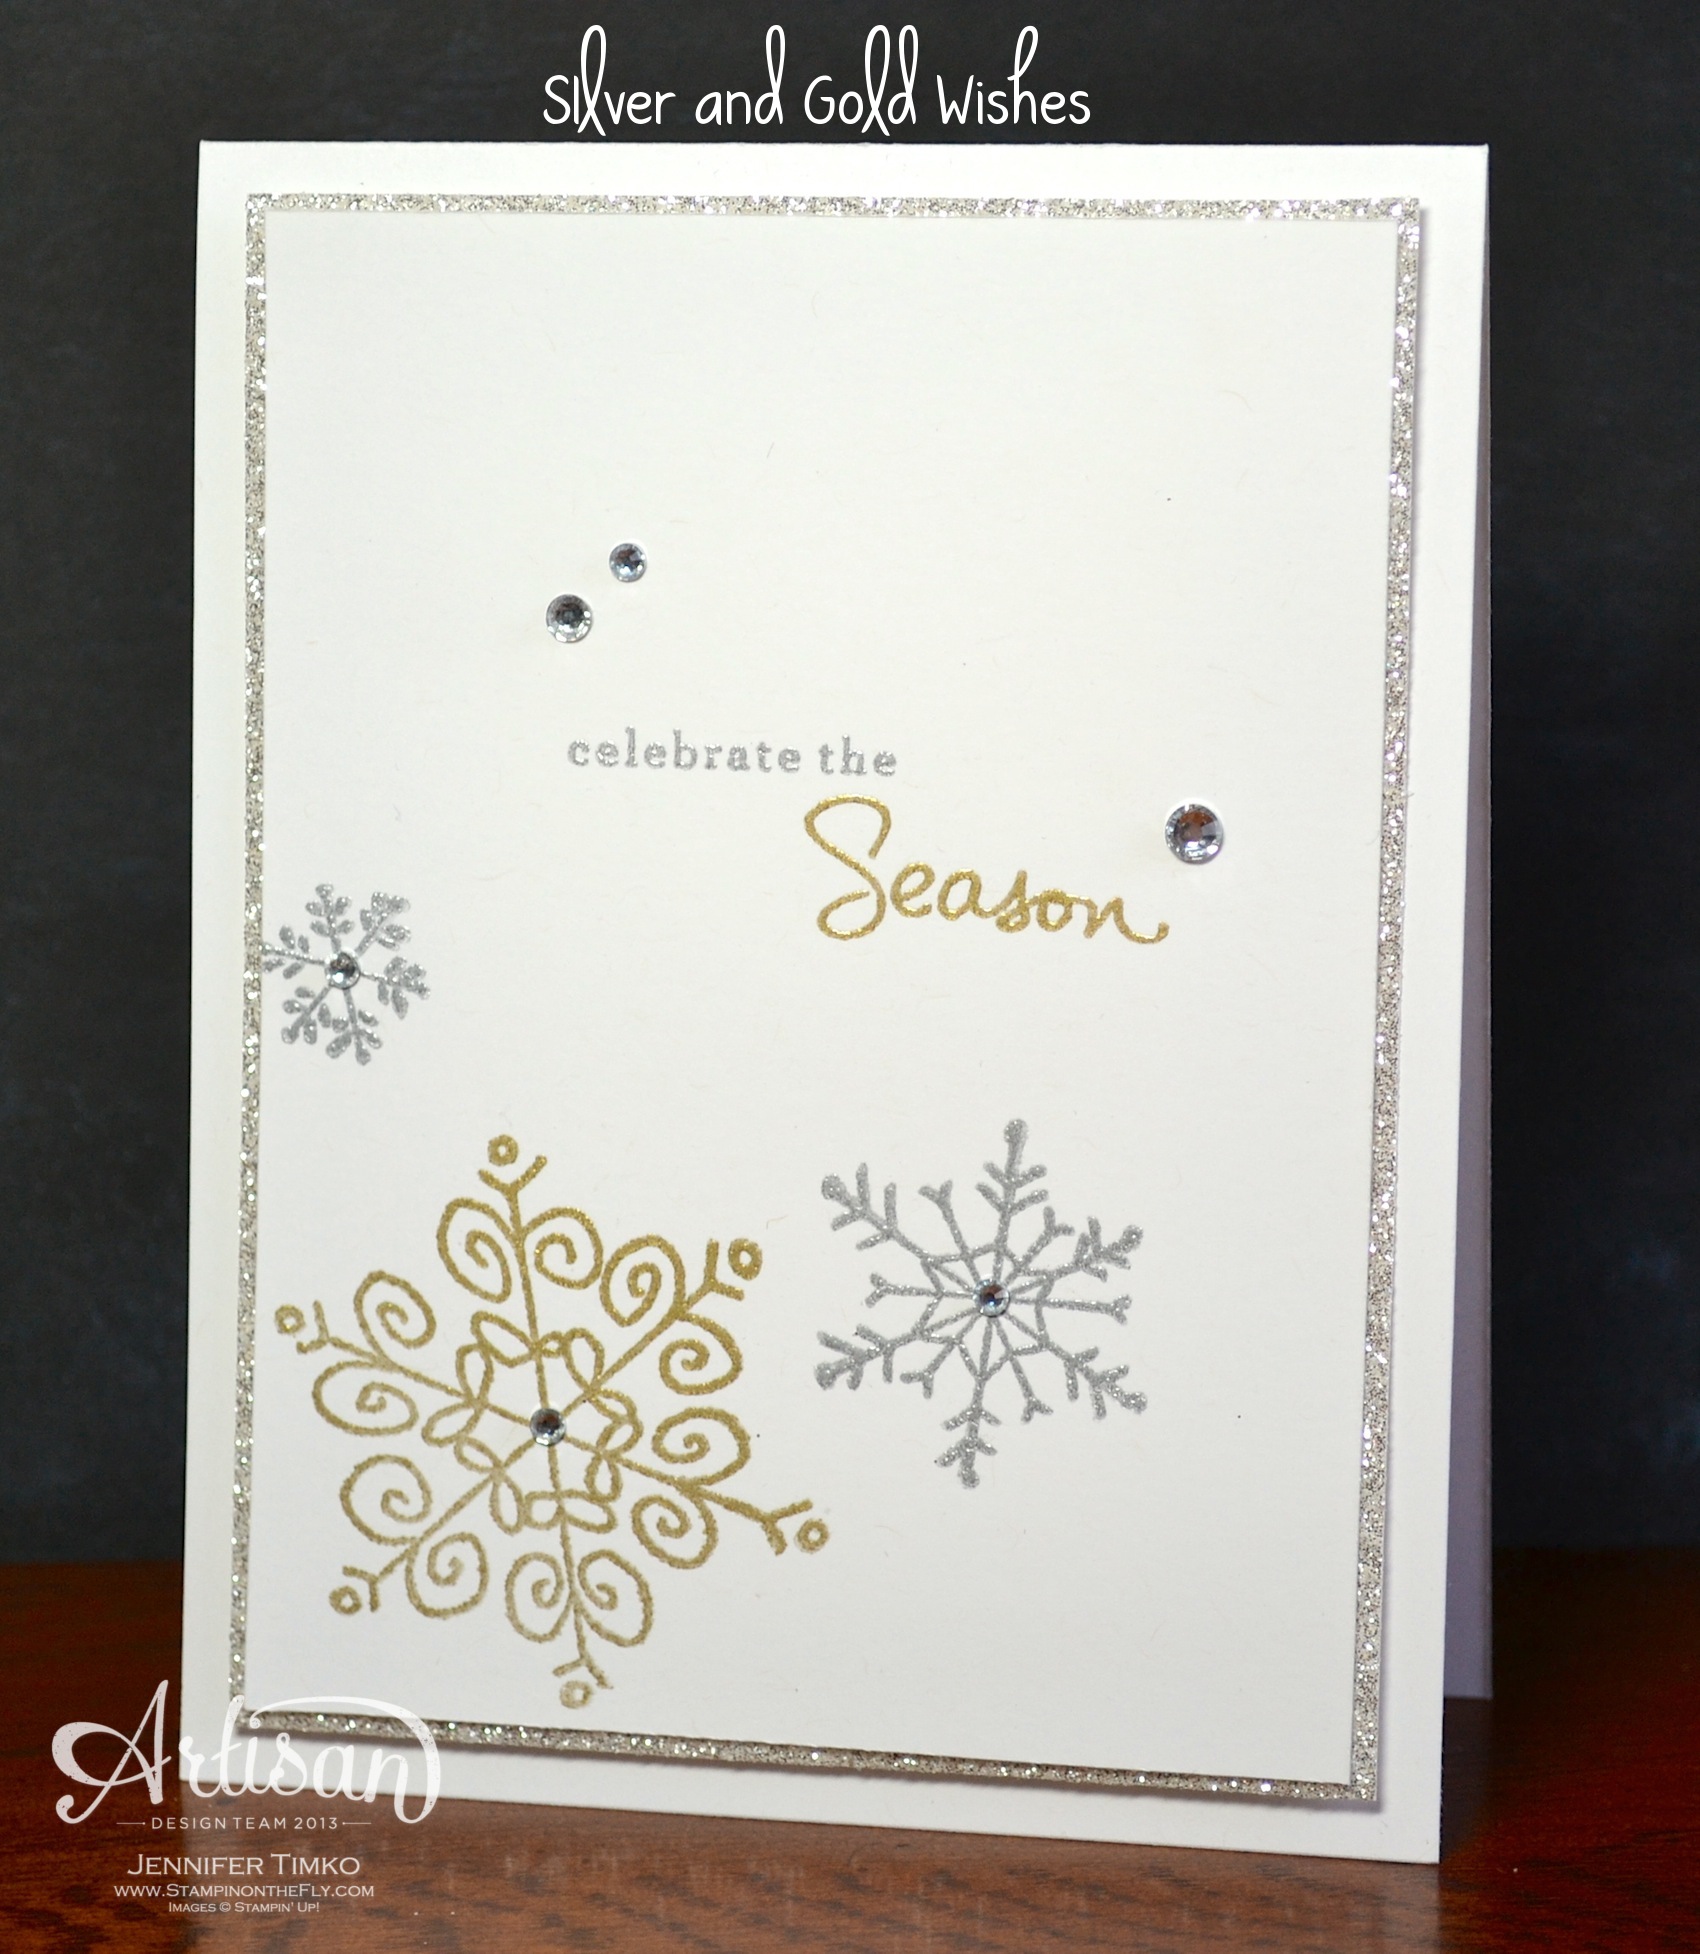
Stamp: Merry Little Christmas; Paper: Season of Style Paper Stack, Early Espresso, Whisper White; Ink: Cherry Cobbler, Early Espresso; Accessories: Banner Punch (SAB), Neutrals Button, Cherry Cobbler Baker’s Twine
Click HERE to shop my Stampin’ Up Store. Make sure you check out this week’s specials!