I don’t know about you but I love fun bags. I particularly love them when I can make them out of Stampin’ Up’s amazing designer series papers! My project for today does just that!
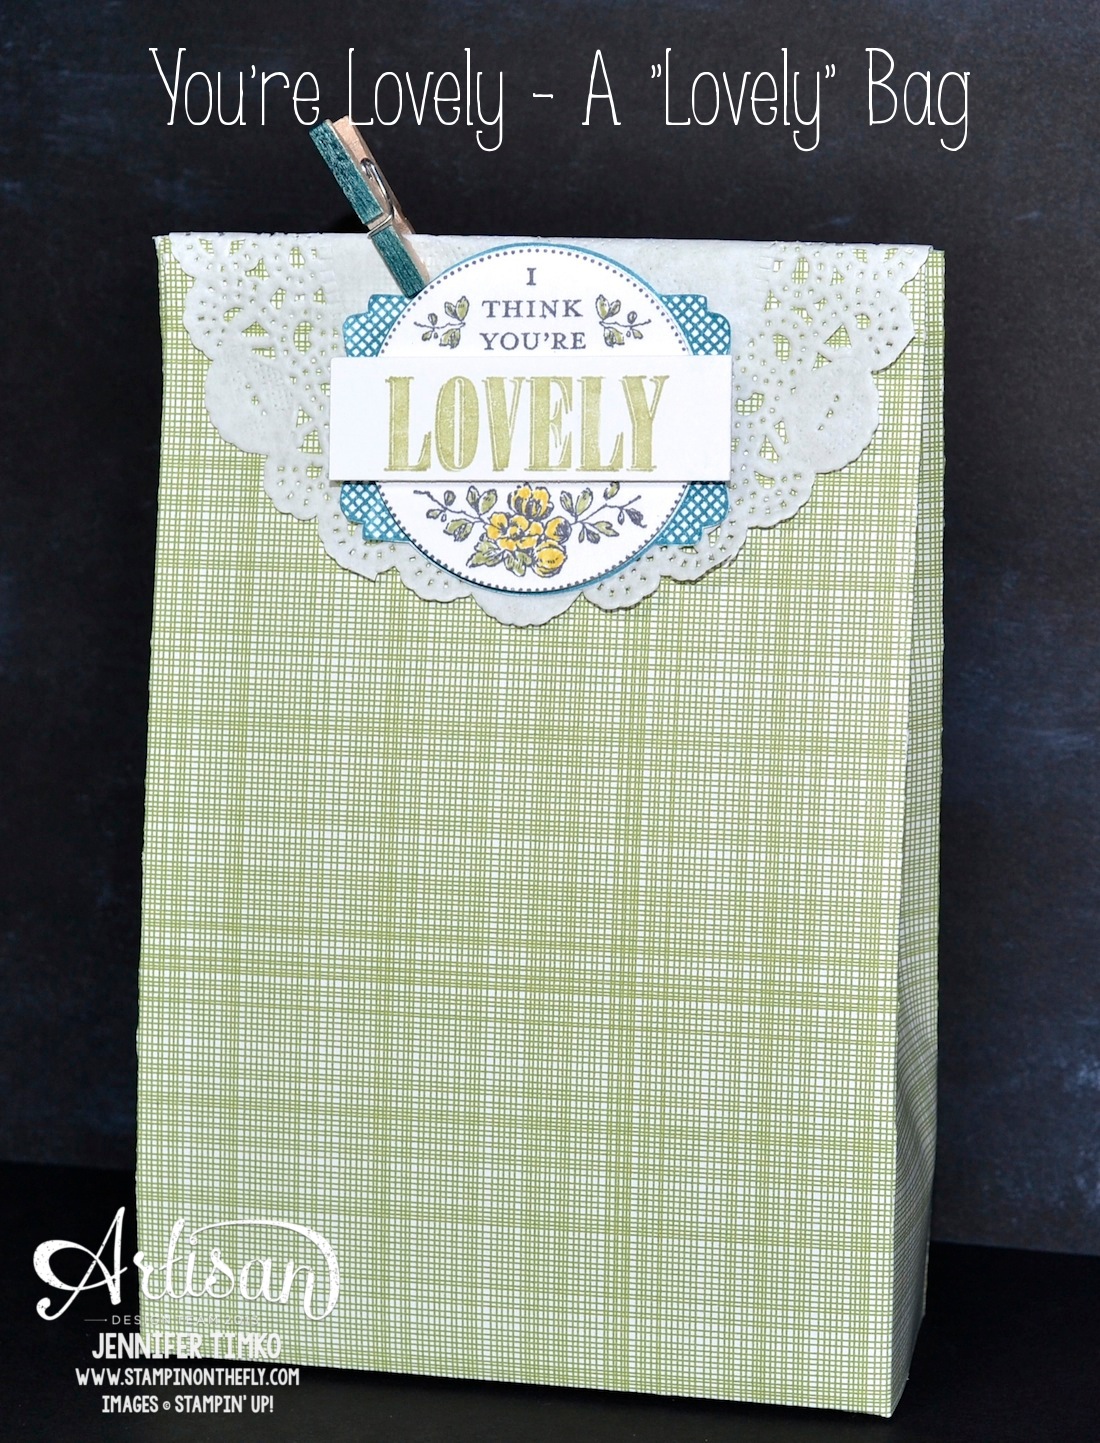
The focus is on the oh-so-pretty stamp set You’re Lovely (a Sale-a-bration offering) but the bag provides just the right base for it. First the bag:
- Start with 8-1/2″ x 11″ pieces of DSP
- On the long side, score at 2-1/4″, 3-3/4″, 7-3/4″ and 9-1/4″
- On the short side, score at 1/2″ and 2″
- Below 2″ score line, add additional score on long side at 3-1/4″ and 8-1/2″
- Cut out rectangles as shown below
- Cut along score lines as shown below
- Fold bag together and secure with Sticky Strip

If you need more specifics, I used this video by Mercedes Weber to assist me so I really recommend you take a look. She did the hard work on the measurements!!
To decorate the bag, I stamped the image using a few different colors. First, Island Indigo, then Basic Gray and finally Pear Pizzazz. I hand cut the Island Indigo Layer. I used the 1-3/4″ Circle Punch for the center and colors direct to paper on those images with Pear Pizzazz and So Saffron Markers. Then I cut the “Lovely” out using my Paper Cutter. The Mini Clothespin is from the Tag a Bag Accessory Kit and I just colored the outsides with my Island Indigo Marker. Cute way to make the little pin match, don’t you think? I put a Doily underneath to add some more fun detail.
Hope you like this one! Glad you were able to stop in today. I’ll be back on Monday with another project from Leadership! See you then!
The rest of the team is showing their Leadership Display Board projects as well so make sure you take a look!
Here is the rest of the Artisan Design Team:
- Alanna Wharf
- Becky Cowley
- Cathy Caines
- Cindy Schuster
- Connie Collins
- Erica Cerwin
- Jane Lee
- Jeanna Bohanon
- Jennifer Timko (you are here)
- Mercedes Weber
Click HERE to purchase wonderful Stampin’ Up products.