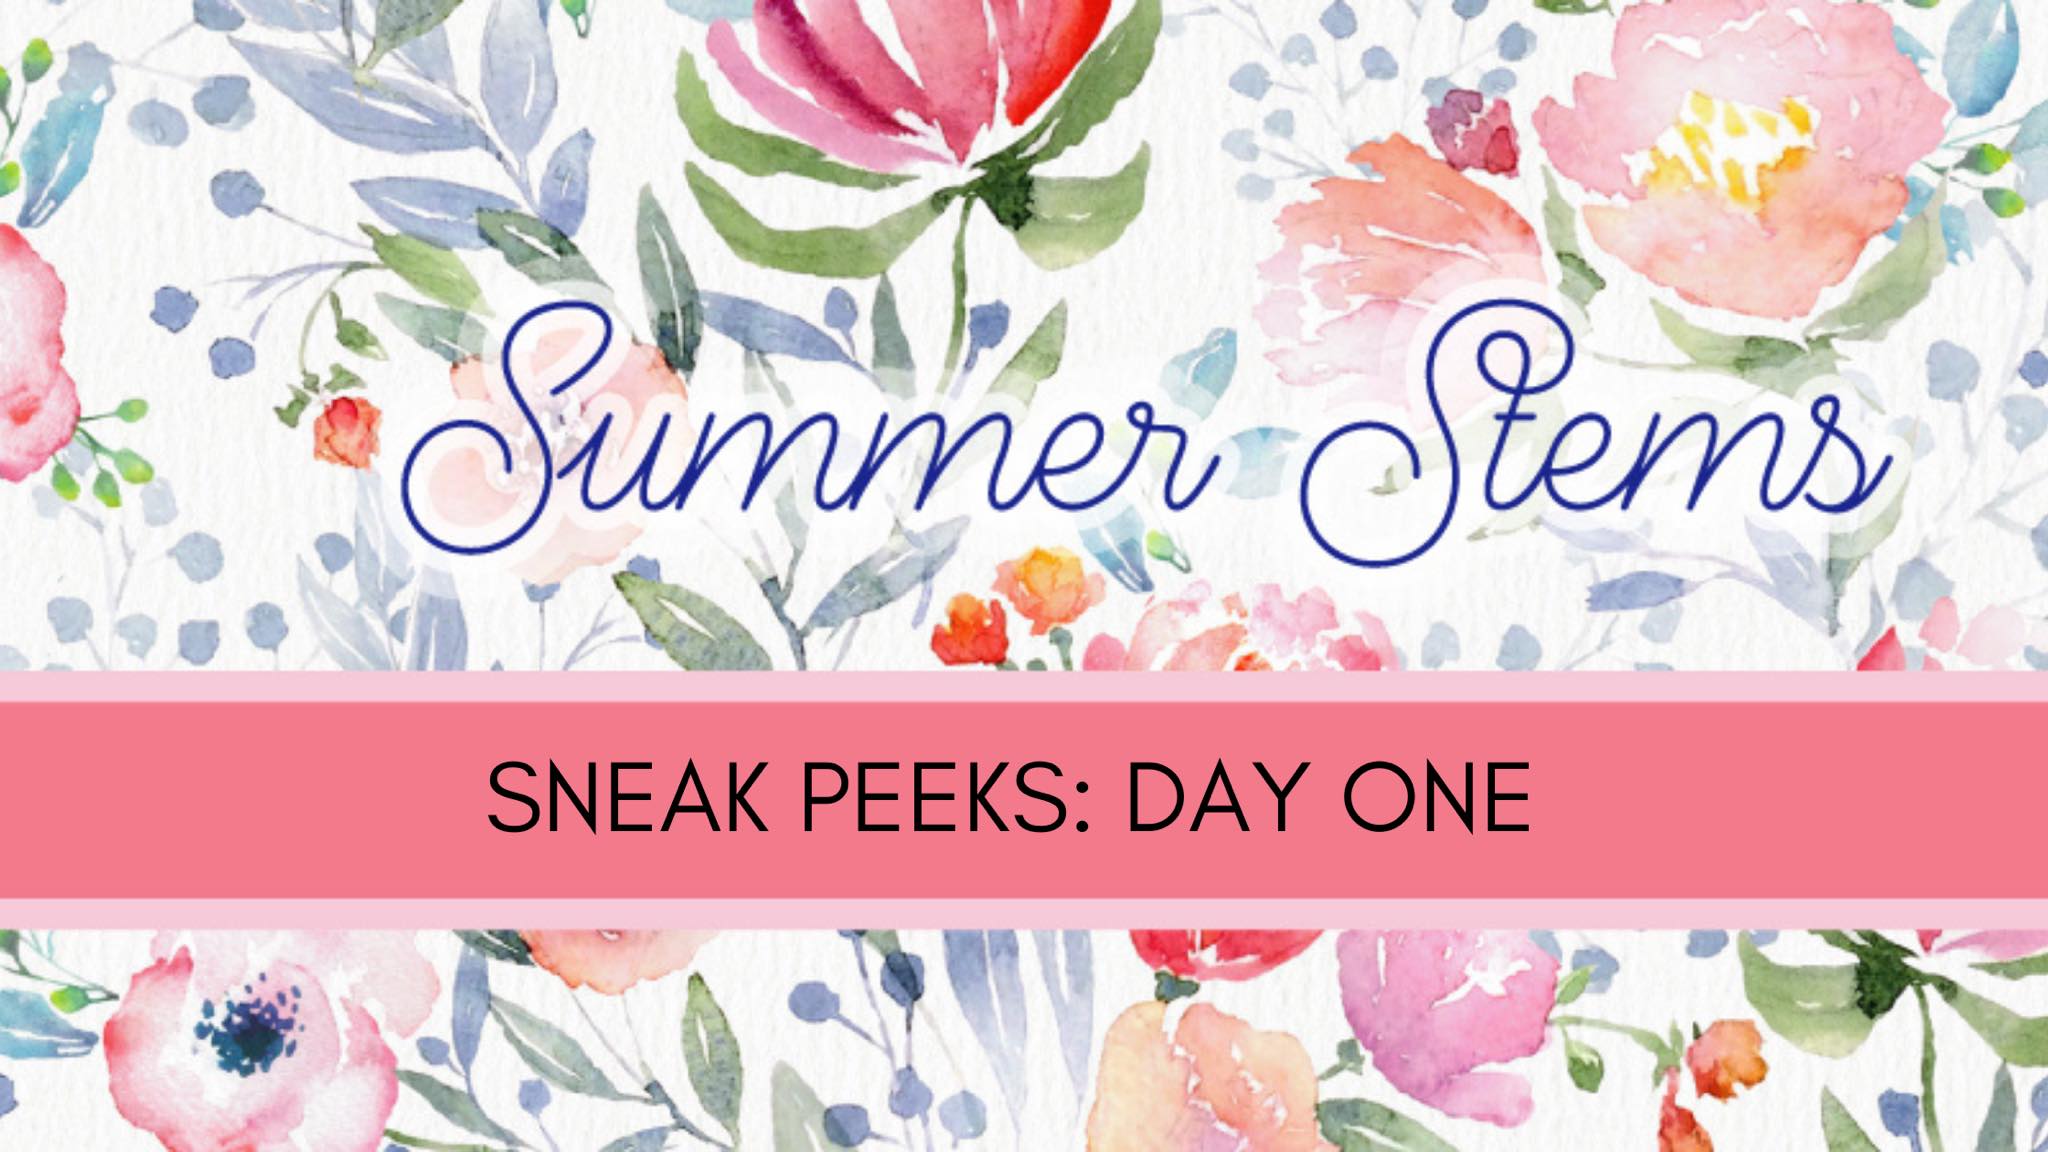
Welcome to the Honey Bee Stamps Summer Stems Release Sneak Peeks! Today is day four of our peeks at the new release and tonight the release goes live!
For our last day, I have a combination of products meant to be used together plus some great add-ons: the Bicycle Builder Honey Cuts Dies, the Riding By Stamp Set and Riding By Honey Cuts Dies, the Summer Stems Paper Pack and Summer Stems Gem Stickers, and the Honey Bee Reverse Tweezers (These affiliate links will not be live until the release opens for sale tonight after the Release Party on IG and FB at 8p CT.)

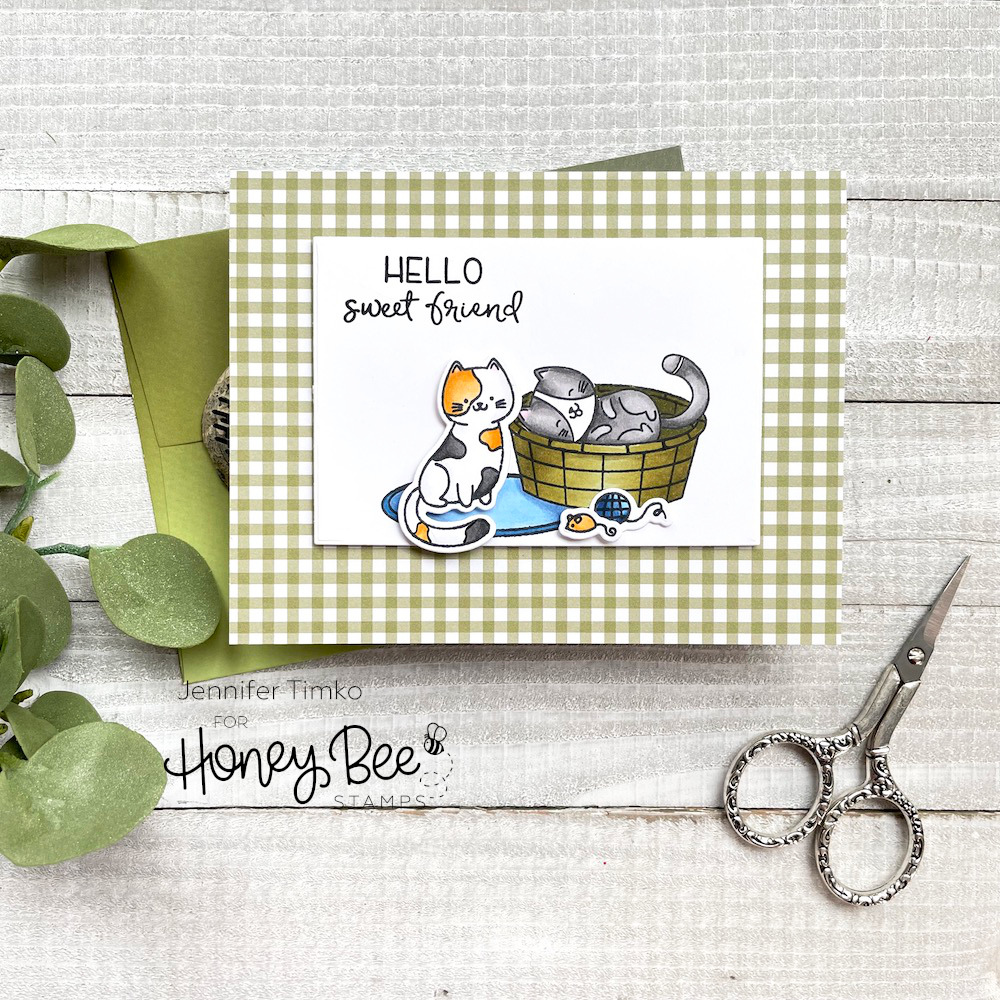
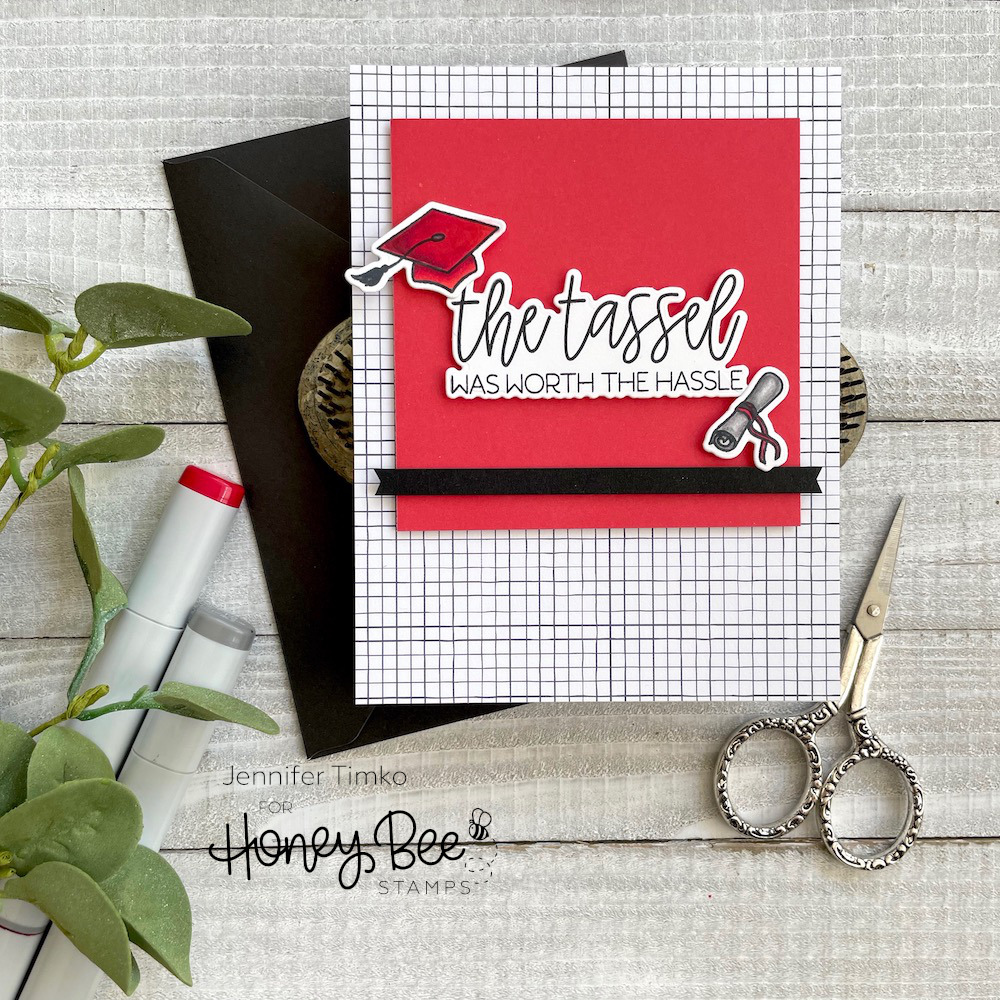
The Bicycle Builder Honey Cuts were the starting place for me. I cut white card stock and did some Copic Marker coloring to create a bit of interest and shading. This is super fun to do but you could use color card stock or distress ink too. I stamped the little packages from Riding By and colored them to add into the basket and chose this sweet sentiment with its coordinating die.

The script print and the ombré pink are both papers from the Summer Stems Paper Pack and I added the road by using the Horizon Slimline Borders Honey Cuts. I added a few of the gems from the Summer Stems pack because, well, who doesn’t love bling?!

So glad you stopped in today. I hope you will join us for the Release Party tonight and then the shopping links open! Thanks so much for joining me all week. See you tomorrow for the latest from Freshly Made Sketches.