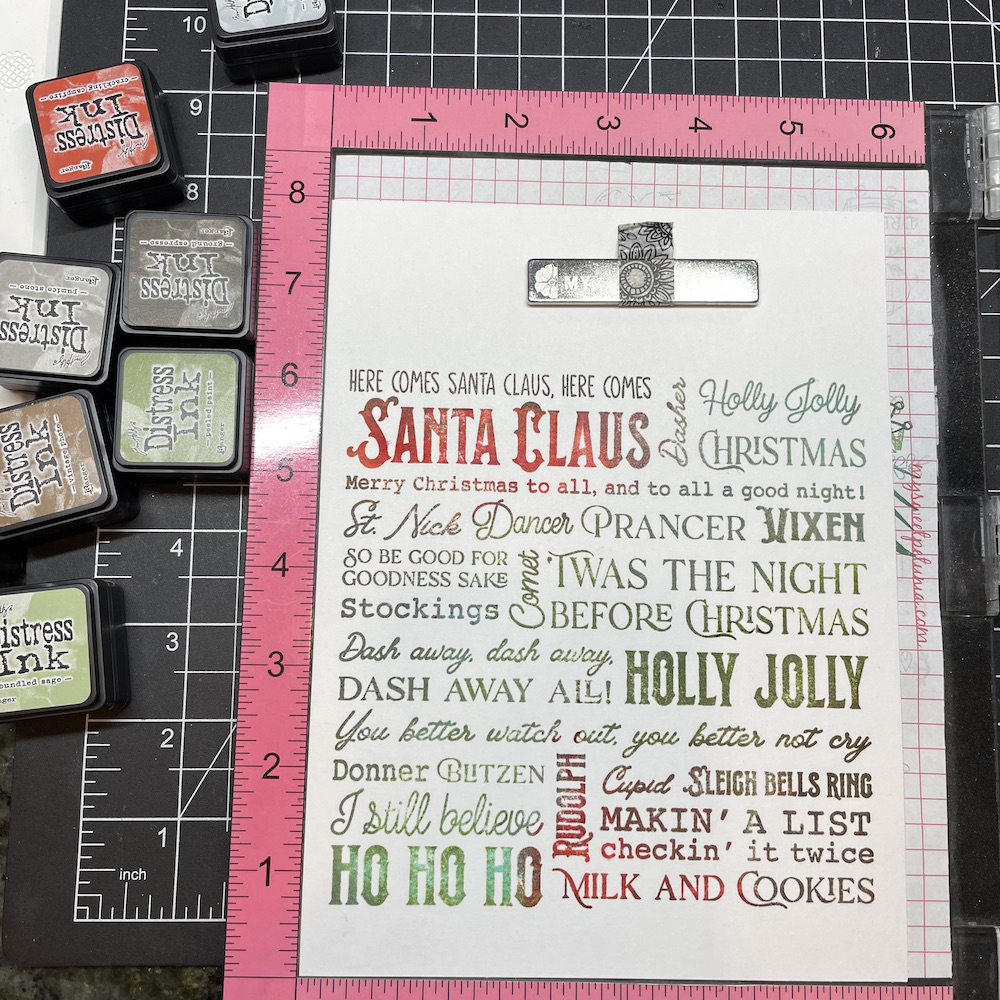
Happy Wednesday! I am back today with the latest sketch from Freshly Made Sketches and another watercolor tree. Truly, I’m obsessed. I did get a question on the tutorial on the watercolor trees. Dawn has a group on Facebook called WPlus9 Encourage Creativity where she has lives twice a week or so. The tree painting was on November 15th. Now, on to the latest sketch from the incredible Karren Johnson.

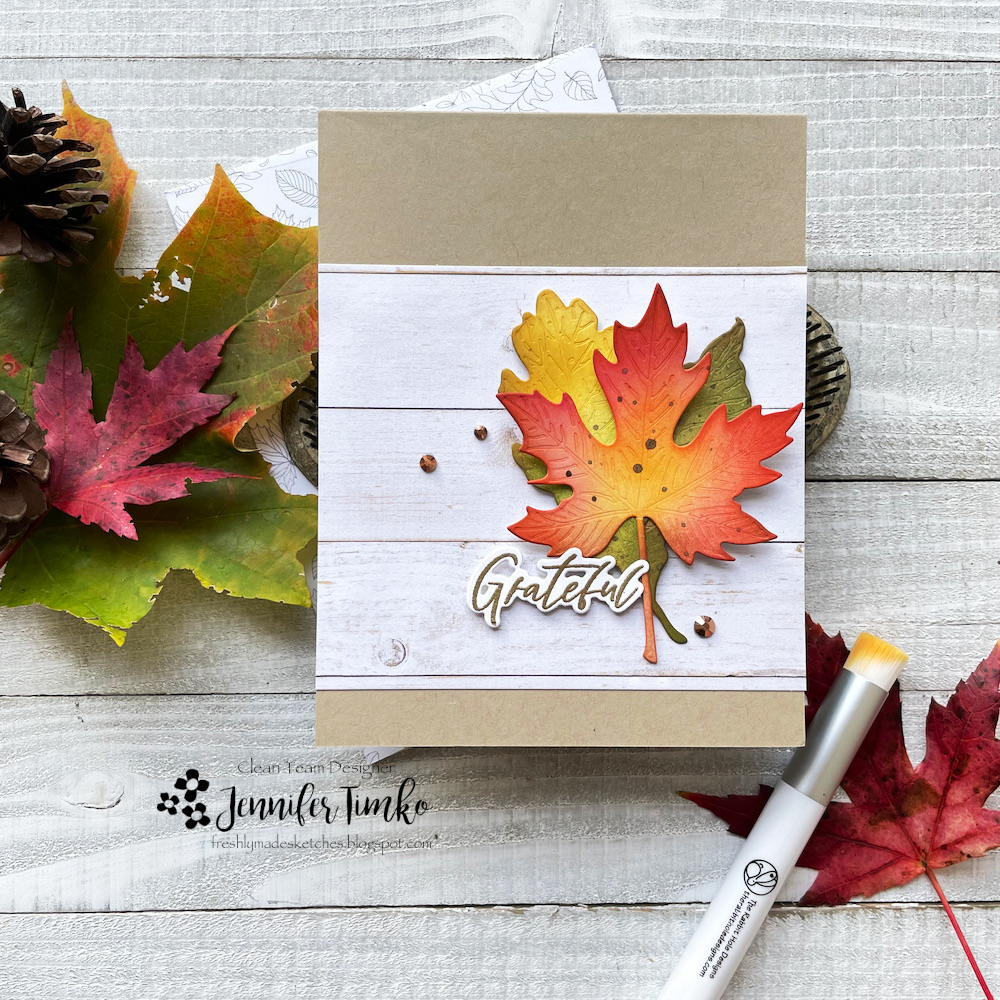
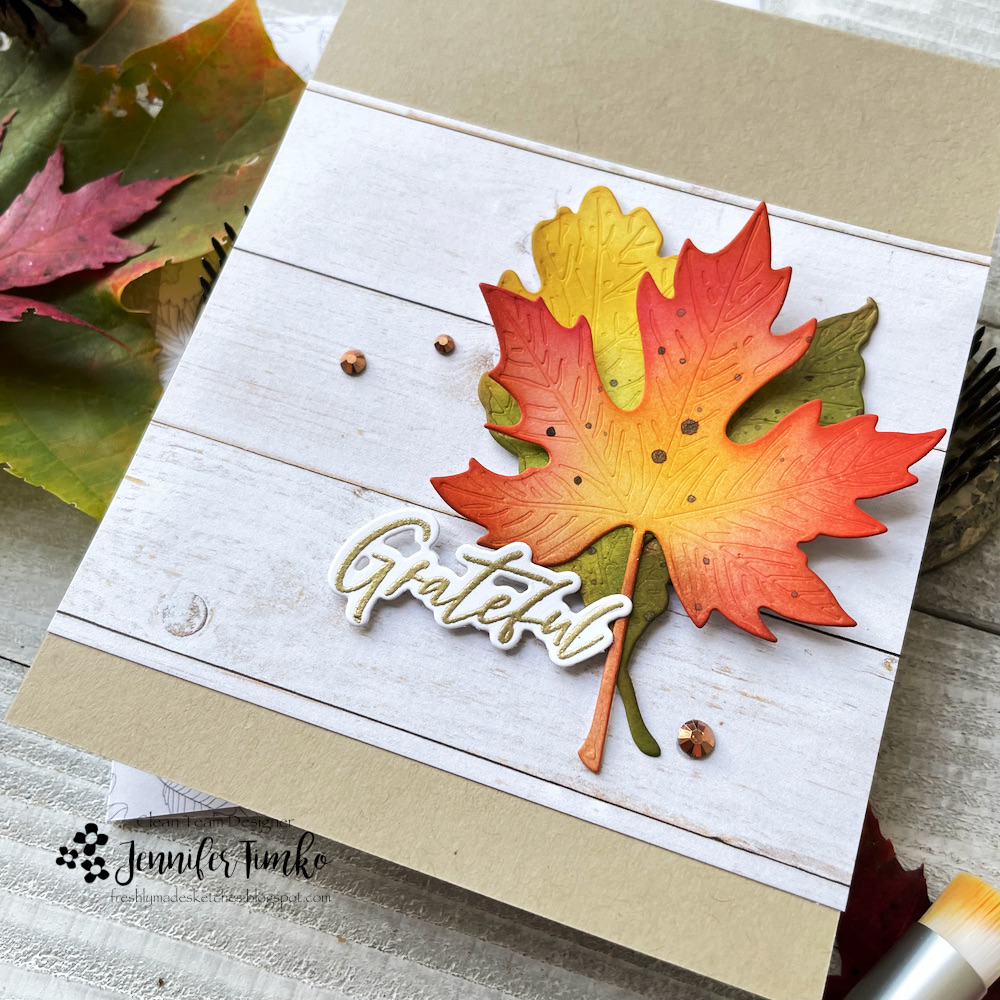
Armed with my confidence from the last watercolor tree, I attempted another style and, oh my word, it worked! I wanted to use it with the sketch this week and had to play around with backgrounds that worked. I finally settled on some patterned paper from Honey Bee Stamps.

I love this traditional plaid behind the tree and thought the dark wood print grounded the card nicely. In keeping with the sketch (loosely, at least) I chose a sentiment from Inside: Holiday Sentiments (Honey Bee Stamps). I had added a few gouache splatters to the tree after painting but still thought it needed a little something extra. A twine bow seemed to be just the right amount of detail.

I hope you’ll come over to join us for this week’s challenge. This sketch is perfect for those last minute holiday cards! I appreciate you dropping by. See you again soon!