I am excited to be a part of a Sneak Peek and Release Week with Honey Bee Stamps and today is Day 1. This whole release (and it is a full release with tons of products!) is amazing. It is available starting on January 2nd at 11a EST.
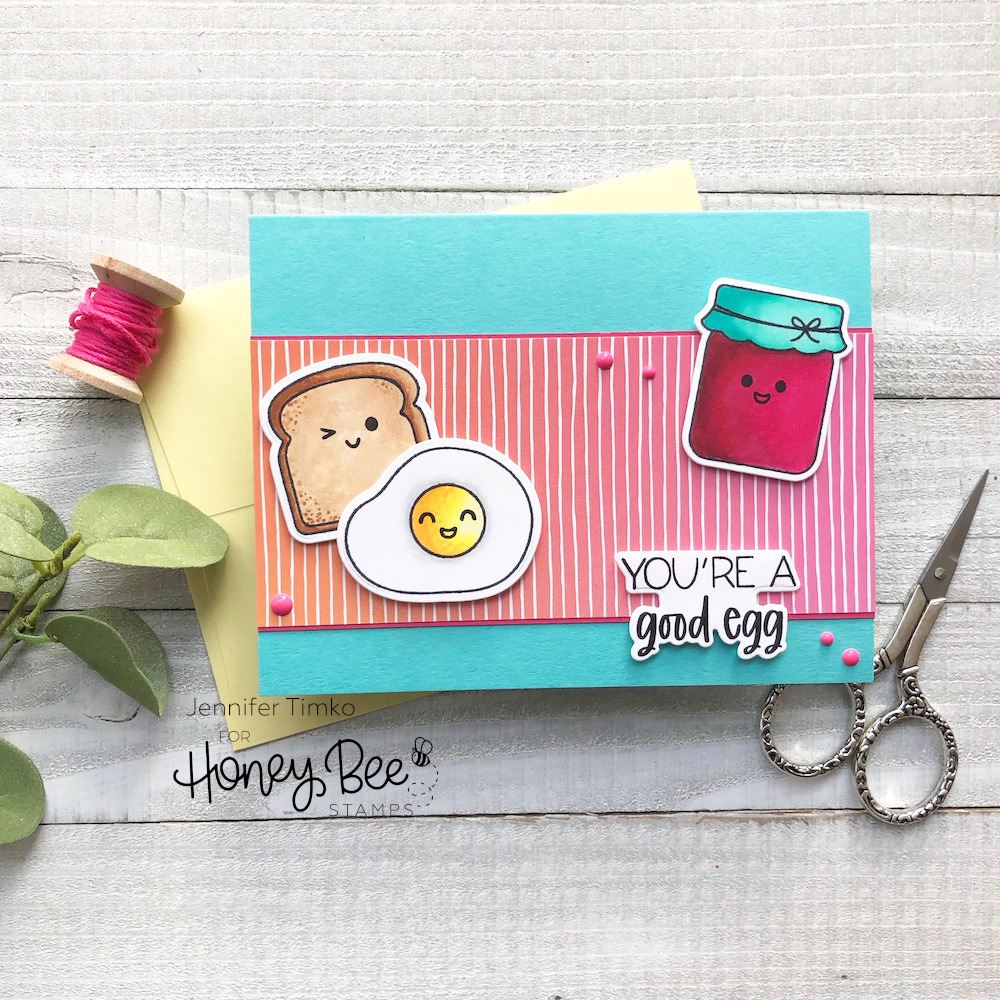
My featured products today are the To My Butter HalfStamps and Dies. (These release links will not be live until January 2nd)
This adorable set features fun images and interchangeable faces to add (or leave off). I am not gonna’ lie when I say I laughed and ran to show my kids this set. You see, I tell them this ALL THE TIME!!! Not sure when it started but when they do something particularly helpful, I tell them they are good eggs. Needless to say, this will go into heavy rotation for family cards.
I stamped the images in Momento Tuxedo Black and then Copic colored them. At first I did the images without the faces but in the end, could not resist the cuteness factor created by adding them. I thought this great pattern from the Birthday Bash Paper Pad was a perfect way to add fun to the card without taking away from the images. I love how the dies in the set cut out the sentiments! This feature is so helpful in card designs with patterned papers.
Thanks for joining me for this Day 1 Peek. I’ll be back tomorrow with Day 2.
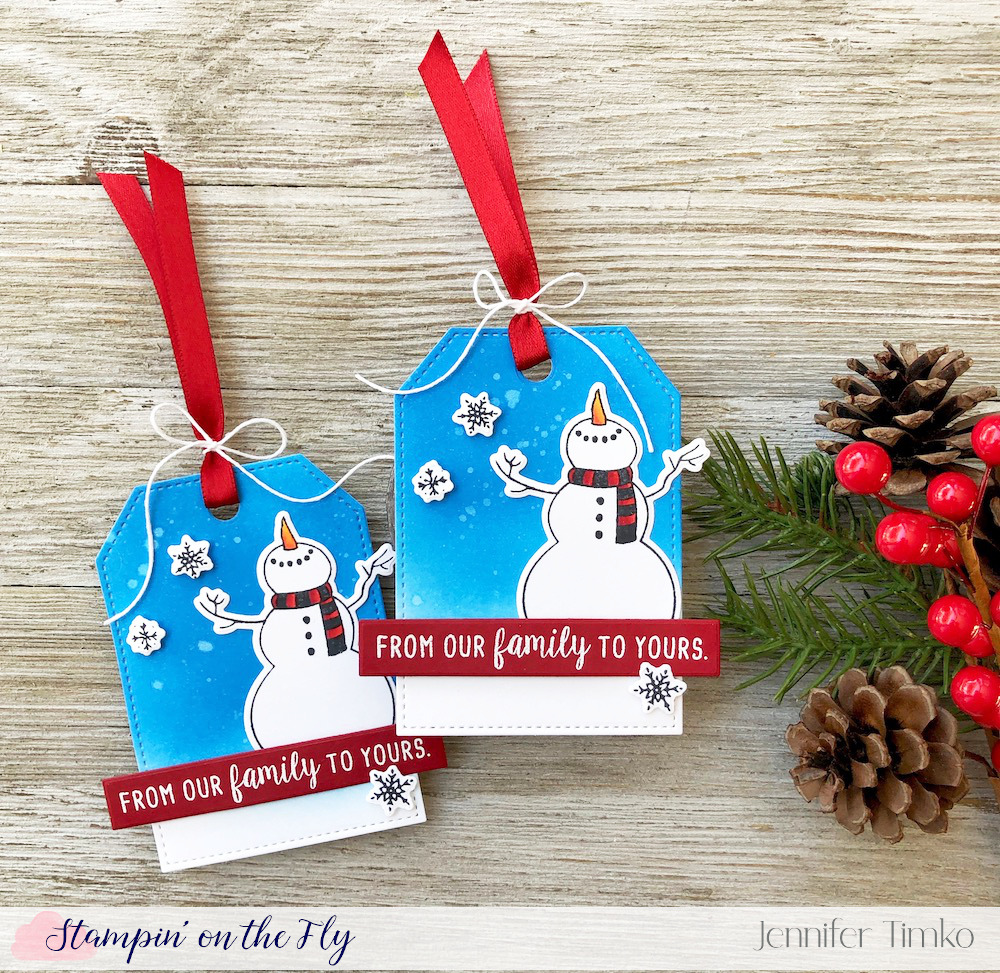
I have long been a fan of Honey Bee Stamps and one of my all-time favorite Christmas images is from them! The best snowman ever is from the Let It Snow set.
I stamped our little friend in Momento Ink and did a quick color with Copic Markers. I brushed some Salty Ocean Distress Oxide Ink onto white card stock and cut two tags from the same piece. After splattering them a bit for depth I simply added the snowman and some flakes from the set. The sentiment comes from the same stamp set and I stamped it on red card stock in Versamark Ink, then heat embossed in white. The rectangle die is from the coordinating Let It Snow Honey Cuts, along with the dies to cut out all the stamped images. I added a bit of red ribbon and twine from my stash to finish.
There are all kinds of ways to win so head on over to Tracey’s main post for all the details! So many prizes and giveaways!
Thanks for stopping in today! So happy to have been able to join the fun. See you soon!
My second post of today because it is a busy week! It is Crafty Friends Blog Hop day! This month we are showcasing products made with Honey Bee Stamps. They are another of those companies that are such great stamping community members and I am thrilled to be a part of celebrating them.
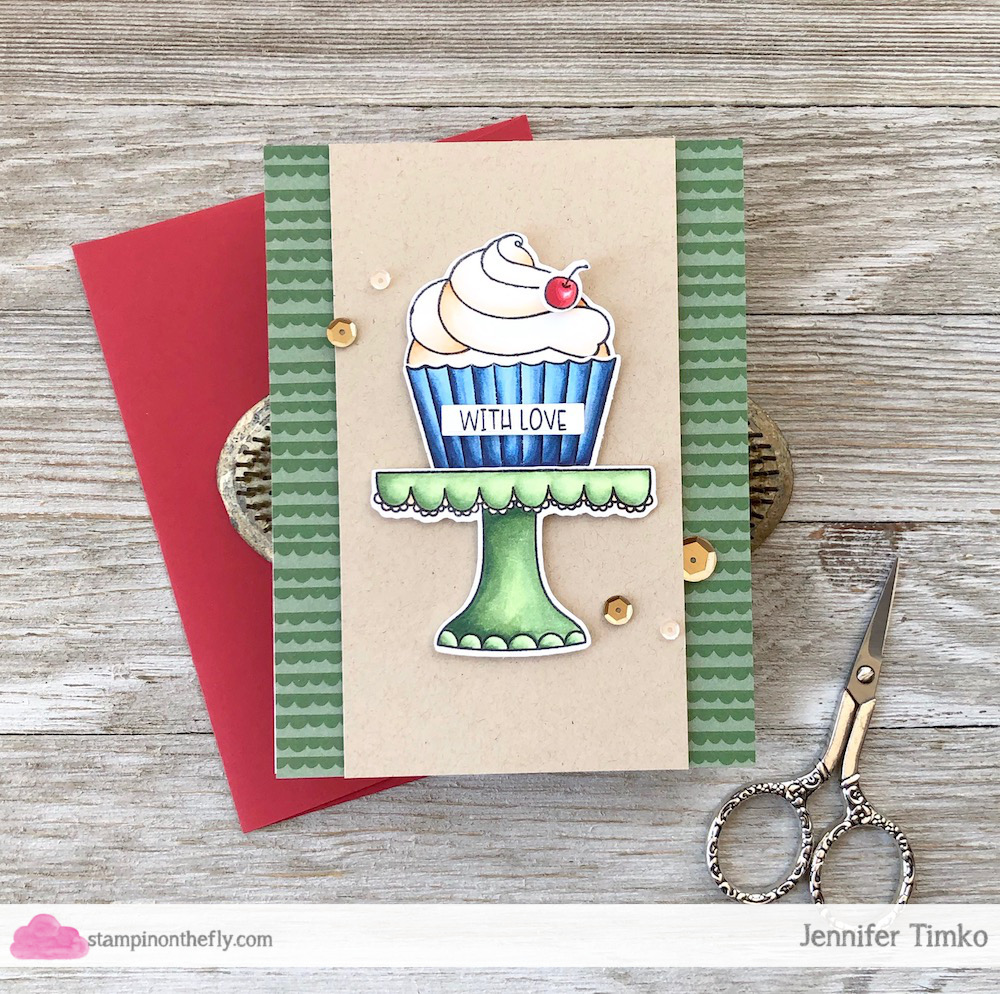
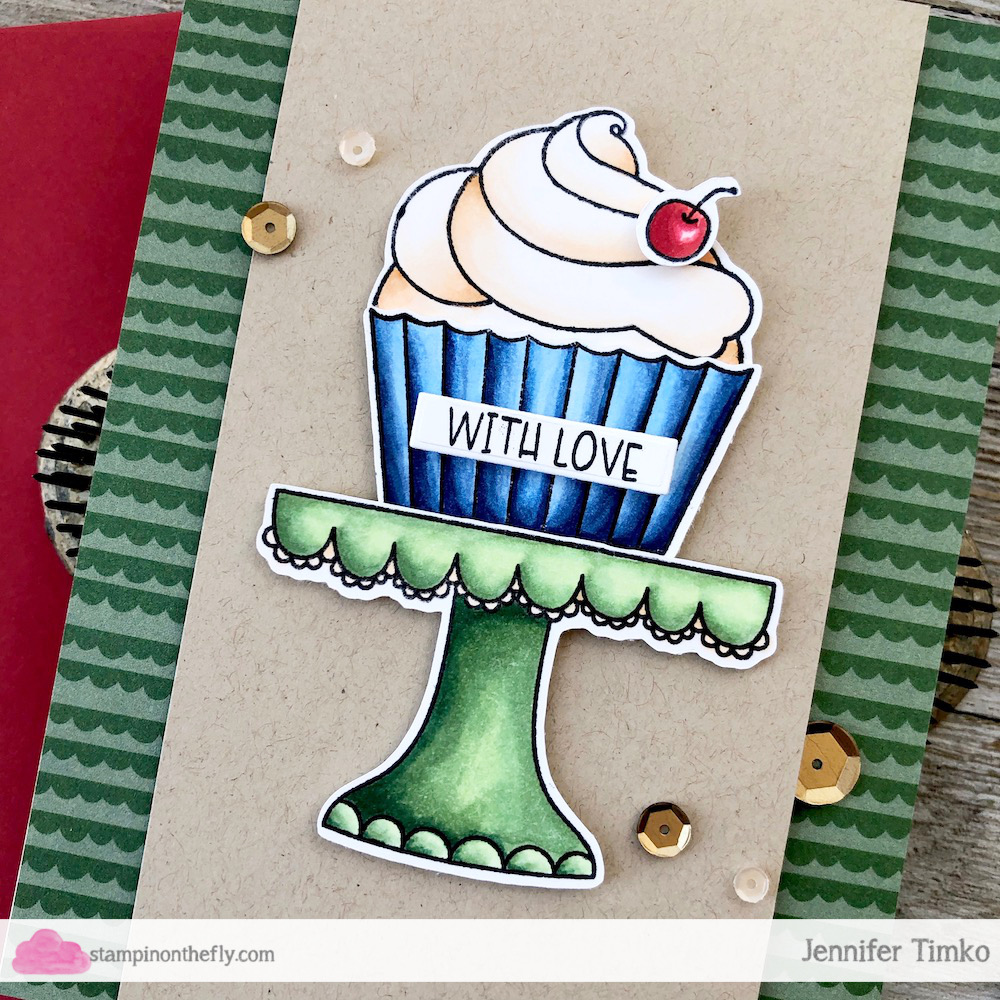
I was in need of some less “girly” birthday cards and the Piece of Cake Stamp Set was the perfect answer. So many fantastic options! I colored the cupcake with Copic and put it up on its very own little pedestal.
Isn’t it fun? The sentiment is from the same set and I thought a little banner was perfect for it. I found this cute patterned paper in my stash that matched the scallops of the holder. And it was in green, clearly meant to be!
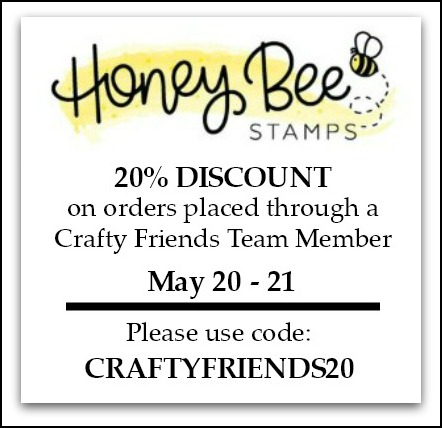
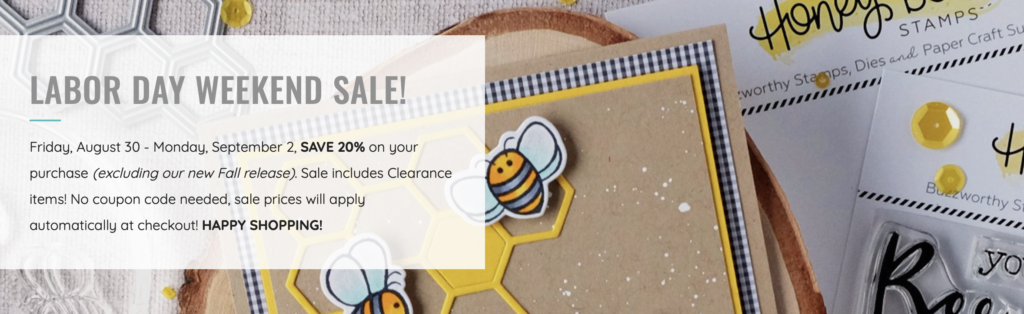
I continue to be so thrilled that companies are working with us to give you discounts for our hops. Shop with Honey Bee Stamps on May 20 – 21 and use the code CRAFTYFRIENDS20 at checkout to get a 20% Discount. Click the graphic above to get to the shop.
I hope you enjoy this hop as much as we do! Thanks for stopping in for my second project. Don’t forget to go check out today’s release peek from SugarPea Designs too. See you tomorrow!
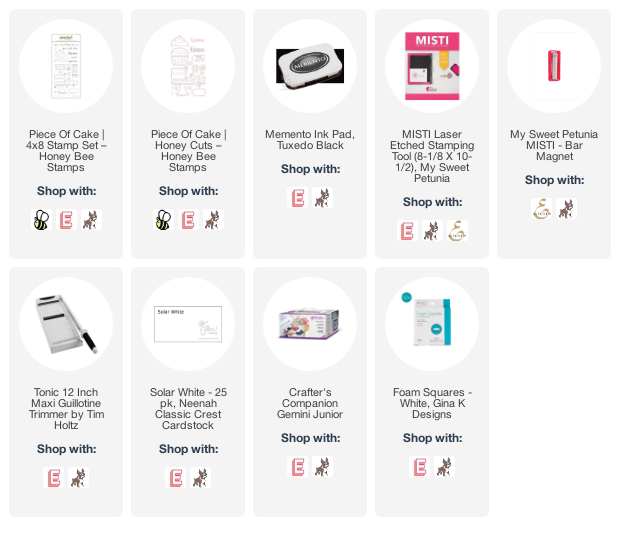
If you are going to be shopping, I’d appreciate you using my affiliate links by clicking the photos or the links in the text! They help me keep creating and sharing with you! Have a happy and safe Labor Day weekend.
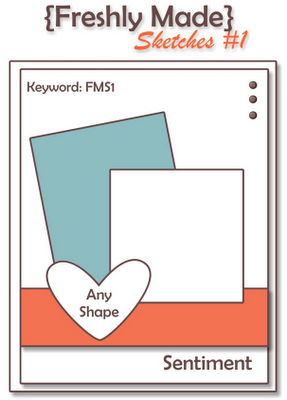
It is finally here! I can finally share a little with you. We are starting a month long celebration at Freshly Made Sketches. For eight years, this challenge has been a part of the crafting landscape and has provided inspiration for so many stampers. I remember being so excited about a sketch challenge for clean stampers! It was like my name was on it! I played along in sketch 1 and found a home shortly after. How lucky I am to be a part of this team!!
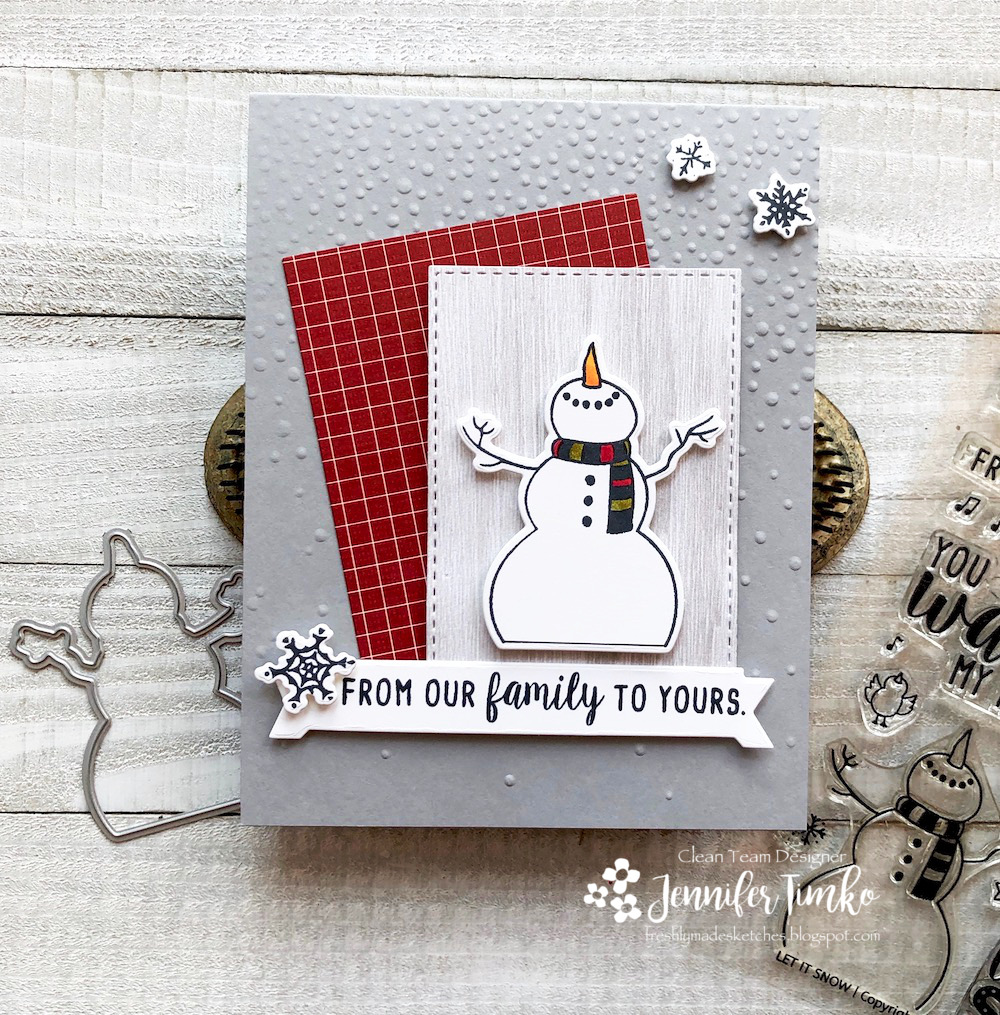
This is actually my third time using the sketch since it was both Sketch #1 and Sketch #100. It doesn’t get old! Today I thought it would be fun to make a Christmas card using my favorite snowman from Honey Bee Stamps. Let It Snow remains a go-to stamp set for me!! I found this retired patterned paper in my stash (SU) and did some super quick Copic touches to the snowman. The snowflakes worked great for the sketch too!
I hope you will join us this week and all month as we celebrate eight years of fun! Thanks for stopping in today. See you soon!
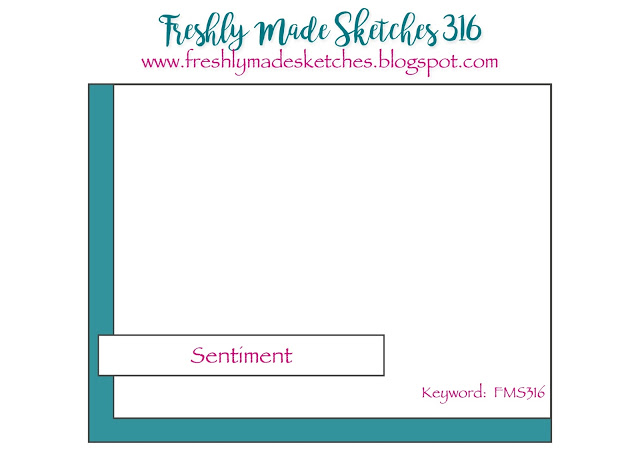
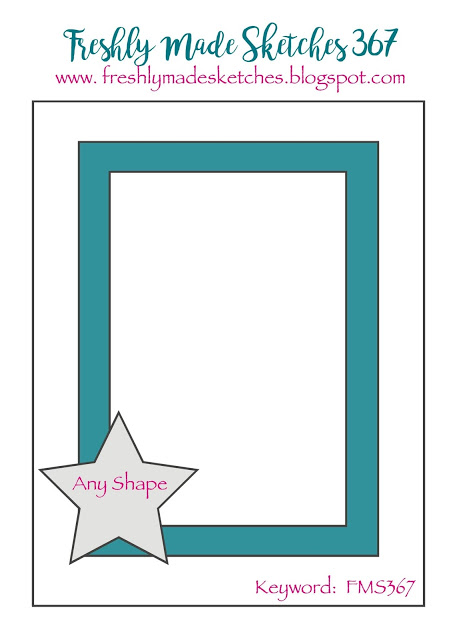
It was no surprise that last week’s gallery at Freshly Made Sketches was particularly fantastic…a Design Team Call certainly brings out everyone’s best! And we are at it again for this week’s sketch too. And oh what a great one it is!
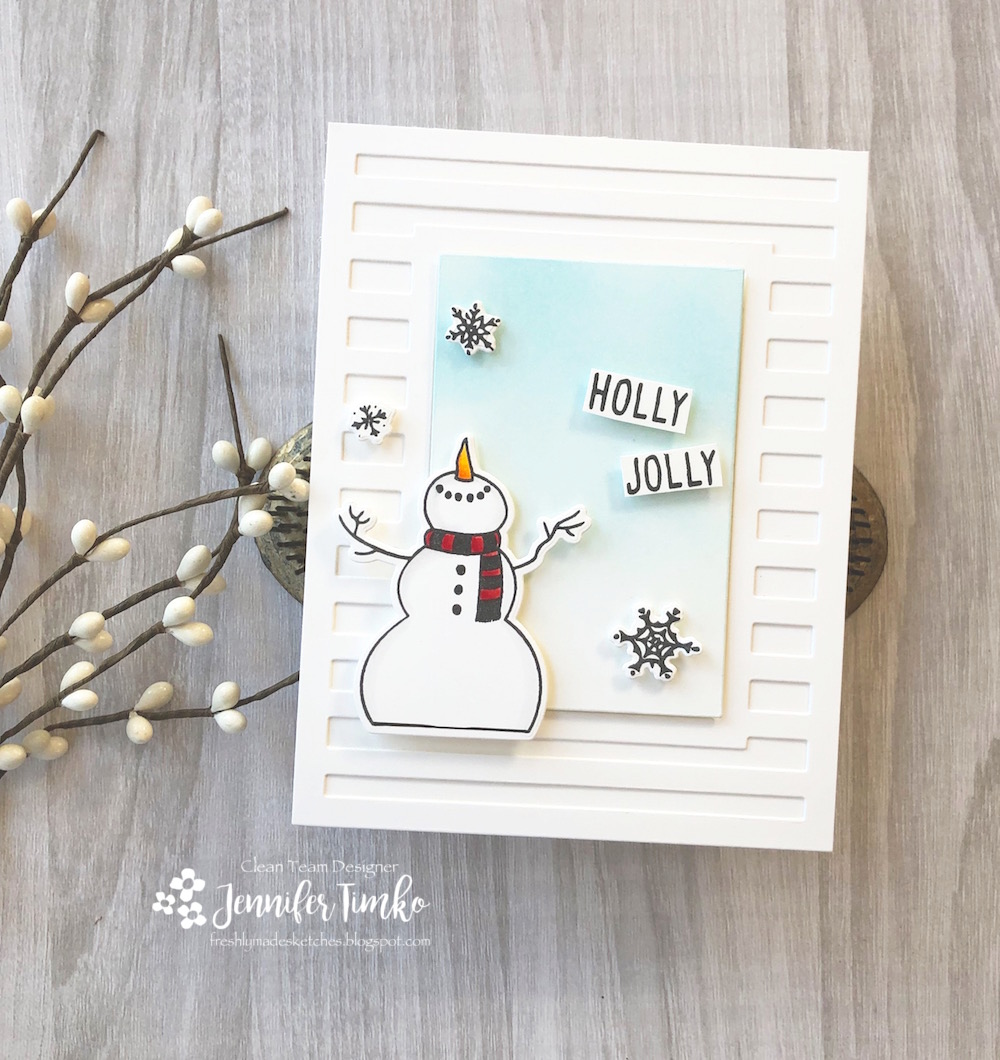
The incredible Karren Johnson created this one and it has tons of potential for creativity. I saw the layered rectangles and immediately thought of this great cover panel from Reverse Confetti (Striped Frame). I cut it from white card stock. With the little rectangle in the middle, I added distress ink using the Life Changing Blender Brushes. Even on regular card stock, these really do make blending SOOO much easier!
I stamped the snowman from Let It Snow (Honey Bee Stamps), some snowflakes and the sentiment all in Hybrid Ink. Then I added a little bit of Copic coloring to the snowman. I hand cut the words and then added all the elements using foam tape. There is something about this fellow and his snowflakes that makes me happy every time I pull him out. Maybe it is the easy coloring but I’m pretty sure it is the simple joy he has in throwing the snow around. It always looks like he is creating a magical scene to me.
Well, I hope you enjoy this one. I’m back on Friday with the latest from Picket Fence Studios. They are having a small December release that you will love. Also…if you missed it…hop over to their Instagram page for a chance to win the entire release for you AND a friend! YES! Go…right now….ok, go after you go to FMS to check out all the details for the sketch. Hope you have a great day and I’ll see you soon!
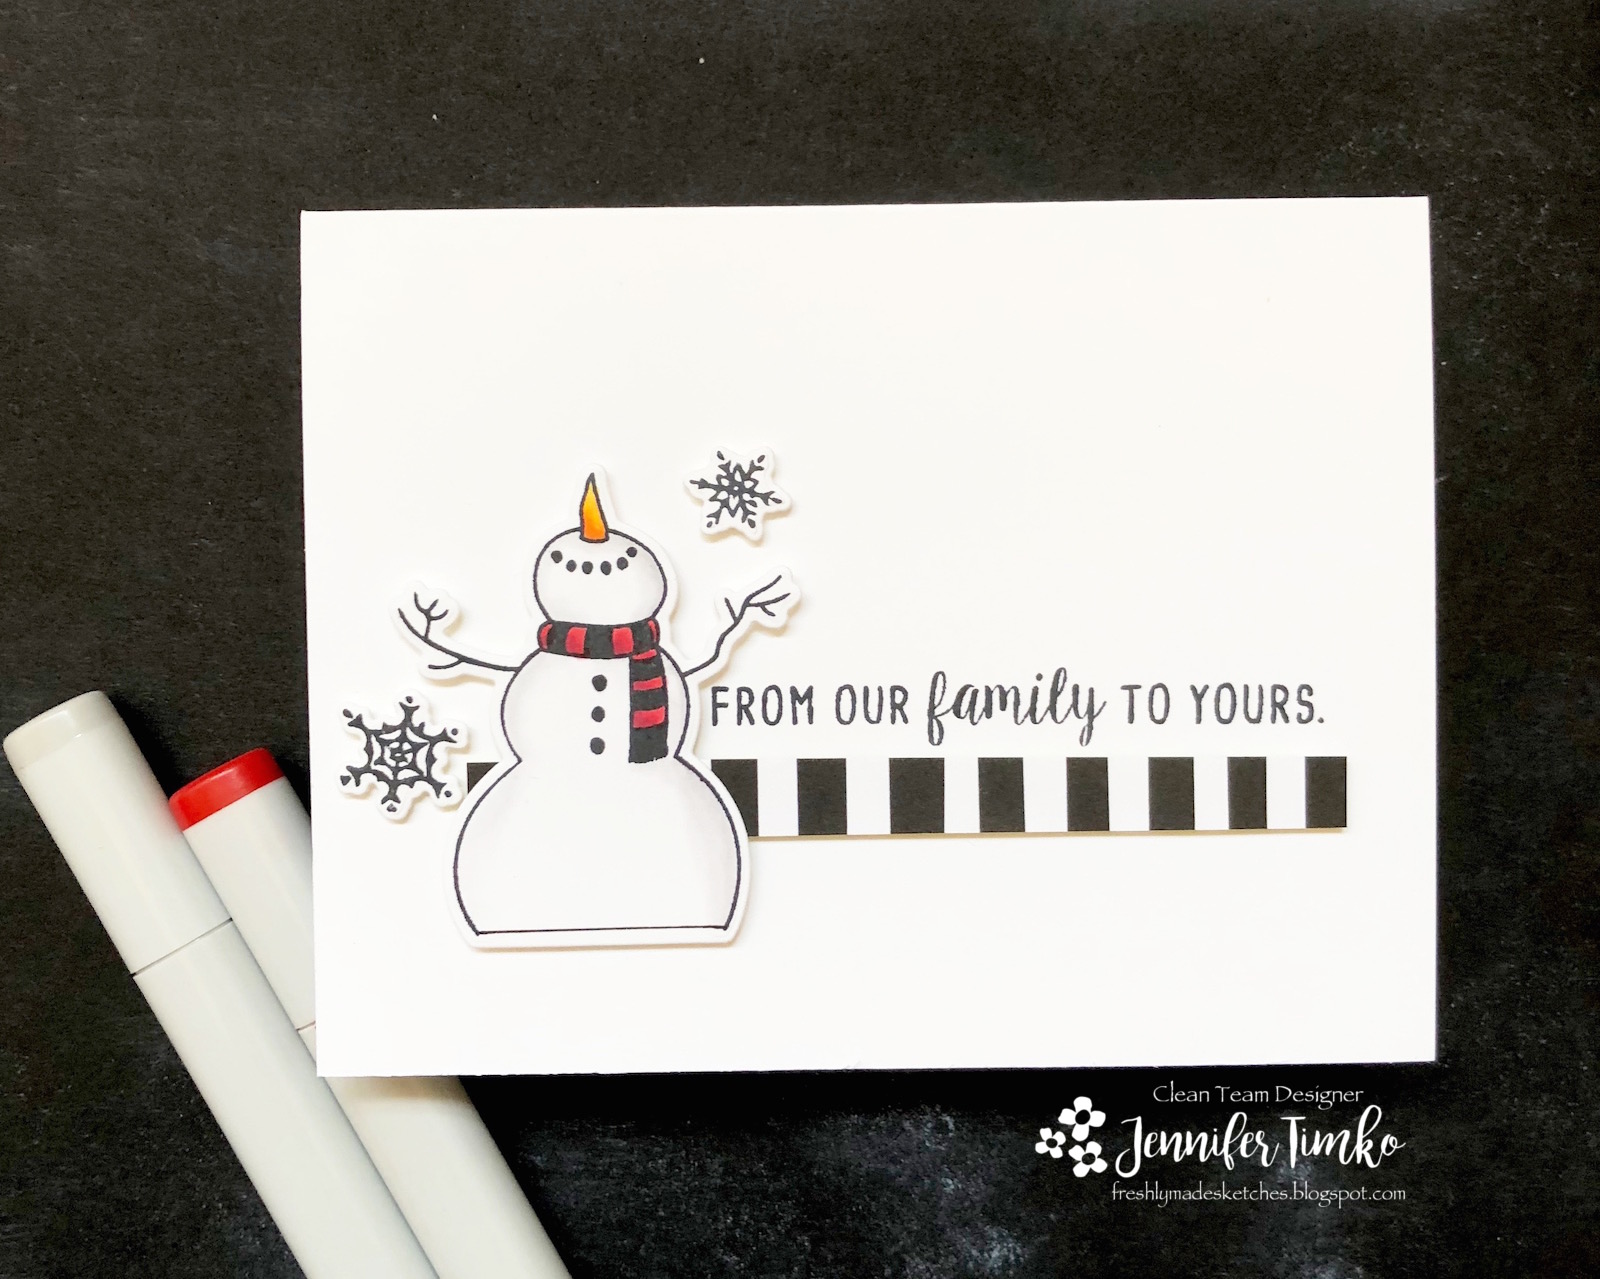
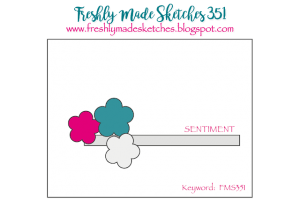
I’m so happy to share this fun Christmas card with you today! I know it is hard for me to really think about holiday stuff right now but let’s face it, if I don’t start with the cards now, I’ll never get them done. I loved Amy’s adorable sketch this week from Freshly Made Sketches. Her little trio allows for so many options!
I chose this cute little snowman from Let It Snow by Honey Bee Stamps. I love this stamp set and all its fabulous sentiments. I stamped the snowman and flakes with Momento Tuxedo Black ink. I added the line on the bottom of the snowman for coloring purposes using a Copic Multiliner. Some quick coloring with my Copics was all he needed. I cut him and his flakes out using the coordinating Let It Snow Dies and then stamped the sentiment from the same set onto white card stock. I used some striped paper from my stash to finish the sketch. I love this one!
I’ll be back on Friday with a post for Picket Fence Studios. Until then, I’m out flying around so look for me if you are traveling! The summer flying has been a bit crazy with all the weather. If you are out and about…pack your patience (and chocolate for the flight attendants never hurts!). Until next time, have a great week.
Welcome to the last day of the April Release from Newton’s Nook Designs. This has been an amazing month and we are finishing off with style!! Two, yes two, more stamp sets to show you today. Woohoo!! Both of these are just what you need to bring a little spring sunshine into your craft room!
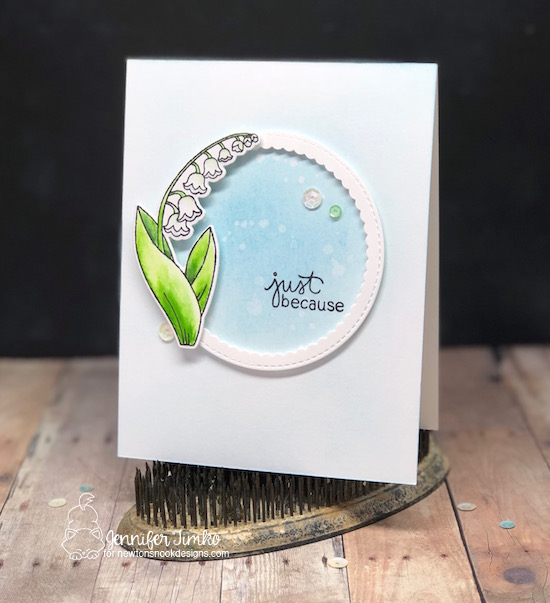
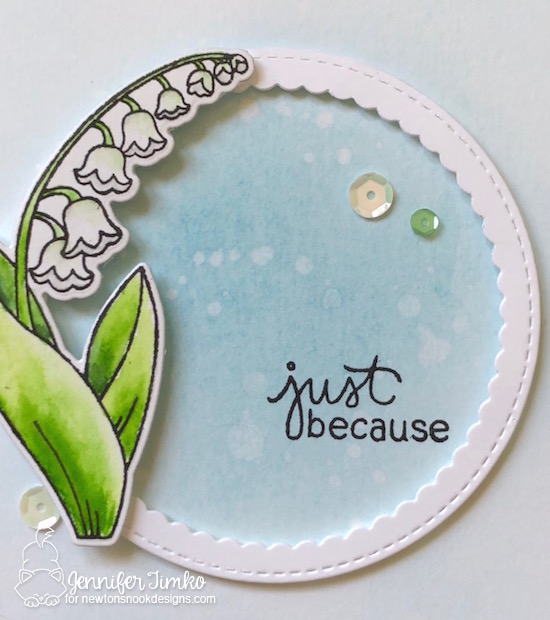
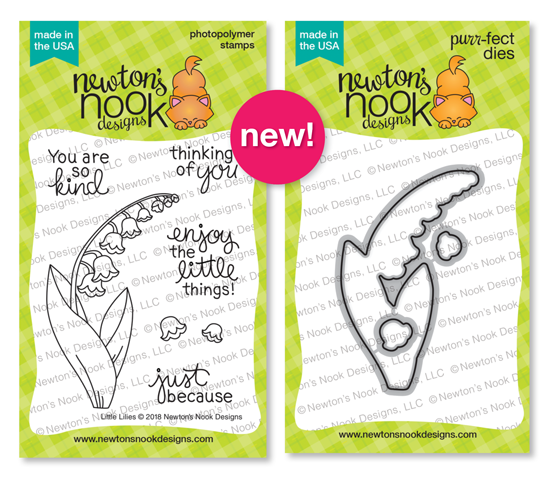
First up is Little Lilies. I love these sweet little flowers so much and literally ran right down to stamp with it when it arrived on my doorstep. I colored the flower with my Zig Clean Color Markers and then cut it out with the coordinating dies.
I added just a little touch of light gray and green on the ends of the flowers to give a little dimension to the white flowers. Onto a base of Bristol Smooth paper, I swirled on a little bit of Distress Ink and sprinkled it with water. I am a big fan of a “just because” card since I can use them for so many things so I chose it for my sentiment. The flower went perfectly with this little scalloped circle frame so I added that and then the flower on top. I dug through and found a few sequins to finish the card.
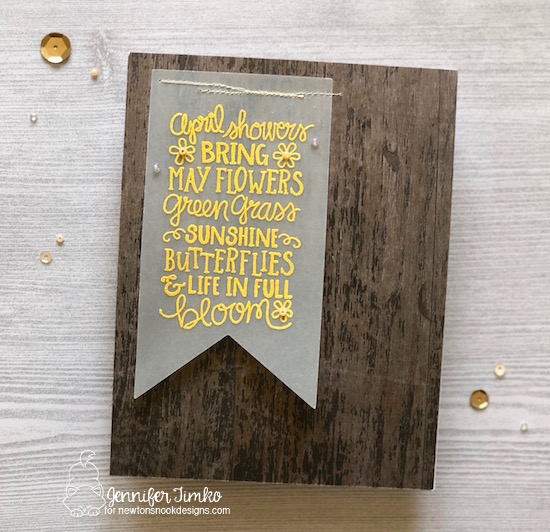
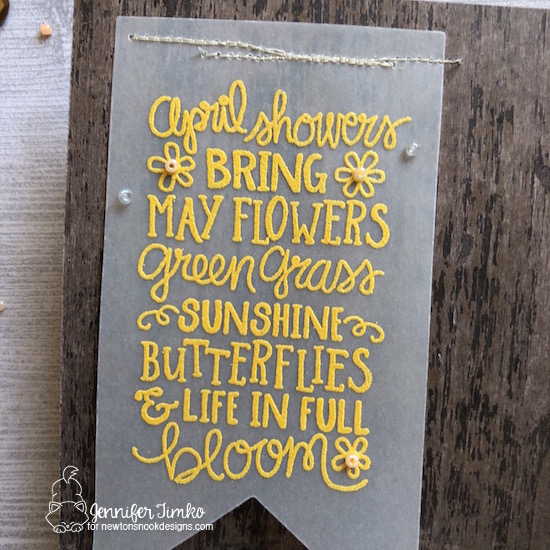
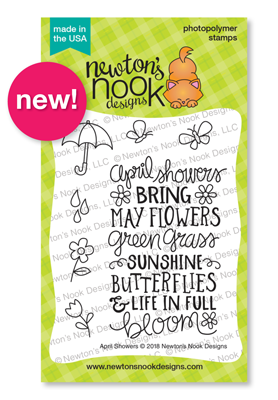
The second set for today is called April Showers. I have to tell you, I am SERIOUSLY hoping this sentiment is true!! I am done with winter weather and really ready for some flowers and butterflies! I used a yellow embossing powder on vellum for the sentiment and then cut it out with a banner die. I pulled out my trusty sewing machine (see, mom, I still know how to use it!!) and stitched the banner onto some Wood Textures paper.It is a little hard to see in the big picture so I’m giving you a close up of the little beads that I attached to the centers of the flowers and onto the banner. I used the Multi-Medium Matte Glue for those. There are additional images that are super cute that go with the sentiment and I’m sure the DT has some great examples with those.
I hope that you have enjoyed all of my cards this week. I very much enjoy hearing from you in the comments and your kind words always bring a smile. Thanks for letting me be a part of your day! Now for your chance to win!!
Would you like to win the “Little Lilies” or “April Showers” Stamp Set?
Each set will be given away to ONE lucky winner!
Here’s how to win:
Comment on the NND blog and Design Team blogs (see list below)! Thewinner will be chosen at random from the collective reveal posts. Make sure to check out each of their blogs and comment for your chance to win. You will not know which blog has been chosen so the more you comment on the better your chances are of winning! You have until Thursday, April 19th at 9pm CST to comment — winners will be announced on the blog post on Friday, April 20th.
Check out all the awesome Design Team Blogs below to enter:
Well, I’m moving along on my holiday cards and even though I have some that are “mass producible”, I still mostly love when I have time to make a one of a kind card. I took the opportunity of being the sketch hostess at Freshly Made Sketches as the excuse to take some watercoloring time for myself.
Before I get to the card, a little personal info. Over the last 3 months I have been on a leave of absence from United Airlines. Yesterday, it was back to reality. I went out to Denver to our training center to get re-qualified in the simulator. Fortunately, being on the same fleet (Airbus 319/320) for almost a decade allows me to not stress the simulators too much after time off. The reason for the time off?? My husband has been deployed since the end of July. For security reasons, I simply don’t discuss these things here or in social media but since he comes home this week I felt like I could share. The boys and I are really happy to get him home!! In the time he was gone: one boy started middle school and the other high school, the oldest has grown 3 inches (!!), they both completed full travel soccer seasons, I stayed sane. *smile* United Airlines has no reason to have to help me under these circumstances but when I put in my leave request (and the reasons) I got an approval in about 3 days. This is REAL military family support and I am very, very grateful to them for that. As much as I love flying, I love being a mom more and this time with the boys has been really important to our family. So while I am transitioning to getting back to work, this also means that we are almost done with the deployment! YAY!!!
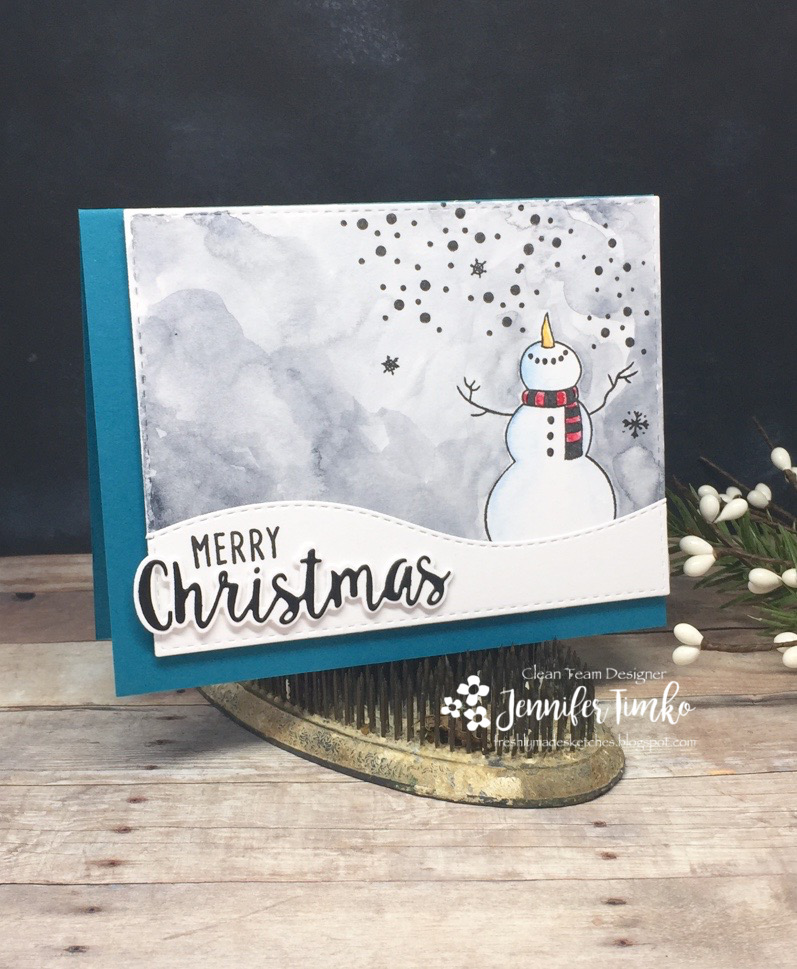
Now on to the card. I guess the above explains a little more of why I was savoring some watercolor time. I fell in love with this Let It Snow stamp set and coordinating dies from Honey Bee Stamps and simply had to use it as soon as possible. In truth, I chose my sketch to accommodate coloring a scene. I stamped this adorable snowman and then watercolored with my Winsor and Newton paints (along with some Daniel Smith colors too). I thought it would be fun to make this guy look like he was creating winter magic. The sentiment die and stamp are from the matching set and I love how the ‘Christmas’ layers. I put it all on an Island Indigo card base to emphasize the little bit of blue on our snowy friend.
I hope you love this sketch and will have a few moments to play along this week. I also want to take a moment to thank my dear friends for all their support during this long 4-1/2 months. I have an incredibly great village (both local friends and stamping friends) who make all of this possible. I am blessed and very grateful! Back on Friday for a fun hop. Until then, have a great day!
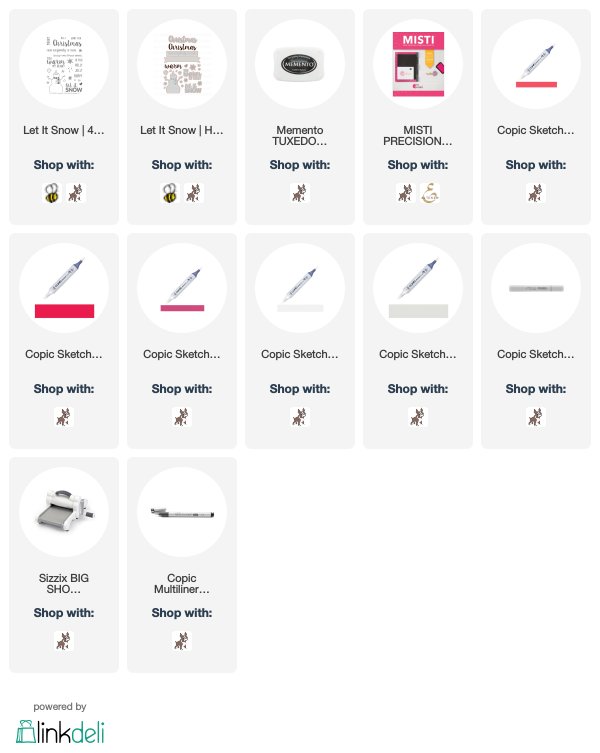
Supplies (affiliate links included):
Stamp: Let It Snow (Honey Bee Stamps); Paper: Strathmore Bristol, Basic Black (SU), Island Indigo (SU); Ink: Versafine Onyx Black; Accessories: Misti, Big Shot, Let It Snow Dies (Honey Bee Stamps), Winsor and Newton Watercolors, Daniel Smith Dot Palette Debby Hughes Edition
SaveSave
SaveSave
Primary Sidebar
We use cookies on our website to give you the most relevant experience by remembering your preferences and repeat visits. By clicking “Accept”, you consent to the use of ALL the cookies.
This website uses cookies to improve your experience while you navigate through the website. Out of these, the cookies that are categorized as necessary are stored on your browser as they are essential for the working of basic functionalities of the website. We also use third-party cookies that help us analyze and understand how you use this website. These cookies will be stored in your browser only with your consent. You also have the option to opt-out of these cookies. But opting out of some of these cookies may affect your browsing experience.
Necessary cookies are absolutely essential for the website to function properly. This category only includes cookies that ensures basic functionalities and security features of the website. These cookies do not store any personal information.
Any cookies that may not be particularly necessary for the website to function and is used specifically to collect user personal data via analytics, ads, other embedded contents are termed as non-necessary cookies. It is mandatory to procure user consent prior to running these cookies on your website.


 I chose this cute little snowman from