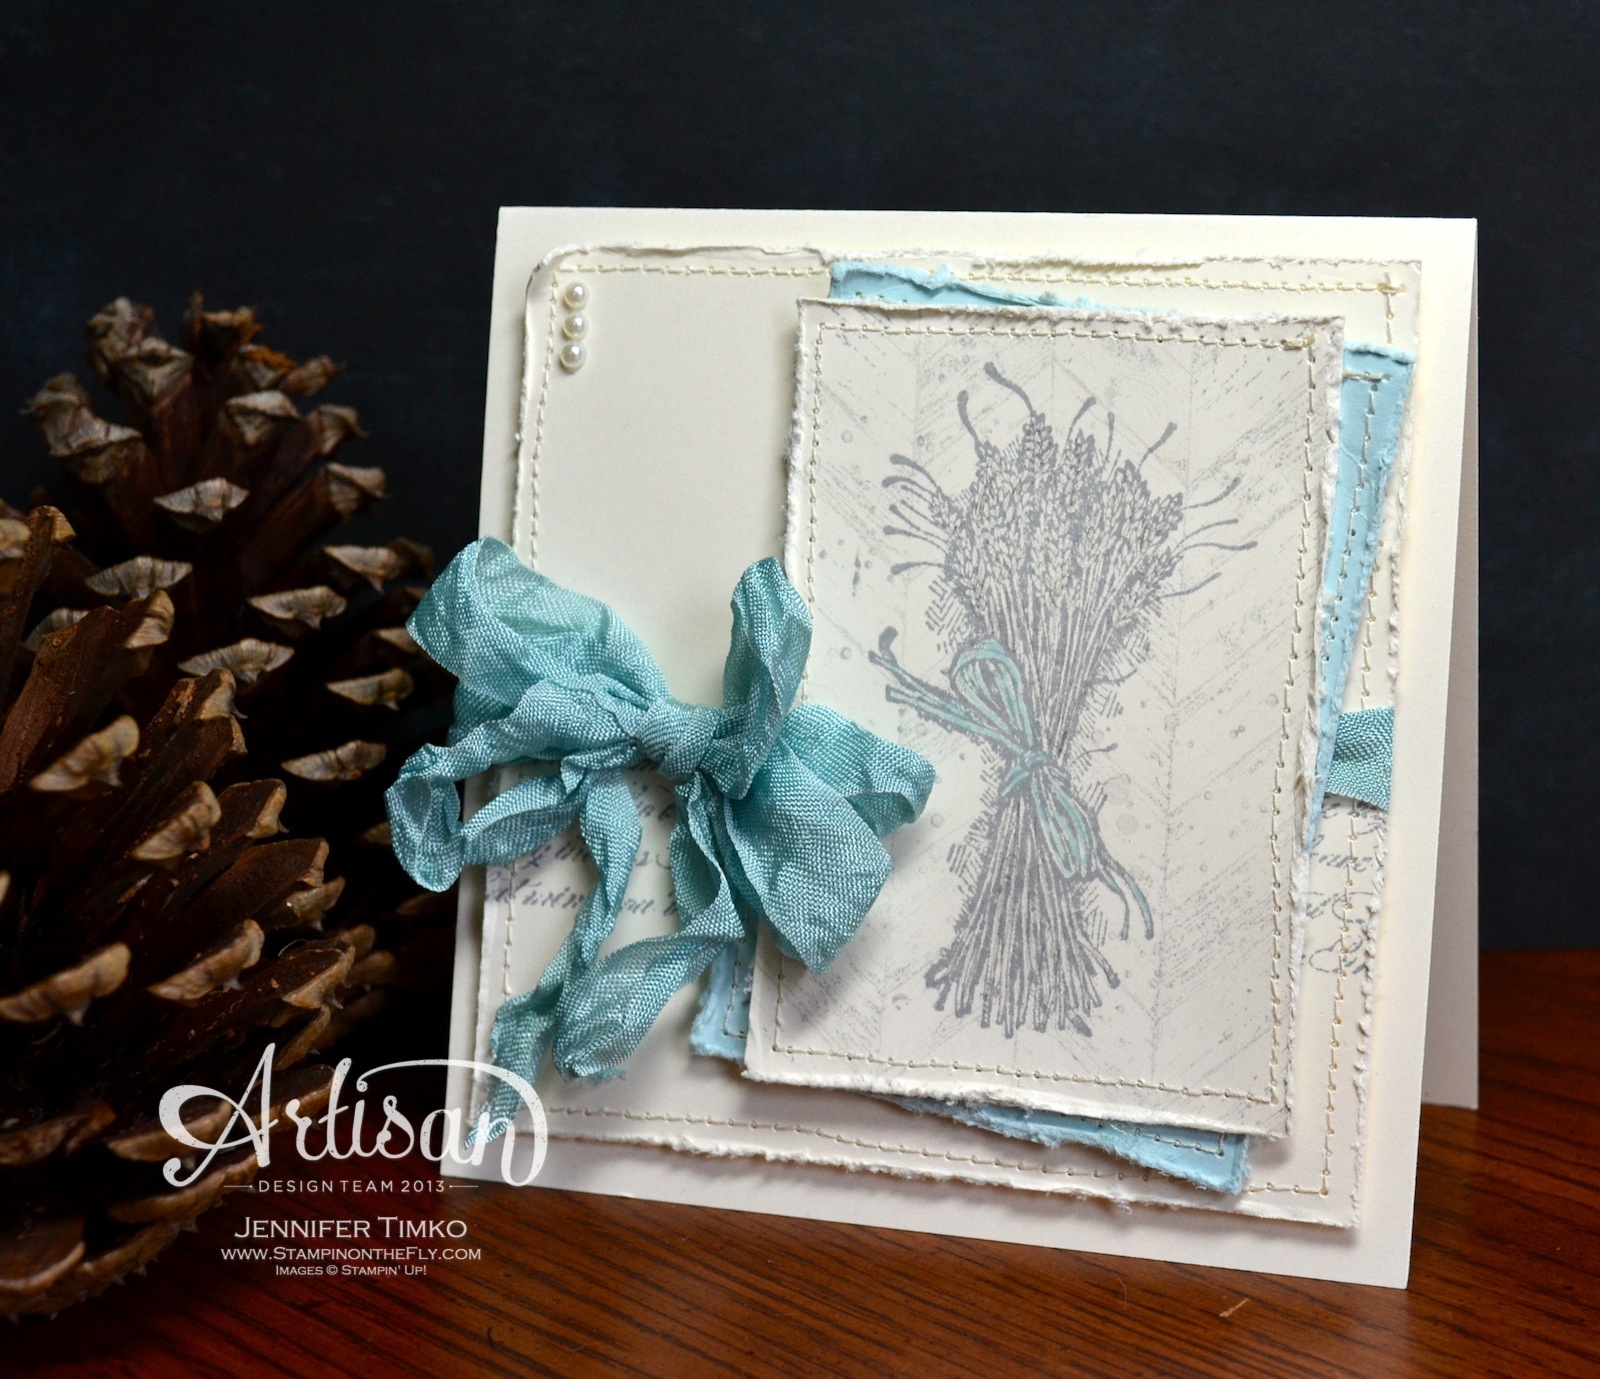
Stampin’ Up’s Artisan Design Team is continuing with more projects from our October box! For those of you who are unfamiliar, the team gets a box of fabulous SU products to create our projects each month. This month we have a lot to be thankful for because Stampin’ Up has so many beautiful Thanksgiving and fall things. If you have come over from amazing Jeanna, welcome to the next stop. If you are starting here, just continue around using the next buttons until you get back to me.
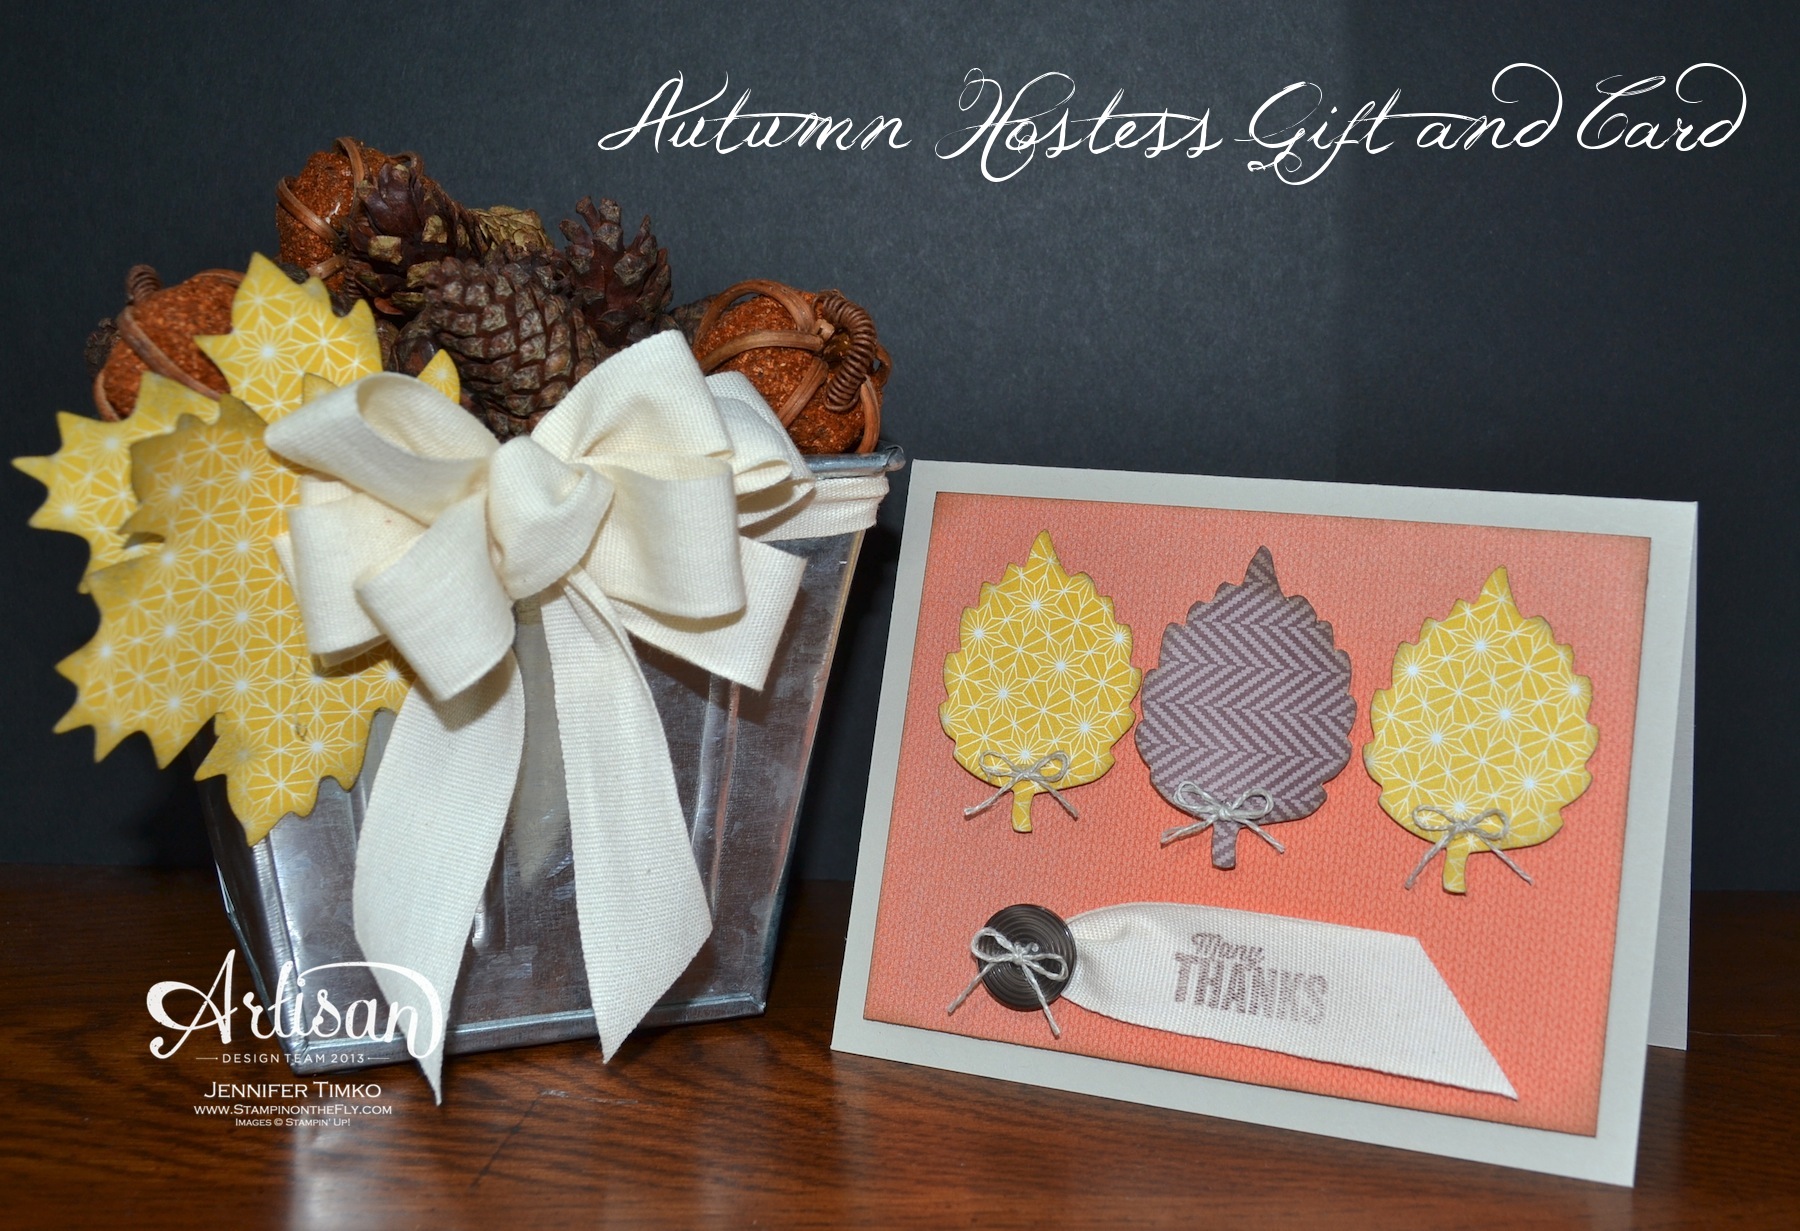
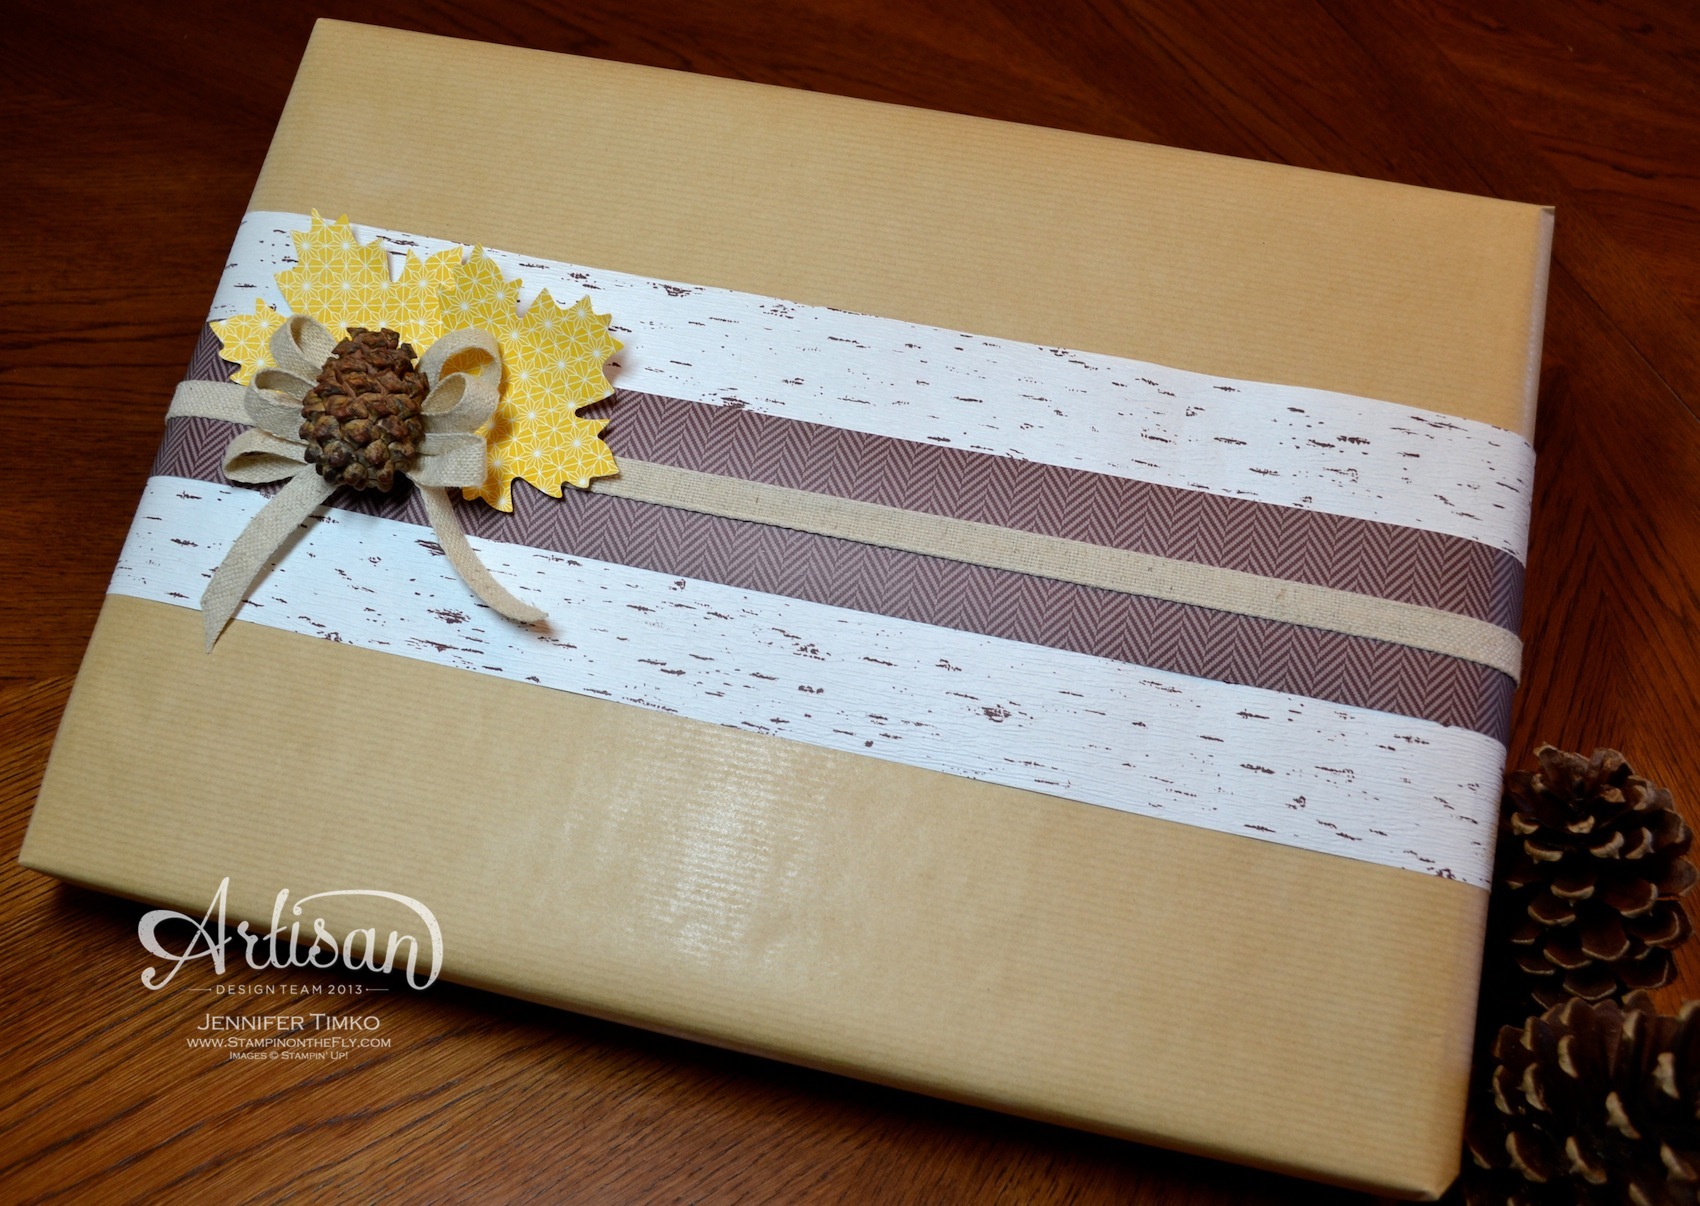
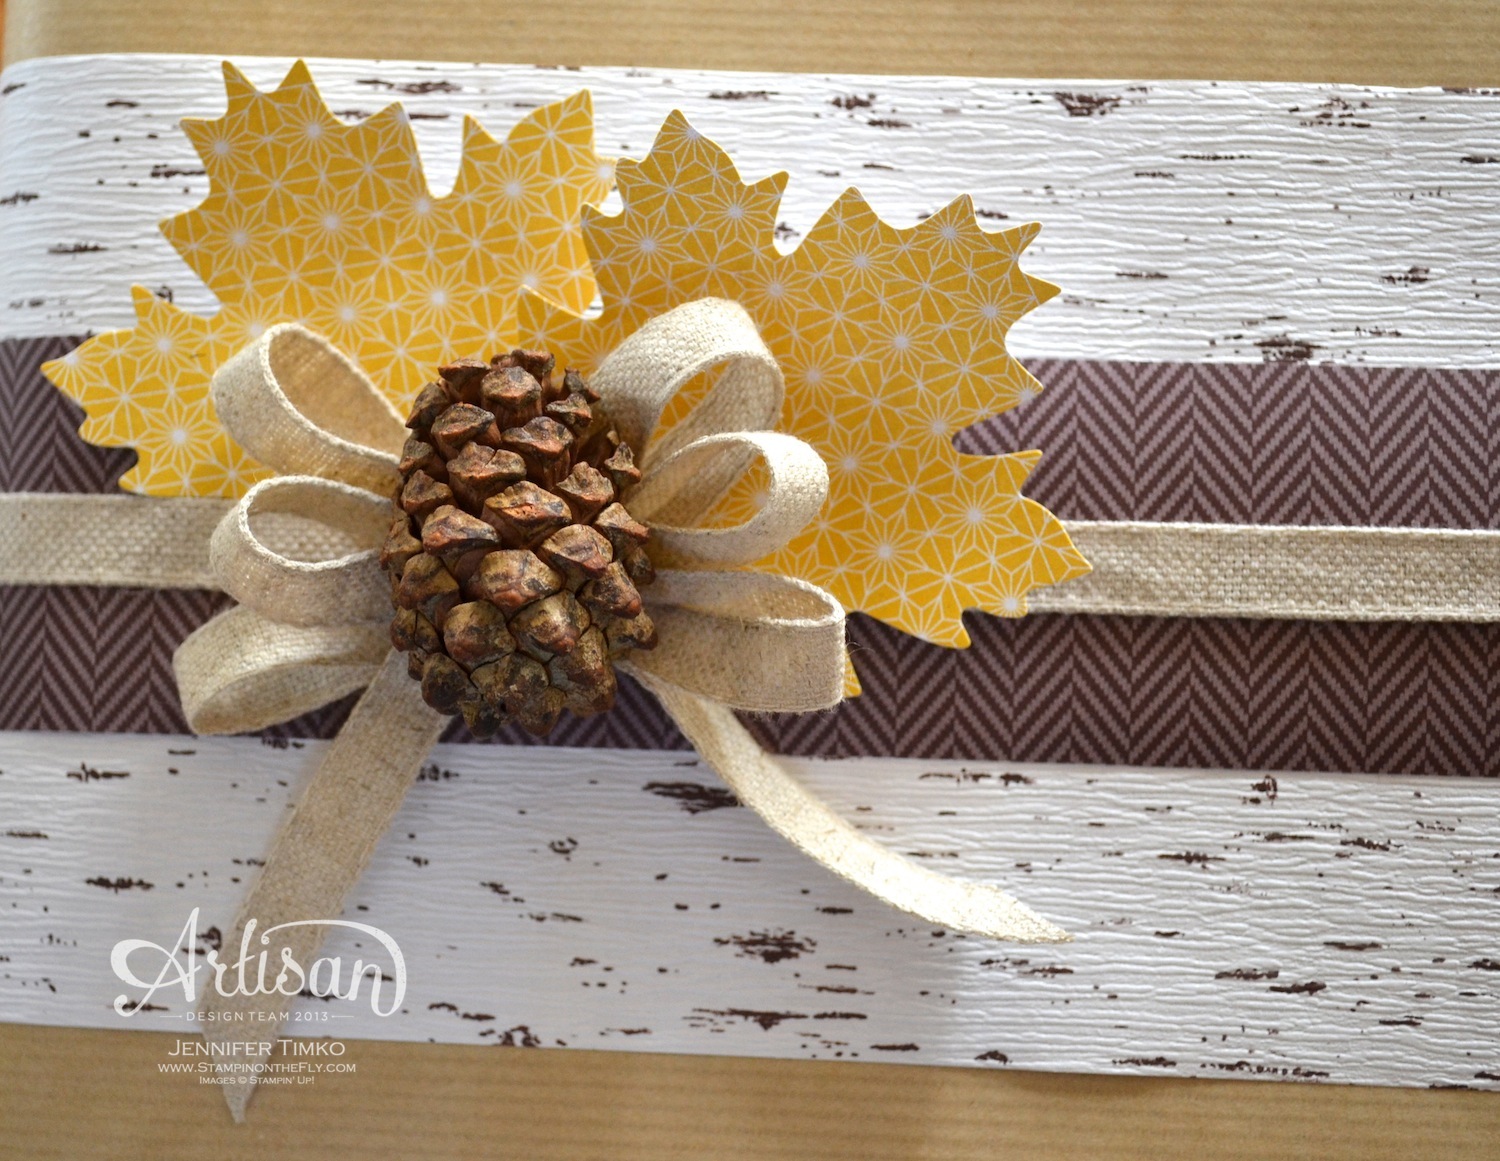
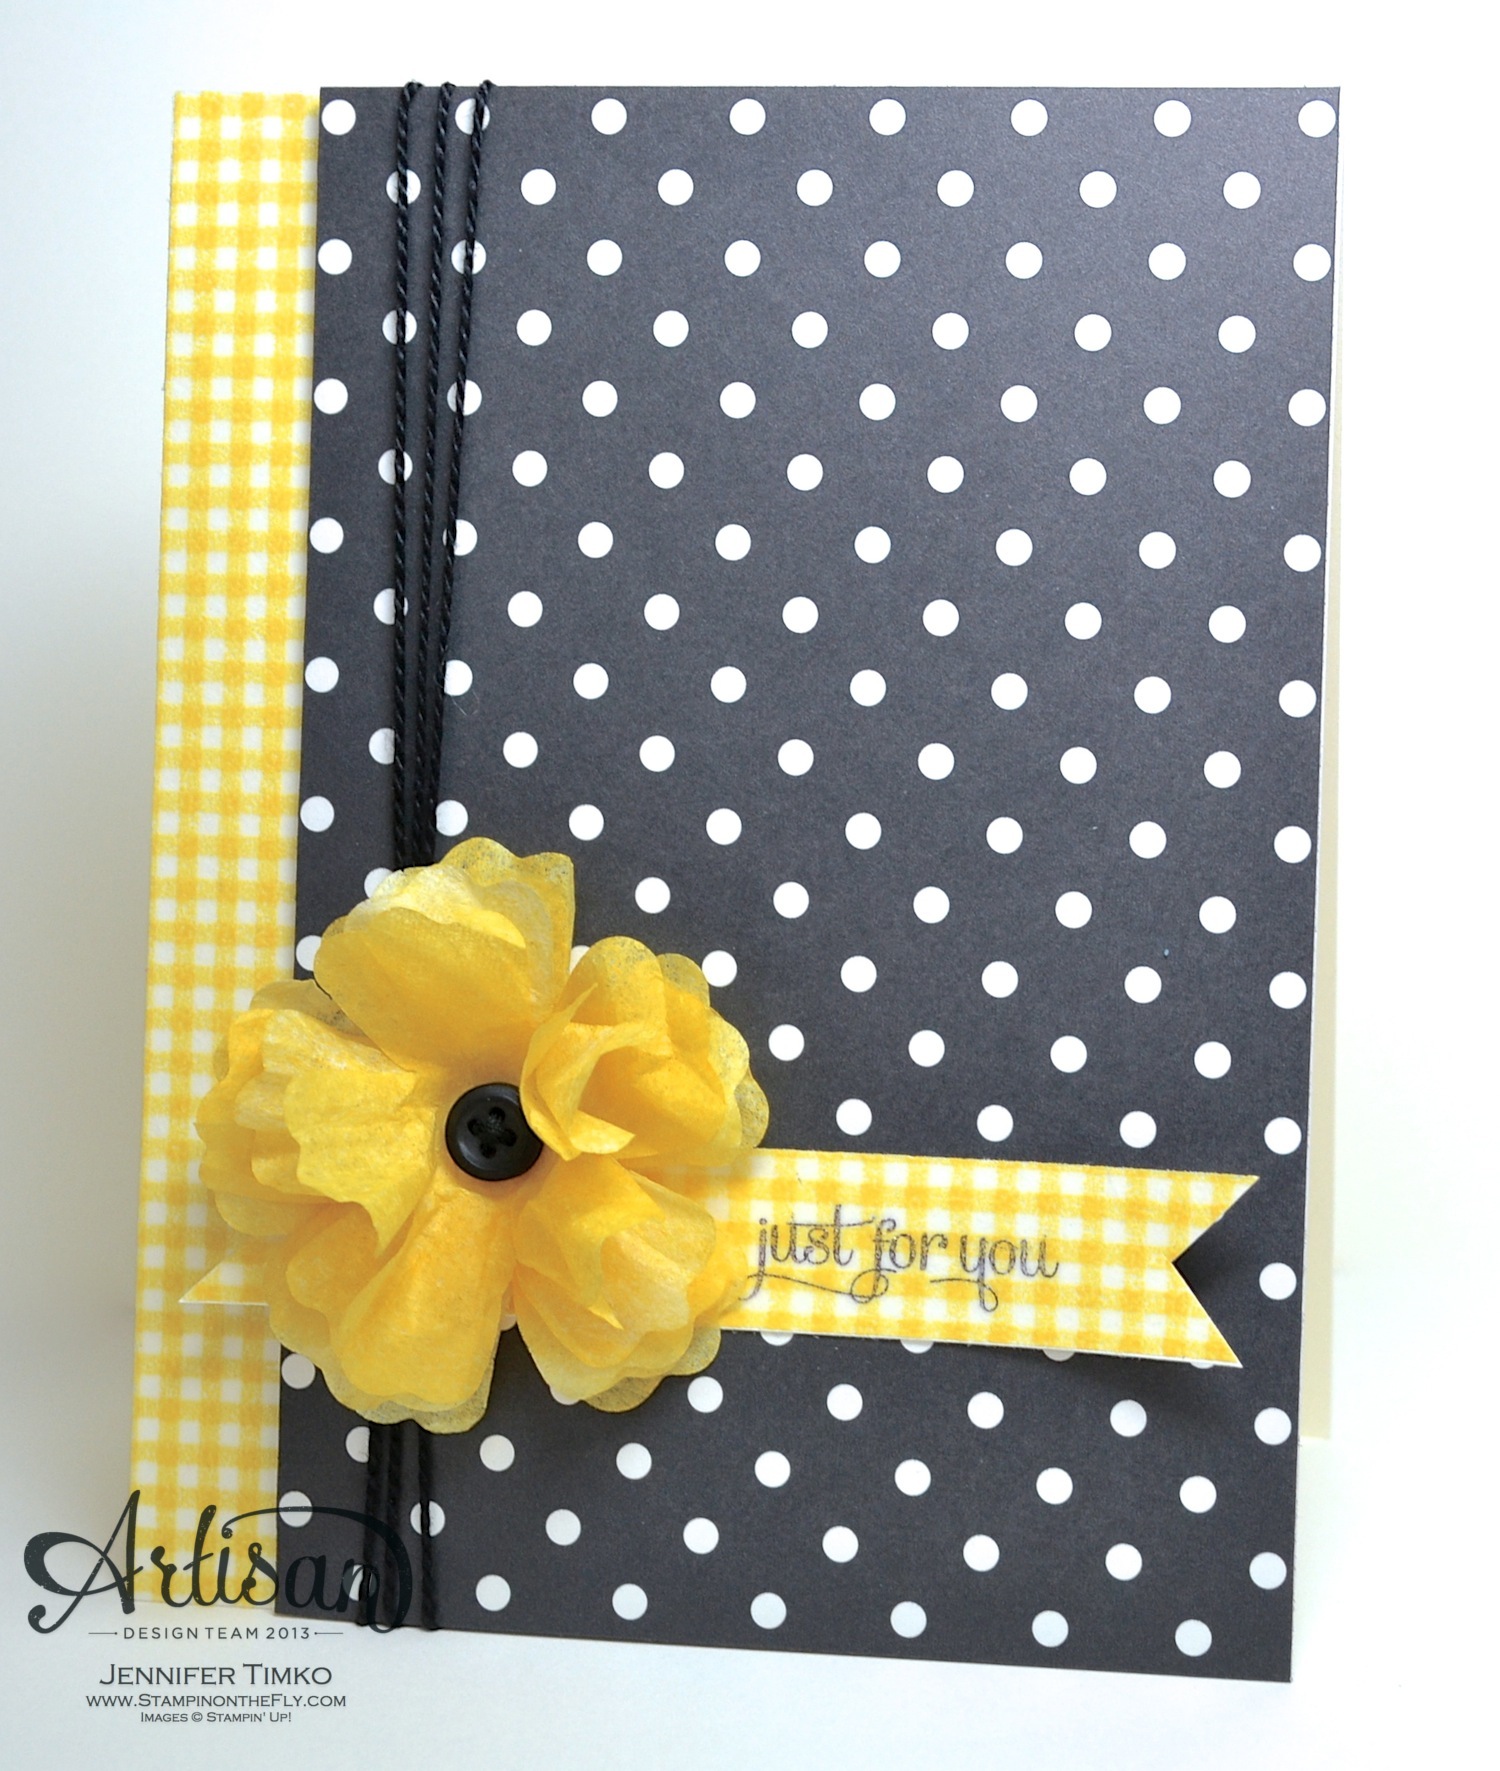
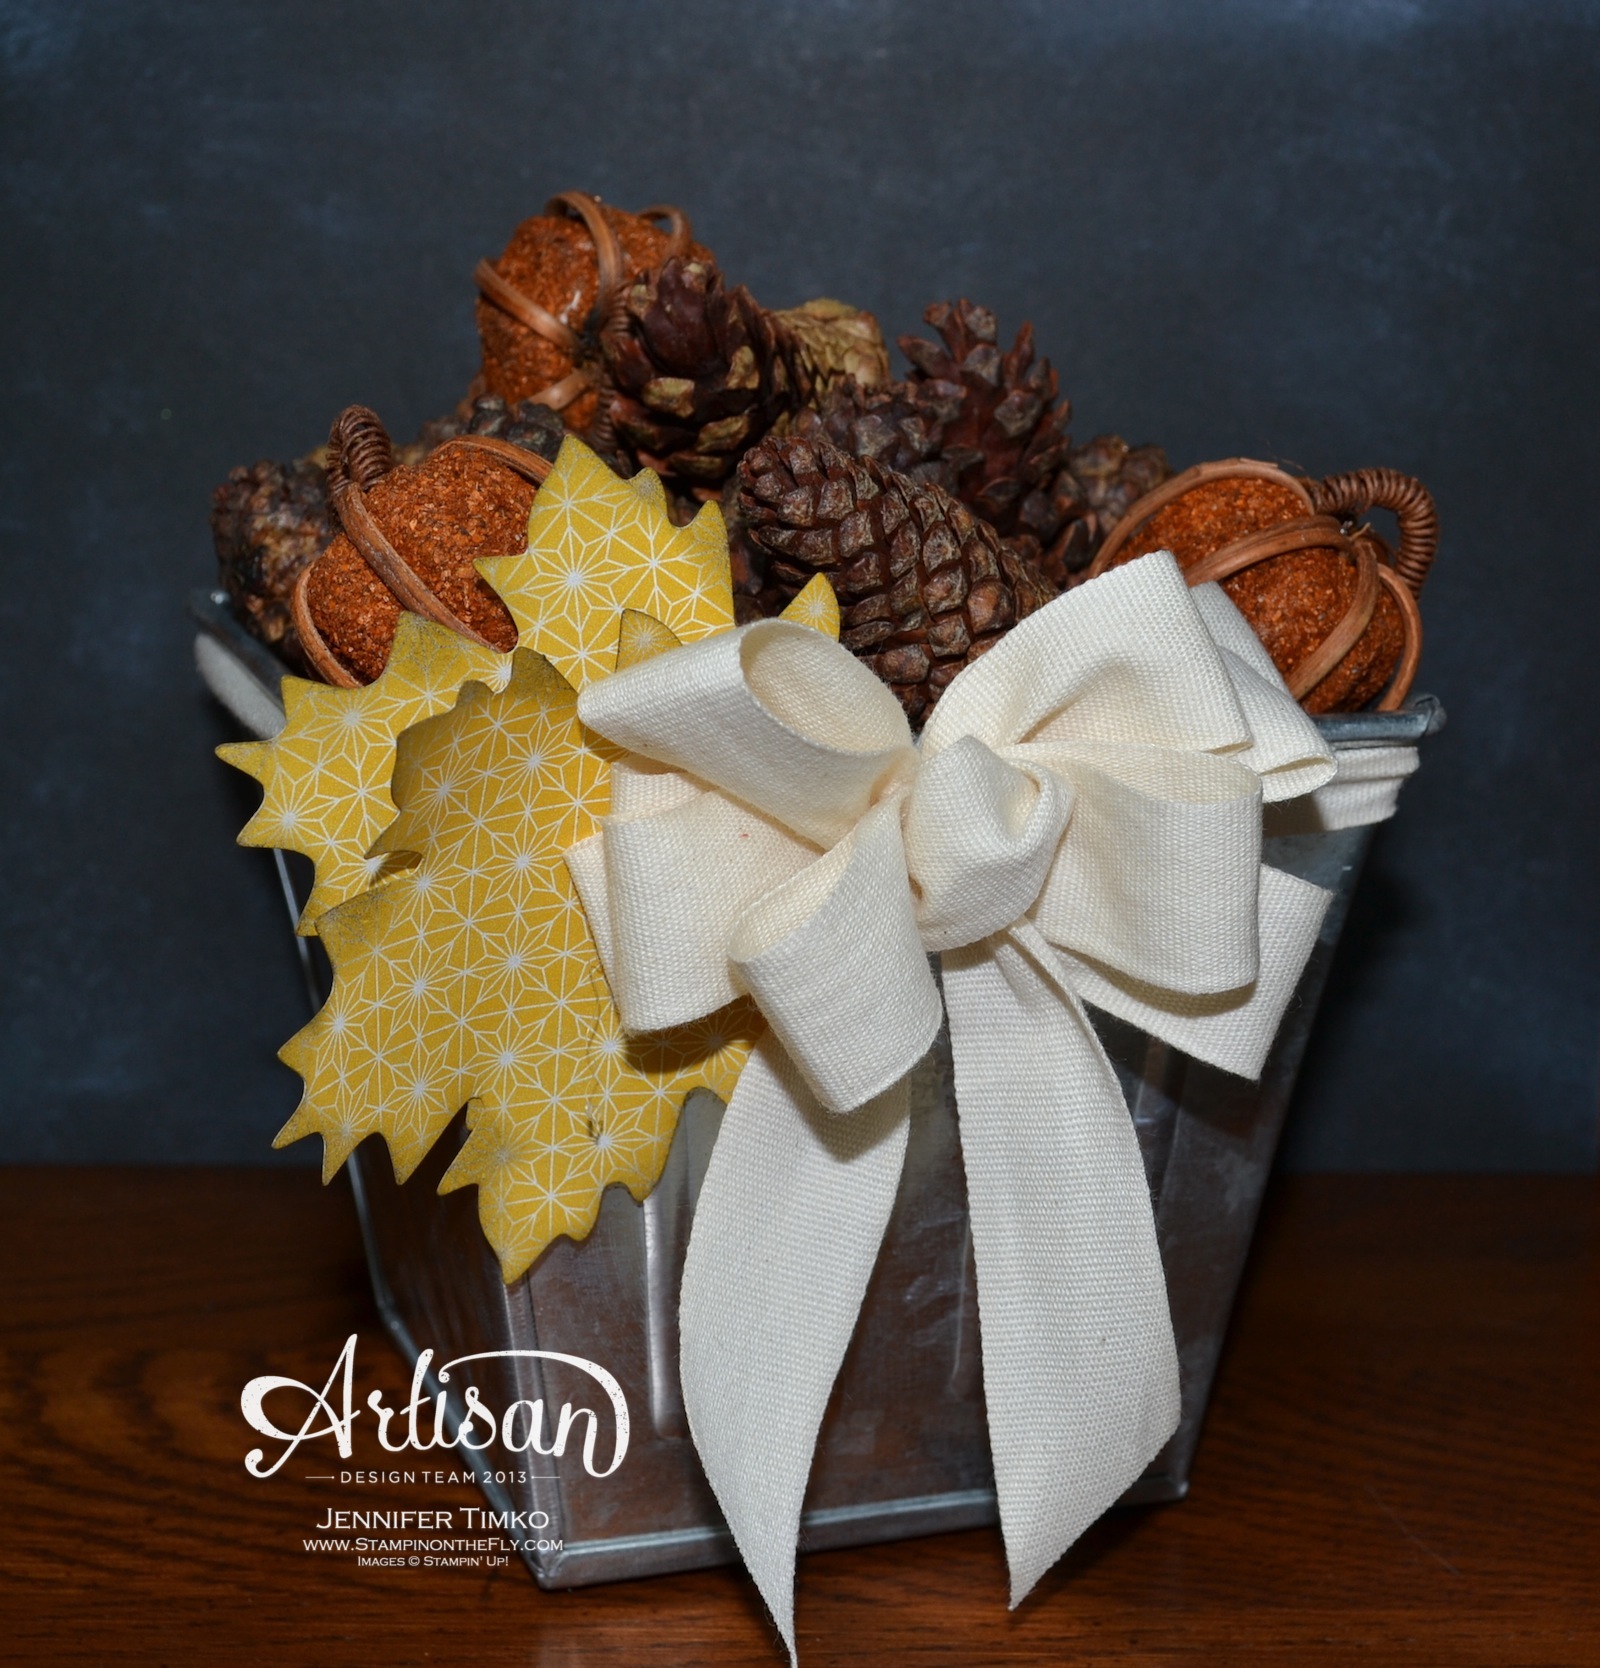
I am continuing on this week with using the Thankful Tablescape Kit. This kit is really versatile! One of the things I seem to need this time of year is an appropriate hostess gift. This kit helps you make one that is special but not all that difficult. I found this little tin at a craft store and knew it was perfect. All I had to do was tie on a pretty bow using the 7/8″ Cotton Ribbon and tuck in a couple of the leaves from the kit. I added some seasonal pinecones scented with cinnamon (yum!) and done. For a card to match, I chose the other style of leaves from the kit. I traced one of them onto the Chocolate Chip Paper Ribbon and cut out the middle leaf (or you can use the Autumn Accents Bigz Die). I like that you don’t have to have the dies to use this kit though. I stamped the sentiment from Another Thank You onto the ribbon and added some little Linen Thread bows. The background paper is from Sweater Weather DSP.
Conveniently enough, I have already used this set for a friend. My family was invited over on Sunday for this amazing dinner. The least I could do was bring a little treat for the chef! With the cinnamon scent, it was perfect for her kitchen. Yea!
Okay, off to go visit the awesome Mercedes Weber. You are sure to love what she has for you this week! Make sure hop around the whole loop to take a look at fabulous creations of the whole team…you’ll be happy you did!
Stamp: Another Thank You Photopolymer; Paper: Sweater Weather DSP, Sahara Sand; Ink: Chocolate Chip; Accessories: Thankful Tablescape Simply Created Kit, 7/8″ Cotton Ribbon, Neutrals Buttons, Linen Thread, Sticky Strip, Hot Glue
Click HERE to purchase any of these fun Stampin’ Up products.