The Artisan Design Team’s February box of products is fantastic. We are continuing to use some of the latest and greatest from the Occasions Catalog. These are the projects you might have already seen on Stampin’ Up’s Facebook page. If you have come over from amazing Jeanna, welcome to the next stop. If you are starting here, just continue around using the next buttons until you get back to me.
Oh….and there is blog candy so read to the end!!!
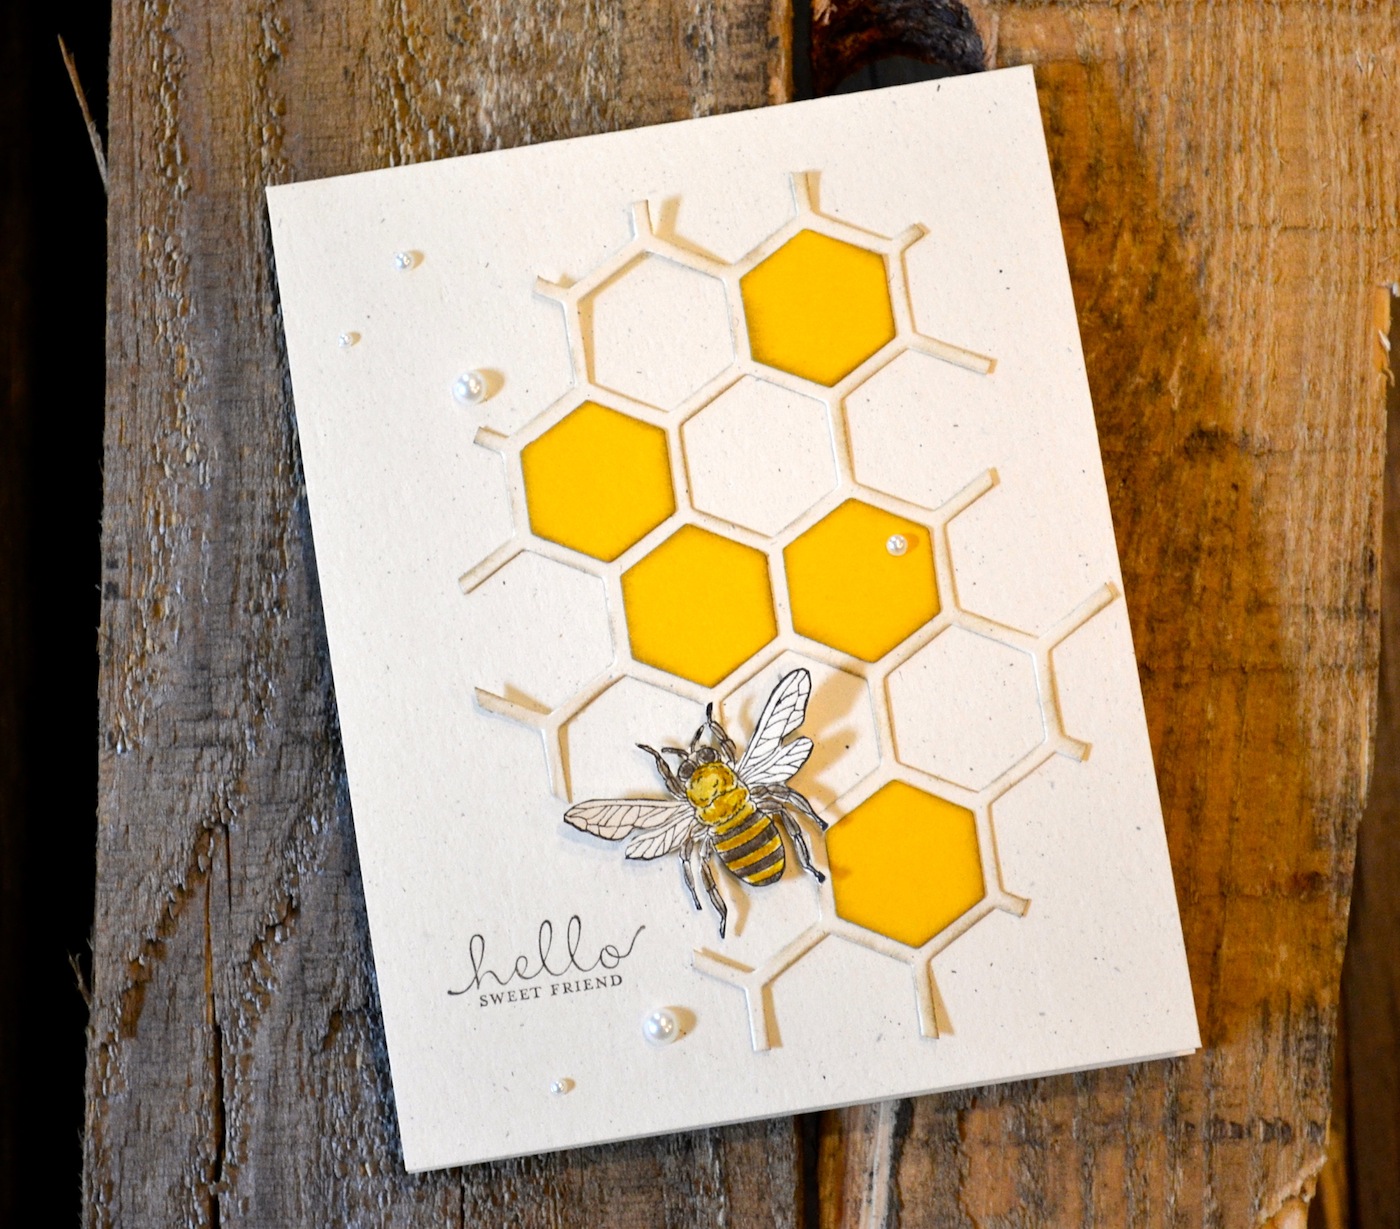
So I’m back to the Hexagon Hive. I told you two weeks ago how much I love it and the team has been showing so many fun ways to use it. I thought I would go literal with the hive on this one. It is so easy to do too. Just cut the Naturals Ivory Card Stock using the Thinlit and the snip off the edges and keep the part you want. I sponged it with Soft Suede to give it a little extra dimension. Then using the Thinlit again, cut a piece of Crushed Curry Card Stock and sponge a few of the hexagons and place them on the filled spaces of the hive base. I attached it to a Naturals Ivory base card using Glue Dots placed under the filled hexagons and let the the edges stay unattached to add a little dimension. Next for the bee. This fellow is from Backyard Basics and I have to say the set holds a special place for me. You see, the Artisan Design Team has two of the most wonderful women at the home office that help us. Together, they gave each team member a choice of some Stampin’ Up product as a Christmas present and I chose this set. I just got it when the February box came so I obviously had to use it right away. Thank you Gwen and Chrissy for this awesome gift!!! Ok..back to the bee. I stamped him in Early Espresso and colored using my Blender Pen and using direct marker with Soft Suede and Crushed Curry inks. Then I cut him out by hand. There is a framelit that goes with him but I wanted a really close cut so I just took my time and did it. The sentiment is from Six-Sided Sampler and is a perfect fit, don’t you think?? A few Basic Pearls to finish this one off.
So what do you think? I love to hear how you feel about this one and I can’t make it TOOO easy for the blog candy so here it is. Leave me a comment before Sunday, Feb. 23rd at 6p Eastern and tell me what you love about the new shapes in the Occasions Catalog. The hexagons, the triangles, the starbursts…all so amazing. Let me know your favorite and why! I’m giving away the stamp set Geometrical AND the new Triangle Punch that goes with it to a random commenter. I’ll use a random number generator to choose but can only mail within the US. Ok…that isn’t too hard is it?
I’ll be back tomorrow with the latest from Freshly Made Sketches and then later in the week with more Leadership Display projects.
Okay, off to go visit the awesome Mercedes Weber. I can’t wait for you to see what she has created! Make sure you hop around the whole loop to take a look at beautiful creations by the whole team…you’ll be happy you did!

Click HERE to purchase any of these wonderful Stampin’ Up products.
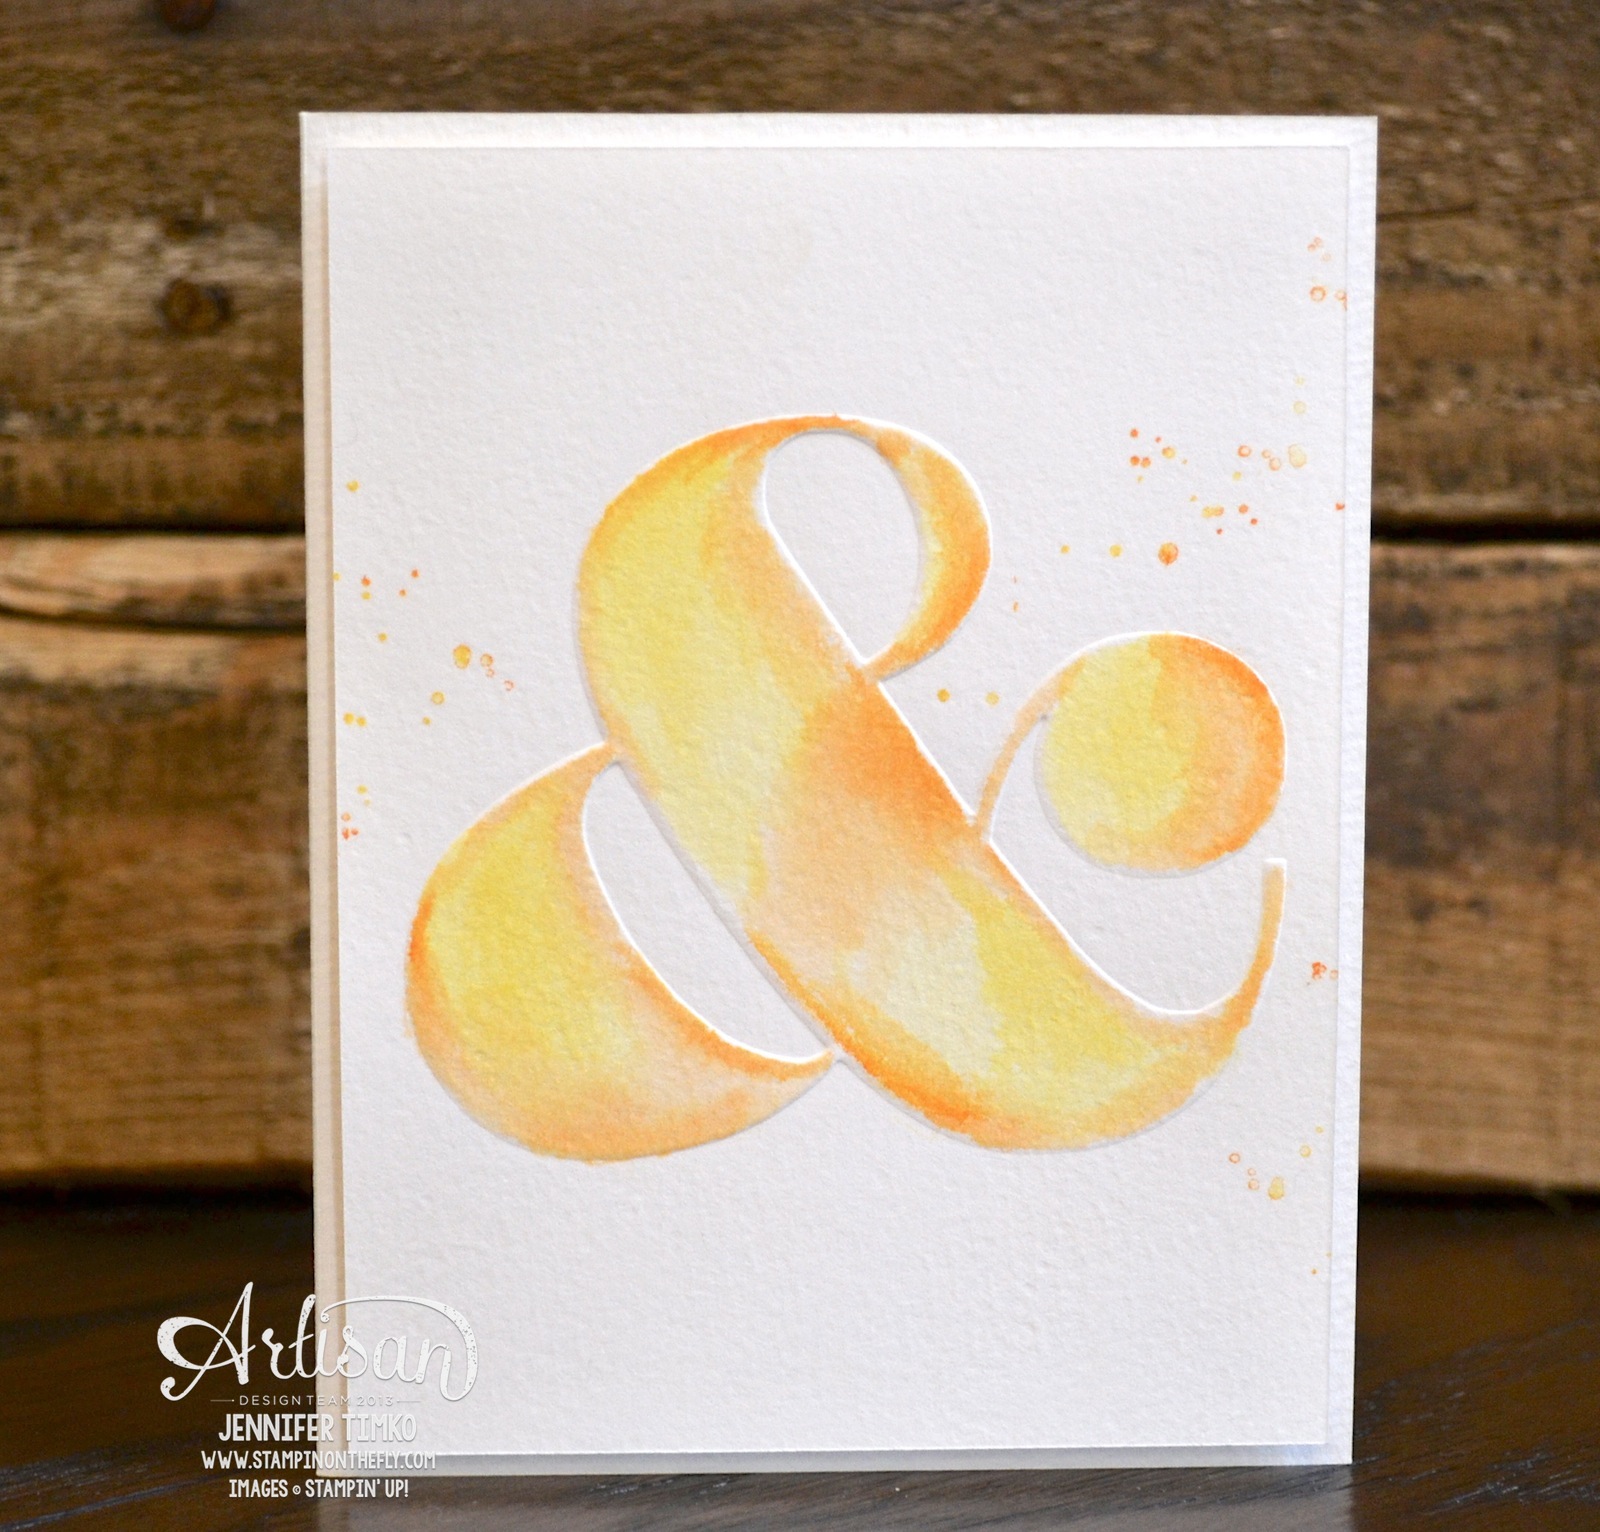
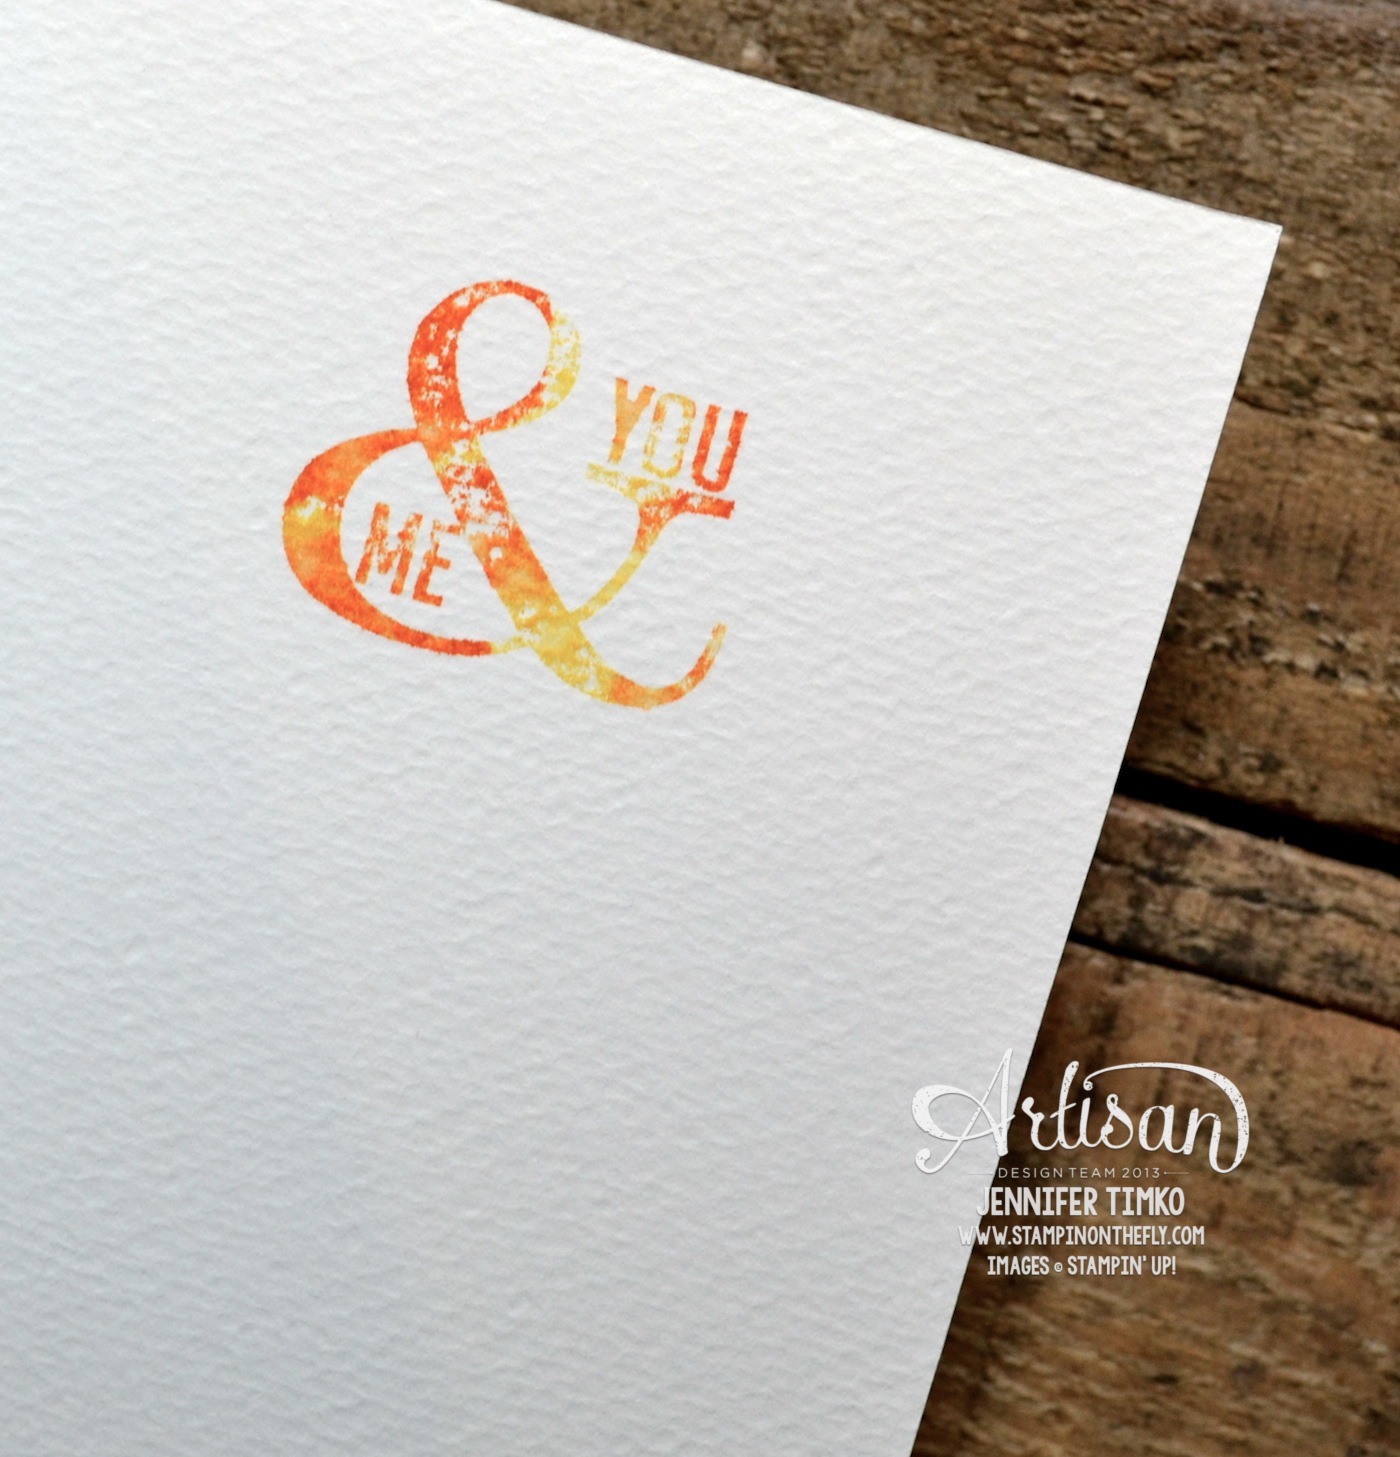
Stamps: Perfect Pennants, Gorgeous Grunge; Ink: Daffodil Delight, Pumpkin Pie; Paper: Watercolor; Accessories: Big Shot, Ampersand Embossing Folder, Aquapainter, Water Spritzer