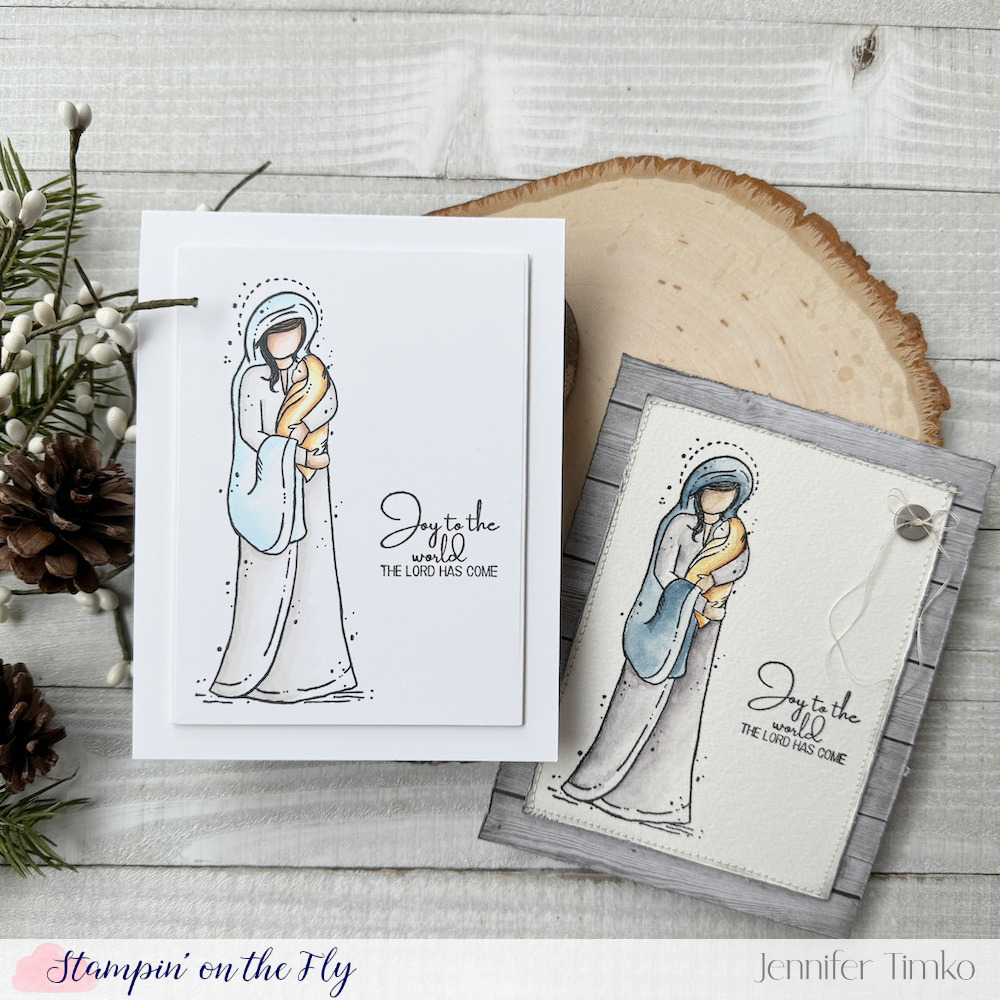
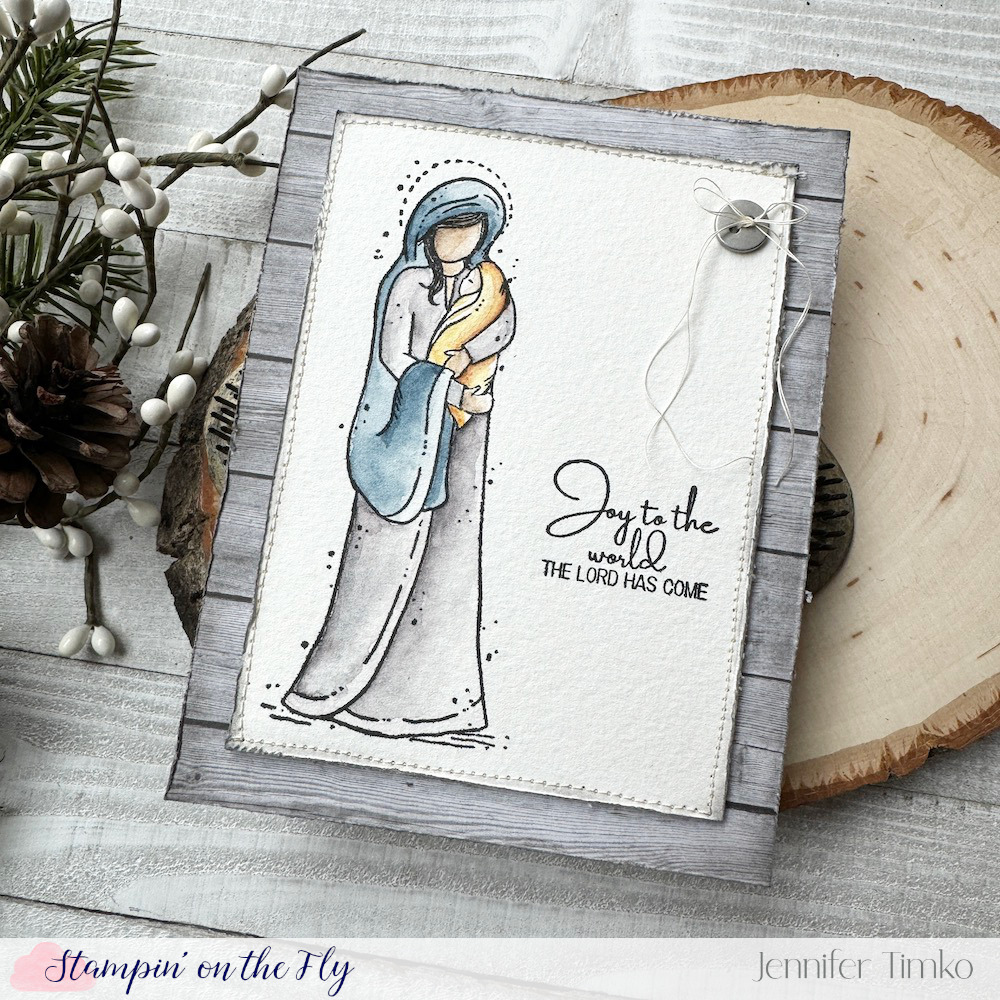
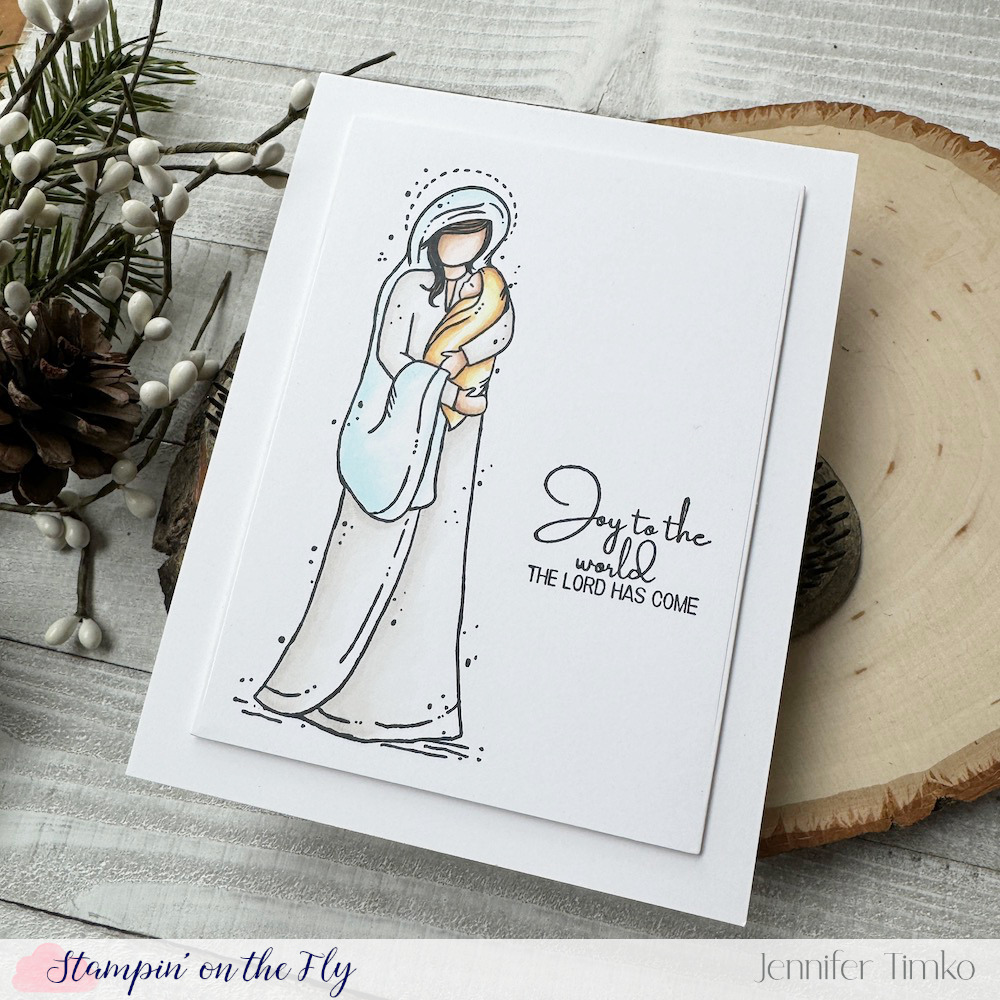
Wishing you and your family a very merry Christmas and a happy holiday season. My last card of the season and one of my new favorite images. Clean, simple, and the heart of our celebration.
This stamp is called the Joy of Jesus by Unity Stamps. I colored in Copics and watercolor and love both results. Same layout, just some sewing and distressing on the watercolor card.
Thank you for another year of kind words and support for my crafty adventures. I’ll be back in the new year and look forward to what 2024 brings. Wishing you peace and joy!
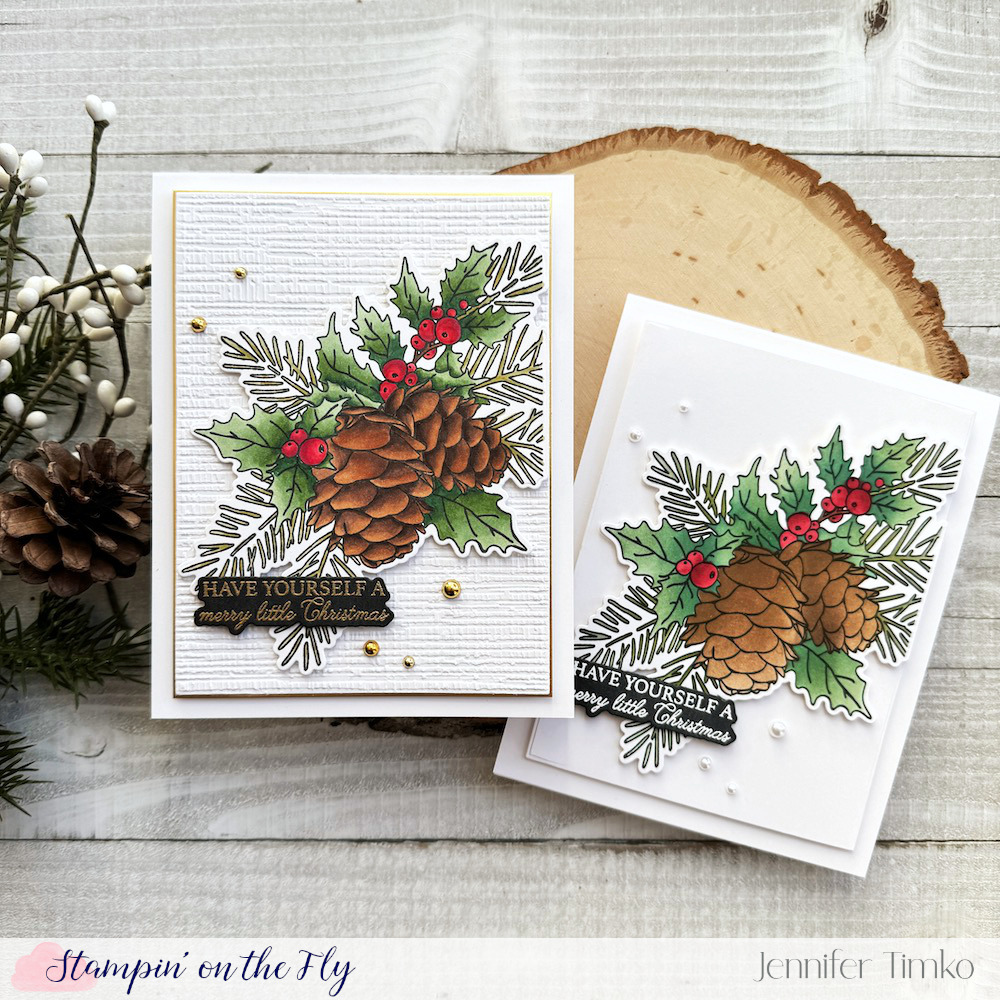
As this holiday season is in full swing, I wanted to share a series of cards I made with the Good Tidings line by Honey Bee Stamps. I started this as a test of stenciling on images. I see lots of people who create beautiful cards with stenciling as their method of coloring. But personally, I have not had a ton of success with it. Still, when I saw the Good Tidings suite, I thought yeah…just get the stencils too. I was already getting the stamps and dies and, knowing the quality of Honey Bee, the stencils were a worthwhile add-on.
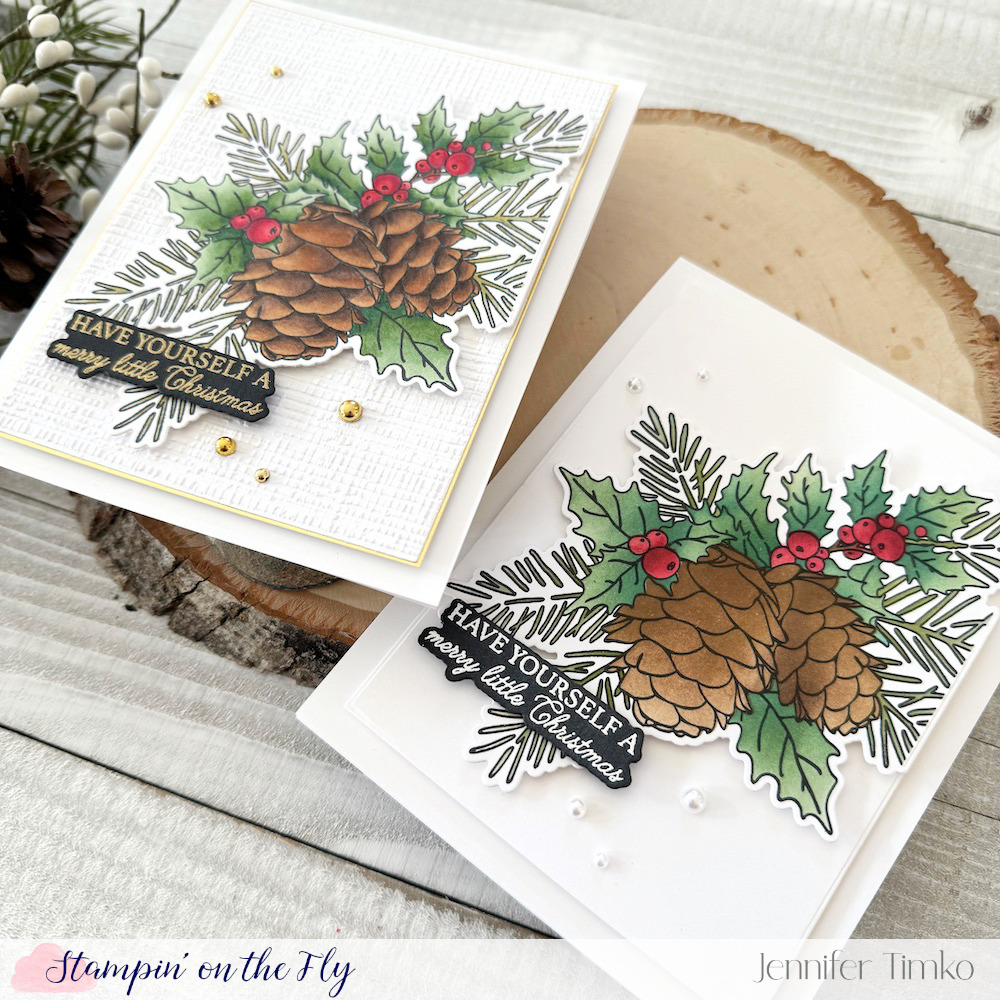
First up, I went to my tried and true. Copic coloring! I loved coloring this image! I find it such a brain break and I get lost in the shading and details. But, when it comes to holiday cards, not the most efficient. This one took me about 2 hours to color. So next, I pulled out the stencils. To be honest, my first attempt was not good. I stenciled first and then over-stamped with the image. That did not work for me. So I tried again except that I stamped the image and then used the stencils for shading. Since I already had the Copic image, I looked to mimic those colors and shading with my Distress Inks. Here they are side by side:
I did not use the one stencil that has “highlights” for the leaves but otherwise just worked through the stack. Other than the shading on the pinecones, I was able to approximate the darks and lights using my Bitty Blender Brushes to help get more color in the nooks and crannies. And this one took me…..10 minutes. Yes, TEN. So in mass production, this is manageable and still feels hand colored and special. I’m a convert to the stencils! Obviously, the Copic markers allow for more depth but the stencils give such flexibility on time.
I finished these out in a way to match. On the Copic version, I used the Burlap 3D Embossing folder on the panel behind the image and matted it with Gold Cardstock from Erin Lee Creative. Both images with cut out with the coordinating die and I chose a sentiment from the stamp set for heat embossing (also with a coordinating die). Pearls to match but the layout is exactly the same.
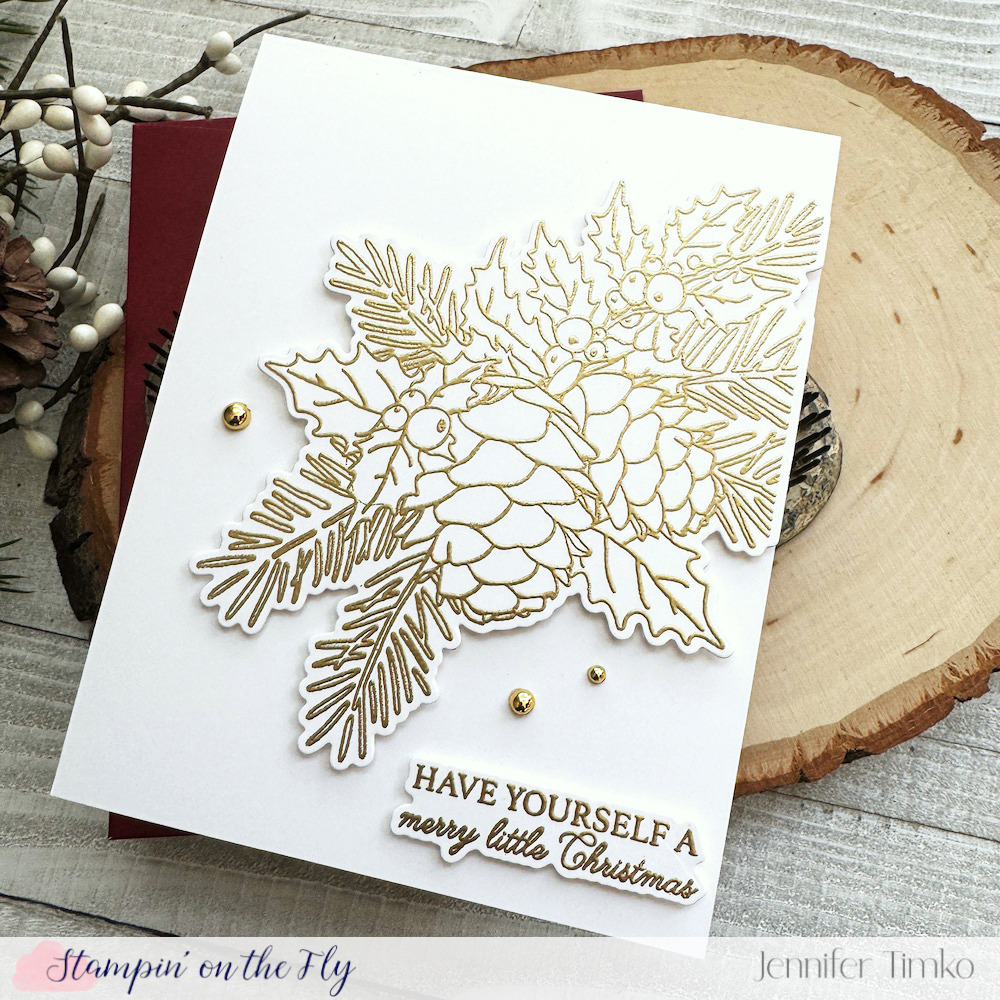
I created one more for those who might not have the stencil but still want a card that is easy to make in multiples. This time, the power of gold! I got rid of the extra layer and just stamped, embossed and cut out the image. Same sentiment and some pretty gold pearls.
I love the versatility of this suite and am so glad I took the chance on the stencils. The beauty of this image is what captured me and I will be using this for years to come.
I’m on call today and hoping the system stays quiet for a couple more days. Cookies to back and a few last presents to wrap. Wishing you a bit of calm in your hustle and bustle!
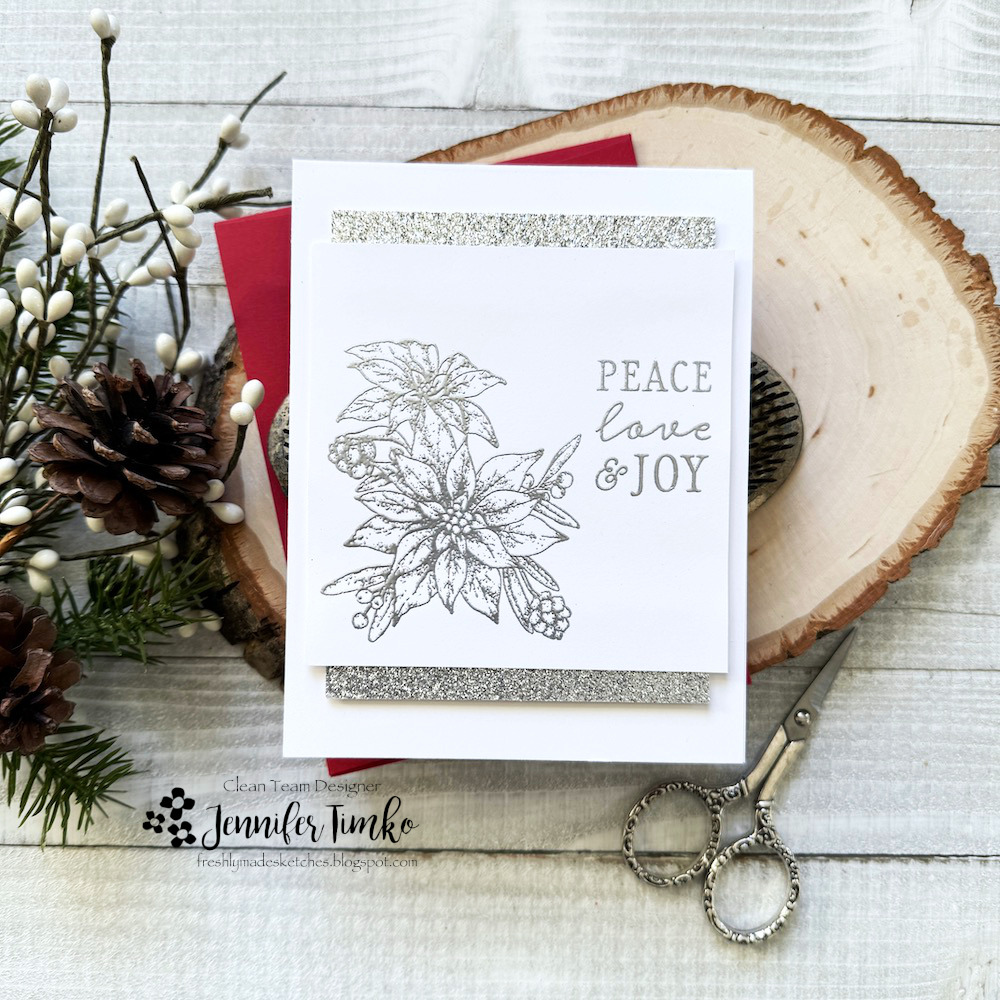
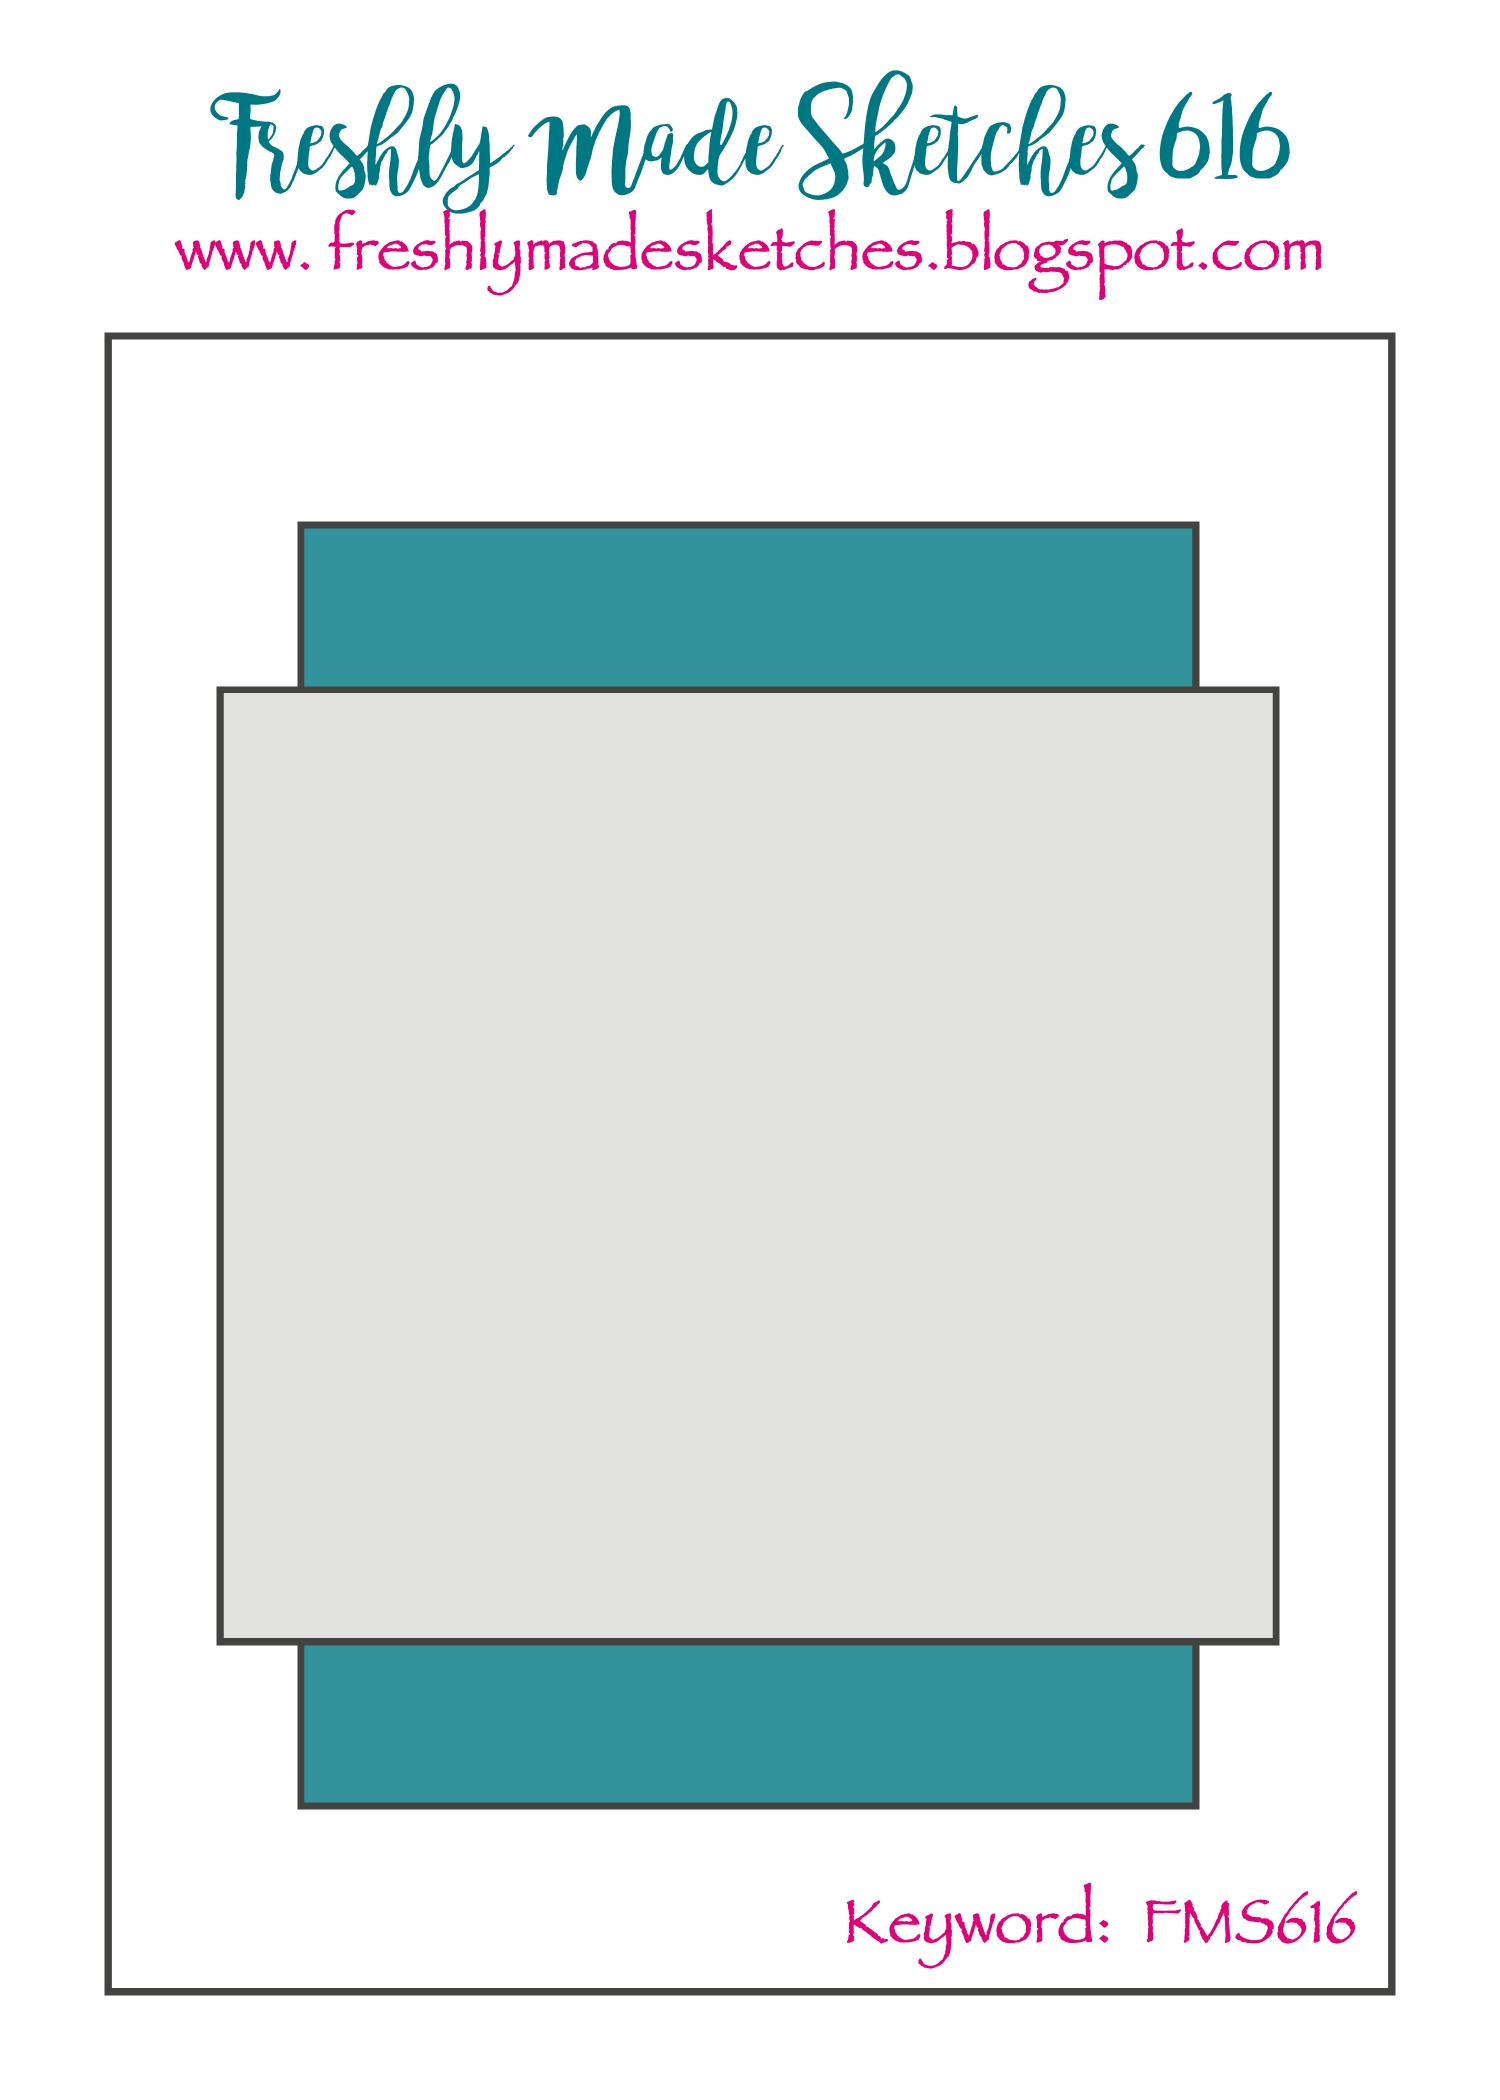
Well, I never did get back to you last week. Sigh. Once I’m in the training center, all of my brain cells are apparently occupied and I totally forgot. So I guess that means I have some cards to share over the next couple of weeks. For today, I have the latest from Freshly Made Sketches and our last sketch of the year. The team will take a couple of weeks off and be back in the new year. We close out with this awesome sketch by the lovely Amy O’Neill. It is great for your last Christmas cards (that’s me!) or for moving into the new year with fresh stamps.
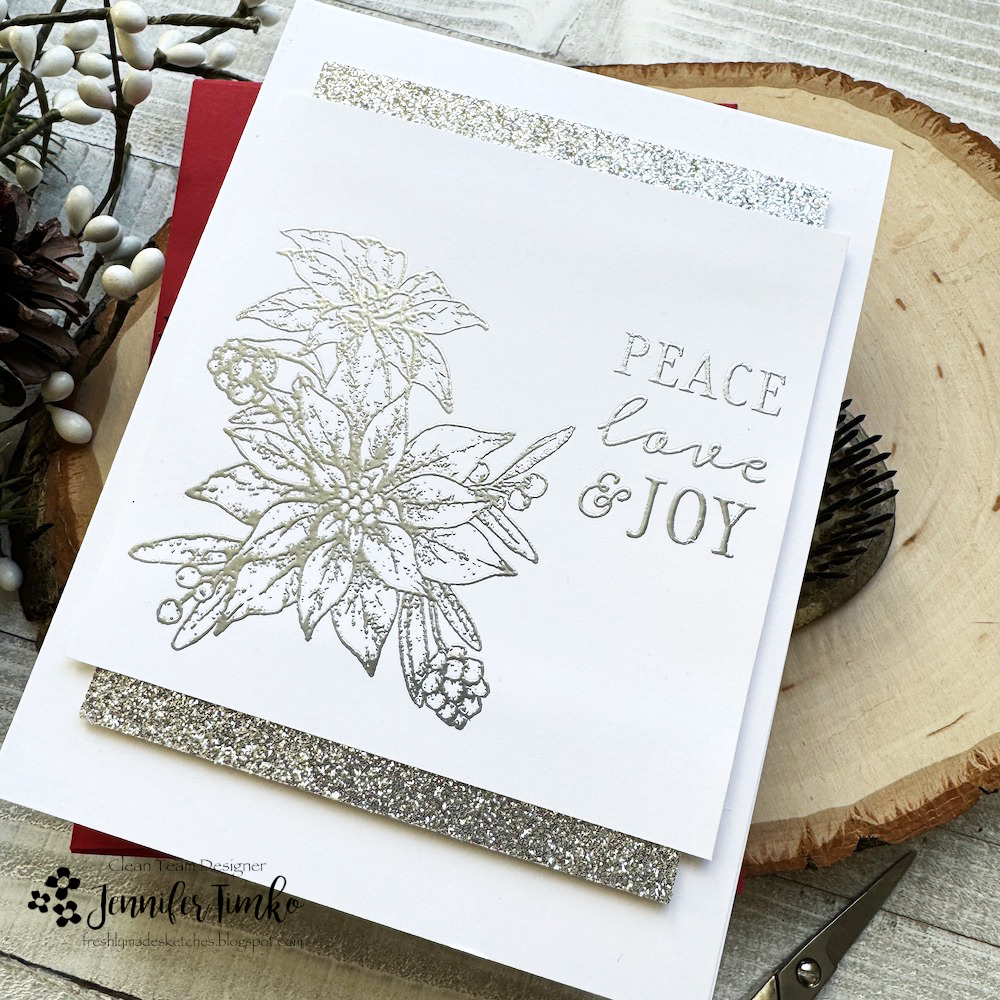
If you haven’t already heard, the wonderful Dawn Woleslagle is closing her shop, WPlus9. She isn’t leaving the industry, just moving more into designing. We are all winners for that. It looks to me like this set, Joyful Poinsettias, is already sold out but there are some other pretty things left at a huge discount. I have loved coloring this set but I needed fast for today. Heat embossing to the rescue! I set up the flowers and the sentiment, stamped in Versamark and heat embossed with silver. So fast, so elegant!
I used some glitter paper from Simon Says Stamp to complete the sketch and this card was done! Looks fancy, totally easy. Not going to lie, the hardest part of the process was getting photos. Still not great pictures but the silver was giving my camera all kinds of issues. It is so pretty in person so I hope you get the feel of it.
With the challenge open so long, you are welcome to join in at anytime and you can even add multiple cards. Hoping this sketch will be fun for you to use if you have some time off for crafting. Thanks for stopping in today. Really, really, I will have another card up soon. Until then, have a great week!
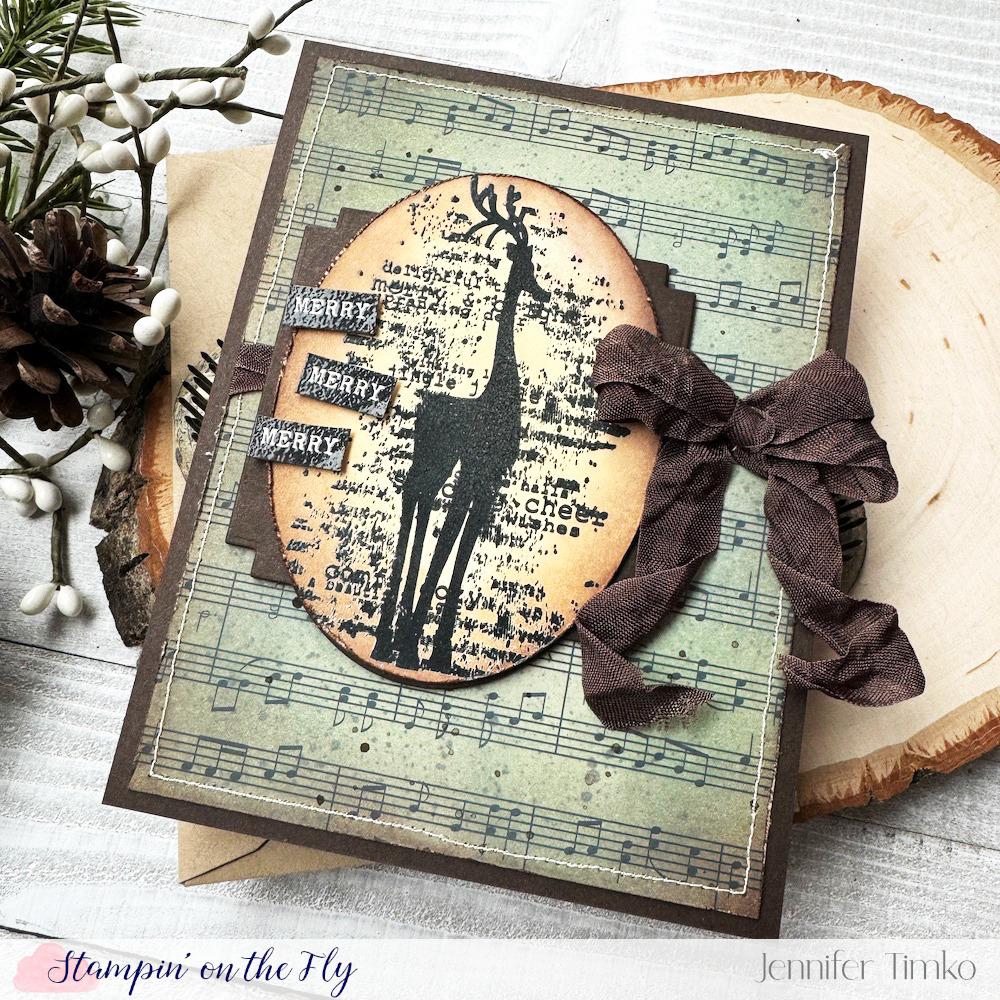
A very quick post for today. I have a few cards to share over the next week or so as I move through my Christmas stamping. I’m back out in Denver but got some photos before I left so I could share.
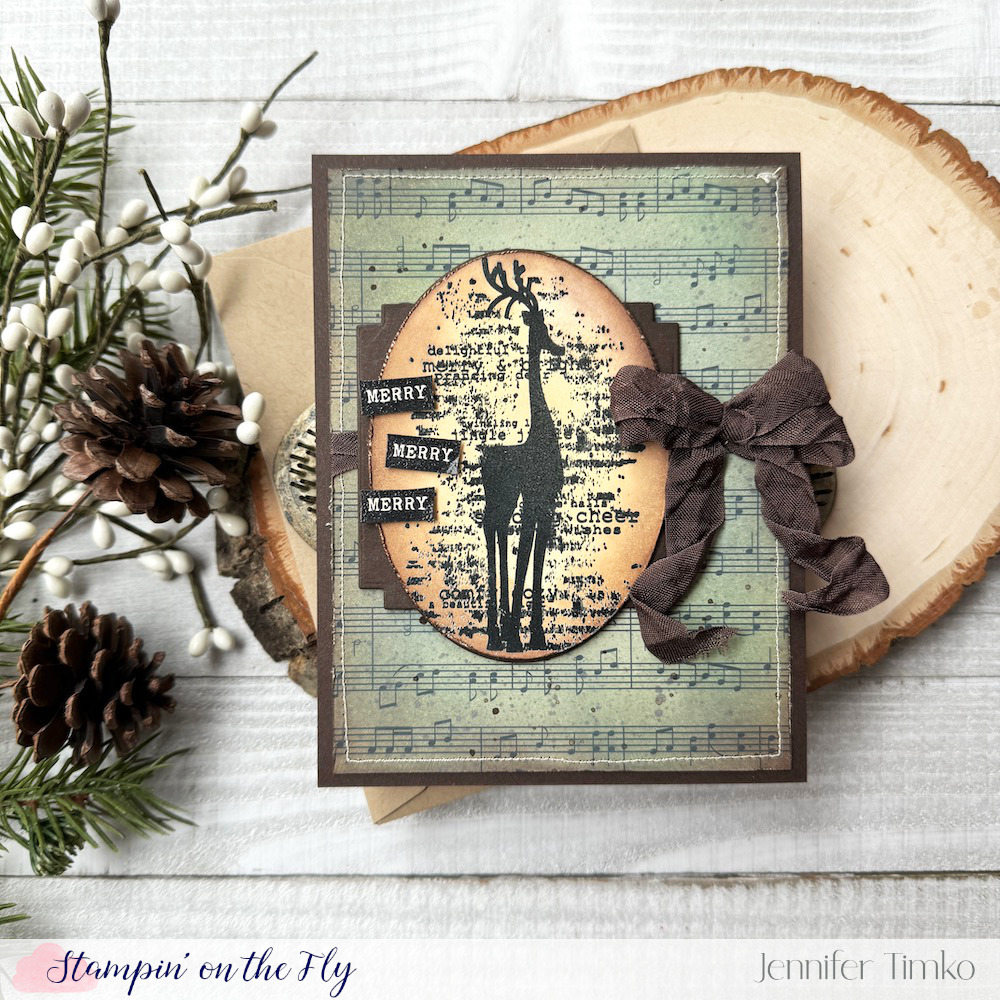
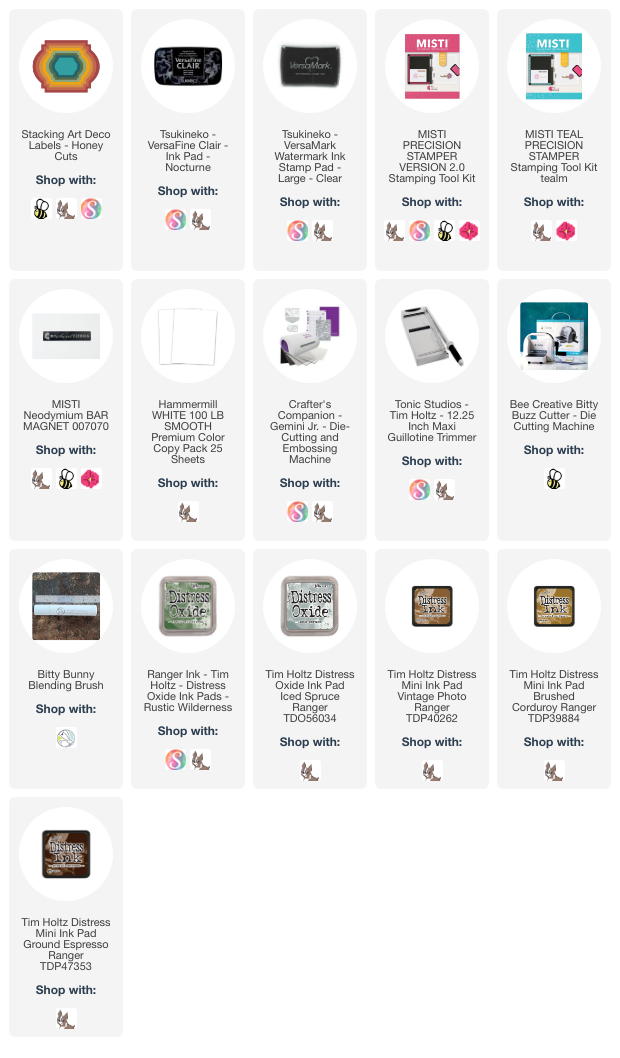
When I saw this little reindeer from Unity Stamp Company, I thought it was totally different that anything I have and knew it would be fun to use. It is called Winter Cheer and Deer. I stamped in black ink, then heat embossed with clear so that I could make this good and inky. It was white paper to start and I added tons of distress ink in Vintage Photo, Corduroy and Ground Espresso. I cut it with an old oval die which conveniently matched up to the Stacking Art Deco Labels Dies from Honey Bee Stamps.
I had some really old (like a decade maybe!) paper with the music on it. I love it and hoard it and I need to USE IT!! This is a start. I inked it up with Distress Oxide Ink in Iced Spruce and then Rustic Wilderness. I added splatters with brown ink and then paint. It still needed something, so I added some stitching too. I inked and embossed the sentiments just like the main image and hand cut them (it adds to the vintage vibe to not be too perfect). I tied it up with a bow…literally. Some old seam binding from my stash. I always love the bows made with this ribbon!
Ok, I’m off to learn from some experts and get to be a part of training the newest 60 Captains at United. These are exciting days! Back later in the week with more. Hope you are having a wonderful day!
Primary Sidebar
We use cookies on our website to give you the most relevant experience by remembering your preferences and repeat visits. By clicking “Accept”, you consent to the use of ALL the cookies.
This website uses cookies to improve your experience while you navigate through the website. Out of these, the cookies that are categorized as necessary are stored on your browser as they are essential for the working of basic functionalities of the website. We also use third-party cookies that help us analyze and understand how you use this website. These cookies will be stored in your browser only with your consent. You also have the option to opt-out of these cookies. But opting out of some of these cookies may affect your browsing experience.
Necessary cookies are absolutely essential for the website to function properly. This category only includes cookies that ensures basic functionalities and security features of the website. These cookies do not store any personal information.
Any cookies that may not be particularly necessary for the website to function and is used specifically to collect user personal data via analytics, ads, other embedded contents are termed as non-necessary cookies. It is mandatory to procure user consent prior to running these cookies on your website.