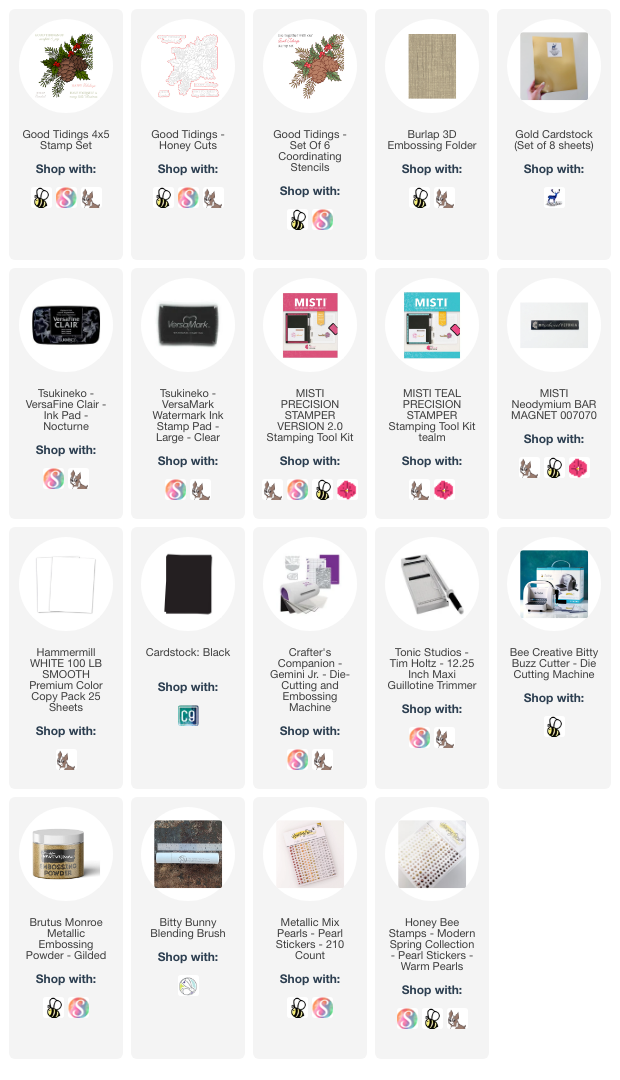
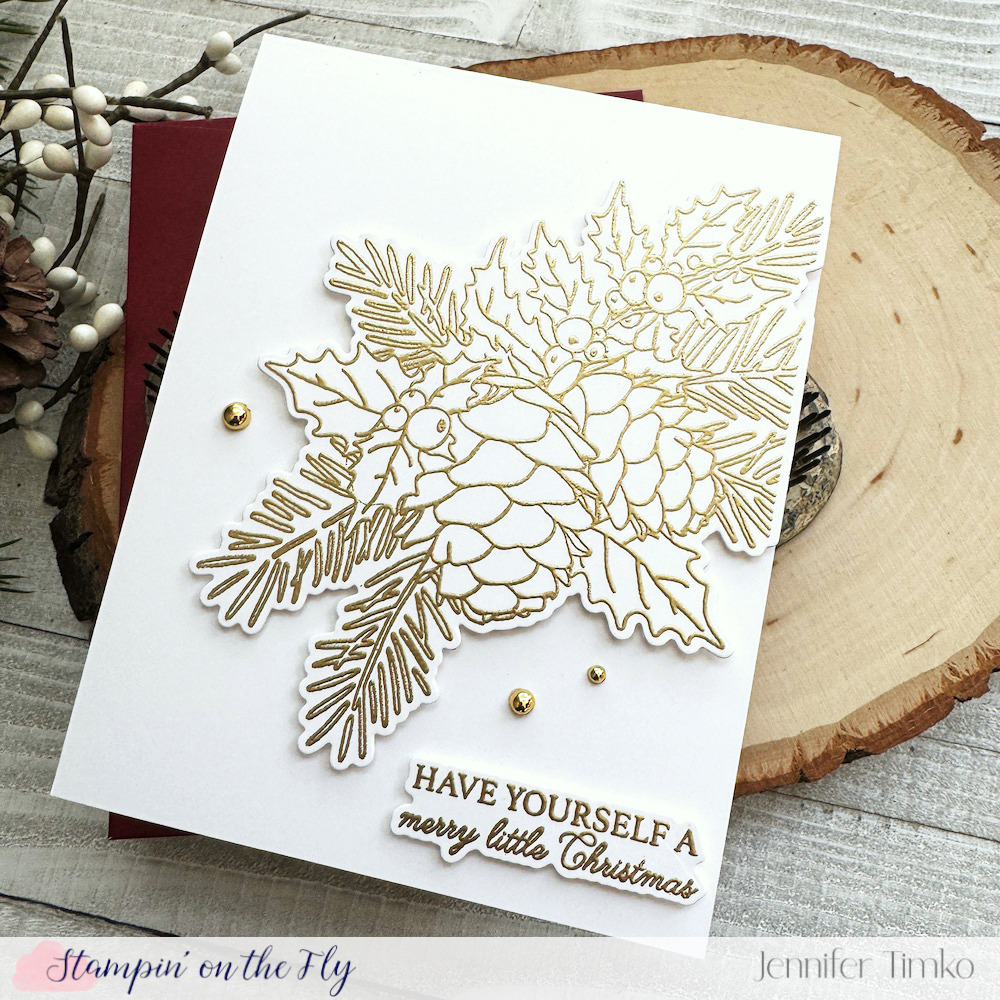
As this holiday season is in full swing, I wanted to share a series of cards I made with the Good Tidings line by Honey Bee Stamps. I started this as a test of stenciling on images. I see lots of people who create beautiful cards with stenciling as their method of coloring. But personally, I have not had a ton of success with it. Still, when I saw the Good Tidings suite, I thought yeah…just get the stencils too. I was already getting the stamps and dies and, knowing the quality of Honey Bee, the stencils were a worthwhile add-on.
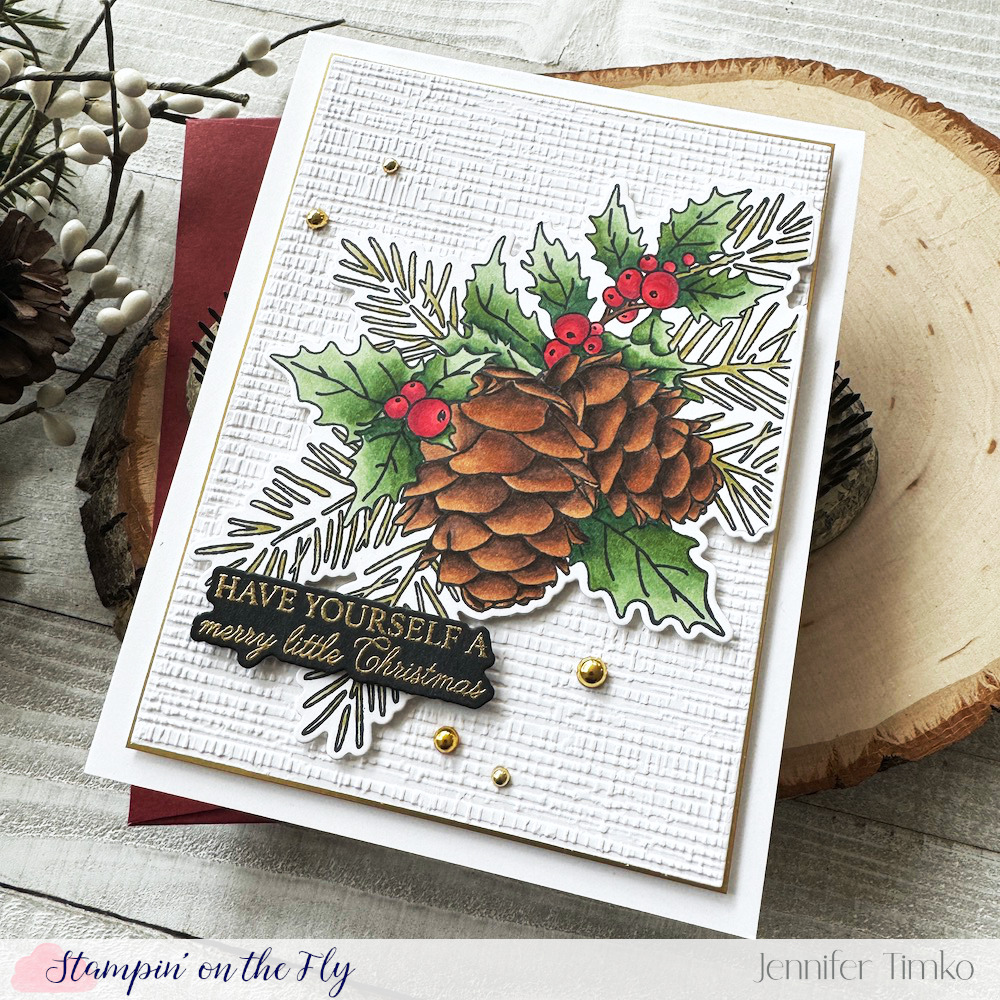
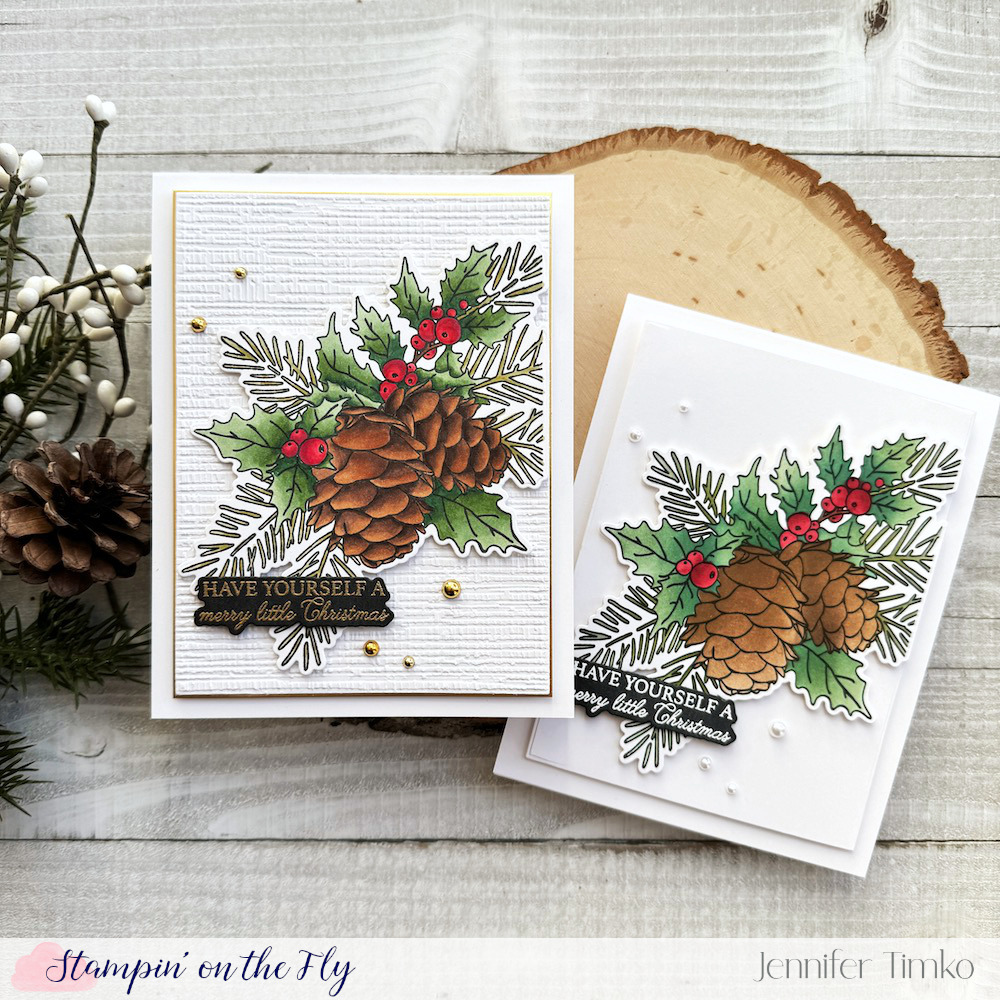
First up, I went to my tried and true. Copic coloring! I loved coloring this image! I find it such a brain break and I get lost in the shading and details. But, when it comes to holiday cards, not the most efficient. This one took me about 2 hours to color. So next, I pulled out the stencils. To be honest, my first attempt was not good. I stenciled first and then over-stamped with the image. That did not work for me. So I tried again except that I stamped the image and then used the stencils for shading. Since I already had the Copic image, I looked to mimic those colors and shading with my Distress Inks. Here they are side by side:
I did not use the one stencil that has “highlights” for the leaves but otherwise just worked through the stack. Other than the shading on the pinecones, I was able to approximate the darks and lights using my Bitty Blender Brushes to help get more color in the nooks and crannies. And this one took me…..10 minutes. Yes, TEN. So in mass production, this is manageable and still feels hand colored and special. I’m a convert to the stencils! Obviously, the Copic markers allow for more depth but the stencils give such flexibility on time.
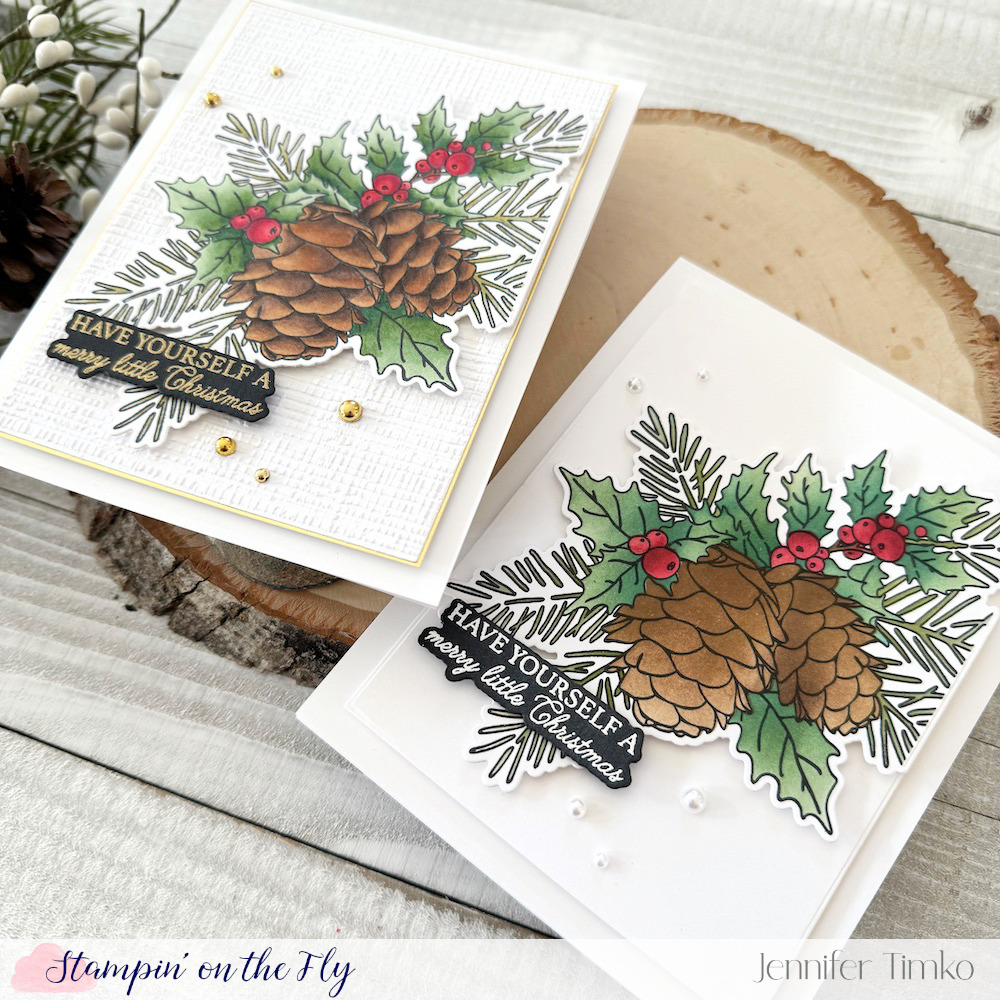
I finished these out in a way to match. On the Copic version, I used the Burlap 3D Embossing folder on the panel behind the image and matted it with Gold Cardstock from Erin Lee Creative. Both images with cut out with the coordinating die and I chose a sentiment from the stamp set for heat embossing (also with a coordinating die). Pearls to match but the layout is exactly the same.
I created one more for those who might not have the stencil but still want a card that is easy to make in multiples. This time, the power of gold! I got rid of the extra layer and just stamped, embossed and cut out the image. Same sentiment and some pretty gold pearls.
I love the versatility of this suite and am so glad I took the chance on the stencils. The beauty of this image is what captured me and I will be using this for years to come.
I’m on call today and hoping the system stays quiet for a couple more days. Cookies to back and a few last presents to wrap. Wishing you a bit of calm in your hustle and bustle!
