
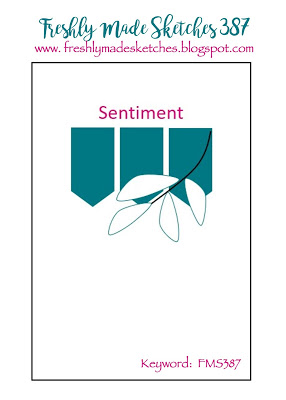
Have you noticed a distinct theme to all the cards around on social media this week? Yes, indeed, it is Spring/Summer Coffee Lovers Blog Hop time! You have to go check out all the amazing coffee themed cards. It is seriously awesome! I could not bear to miss out so I thought I’d use this week’s new Freshly Made Sketches challenge to create a card for the hop. The oh-so-talented Cécile is our sketch designer this week and her sketch is unique and fabulous (just like her).
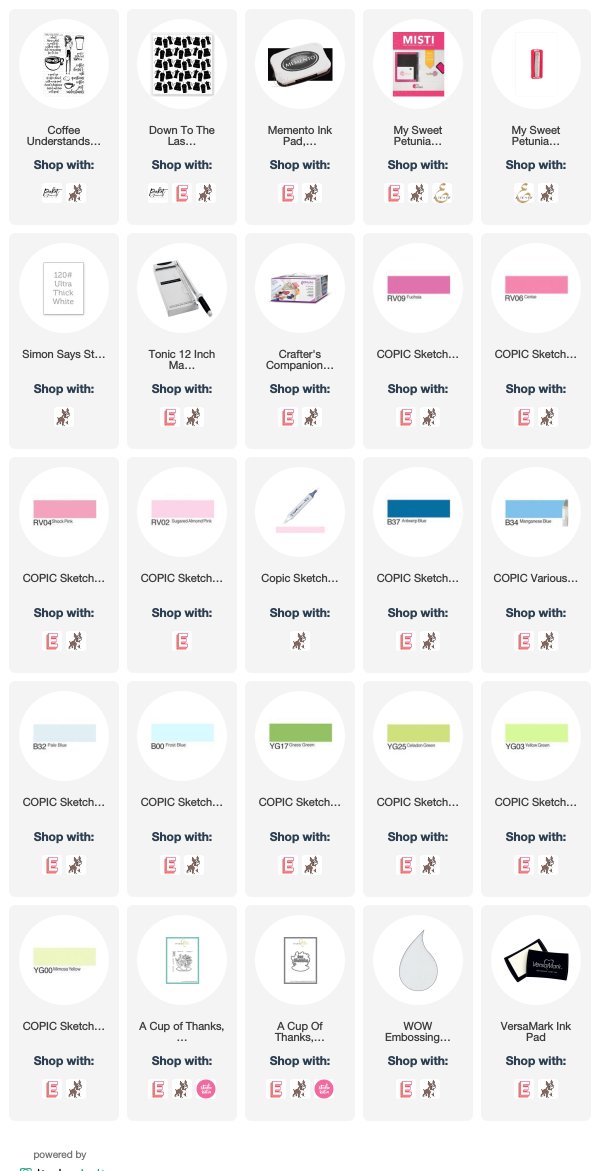
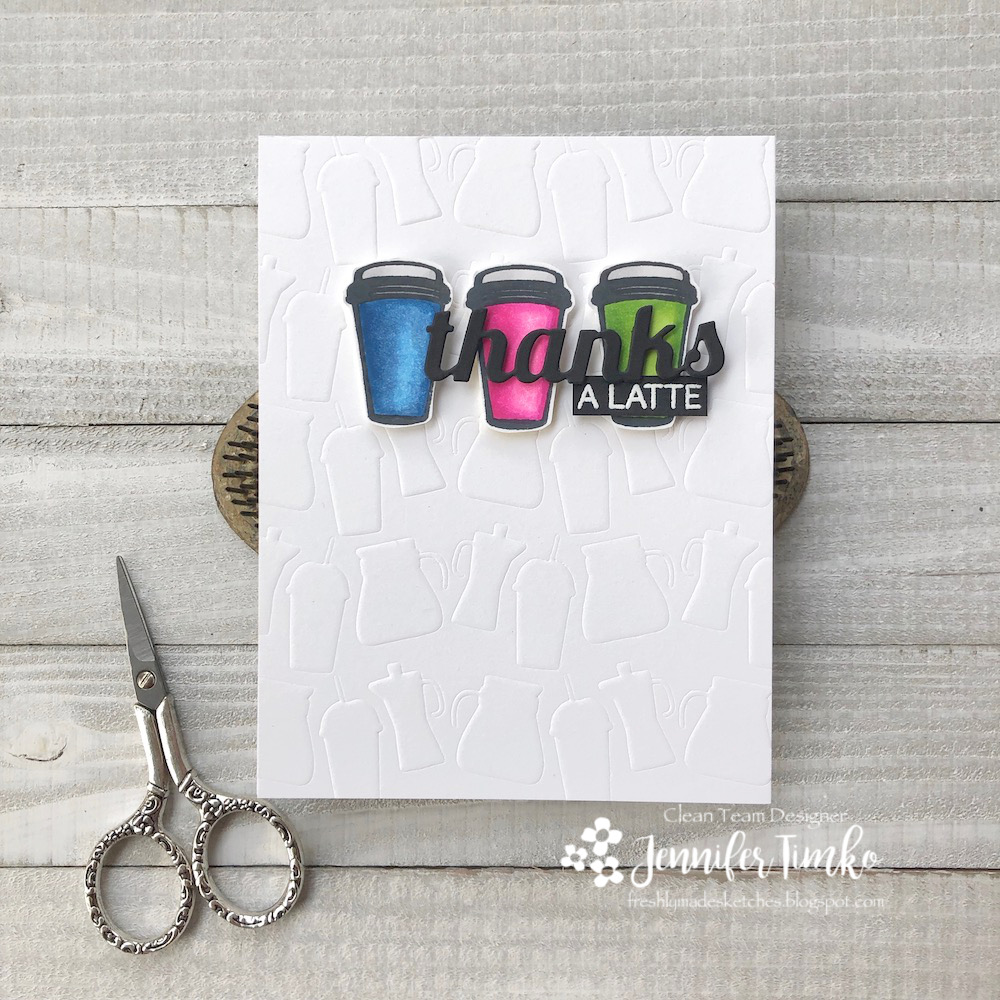 Because you are supposed to stick to a spring/summer theme, I opted to use bright happy colors for my clean cards. I used the cup from Coffee Understands (Picket Fence Studios) and stamped it three times. I colored each cup using Copic color families (they are listed below) and then cut them out by hand. After some debate on what to put behind them, I had an a-ha moment when looking through my stencils. I pulled out the Down to the Last Drop Stencil (Picket Fence Studios) and used it as an embossing folder. Now this was a test of sorts. You see, I just got a brand new Crafter’s Companion Gemini Jr. and I wanted to see how it would emboss. It came with the embossing mat and it worked perfectly with my stencil. To finish with the sketch, I thought a coffee sentiment would be good. I chose Cup of Thanks (Studio Katia) with the coordinating die and sentiment.
 I’m off to get this entered over with the Coffee Lovers! Make sure you join in and you’ll get an opportunity to win prizes from their sponsors (so many awesome sponsors!!). Hope to see you in the Freshly Made Sketches gallery too! Thanks for stopping in today. See you soon!

22 Comments
Well, this is just perfect! Love this fun card!
I love that fun embossed background and those bright and cheerful cups! Beautiful CAS card!
Love love love this card, Jenn. Those cups are cute!0
what a beautiful CAS card!
I love these cute little cups in their bright, happy colors. And I love how you’ve used them with the sketch. Fun card, Jennifer!
Wow! LOVE this!
It never occurred to me to use a stencil as an embossing folder. I love that idea. Great card design.
I have to go try embossing with a stencil right now … lol I know
I’ve seen others do it before, but I just have never tried it … yep, it
works with a Cuttlebug, too. Just need a shim or 2-3 for a more
pronounced image. Thanks for the inspiration and the tip!
this card is so great!
Genius move to use the stencil as an embossing folder….who knew ? You did! Adorable card!
LOVEthis! The pops of color are everything!
I love your card, colors, embossing and dies. Gorgeous.
So pretty and neat!
Well this is just fantastic Jen! I love those brightly coloured cups and that amazing embossed background! Such a great take on the sketch!
LOVE your colored cups. And such a perfect background!
Love these bright colors on the coffee cups! I think all the coffee shops should adopt your idea!
Sweet card.
This is just adorable!! I LOVE that embossed background!!
[…] Ellen Hutson LLC :: $25 Gift Card – #785 Jen Timko […]
Perfect, clean and fresh take on the sketch, Jen!
This is wonderful! Your embossed background came out perfectly and I’m impressed that even the fine lines are clean and visible. Such bright and cheerful coffee cups, too! All-round fabulous card!
Wow! Jen! One more CAS perfection from you! Your take on the sketch is so clever! I love those colorful coffee cup over the all white embossed background. This is amazing!