
Thanks to the team over at Pals Paper Arts for making my card an Artist Pick this week! I am so thrilled!
I have to admit that the mojo went missing this morning. Maybe it has to do with the fact that my kids were running around and asking all kinds of questions but, hey…that’s what they are supposed to do, right? I tried watercoloring my Elements of Style, embossing the watercolored images, re-watercoloring, sponging…you get the picture. Suffice it to say, there was no image worth saving. That is when I simplified. If watercoloring wasn’t going to work today, it was time to skip it! The big flower stem in the set looks like toile to me and then it hit me. Pals Paper Arts has a monochromatic challenge and the color is PURPLE. Ummm, ok. Well, I have to admit that purple is not a go to color for me. The toile idea and the purple did seem to work though. With all my reservations about purple, the new Concord Crush really is an appealing color. It is so rich and almost dark enough to have a neutrals feel. The OCC Sketch Blog has a great new layout this morning, too:
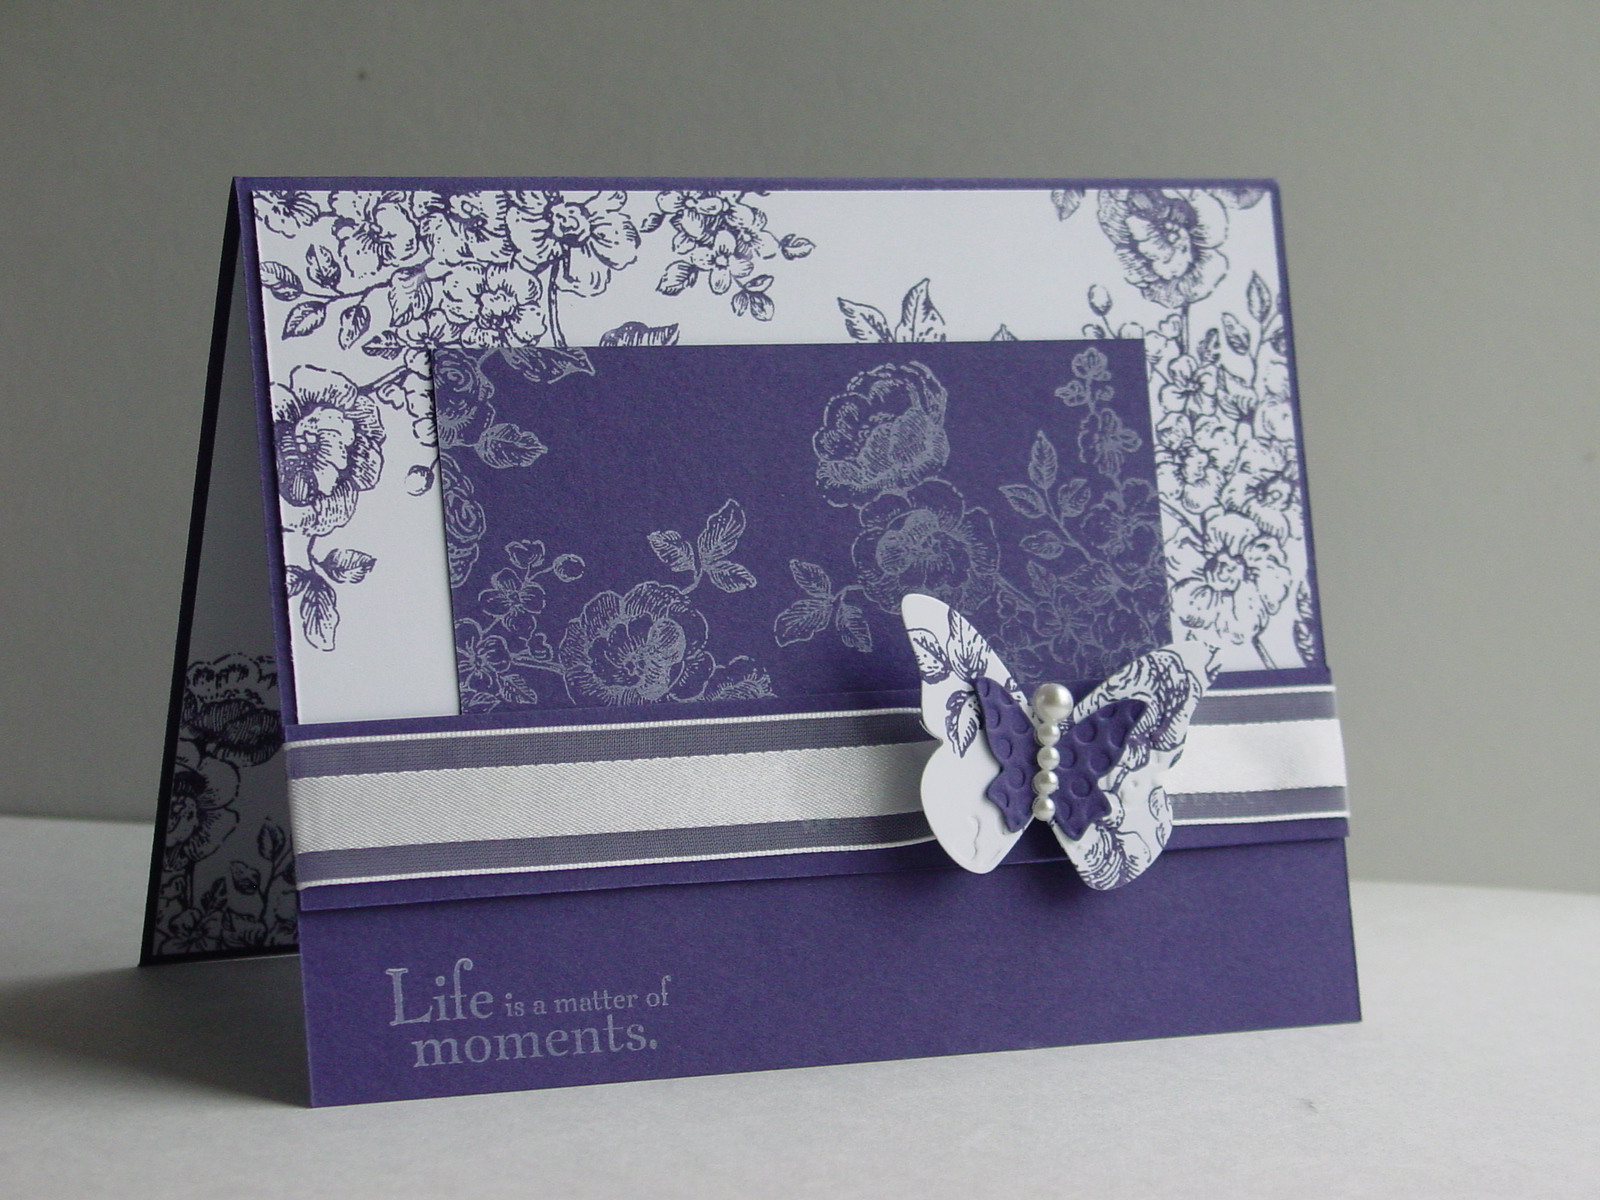
After the first failures, I was ready to try it again! As soon as I stamped that flower in the Concord Crush, I knew this was going to work! I stamped it on the Concord paper with Craft White and then popped out some butterflies with my Beautiful Wings embosslit. Seems my Big Shot has been getting more of a workout lately!
With the elegance of the toile look, I added some White Organza ribbon. Finally, I wanted to dress up the butterfly so I got the new Basic Pearl Jewels out. These little things are so very cool! Pull them off, stick them on, instant elegance!! Here is the final result:
And here is a close-up of the butterfly:
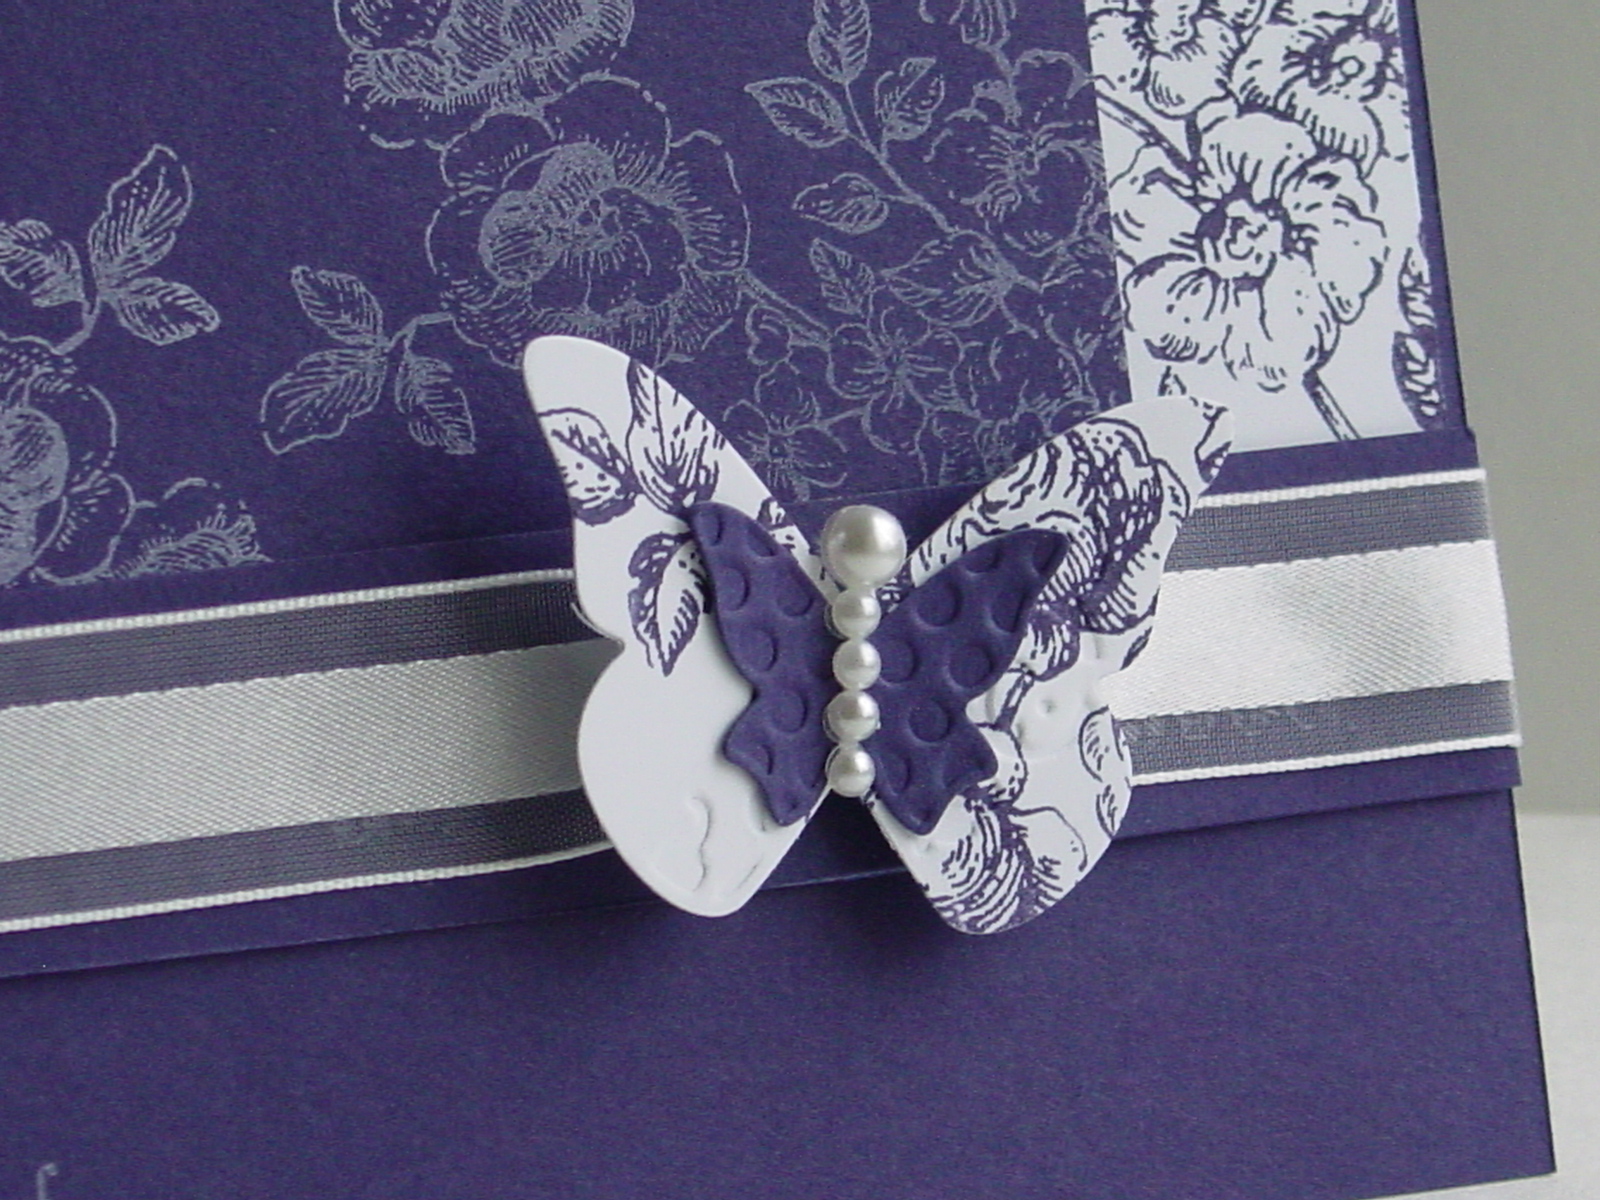
Details on the butterfly: I attached the Concord little butterfly to the toile big one with a little Dotto along the midde. I cinched the ribbon with some thread and then tied the butterfly onto the ribbon. My original intention was to leave thread antennae so I had a knot at the top of the butterfly. Once I started putting on the pearls, I realized that the thread wasn’t right and trimmed it down. I simply attached the big pearl to the knot…makes it look like I planned it but lucky is better than good sometimes!
The best part about this card is that I have a dear friend who loves purple and has a “significant” birthday coming up. Shhh, don’t tell her that this is her card!! Thanks so much for stopping in today!
Stamp: Elements of Style; Paper: Concord Crush, Whisper White; Ink: Concord Crush, White Craft; Accessories: Big Shot, Beautiful Wings Embosslit, White Organza Ribbon, Basic Pearl Jewels
All products are Stampin’ Up!


