
I promised you a bonus project today and I am so excited to share this with you. Those of you who have been following for a while know that I am not much of a glitter girl. The mess kind of, well, messes with me. But sometime a project is just worth it. This is one of them! And it is so crazy easy! Take a look:
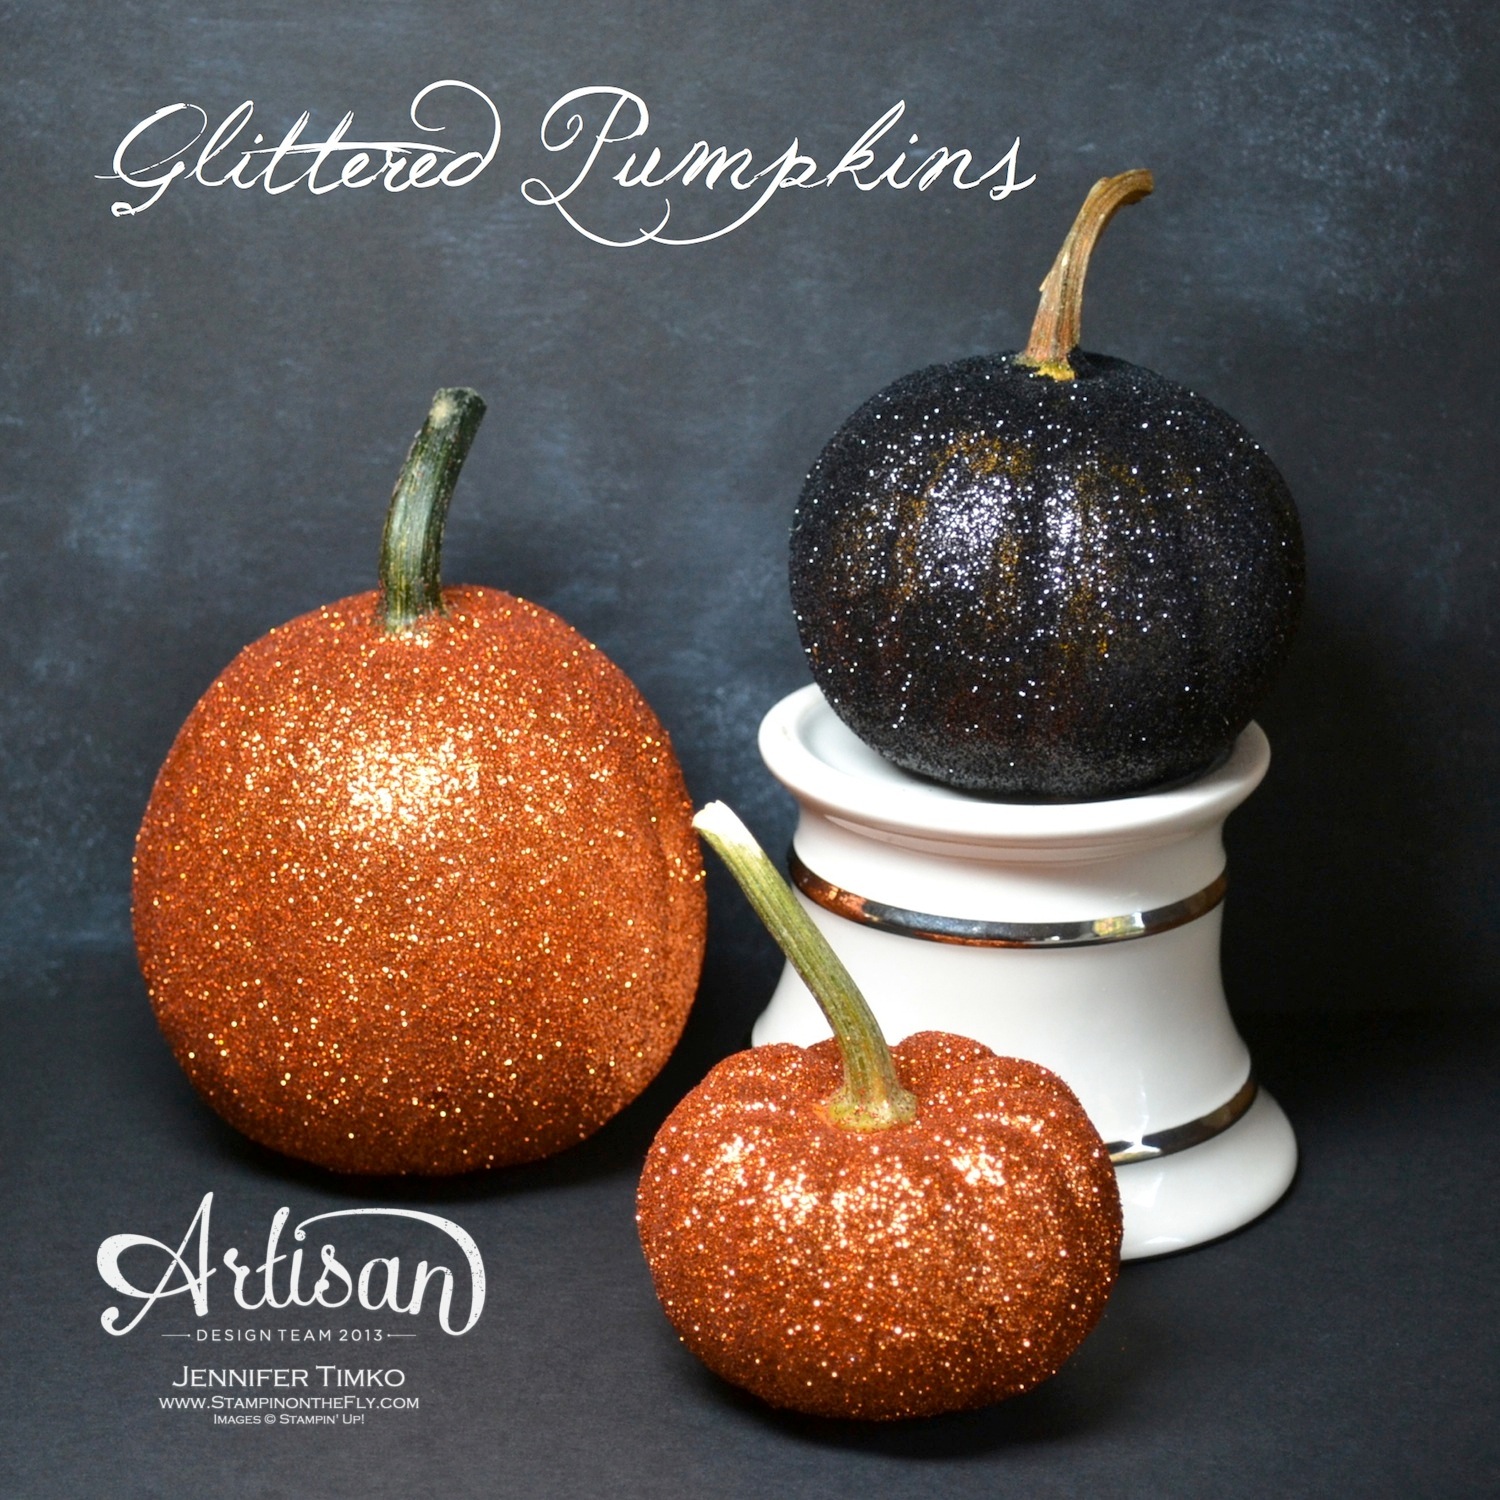 Yeah, I know…they are so cool, right?! Just wait until you see the supply list. Here it is: pumpkins (whatever size you like), basic glue, foamy applicator and Stampin’ Glitter in Black and Orange (they come as a pack). That’s it, that’s all. So you take some glue (I used plain old Elmer’s) and put it in a little container. I have some old button boxes that work perfectly for this. Take your little foamy brush and paint on the glue. Be generous. I probably needed a little more with the black pumpkin (it was my first one). With a big pumpkin you would probably want to do this in phases but I painted the whole thing. Then sprinkle on the glitter and set aside to dry. Ok, you are done. Mine took about a day to really dry well and now they are ready to use. See, I told you it was easy. And aren’t they pretty??! Stampin’ Up may turn me into a glitter girl yet!
I hope you enjoy this and can’t wait to hear if you try it! I’ll be back next week with a new Artisan box of goodies (think Fall and Thanksgiving) and of course another FMS card. Until then, I hope you have a wonderful weekend. Thanks for stopping in today!
Supplies: Black & Orange Stampin’ Glitter, Glue, Foam Brush, Pumpkins

7 Comments
Oh my gosh, I never thought to use REAL pumpkins….I always used foam ones! Awesome project!
Oh what fun! Putting little pumpkins on my shopping list!
These would look amazing at my front door! I didn’t know there is orange and black glitter!! Very cool project, Jen.
Jennifer, these are soooo darn cute! And easy! And did I mention cute?! I’ve heard glitter referred to as the herpes of crafting, but I still like it. Sometimes it’s worth the mess. Like this time!
How adorable!!!!
These are just amazing – what a fab idea – love them!
What a cool project! I can’t wait to go try it! TFS!