Skip to content

Freshly Made Sketches #573

Freshly Made Sketches #573 published on 4 Comments on Freshly Made Sketches #573

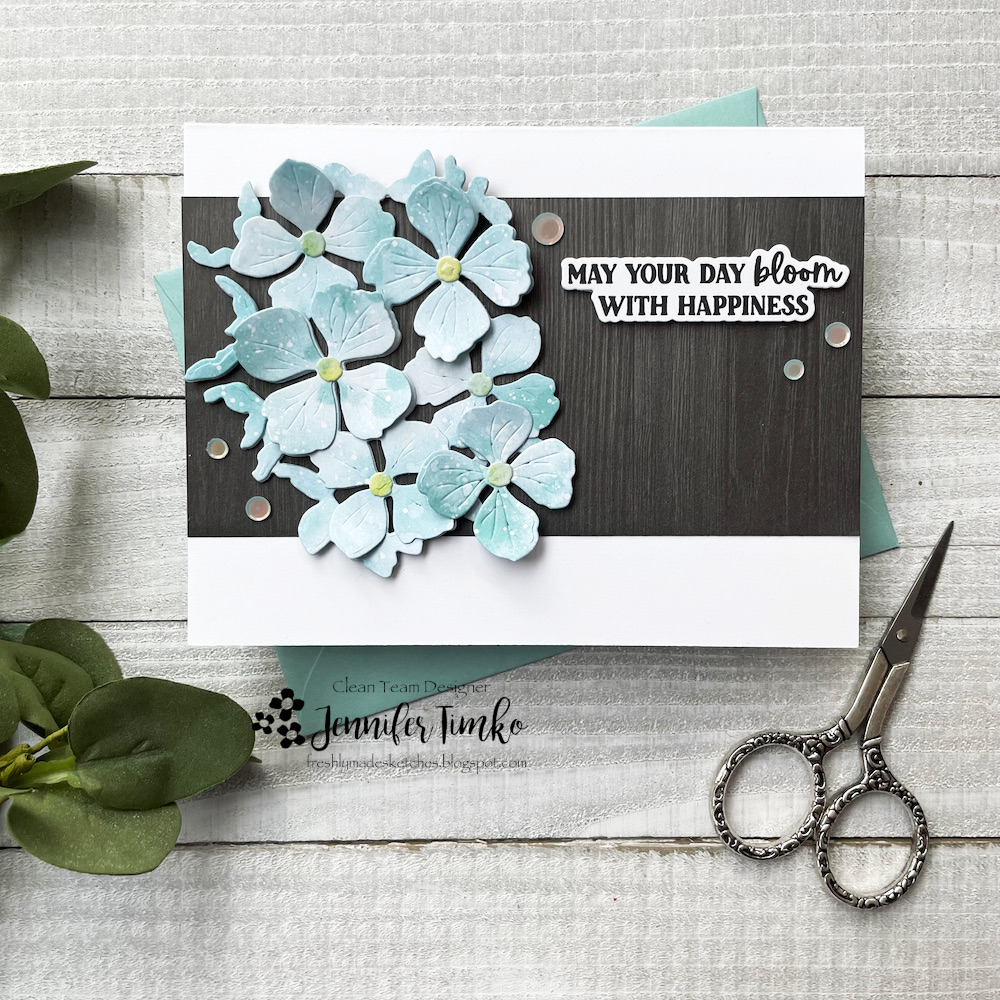
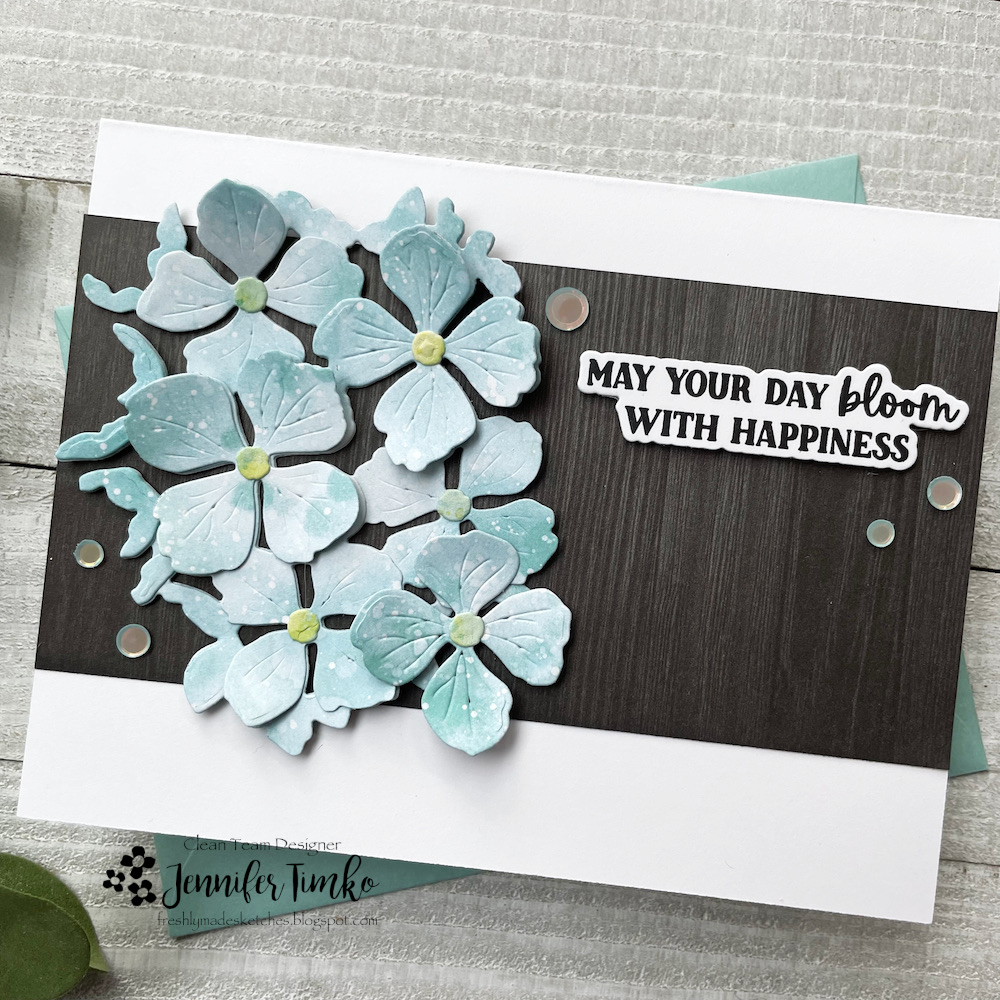
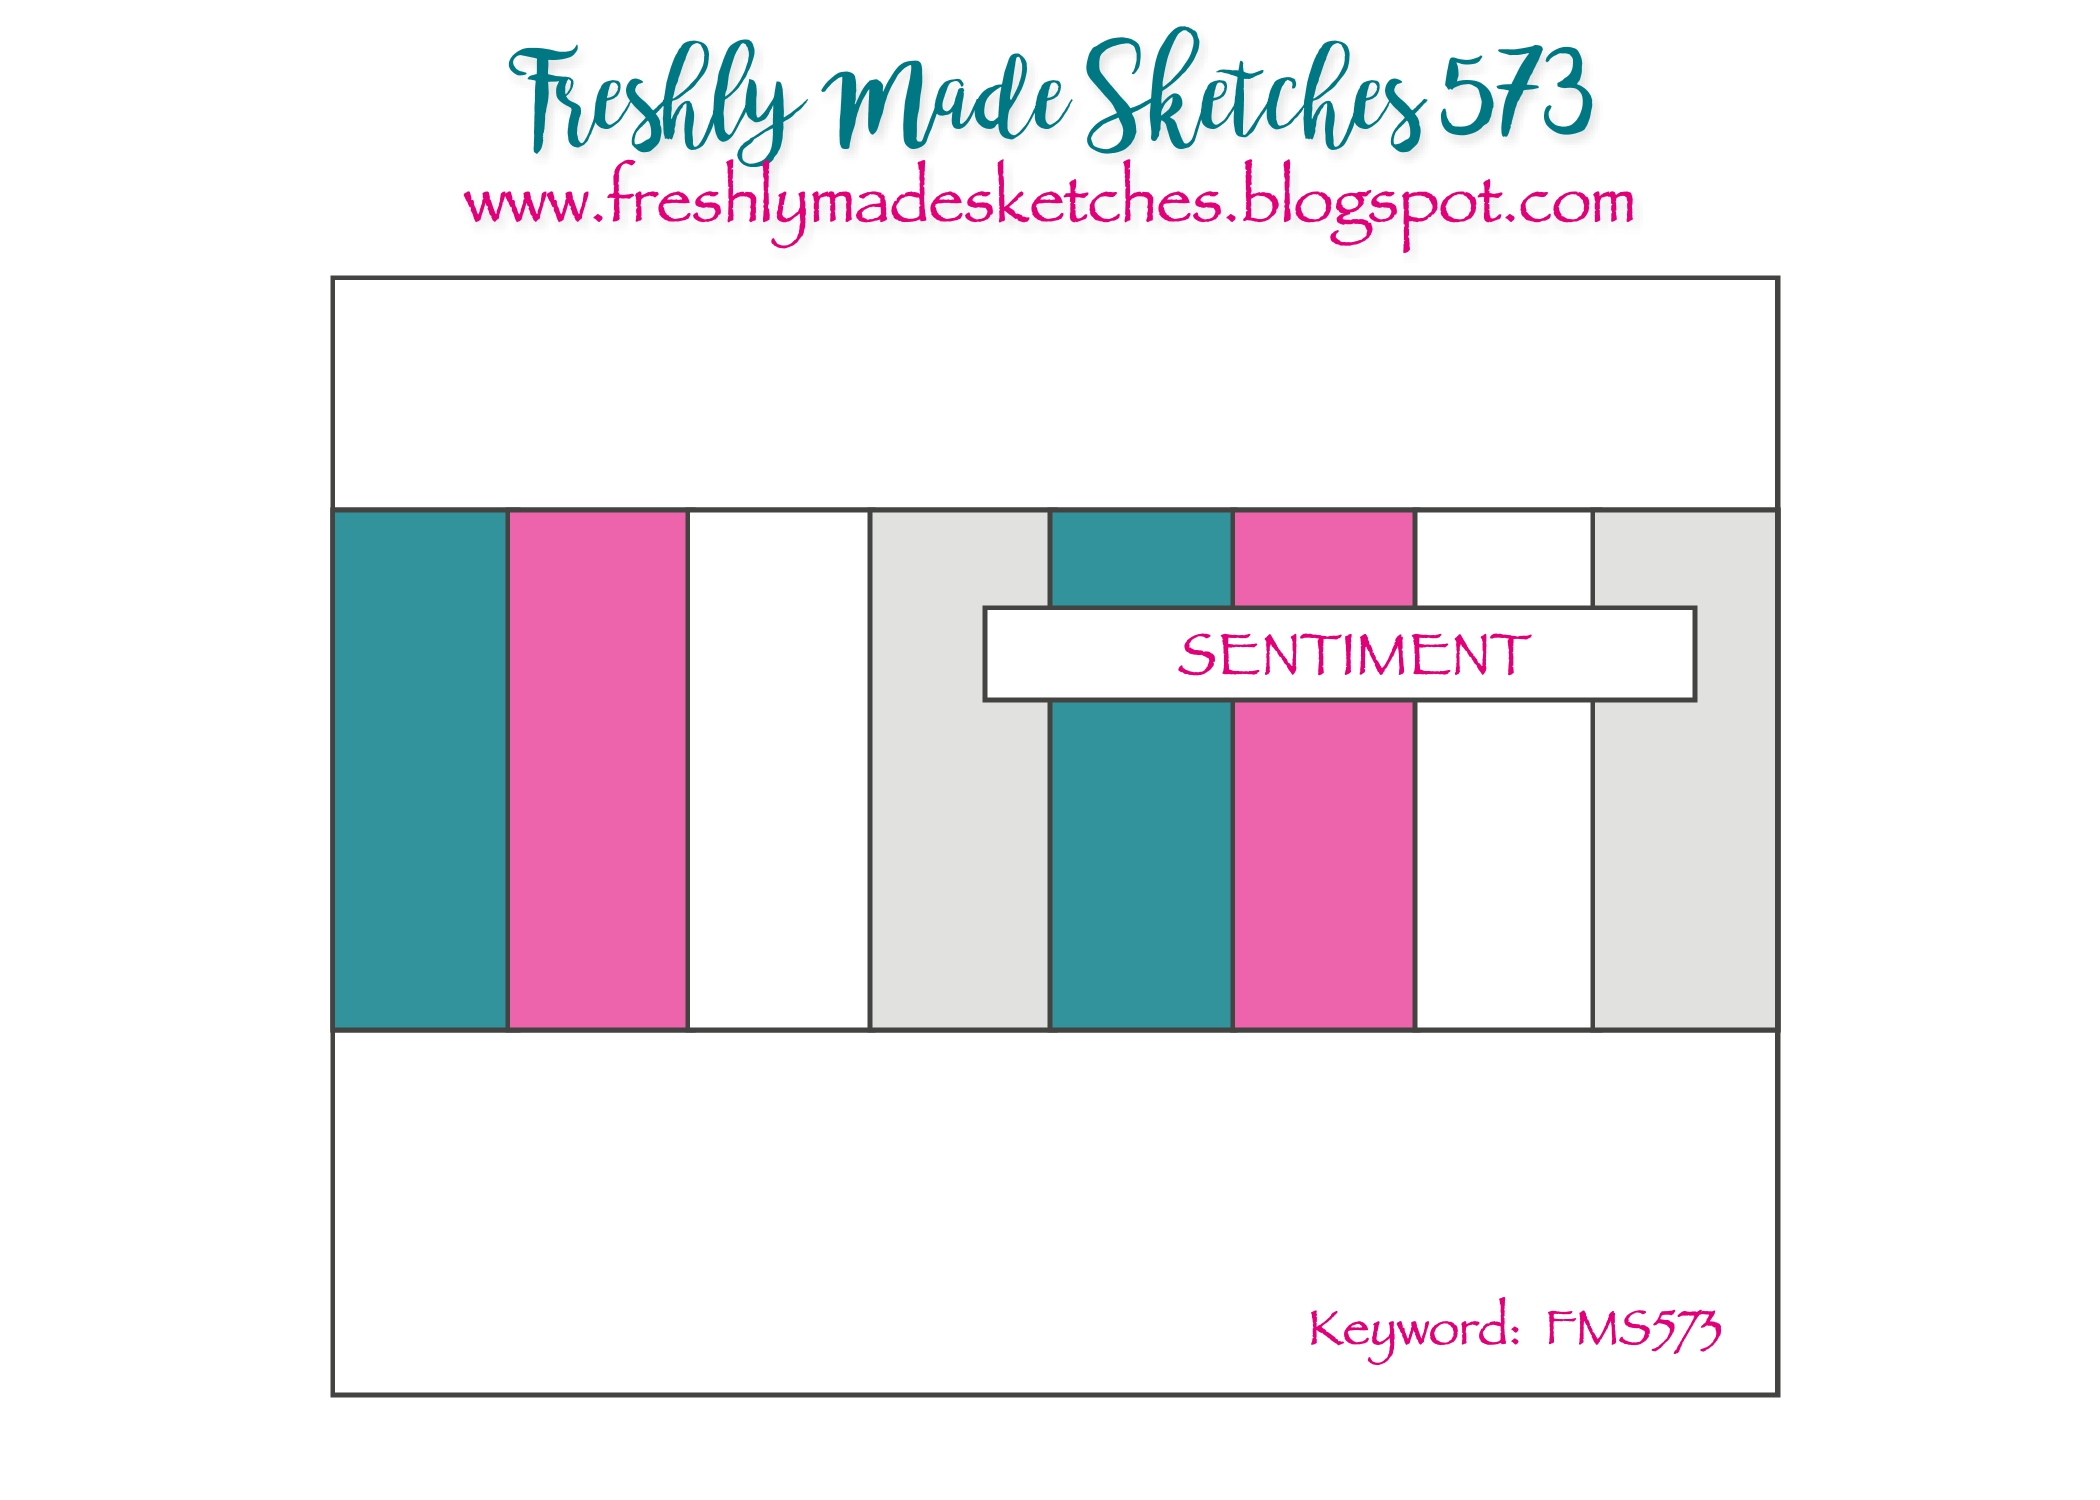
I was in a bit of a time crunch for creating this week’s Freshly Made Sketches card. In fact, I thought I would just have to miss out. But Kim Singdahlsen created a great one and I had an a-ha moment. I thought that her panel could be a wood print and a card was born.

I chose one of the prints from the Grain and Grunge Paper Pack since it looked a bit like the pattern of the sketch. But then what? Yeah, I know it shocks you but I thought flower die cut! I went to one I had not used in a bit, Lovely Layers: Hydrangea. I love this one. As a total shortcut, I used another paper print for the flowers. All that color variation and texture…on the paper. No extra work for me!

The only thing left was to choose a sentiment. I love this one from the Seeds of Kindness set. It is great for a birthday or just to cheer someone. I added some Trinity Stamps Confetti Embellishments to finish. Simple, but I really love it!

You’ll see that the team has a variety of interpretations and that just means it is a great sketch. Come over and give it a go! Back out to work later today. I hope you have a wonderful rest of your week!

Freshly Made Sketches #572

Freshly Made Sketches #572 published on 5 Comments on Freshly Made Sketches #572

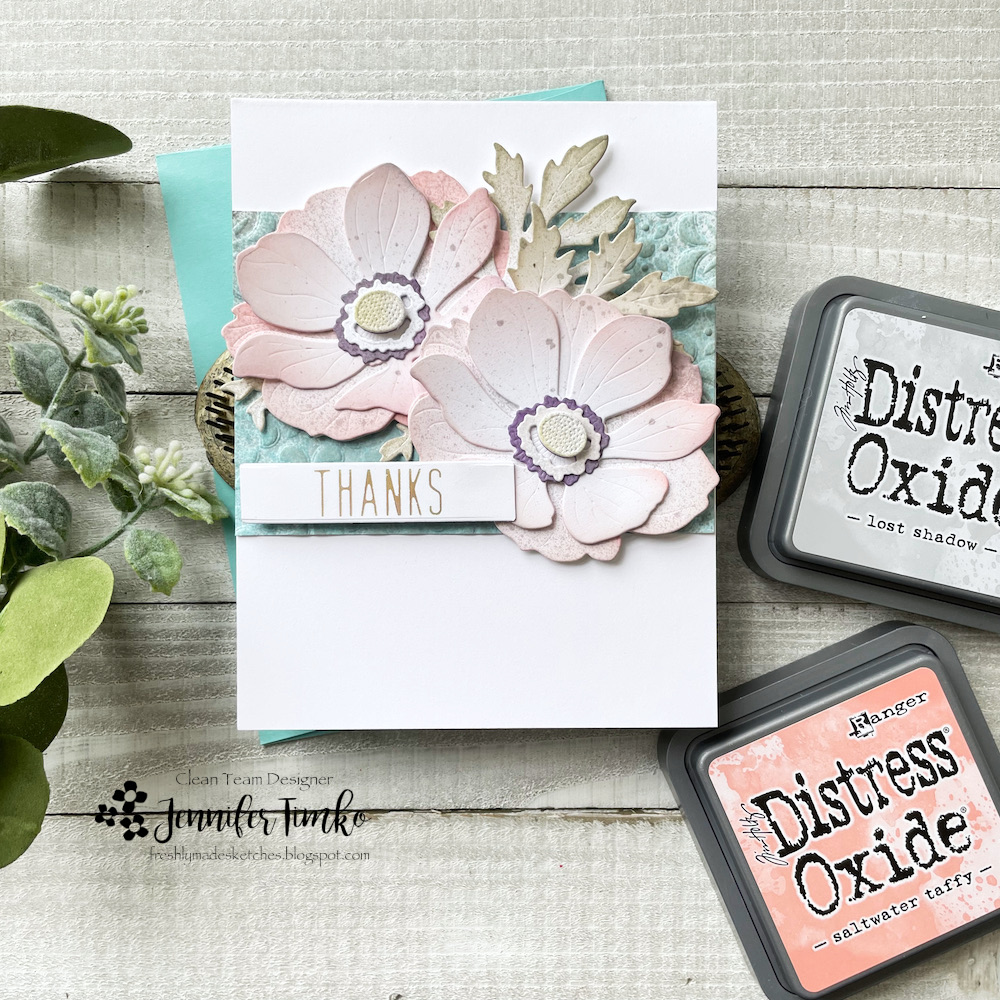
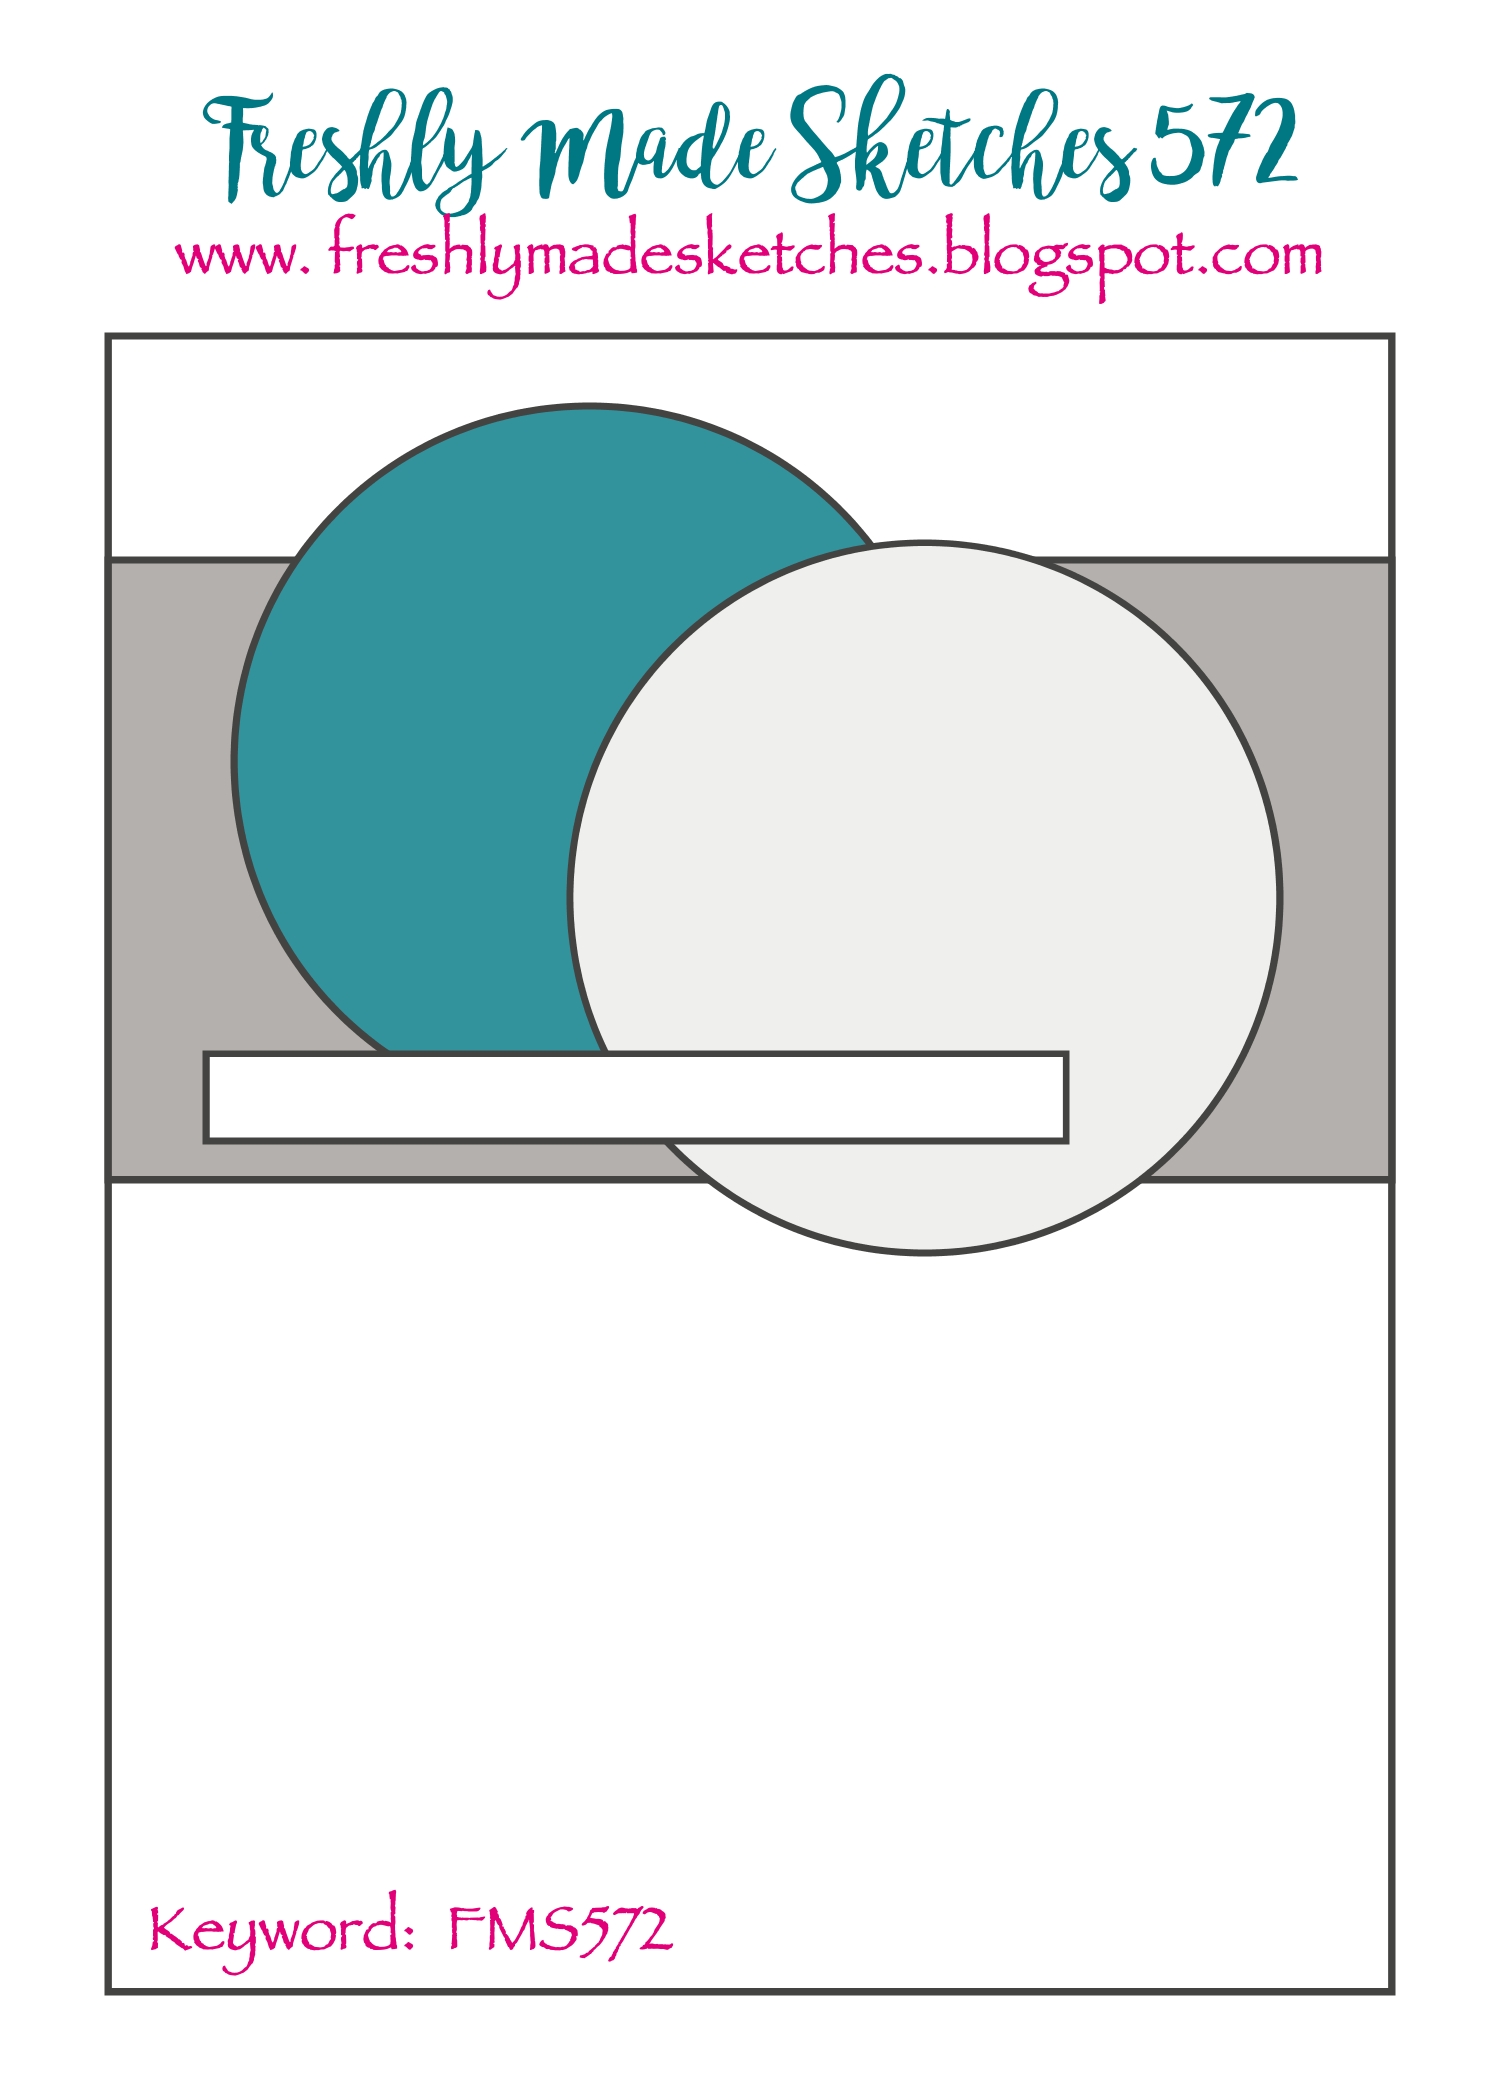
The wonderful Linda Callahan is our sketch designer at Freshly Made Sketches this week and she created a great one! Truly because I had almost no time to create and her sketch “told” me what to make.

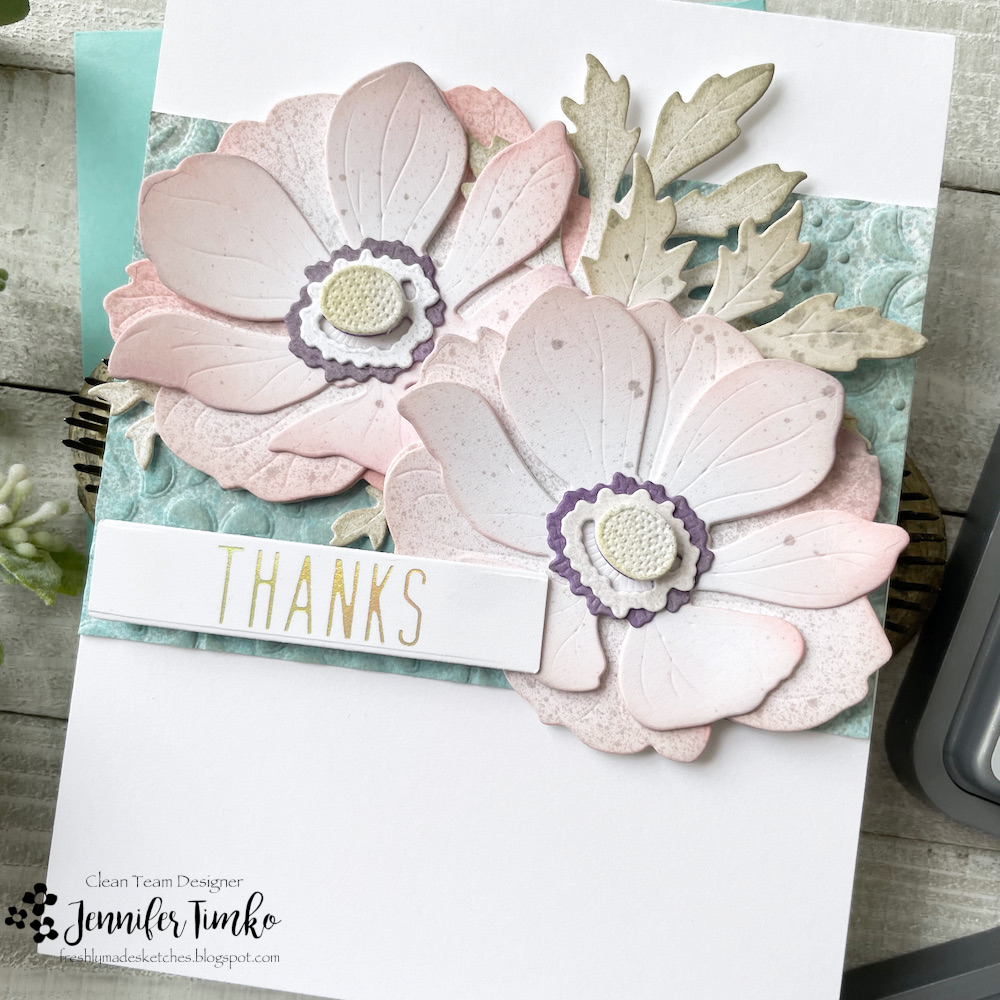
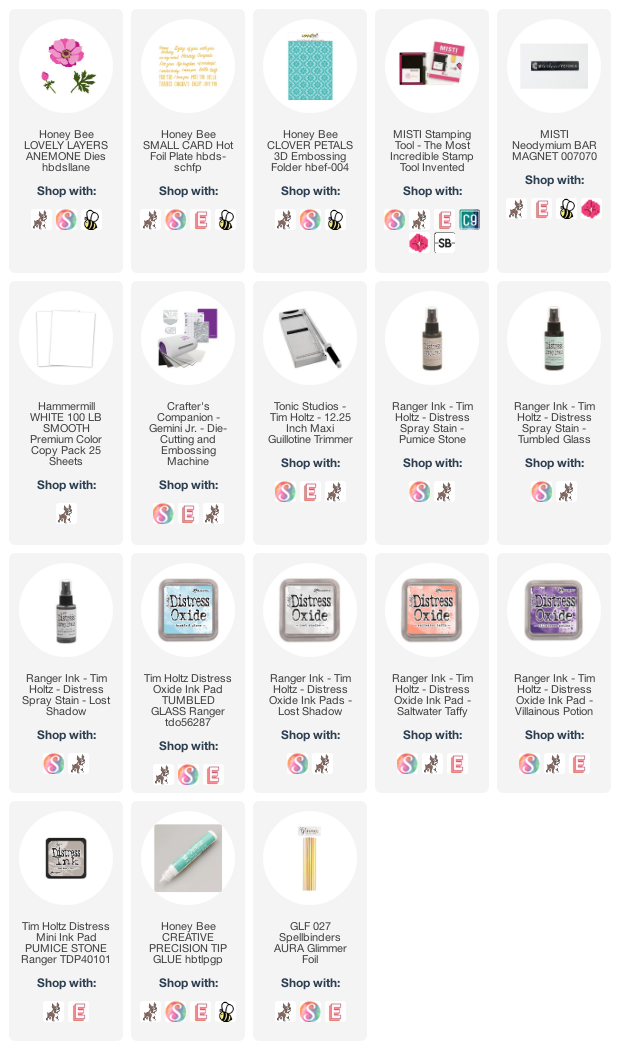
I just got the new Lost Shadow Distress Oxide Ink and Distress Spray (and the Saltwater Taffy is new to me as well) so I thought I’d play with those. The Lovely Layers: Anemones seemed like the perfect flower for the sketch. I spritzed some paper with the Lost Shadow Spray, let it dry then cut out the flowers. I brushed on the Saltwater Taffy and then added some Lost Shadow to the edges. A bit more cutting for the centers which I inked with Villainous Potion, some Lost Shadow and a mystery ink that was left over on my little brush but was probably a yellow (on the little ovals). Yep, keeping it real. Not on purpose but I liked it after the color showed up.

For the foliage, I cut the leaves from the set and added some Pumice Stone which skews green next to the Lost Shadow. I was pretty happy with being able to keep them pale and not too green. You may recognize the background panel from last week’s cardinal card. Yep. Same one. And the sentiment was in my stack of already foiled things. Look at me being smart by foiling multiples! All in all this came together pretty quickly.

I hope you’ll come over and join us this week. As always, the team has fabulous inspiration for you! Thanks for stopping in today. I’ll see you soon!

Lovely Birthday

Lovely Birthday published on 3 Comments on Lovely Birthday

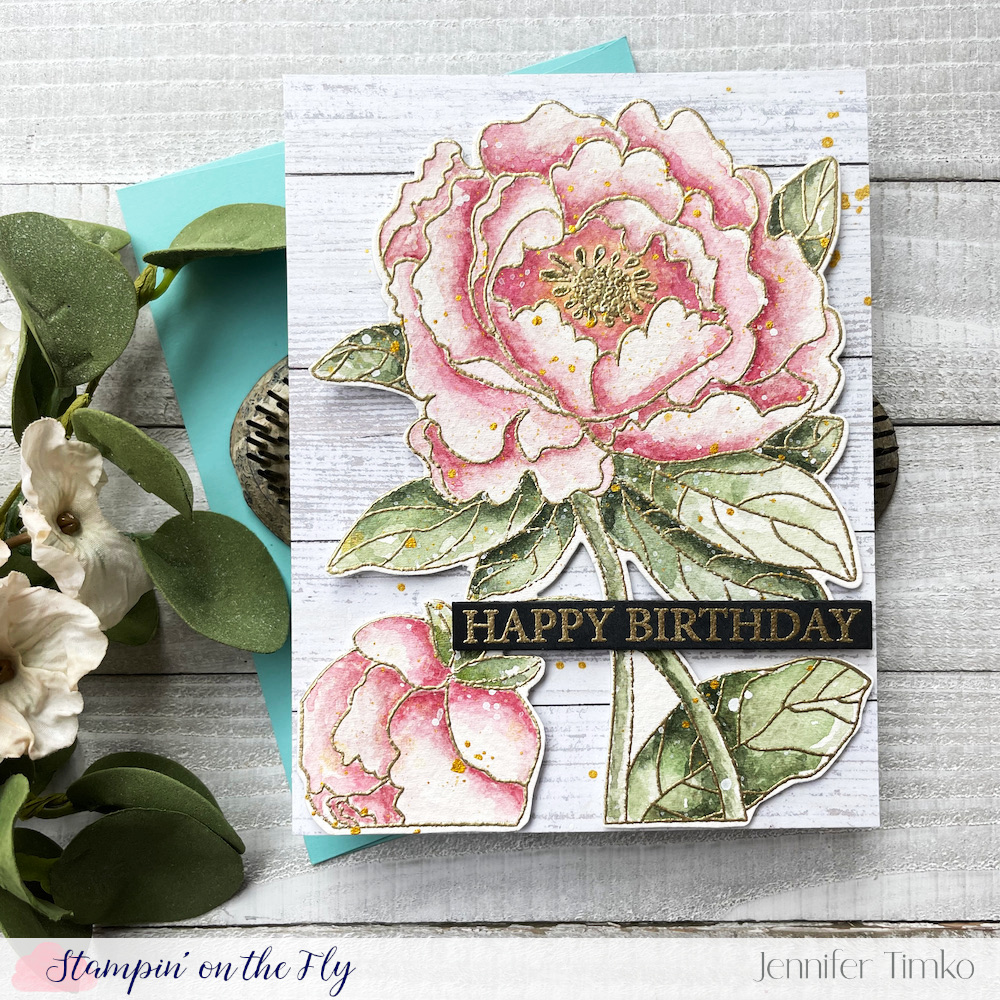
One more birthday card to fit in and this one uses a gorgeous image from Alex Syberia Designs. This set was part of their first Kickstarter launch of physical stamps and I love it. AND, they just announced their second release. Super exciting!

I stamped the image from Hello Lovely in Versamark and embossed with gold embossing powder on watercolor paper. Then I pulled out my Daniel Smith Watercolors and started coloring. I colored this over a few days taking a little at a time. I keep working on shading and trying to learn to keep light colors and highlights without overworking.

Once I was done, I added some splatters with white gouache and gold metallic ink. I used the coordinating dies to cut out the image and chose a sentiment from the set and gold embossed on black. I thought the woodgrain was a pretty background that would not detract from the flower. I did add a few splatters to that too, because why not?!

Make sure to go over and check out the latest release at Alex Syberia Designs. Thanks for stopping in today. See you soon!

Freshly Made Sketches #571

Freshly Made Sketches #571 published on 6 Comments on Freshly Made Sketches #571

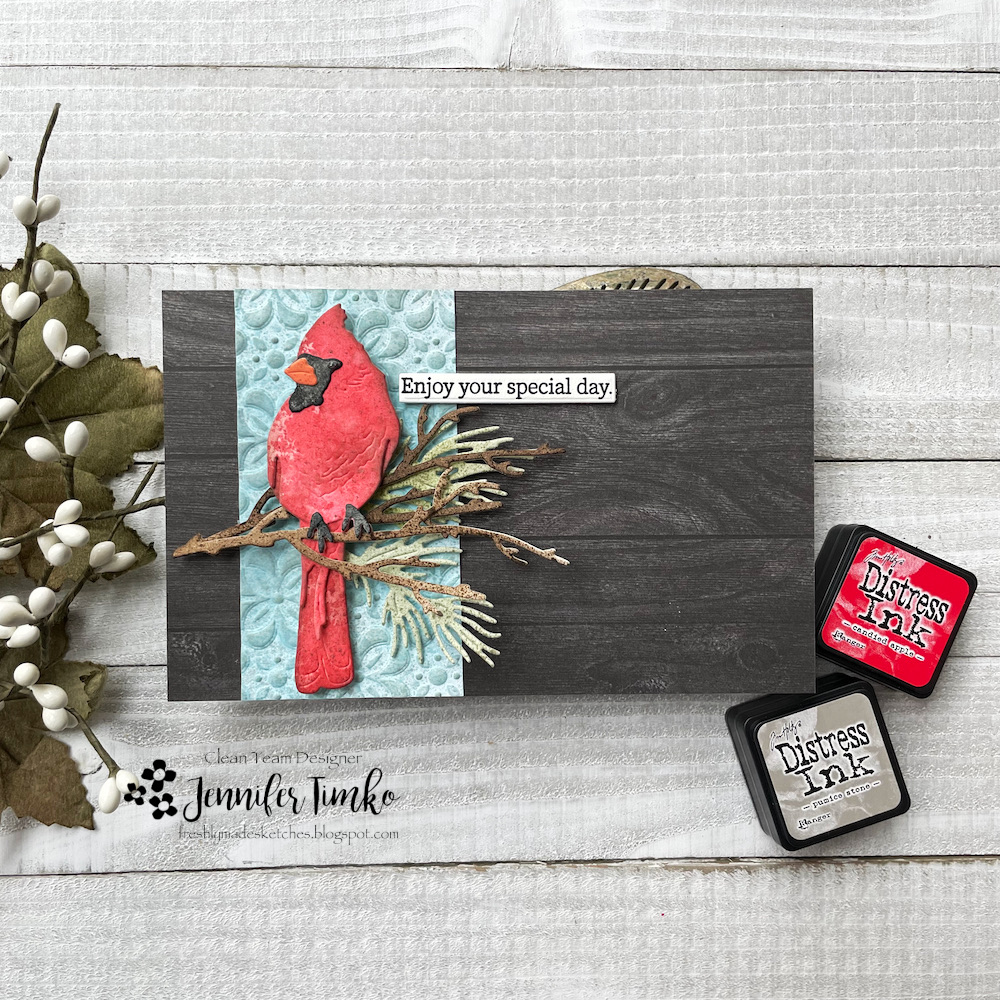
I have another birthday card for you today. This one is for my husband. These are always the hardest for me since I want them to be just right (and he saves them all…so sweet!). Fortunately this awesome sketch at Freshly Made Sketches from the wonderful Jen Mitchell got me moving in just the right direction.

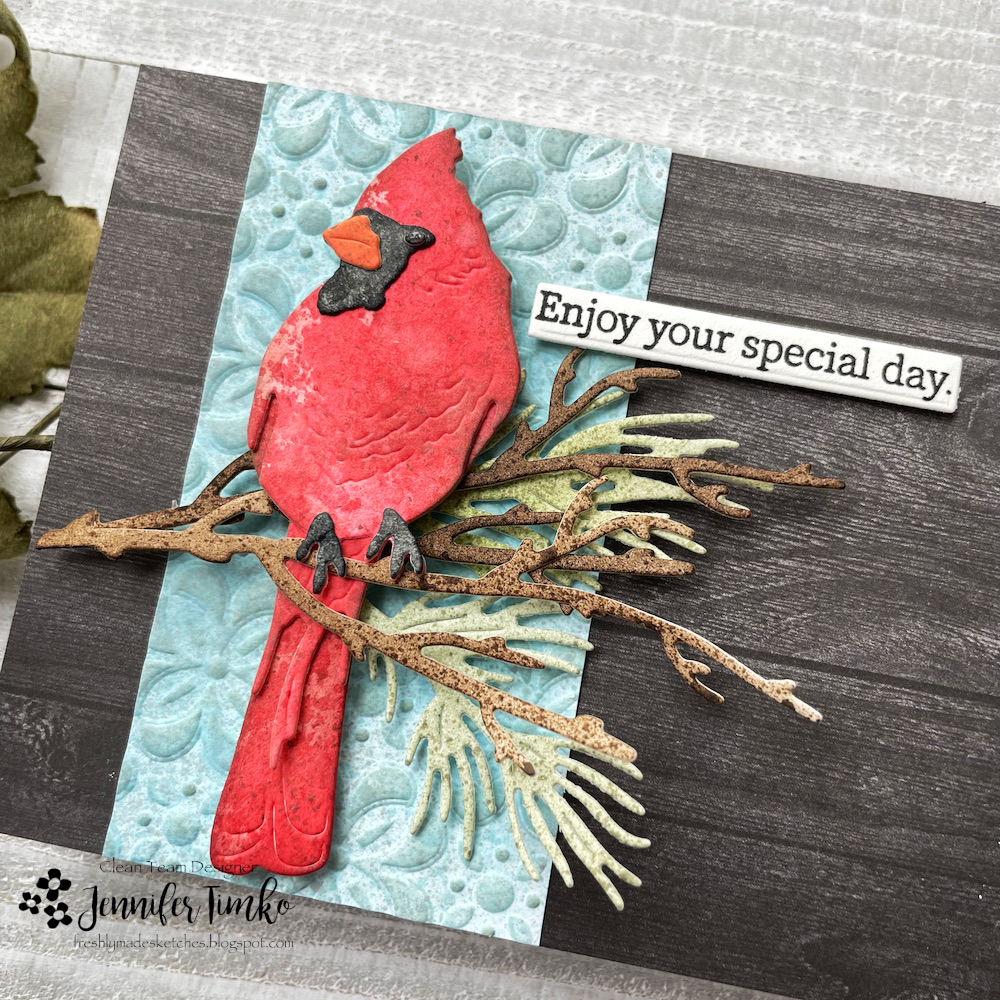
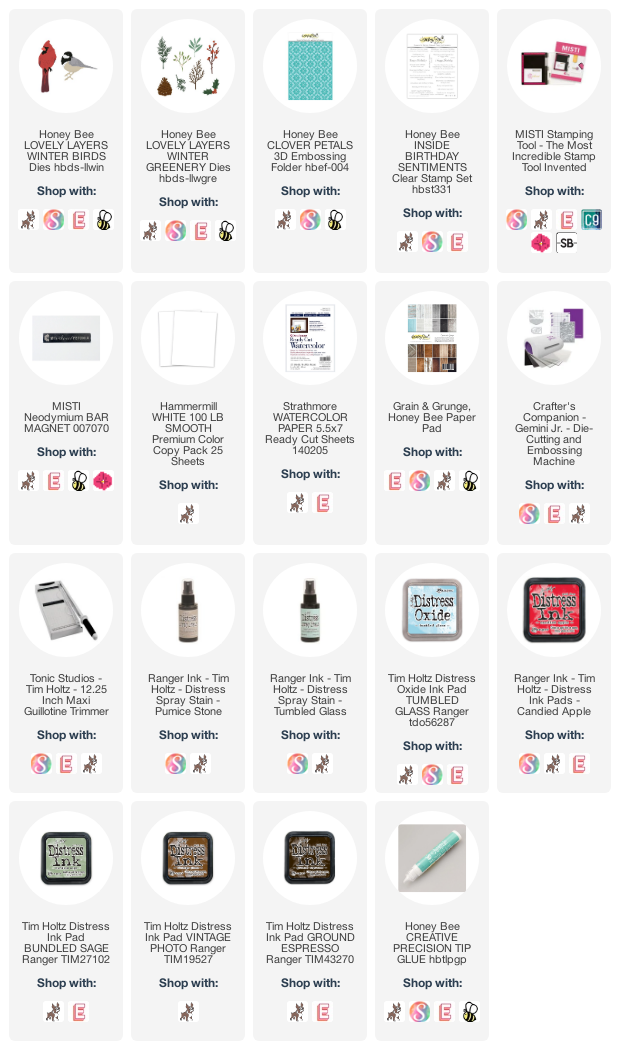
I was a little late to party in ordering these Lovely Layers: Winter Birds dies from Honey Bee Stamps. Somehow I thought I didn’t need them. Hilarious, I know! Well they showed up on Monday and I made this yesterday. I inked a panel of watercolor paper with a combination of red inks, starting with Candied Apple Distress Oxide, adding in some regular Candied Apple Distress and spritzing on some Pumice Stone Distress Spray. I cut the three layers of the cardinal and then sponged on some Pumice Stone Distress Ink at the edges for definition. I took the scrap and layered some black ink on the corner to cut the feet and face piece from it. On the other corner, I added some Crackling Campfire for the beak.

I glued the bird together making sure I left the feet layer with a way to put over the branches. For the branches and leaves, I spritzed watercolor paper with the Pumice Stone Distress Spray for the speckles. Once dry, I brushed on the brown and green Distress Inks and then cut them out with the Winter Greenery die set. Next up was the embossed panel. I have also been late to the party on these 3D embossing folders. Um, wow. This panel was intended as a practice one for just playing. I embossed first, then spritzed with Distress Sprays, then inked with Distress Oxide Ink. Not the order I would choose again but it was just right for this little section I needed. Yay! I placed all of this on a patterned paper piece from the Grain and Grunge Paper Pack and added a sentiment from the Inside: Birthday Sentiments set.

Since the sketch has a slimline look to it, I used a general shape of one. Mine is 6″ x 3 3/4″. A bit non-standard but I chose that to fit the bird (and I don’t have to mail the card). The team has a beautiful variety of cards to share so come over and join us. Thanks so much for stopping in today!

Primary Sidebar