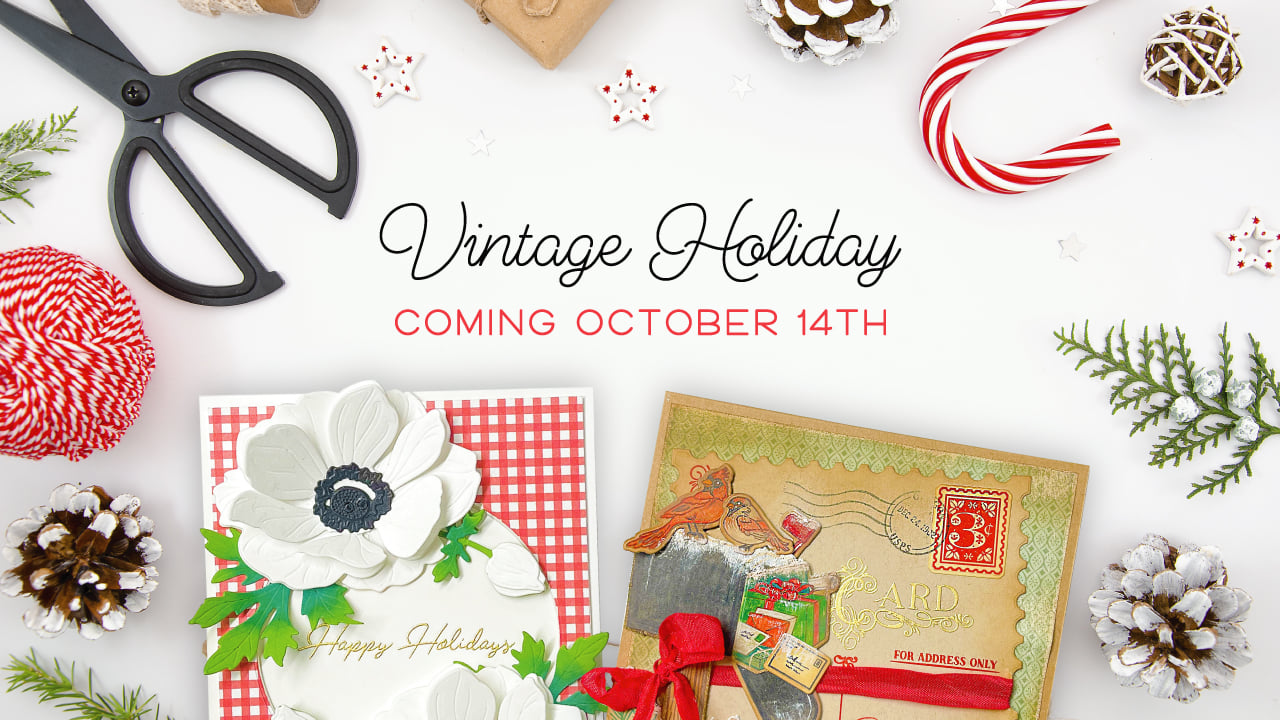
Welcome to the Honey Bee Stamps Vintage Holiday Release Sneak Peeks! Today is day one of our peeks at the new release and, as usual, you will be totally wow’d by all the amazing sets.
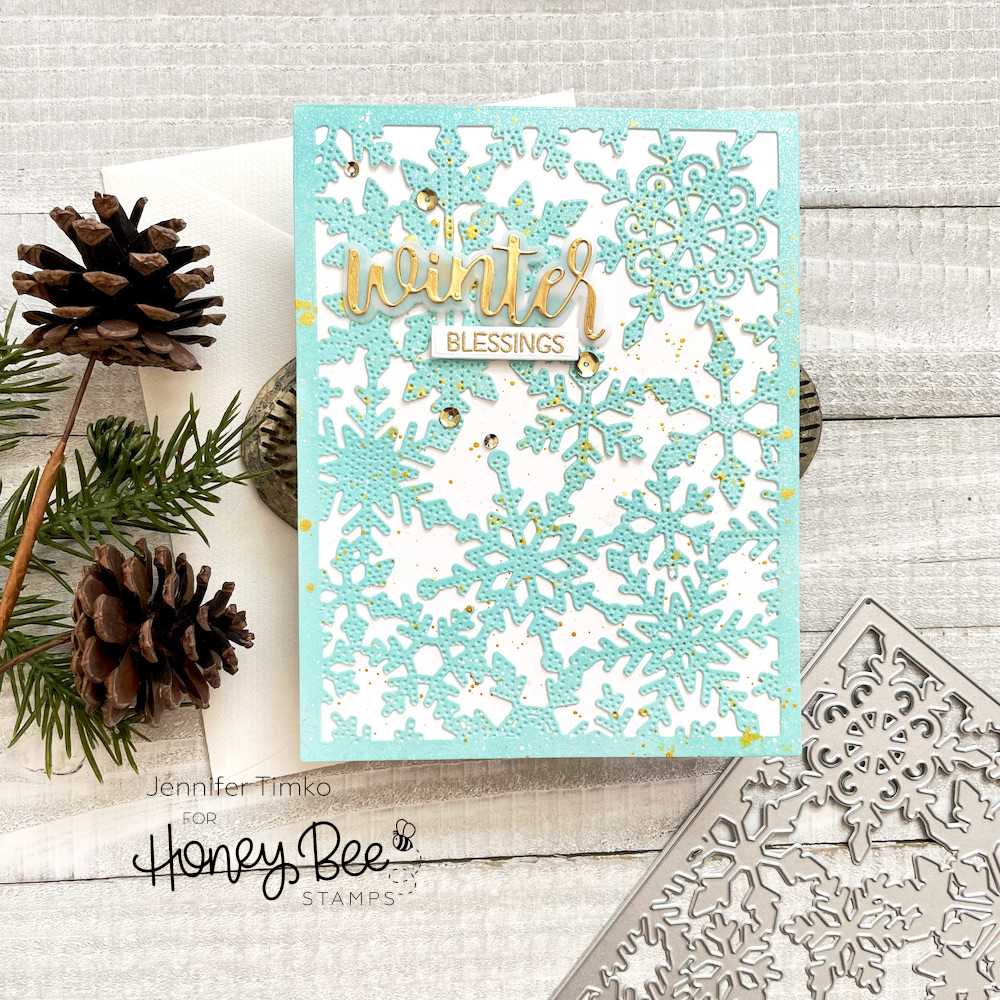
I have twice the inspiration for you today because I just could not help myself. Let’s face it, holiday card making is my absolute favorite!! I am so excited to show you new cover plate dies and a stand alone die set you are sure to love. I am introducing the Fancy Flakes A2 Cover Plate Die, the Pierced Fancy Flakes A2 Cover Plate Die and the Pine Tree Honey Cut Dies. (These affiliate links will not be live until the release opens for sale on October 14th after the Release Party on IG and FB at 8p CT.)
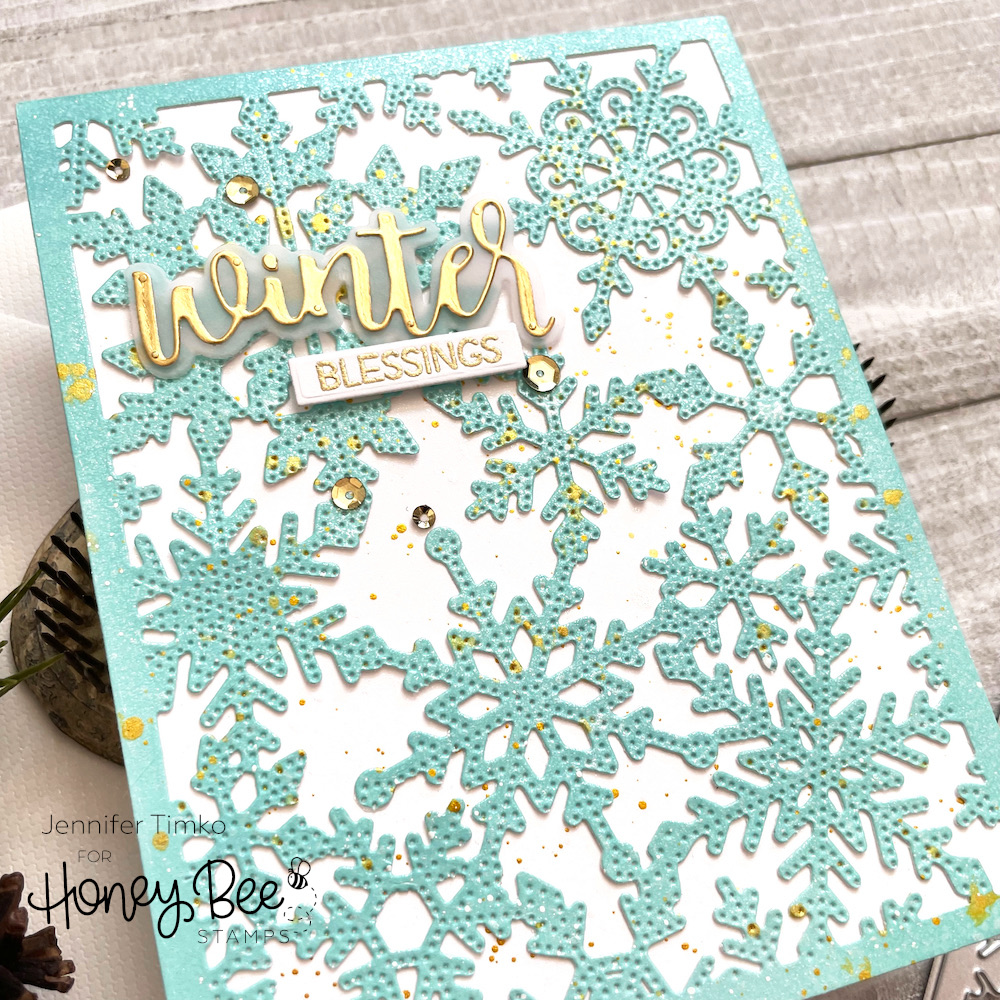
To start, I just had to make a card with the combination of the Fancy Flakes and Pierced Fancy Flakes dies. These are stand alone dies that can also be used together. Fabulous!! I inked a panel with Salvaged Patina Distress Oxide Ink and first cut with the Fancy Flakes die. Then I lined up the Pierced die and ran it though again. Yeah, it is that easy. For a little more interest, I splattered on some Shimmer Mist and Gold ink and then, while I was at it, did the same to a white card base.
I glued the snowflake layer onto the base using the Precision Tip Glue by Honey Bee Stamps. This glue is just awesome. It gives just a bit of time to position the layer and then it holds tight. I used one of the products from the last release to finish the card. The Bitty Buzzwords – Seasons Honey Cut Dies had just the right sentiment. I used more gold paper and then some gold embossing too. Finally, a few gold sequins.
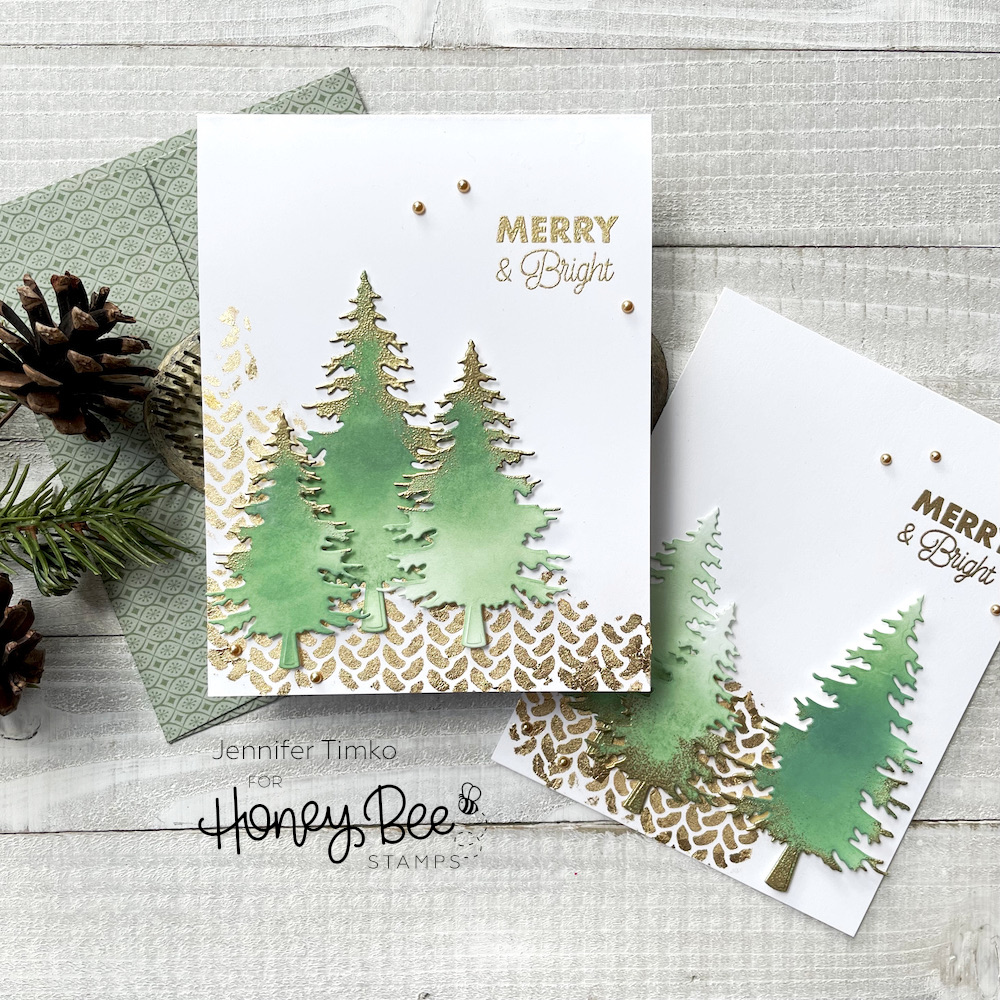
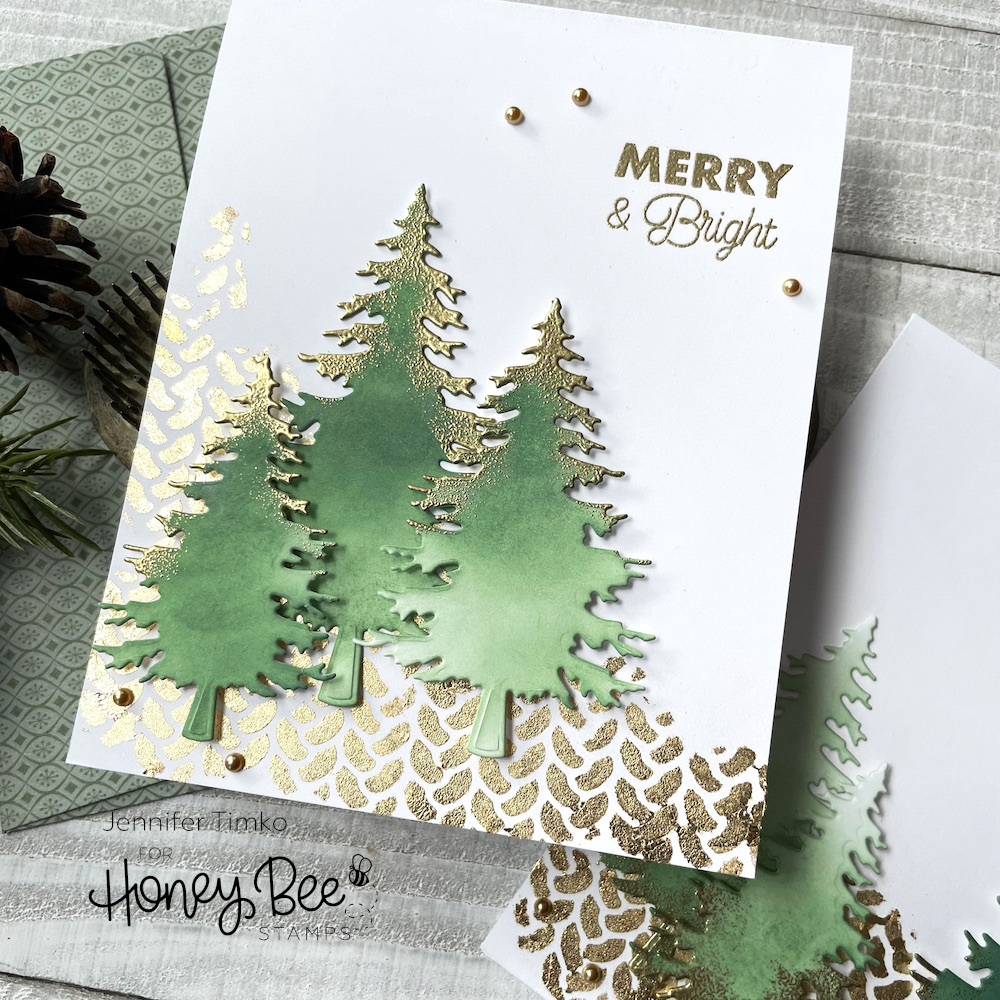
For my next card, I kept to the gold accent theme. The new Pine Trees Honey Cut Dies are going to be seen A LOT around here over the next couple of months. I love the quick simplicity of them! I cut them from white Hammermill card stock and inked them with Rustic Wilderness Distress Oxide Ink. After letting them dry for a bit, I added some anti-stick powder and then inked the edges with Versamark Ink. You can see I did one card with the tops and one with the bottom of the dies. I wasn’t sure which I would like and the answer was both! I added gold embossing powder and heated. Such an easy way to get a lot of extra detail.
For the details behind the trees, I used the Cable Knit Sweater Stencil in a new to me way. I pounced on some Tombow Mono Glue through the stencil. Because it remains sticky, I could then add on Nuvo Guilding Flakes for this cool, not too precise version of shine. The sentiment comes from a set that you will get to see later this week.
So glad you stopped in today. Back tomorrow for day two of the peeks! Have a great start to your week.

1 Comment
Two gorgeous cards with lots of interest but still beautifully clean!