Skip to content

Freshly Made Sketches #600 – A Celebration

Freshly Made Sketches #600 – A Celebration published on 10 Comments on Freshly Made Sketches #600 – A Celebration

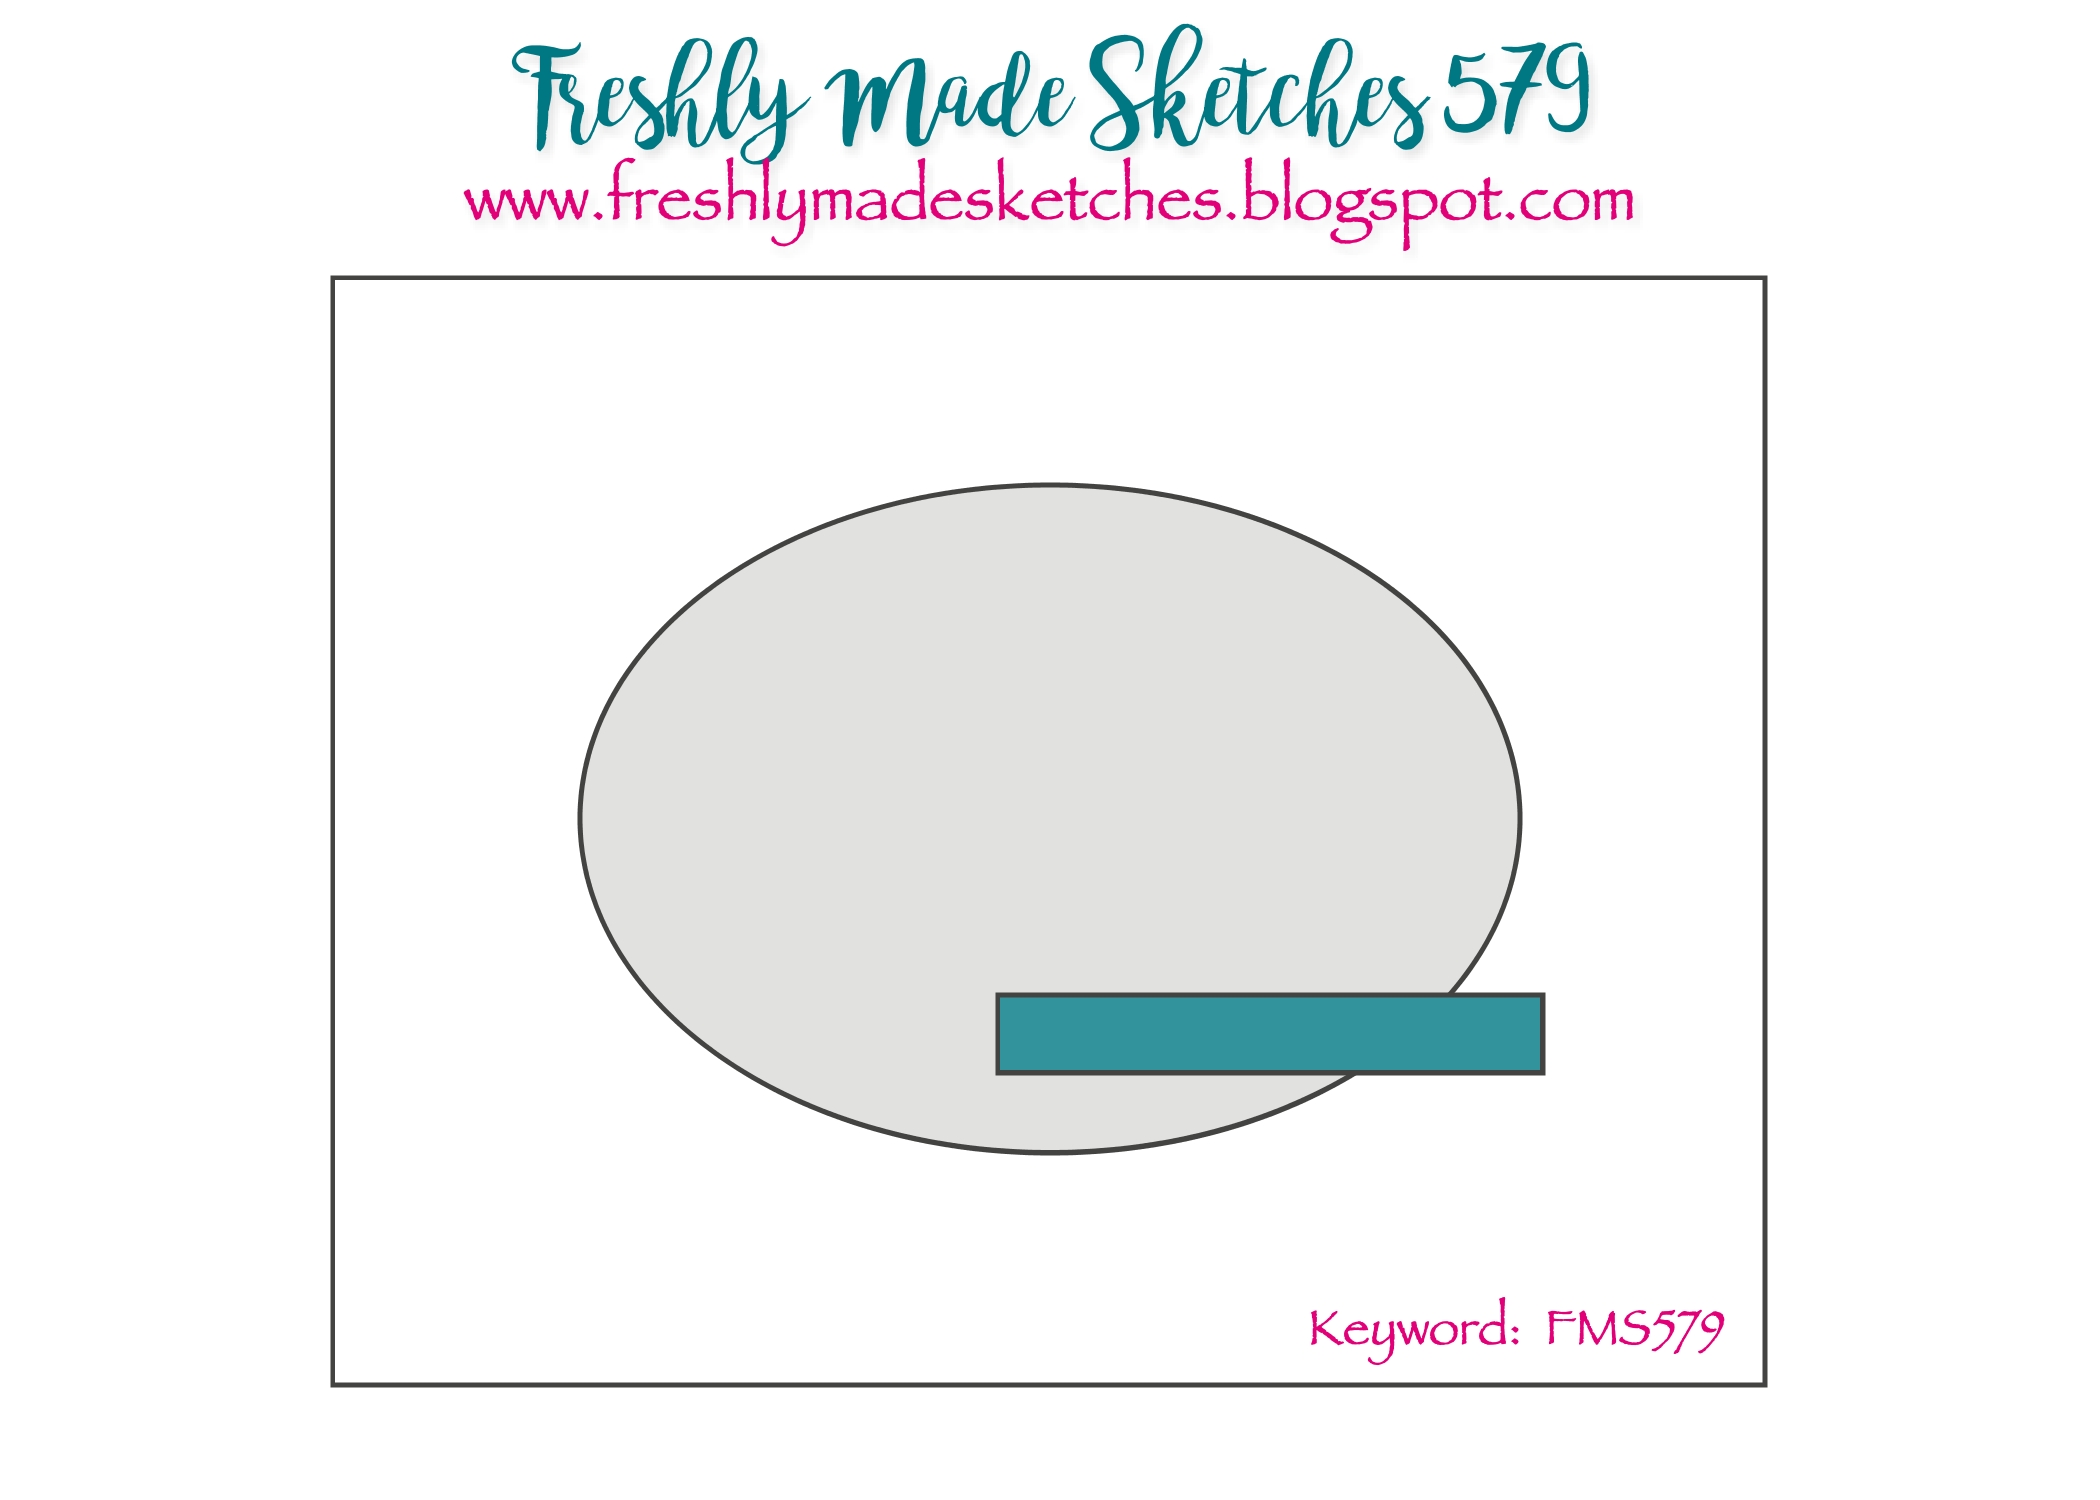
Twelve years ago, Freshly Made Sketches was introduced as a new challenge for those who liked clean cards and sketches for inspiration. And here we are, still going strong. Some of the team started at the very beginning and others of us were added along the way. And oh, what a great team it is!! For this landmark, we are celebrating the players. Over the years, there are a few designers that are perpetual team favorites so we invited them in as guests for the celebration. And as we pick our weekly winners, they will be offered the chance to guest with us in a future challenge. Because, let’s face it, without the players there is no challenge!

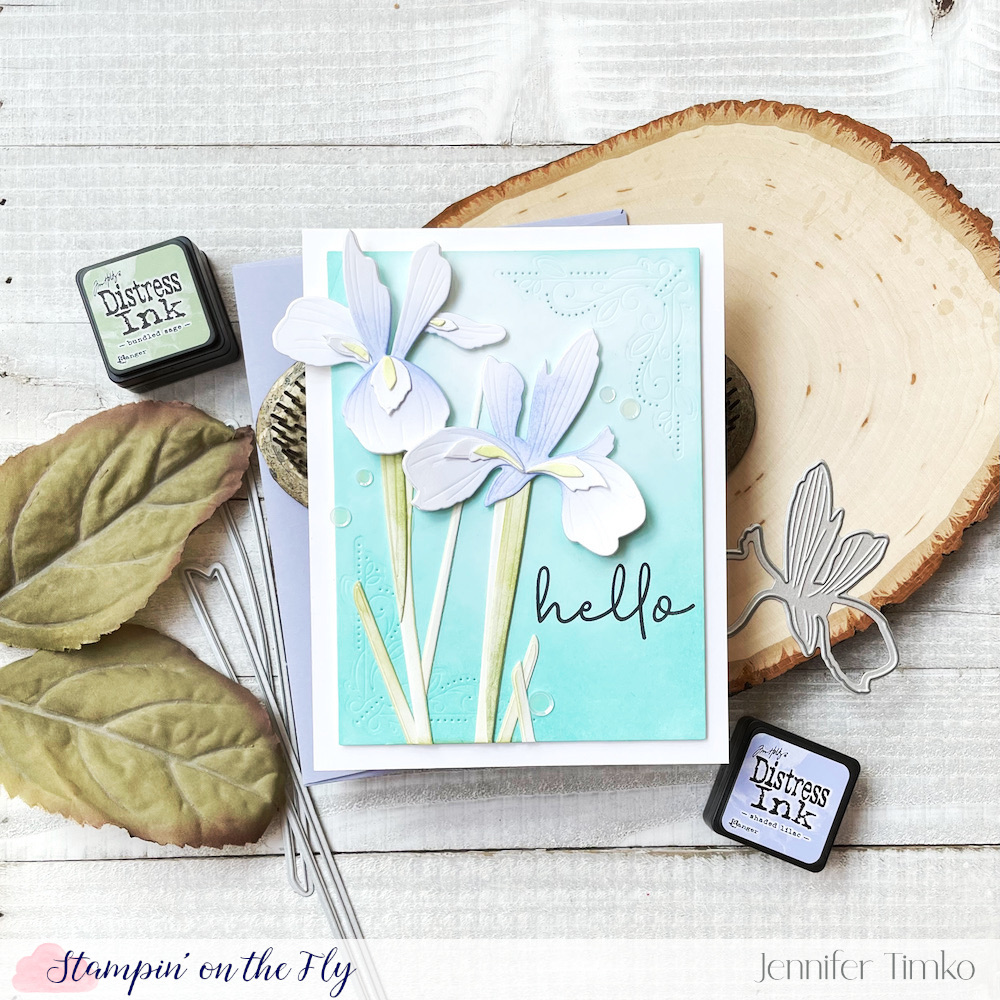
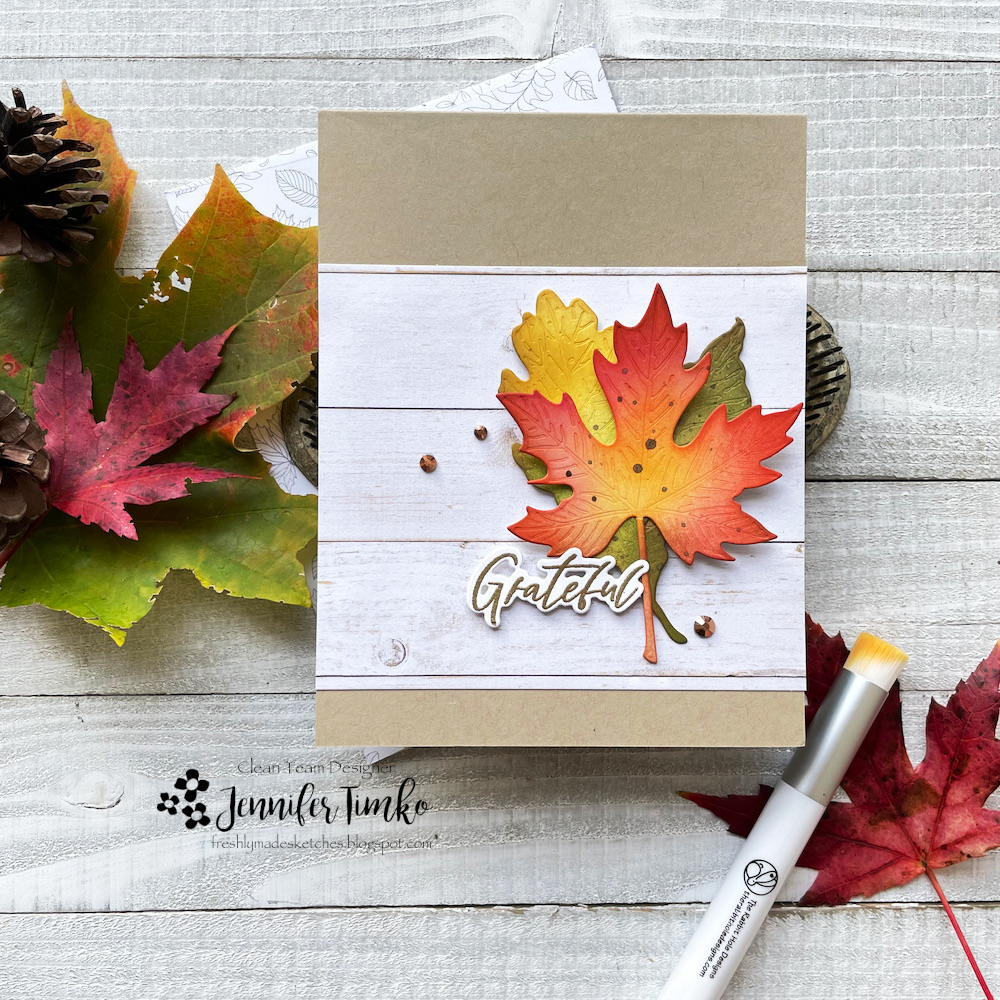
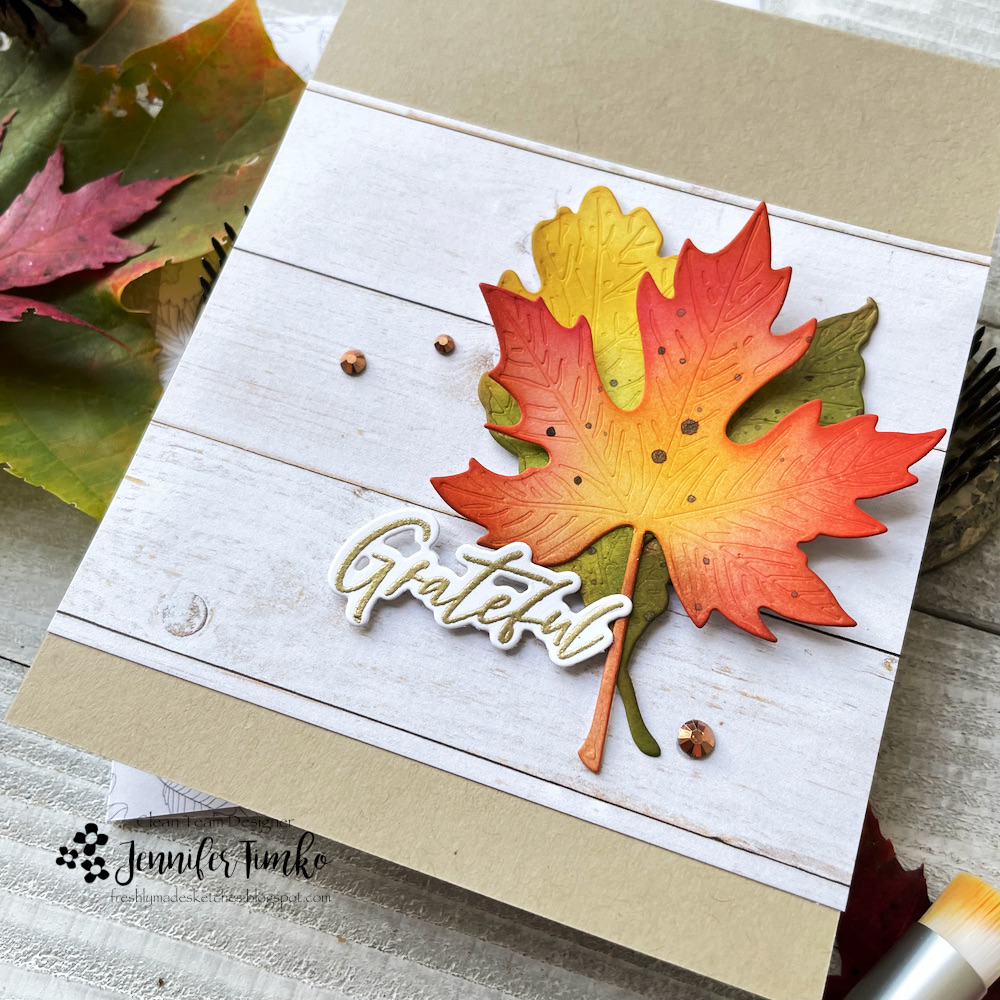
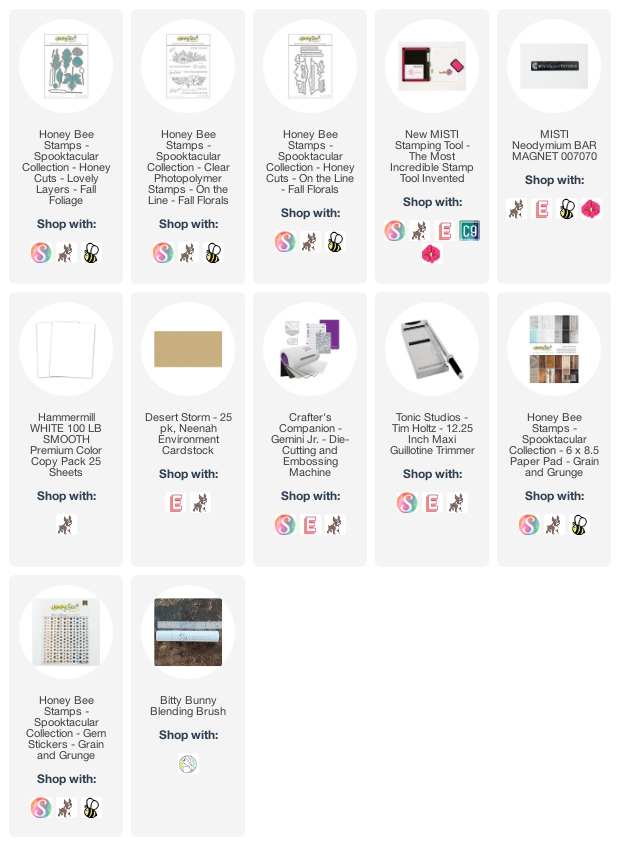
I am ready to make the transition into fall and decided I’d make a card with more of a fall color scheme. I pulled out my pretty Lovely Layers: Sunflowers dies and had fun just getting a little inky. I started off with a brighter yellow and then added more depth and color. For the center, I mixed greens and browns and then used some of the same greens on the leaves. Something about the process of inking these die cuts really brings me joy when I have been away from the craft room. Guaranteed success! I went back and added a few splatter just for texture and I love the effect.

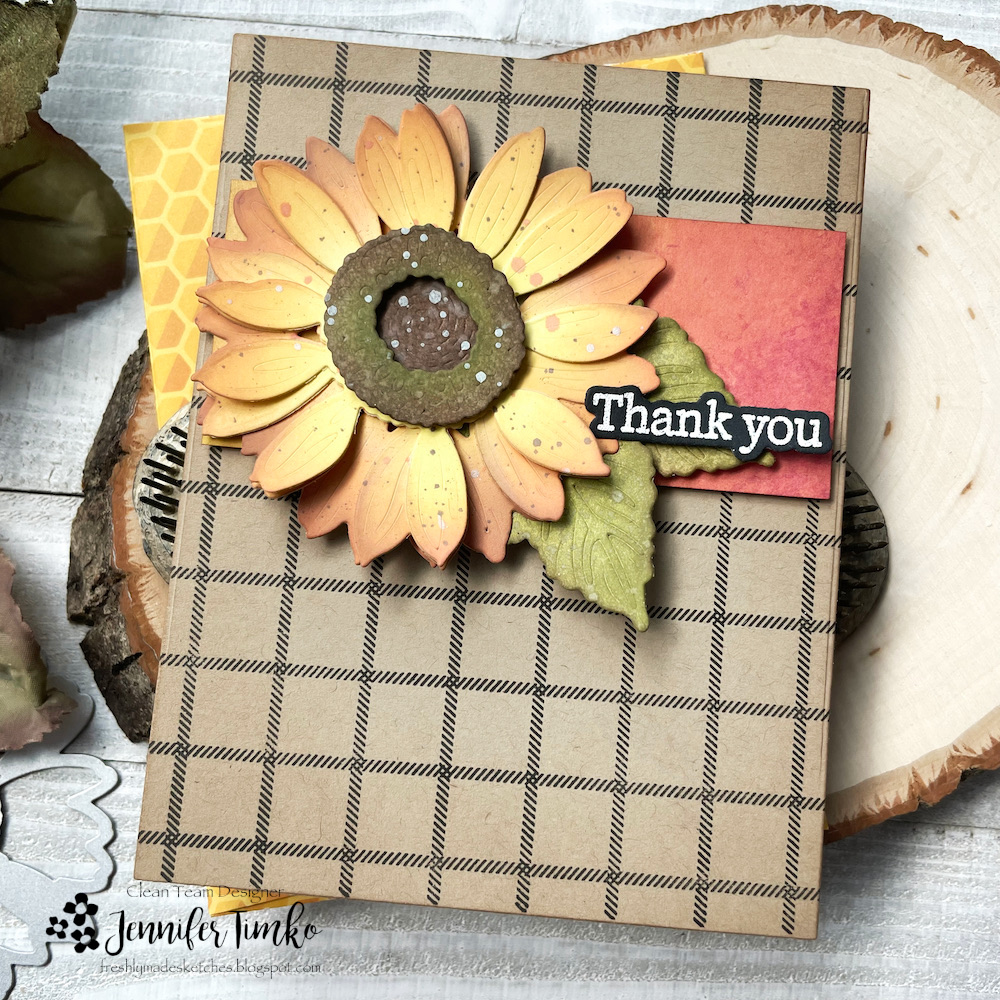
For the base, I started with some Neenah Desert Storm and stamped on the Farmhouse Check grid. I love this one for its neutral vibe and it always adds just the right something. The crossing panel is a scrap from the Team Tie Dye Paper Pack. Finally, the sentiment is from Inside: Thankful Sentiments. Perfect for this week’s theme.

I’m so thankful for the many years of kind words, inspiration and the camaraderie from this amazing group of creators. What started as another challenge has come to mean more to me than I could have ever imagined. Our team has been there for celebrations and heartbreaks. You, the players, have shown support, taught us techniques and have been a beautiful addition to my life. Truly, thank you!

Freshly Made Sketches #592

Freshly Made Sketches #592 published on 4 Comments on Freshly Made Sketches #592

Our lovely friend Cécile at Freshly Made Sketches always has the most unique and creative sketches for us and this week is no different. It just so happens that I was asked to join in on celebrating the Papertrey Ink June Release and there is a fun new set that was perfect for using on this one. So in honor of our dear Cécile, a bit of a French theme.

I thought the elements of Tuck It: Travel aligned nicely with the sketch and I just got to stamping. These stamps are layering stamps and are such fun to use. I’m sure it is no surprise that I had to use the airplane and color it using an approximation of an older version of a livery from United. I added a little bit of ink on the background and masked to create the line from the sketch. Then I added some heat embossed clouds to create a bit of a sky.

I think my favorite image is this globe, something about it just makes me happy. I added a location marker at least near to France and finished with the Eiffel Tower. The release is live so make sure you go check out all the wonderful new products.

Thanks so much for stopping in. If you missed it yesterday, please make sure you go over to my Instagram page and hop along with the release hop. So many beautiful projects from amazing designers. I hope this week is a good one for you. See you soon!

Irises for Papertrey Ink

Irises for Papertrey Ink published on 1 Comment on Irises for Papertrey Ink

A quick post here to send you over to Instagram for a hop with Papertrey Ink. I was so excited to be invited to join in for the June Release! I fell in love with the Into the Blooms: Iris dies and the pretty Cornered: Doily die. I combined them for this soft and summery card. Make sure you head over to my Instagram ( @jentimko ) for the hop details and a chance to win too.

Freshly Made Sketches #579

Freshly Made Sketches #579 published on 6 Comments on Freshly Made Sketches #579

Welcome back for another week of Freshly Made Sketches. I am the sketch designer this week and I thought I’d go classic for the sketch. Something about ovals always seem so elegant to me so I thought I’d add one to the mix. Lots of ways to interpret this one, I think!

Living in Northern Virginia, the last couple of weeks have been all about cherry blossoms. So imagine my delight when I saw the new Lovely Layers: Cherry Blossoms dies from Honey Bee Stamps! I put those right into the basket as soon as ordering opened. I had the perfect examples for coloring them (the flowers in my photos are snipped from my tree) and I love how details the dies are. So pretty! Using Distress Ink in Spun Sugar, I added a pale pink to the flowers. Then on the centers I added Scattered Straw Distress Ink and a little bit of Saltwater Taffy Distress Oxide. At the base of the flowers I blended greens (Bundled Sage and Peeled Paint) into the Saltwater Taffy to mimic my actual flowers. I placed it all on a branch cut from Concord and 9th Mushroom Card Stock.

Once my branch was built, I cut an oval from this gray wood grain paper (Grain & Grunge) using an old discontinued die. Into the oval, I used a piece of white card stock that was embossed with the new Dogwood Blooms 3D Embossing Folder. Even though it is the dogwood, I love it with the cherry blossom too! I chose a pretty sentiment from Love You Bunches and stamped it in gray ink (Morning Mist Versafine Clair). A few white pearls from the Cool Pearls pack to finish.

I had so much fun trying to copy the beauty of nature on this and, let’s face it, playing with new products is always great! I hope you will come join the challenge this week. Might be quiet here for a bit. Spring break is coming up so I’ll be enjoying some family time. Until next time, have a wonderful rest of your week!

Freshly Made Sketches #571

Freshly Made Sketches #571 published on 6 Comments on Freshly Made Sketches #571

I have another birthday card for you today. This one is for my husband. These are always the hardest for me since I want them to be just right (and he saves them all…so sweet!). Fortunately this awesome sketch at Freshly Made Sketches from the wonderful Jen Mitchell got me moving in just the right direction.

I was a little late to party in ordering these Lovely Layers: Winter Birds dies from Honey Bee Stamps. Somehow I thought I didn’t need them. Hilarious, I know! Well they showed up on Monday and I made this yesterday. I inked a panel of watercolor paper with a combination of red inks, starting with Candied Apple Distress Oxide, adding in some regular Candied Apple Distress and spritzing on some Pumice Stone Distress Spray. I cut the three layers of the cardinal and then sponged on some Pumice Stone Distress Ink at the edges for definition. I took the scrap and layered some black ink on the corner to cut the feet and face piece from it. On the other corner, I added some Crackling Campfire for the beak.

I glued the bird together making sure I left the feet layer with a way to put over the branches. For the branches and leaves, I spritzed watercolor paper with the Pumice Stone Distress Spray for the speckles. Once dry, I brushed on the brown and green Distress Inks and then cut them out with the Winter Greenery die set. Next up was the embossed panel. I have also been late to the party on these 3D embossing folders. Um, wow. This panel was intended as a practice one for just playing. I embossed first, then spritzed with Distress Sprays, then inked with Distress Oxide Ink. Not the order I would choose again but it was just right for this little section I needed. Yay! I placed all of this on a patterned paper piece from the Grain and Grunge Paper Pack and added a sentiment from the Inside: Birthday Sentiments set.

Since the sketch has a slimline look to it, I used a general shape of one. Mine is 6″ x 3 3/4″. A bit non-standard but I chose that to fit the bird (and I don’t have to mail the card). The team has a beautiful variety of cards to share so come over and join us. Thanks so much for stopping in today!

Freshly Made Sketches #563

Freshly Made Sketches #563 published on 3 Comments on Freshly Made Sketches #563

Super quick for today since I’m in the middle of a trip (typing from a hotel room and I’m TIRED!). I created this for the latest awesome sketch. This one was designed by our hiker extraordinaire, Jen Brum!

I saw this design from the free paper pack that came in my Honey Bee Stamps order (instant quick cards if you want and oh so cute). Thought it would be pretty for the sketch. I inked up some paper and cut these holly leaves and berries. So fast but so fun! I told you in Monday’s post about the Holly Jolly Background Stamp and the sentiment I cut out. This one was all ready to go and popped it right onto the card.

I think I will use more of these little cards in similar ways to create a stack of cards. I love when quick cards can still feel special. Hope you’ll come over and join us for the sketch this week.

For all of you in the US, wishing you a happy Thanksgiving holiday. If you are traveling, so am I! Keep an eye out in Houston, Charlotte, Chicago! See you again soon.

Holly Jolly from Honey Bee Stamps

Holly Jolly from Honey Bee Stamps published on No Comments on Holly Jolly from Honey Bee Stamps

I have been working away on Christmas cards and trying some new techniques. I find that watching “lives” with my stamping friends inspires me to try things I would never otherwise do. This card is the result of one I watched with the queen of artsy, inky goodness – Lydia Fiedler.

Last week, Lydia was showing how to add color and depth to a background stamp and I was inspired to try it with the Holly Jolly background stamp from Honey Bee Stamps. There is nothing particularly hard about the process, it just takes a bit of time and patience. I started with a piece of Bristol Smooth paper larger than the image and put it in my Misti. The Misti is key to the technique since you stamp the image over and over again. Using my Mini Distress Inks, I started adding colors selectively on the image. I kind of went around and around the image adding and layering the inks. This gives you an idea of the work in progress. After this point I added some Peacock Feathers and Villainous Potion. It is kind of an experiment which is what makes it fun.

Once I had the panel inked, I decided I wanted it to take on a vintage vibe so I added Distress Oxide Ink in Antique Linen and some Vintage Photo Distress Ink on the edges. Next I splattered on some Early Espresso ink. I chose a section that seemed the most balanced and cut it with a rectangle die. Separately, I inked the big image in black ink and used the coordinating dies to cut all the sentiments out…such a great way to have a bunch of fun font sentiments on hand. I used the script Holly Jolly and matched the distress inking from the main panel.

Using the Make It Merry paper pack, I chose a plaid for the base layer and some of the red/green prints for my poinsettia. I little gold center to add some elegance.

This inking technique has made me look at some background stamps differently and I look forward to using this again. If you are every needing some inspiration to try new things, go visit my friend Lydia. She is amazing and truly her tutorials will just make your day happier. Hope you have a wonderful day!

Nordic Tree Shaker Cards and Extras

Nordic Tree Shaker Cards and Extras published on 1 Comment on Nordic Tree Shaker Cards and Extras

I have decided that I better start getting more serious about Christmas cards. November is bound to fly by and I’ll be woefully behind! While I’m not a big fan of mass production, I actually made 4 cards for today (all a little different) by using positive and negative die cuts.

I started by inking to A2 sized panels in a blend I have used before – Kitsch Flamingo and Salvaged Patina Distress Oxide Inks. I told you then that you would likely see it again and I’m truly obsessed with this color combination. I cut both panels with the Nordic Tree Die from Erin Lee Creative and then used a rectangle die to center and cut down the panels. I splattered one with Hero Arts Iridescent Shimmer Spray and one with Hero Arts White Glimmer Metallic Ink. The ink is a bit more opaque while the shimmer spray has a more subtle effect. Both are awesome!

I created shaker cards using the Catherine Pooler St. Cloud blend of sequins (they have the blue and clear and pink-ish colors that match the ink blend perfectly). Then using Silver Glimmer Hot Foil used the Christmas Greetings Hot Foil and Dies set from Erin Lee Creative for the sentiment.

Using the trees that I cut out (because why would I not?), I created two more cards. For the first, I sprayed again with Shimmer Spray and added some silver thread behind the tree for a little more shine. I used another of the sentiments from the Christmas Greetings set. **Tip: I actually foiled all the sentiment from the set at the same time so that I had them ready to go for these and other cards. **

On the bottom card here, I did not splatter and went for a cleaner look. In my attempt to foil the sentiment directly onto the panel, I had my foil backwards (seriously….those who have, those who will) and ended up with a letterpress look along with a pretty silver on my hot foil plate. It doesn’t hurt the plate, for the record. I kind of like the look so went with it. I added the tree but gluing the middle straight down but putting a bit of foam tape under the branches for dimension. I thought the Pink Blush Pearls from Pretty Pink Posh were the right add, almost like a free form ornament.

So there you have it. Four cards, all a little different but the same. WIN!! This pretty tree from Erin Lee Creative will stay in heavy rotation as I create. I love the modern look and clearly it allows for some diversity of design. Thanks so much for stopping in today. Back tomorrow with a fun new product!

CASE Me a Christmas Card with Michelle Lupton

CASE Me a Christmas Card with Michelle Lupton published on 3 Comments on CASE Me a Christmas Card with Michelle Lupton

I’m so happy to be back today for a very special post! My friend Michelle Lupton has graciously invited me to join her CASE Me a Christmas Card series again this year. I love all the inspiration that comes from her collaborations each year and, let’s face it, I’ll take any excuse to CASE one of her cards.

Truly the hardest part about this is choosing what to CASE. I mean….just go look at her gallery of work and you’ll understand. I finally settled on a card from May that was full of rainbow goodness (you can see it below). In the rules of CASEing, as I have always done it, you change 3 things but keep the overall feel of the original. Things I kept: the side placement of the focal elements, the big sentiment, the scattered pearls. Things I changed: more monochromatic, stencil plus die cut, no background stamped image.

The products on this card are new from Erin Lee Creative and I love them! I started by inking through the Nordic Tree Stencil with Versamark Ink and then heat embossed with a pearl powder. Much more subtle shimmer in person! Using the Nordic Tree Die, I did an edge cut on the Gold Cardstock (also from Erin Lee). Before layering it on, I blended on Rustic Wilderness and Iced Spruce Distress Oxide Inks. The sentiment is from the new Christmas Greetings stamp set (which has coordinating hot foil plates and dies).

This is the card by Michelle and you can see more HERE about how she made it. Now part of the fun is that she also uses one of my cards to create a Christmas card and her new card is here: Michelle’s New CASE Me a Christmas Card.

Thanks so much for joining us for this fun series! Go follow Michelle to see all of her beautiful work!

Freshly Made Sketches #557

Freshly Made Sketches #557 published on 5 Comments on Freshly Made Sketches #557

My leaves are starting to change and I’m all in on fall. Went to the apple orchard on Monday, made apple butter yesterday…I love fall in Virginia! Pretty much no matter what the sketch was this week, I was planning on using leaves and the sketch from our fabulous Judy Rozema is perfect!!!

The Lovely Layers: Fall Foliage dies from Honey Bee Stamps are simple glorious for perfect (and easy) leaf creating. I cut them out from Hammermill white paper and then blended on Distress Ink with my Bitty Blending Brushes. I love these little brushes for controlling where the color goes. I pulled a couple of leaves from my yard as color muses, as you can see. I added a few paint splatters to mimic the spots on my leaves.

I chose a sentiment from the new On The Line Fall Florals stamp set (Honey Bee Stamps) and I love how close the coordinating die cuts it. The background paper is from the Grain and Grunge Paper Pack and the gems are from the coordinating gem pack.

I hope you will come over to Freshly Made Sketches to check the gorgeous work from the team and play along. Thanks for stopping by today. I hope you have a beautiful day!

Primary Sidebar