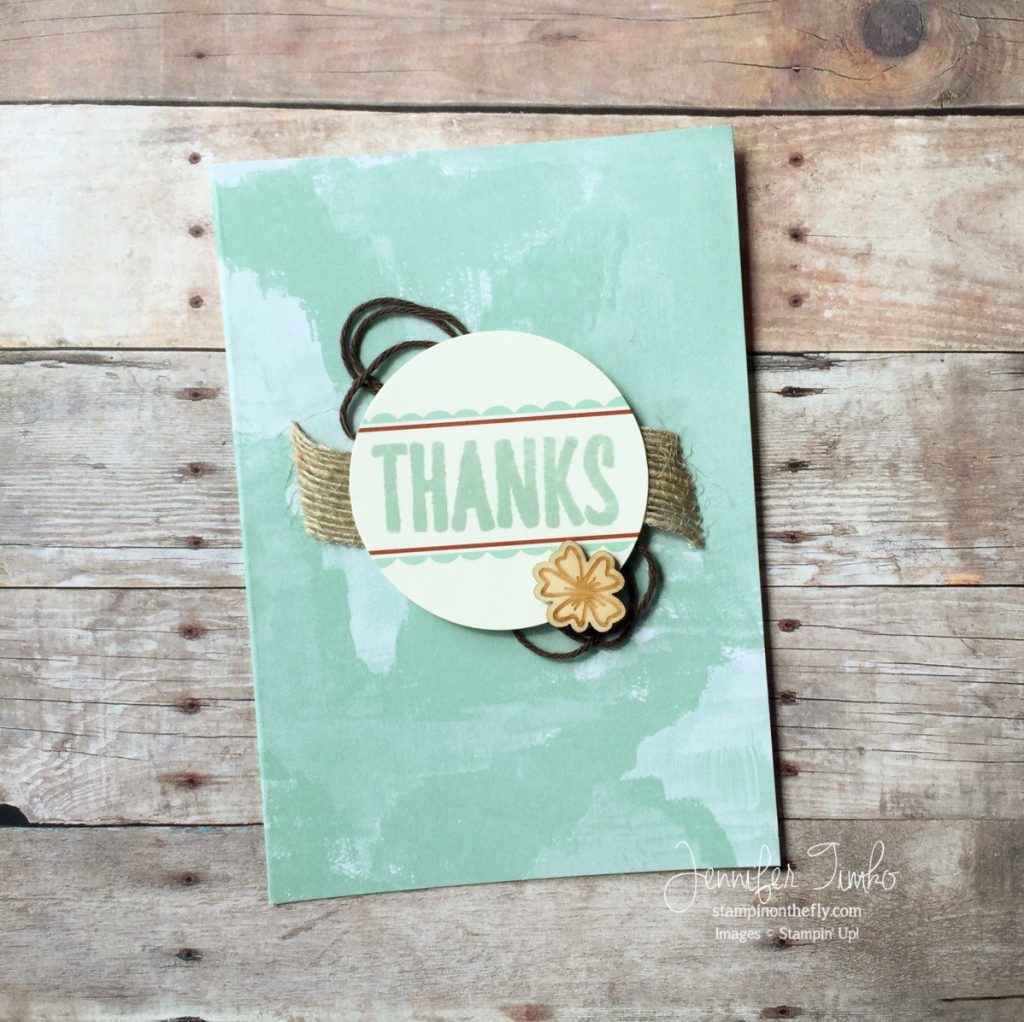
 Paper Pumpkin is such a wonderful treat in the mail each month! I’m sure you have noticed how much I use the stamps well after the kit has been completed. In fact, many times my Paper Pumpkin stamps are my first go-to when I’m looking for sentiments. But I rarely show you what I make with the actual kits. Mostly because I make the kits exactly as designed or I give them to my boys to use for their cards. Yep….really! There was a kit in the spring (the May one, I think) that I simply opened and handed to my oldest so he could make thank you cards for his birthday presents. I showed him the directions, asked if he had any questions and left on a three day trip. When I came back the cards were made, written and ready to be addressed!!! Oh how I love you Paper Pumpkin!!!! *smile*
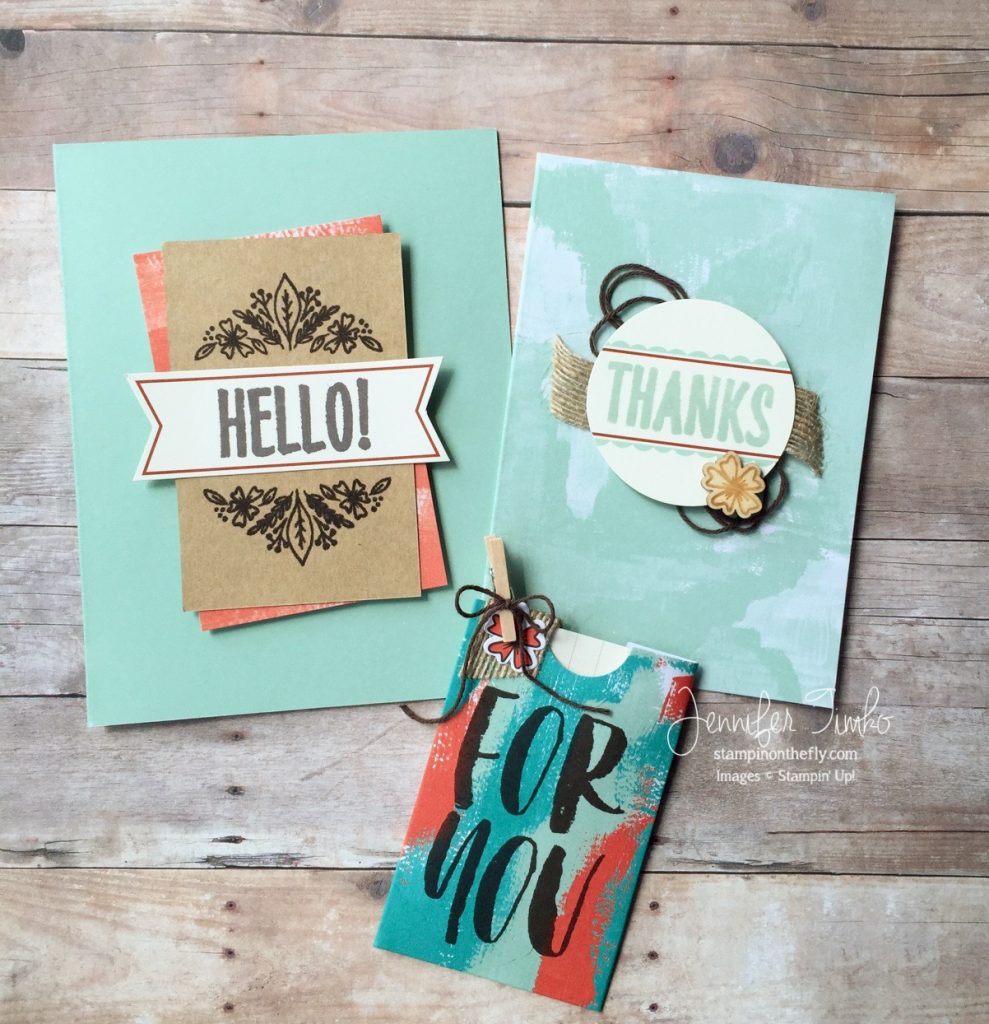
But I have to say that every now and then the original design is just not a “Jen card”. Certainly not a critique of the work from the Concept Artists since my work isn’t everyone’s cup of tea. But I thought it might be useful to show you how I turned a kit into projects that are totally me and incredibly helpful to have in my stash. If you haven’t already seen it, I am attaching a link to the video from Paper Pumpkin on how they intend you to use the kit HERE. I just sat down with the elements from the kit and did a little mixing and matching. My favorite card is the one I posted above. Isn’t it adorable?? And so easy. It does include the only thing I used that wasn’t already in the kit, Mint Macaron ink. But I suspect you already have that! All I did was cut the fun Burlap Ribbon and place the Espresso Twine behind the circle that was stamped in the Mint ink. A glue dot to attach the fun wooden element! The card base is the smaller of the two from the kit. And here is the whole kit put together. You can see I did the gift card holder exactly as the directions showed. I just made sure I inked the sentiment really well to get a bold look on it. (Your Misti is helpful with this since you can stamp multiple times, if needed) I combined other elements remaining for the larger card. And yep….I did have some stuff left over. Which I feel confident you will see on other projects. Because Paper Pumpkin is the gift that keeps on giving!!
I hope that these alternate ideas are helpful to you. And please remember to keep those stamps in an easy to reach place. They are super fun, completely on trend and perfect for so many projects!! Thanks so much for stopping in today. See you soon!
Supplies:
Stamps, Paper, Accessories and Ink: Paper Pumpkin (Bold Botanicals – August); Additional Ink: Mint Macaron; Additional Accessory: Misti

1 Comment
Wow lovely ! These thanks card are so pretty. Love their sweet, airy, artsy style !