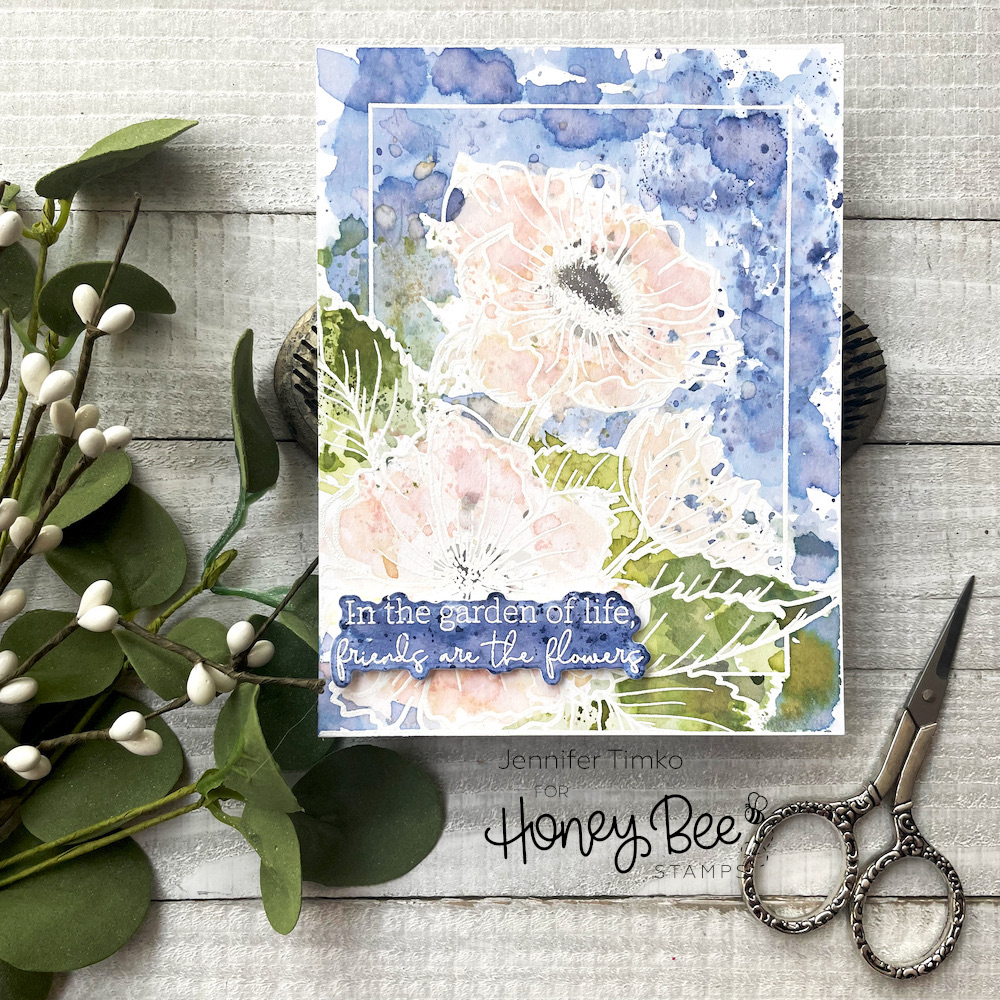
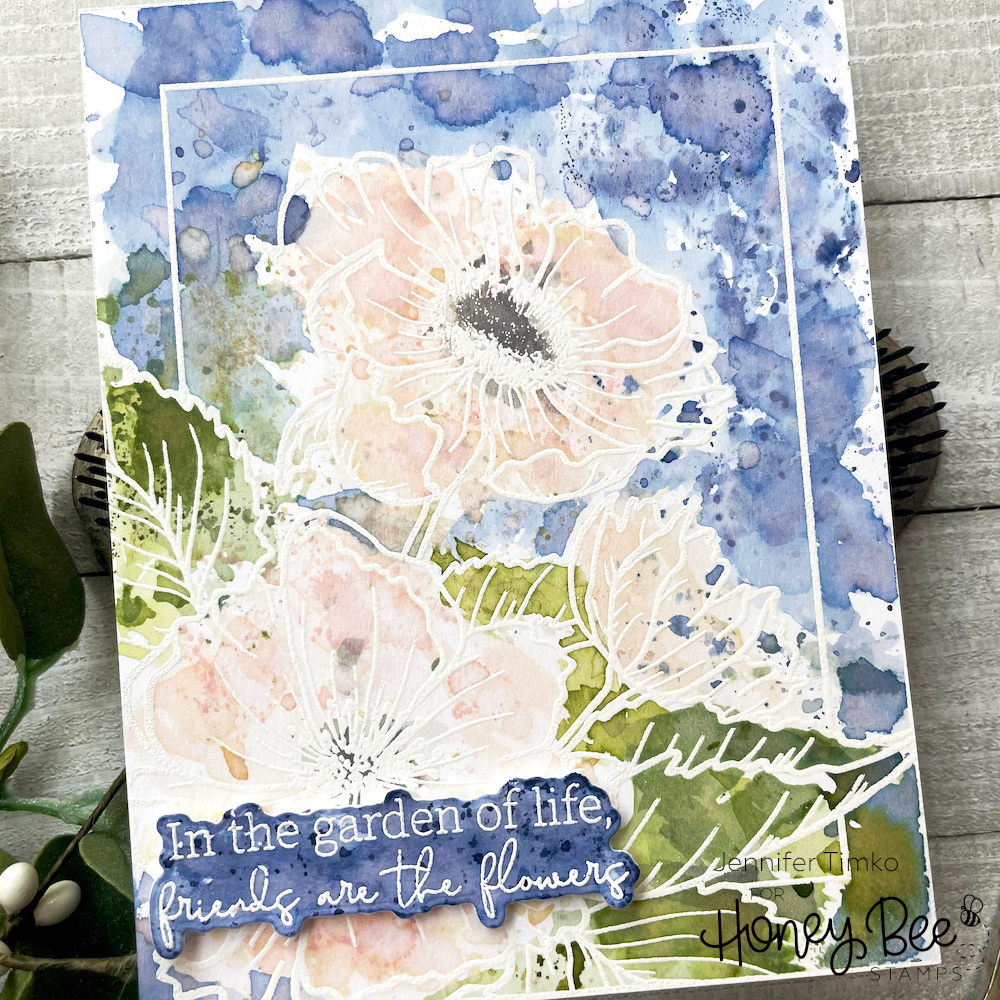
Sharing today for Honey Bee Stamps! I needed a day just to “play” in the stamp room and I thought I should pull out this new Framed: Anenomes stamp set. It is a gorgeous image and one that can be colored with so many mediums. I chose a very loose watercolor look with Distress Ink.
I stamped the image using Versamark Ink onto Tim Holtz Heavystock paper. It is made for distress ink techniques. For each color, I simply “smooshed” the ink from a mini pad onto a small clear block then added water with a paint brush. I took the block direct to paper to apply the color. Using a small block help you keep a little more control on where the color goes but still leaves it loose. If you need a bit more color in a specific place, you can add it with a paint brush. This is a layering process so leave time to allow drying to happen in between adding colors or additional ink.
Because I love the look of pale anemones, I made the leaves and the background bold and kept the flowers in muted tones of Tattered Rose and Antique Linen. For the sentiment, I stamped and heat embossed it onto more of the Heavystock paper. Then I colored it with the Chipped Sapphire in the same way as I did the flower except I made sure there was a bit more solid coverage as a base.
I hope you enjoy this card! Let me know if this makes sense or if you would rather see a video on how to create this look. Thanks so much for dropping in today!
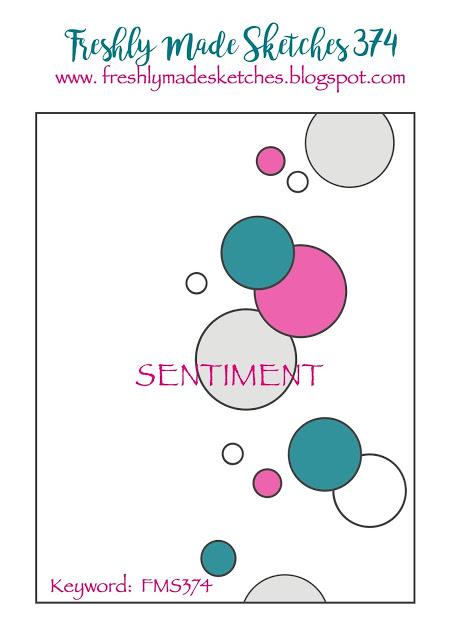
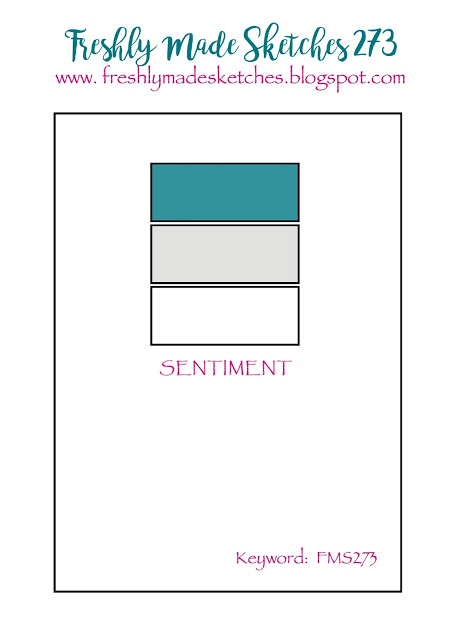
So you need a new sketch idea? Something you haven’t seen before? Have I got something for you! This week’s sketch at Freshly Made Sketches from the former circle-phobe Jen Brum is amazing. Not gonna lie, when she first showed me the sketch, I thought she was kidding since we have a long running team joke about her lack of love for circles in sketches. Well, she has clearly embraced Team Circle and the sketch is fabulous!
As per usual, my first thought when I see circles is a flower. But will all the circles, I needed to stretch a little. So instead, I thought about die cuts and different elements I could use. As I went through my stash, I came upon two set by Concord and 9th and knew exactly what to do.
First I took my Daniel Smith watercolors and painted some random splotches on watercolor paper. After they were dry, I piled on the dies from both the Monogram and Posie Fill In sets. The dies coordinate well so I just cut things in multiple colors to see what would work. I mixed and matched and played with a few backgrounds until I settle on a watercolor wash. To help follow the sketch a bit more, I added some Clear Drops from Studio Katia. The sentiment comes from the Monogram J set.
I’m so impressed with the variations on this sketch by the team. I think this week is going to be particularly fun and that there will be loads of creativity on display. I hope you’ll play along! Thanks for stopping in today. See you soon!
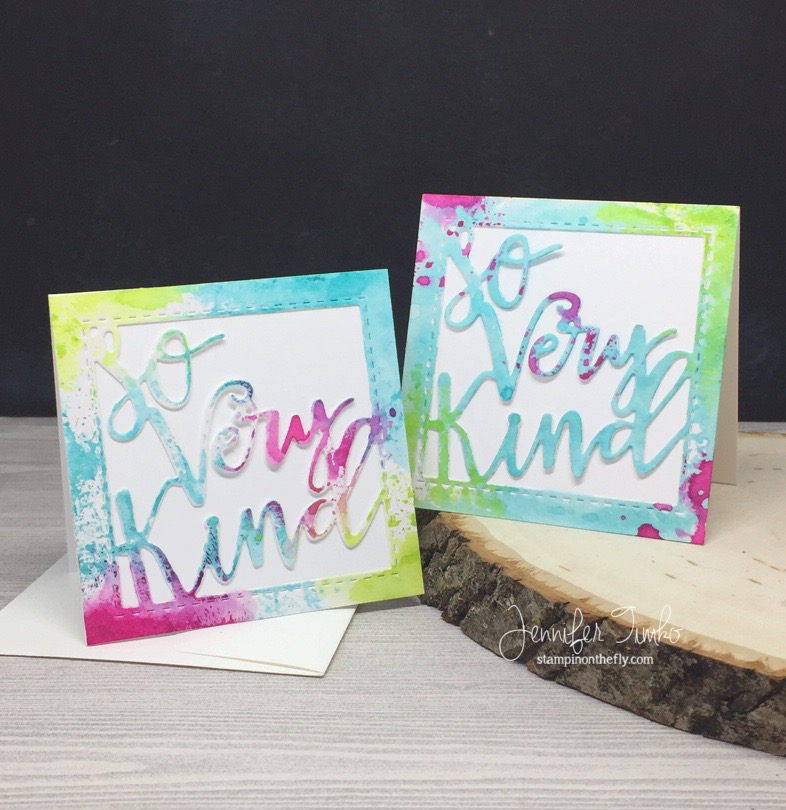
Dropping in today to show you some sweet little note cards that I made. Something about a little card that you can tuck into a package always makes me smile. And I don’t seem to make them enough. This little die with the sentiment comes from Lil’ Inker Designs and was among the sweet products I got at Stamping Away (I might as well warn you that I have many posts worth of enabling as I get to use these items). I made little 3″ x 3″ squares and then used the die to cut out the centers. Because I used Bristol Smooth paper, I was able to add these fun watercolor looks using Tim Holtz Distress Ink. I simply smooshed the ink onto a small acrylic block, spritzed with water and dabbed the color onto cut sentiments. So easy and yet so fun! Once dry, I attached them onto 3″ x 3″ cards and they are all ready to go. These already have homes that they are going to so I think I need to set about making more to have on hand.
Thanks so much to Lil’ Inker Designs for sponsoring Stamping Away. You are, indeed, so very kind!
Back tomorrow with a fun hop that you are going to LOVE! Until then, have a great day!
Supplies (affiliate links may be included):
Paper: Thick Whisper White (SU), Strathmore Bristol Smooth; Ink: Tim Holtz Distress Ink (Twisted Citron, Peacock Feathers, Picked Raspberry); Accessories: Big Shot, So Very Kind Greetings Die (Lil’ Inker Designs)
First of all, today is the day that the 4 Year Celebration release goes live over at Newton’s Nook Designs. To continue the fun, we are having a blog hop and I’m so thrilled to be a part of it.
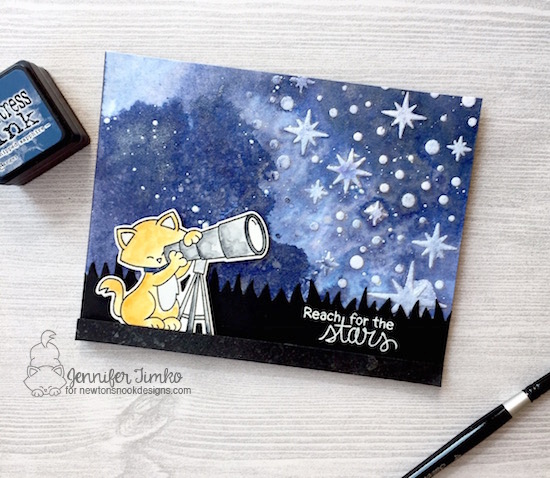
I told you yesterday that my favorite set from this release was Cosmic Newton (but seriously, choosing a favorite is like choosing a favorite ice cream…I love them all!). I used the new Stampin’ Up Embossing paste with the Starfield stencil on watercolor paper to start off my background. Next I added Chipped Sapphire Distress ink by painting it on with a brush. I got some of the light and dark coloring with that but wanted a little more dark. So I pulled out the trusty acetate and smooshed some more ink on, spritzed with water and applied to the panel. After it dried a bit, I spritzed on a Perfect Pearls mixture (in a spritzer with the powder and some water) to get a shine on the panel. And finally, I splattered on some Smooch Ink to add some extra “stars). I added a bit more of the Perfect Pearls onto the stars to help them pop. For the trees behind Newton, I used the Land Borders Dies. I was thrilled when it looked like the tops of trees in the shadows. Finally, I colored Newton and his telescope with some more Distress Ink. What a fun card to make!! This set just lends itself to fabulous backgrounds and tons of creativity!
I’m sure you notice how much fun I have had with the stencils this week. Well, there is a great deal that you are sure to love!So pretty much you can get the Pawprints stencil free on the order you were already going to make! WIN!! And speaking of winning…there is even MORE to win this week.
Celebrate with us and enter to win!
To celebrate 4 years Newton’s Nook Designs is giving away a $25 store credit to spend in their online shop to 4 lucky winners!
Here’s how to win:
Comment on the NND Design Team and Special Guest blogs (see list below)! The winner will be chosen at random from the collective blog hop posts. Make sure to check out each of their blogs and comment for your chance to win. You will not know which blog has been chosen so the more you comment on the better your chances are of winning! You have until Sunday, July 16th at 9pm CDT to comment. Winners will be announced on NND blog post on Monday, July 17th and will need to contact us to claim their prize so make sure you check back to see if you’ve won!
We hope you have enjoyed this week of celebration as much as we have! Your comments are so kind and your support is appreciated more than I can say. What a privilege it is to share with you all! Thanks so much and see you soon.
Stamps: Cosmic Newton (Newton’s Nook Designs); Ink: Versafine Onyx Black, Tim Holtz Distress Ink (Chipped Sapphire), Moonlight Smooch Ink (Clearsnap); Paper: Strathmore Bristol Smooth, Basic Black (SU); Accessories: Starfield Stencil, Big Shot, Cosmic Newton Dies (Newton’s Nook Designs), Land Borders Die (Newton’s Nook Designs), Misti Stamp Tool, Perfect Pearls, Winsor and Newton Paints, Heat Tool, White Embossing Powder
My favorite stamping day of the week is here! Happy Wednesday to you! I’m so excited to share this week’s sketch by coloring genius Karren Johnson. Her split panel concept is so fun and can lead to so many great ideas!
So I’m hoping that I didn’t stretch too far from the sketch but I really tried to make my watercolor ombré layer into three distinctive sections. I used the beautiful Tim Holtz Hickory Smoke Distress Ink to create the colors. I started with a light wash and then went back and layered on more ink. The heart is really one of the leaves from the Layering Leaves Die Set (Concord & 9th) and I just snipped the stem off to turn it into a heart. I colored a scrap of watercolor paper with my Wine Red Zig pen and washed it out a bit with water. Then I die cut with the leaf. So pretty! Finally, after some debate, I chose a sentiment. You see…I need a birthday card for my dear husband and I think this might hit the right masculine note (well, at least it isn’t a flower, haha!). I love that the Moon Rock ink from Altenew is a nice match to the distress ink on the panel with crisper stamping. The sentiment itself is from the January Paper Pumpkin kit. While the kit is an adorable Valentine’s 3-d set, the sentiments are going to be in your go-to list for a while. I love this font and this says it all!
I know the gallery will be full of inspiration this week. The design team has some amazing work already there for you to enjoy. Hope to see your take on the sketch! I’ll be back on Saturday with a fun hop that you are going to love. See you then!
We use cookies on our website to give you the most relevant experience by remembering your preferences and repeat visits. By clicking “Accept”, you consent to the use of ALL the cookies.
This website uses cookies to improve your experience while you navigate through the website. Out of these, the cookies that are categorized as necessary are stored on your browser as they are essential for the working of basic functionalities of the website. We also use third-party cookies that help us analyze and understand how you use this website. These cookies will be stored in your browser only with your consent. You also have the option to opt-out of these cookies. But opting out of some of these cookies may affect your browsing experience.
Necessary cookies are absolutely essential for the website to function properly. This category only includes cookies that ensures basic functionalities and security features of the website. These cookies do not store any personal information.
Any cookies that may not be particularly necessary for the website to function and is used specifically to collect user personal data via analytics, ads, other embedded contents are termed as non-necessary cookies. It is mandatory to procure user consent prior to running these cookies on your website.