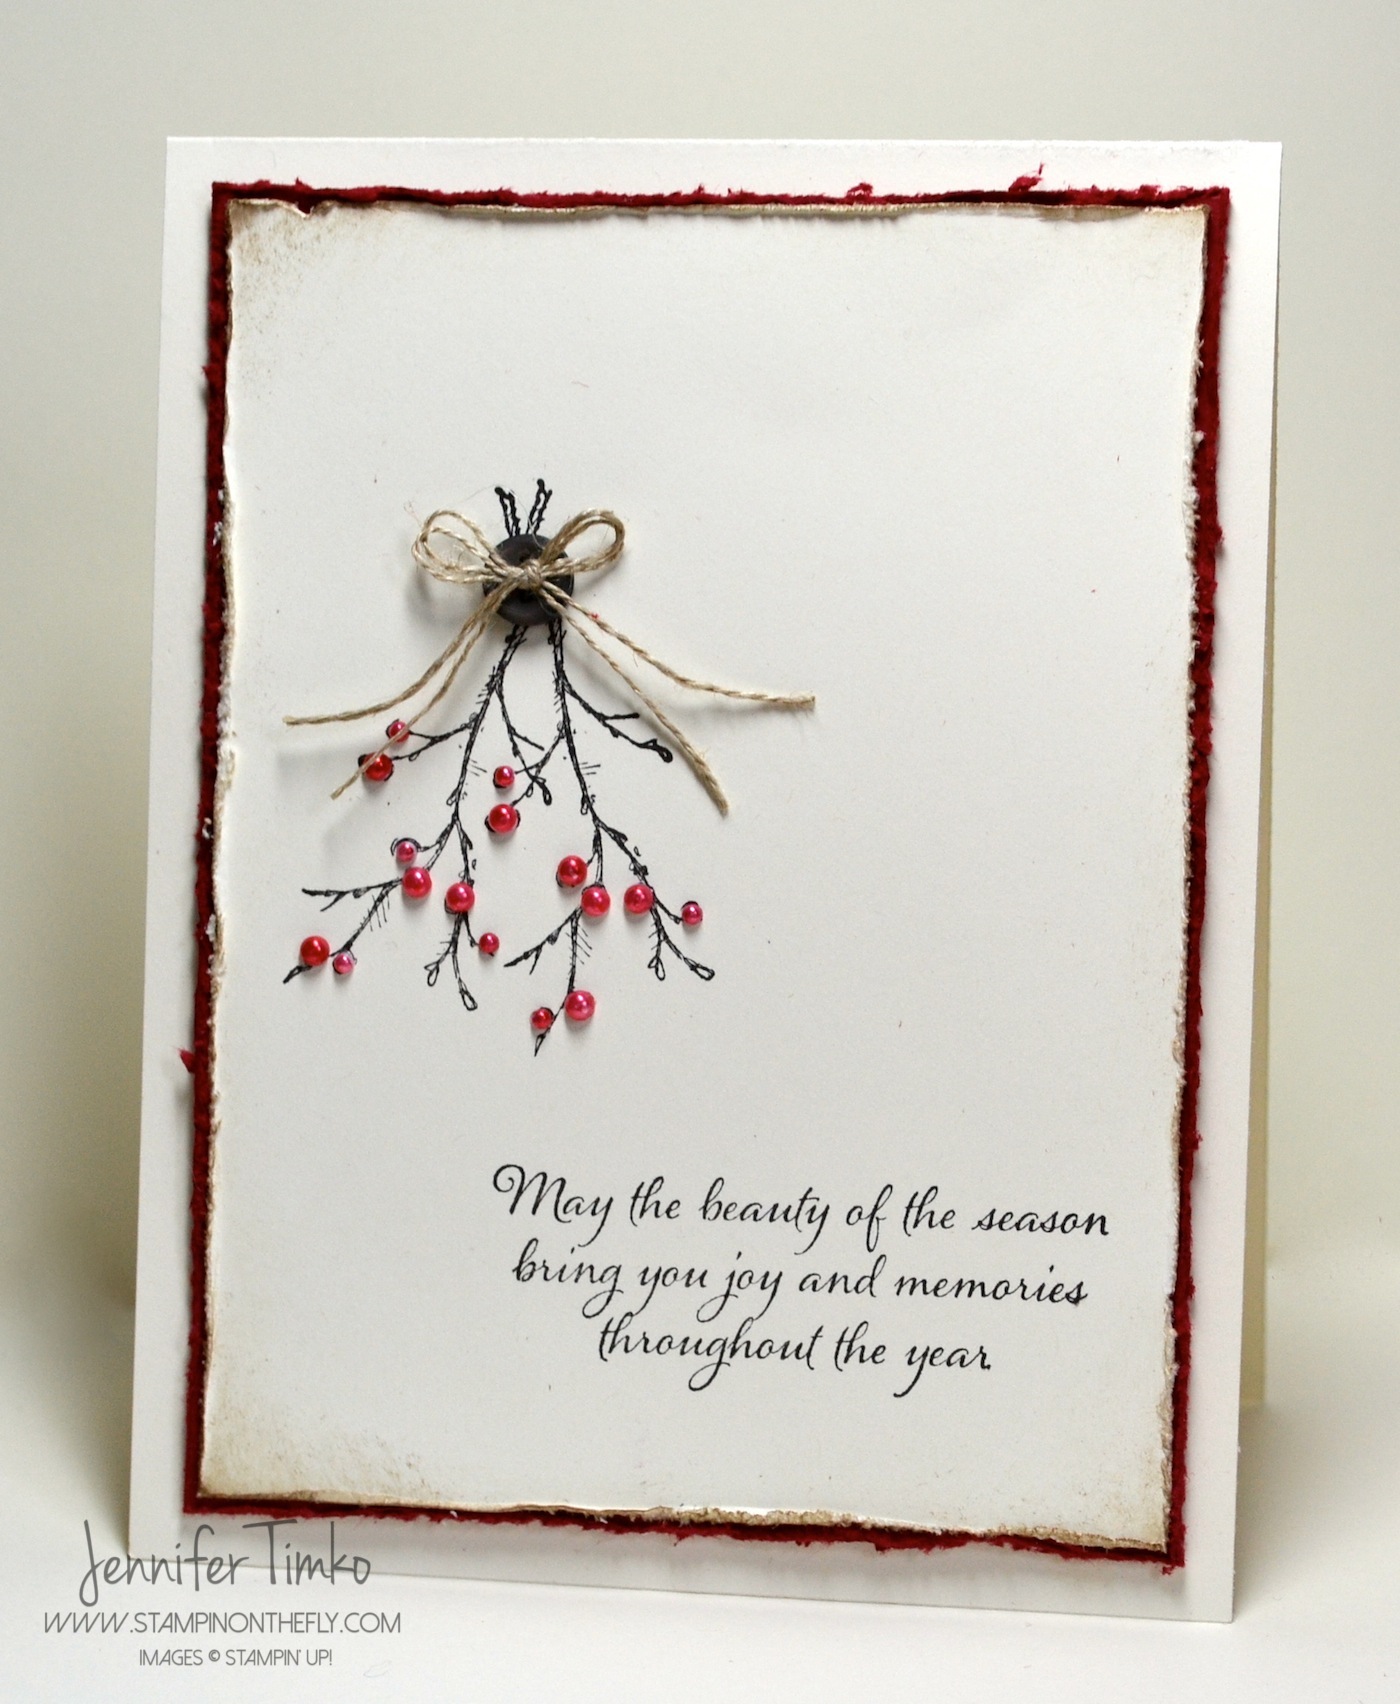
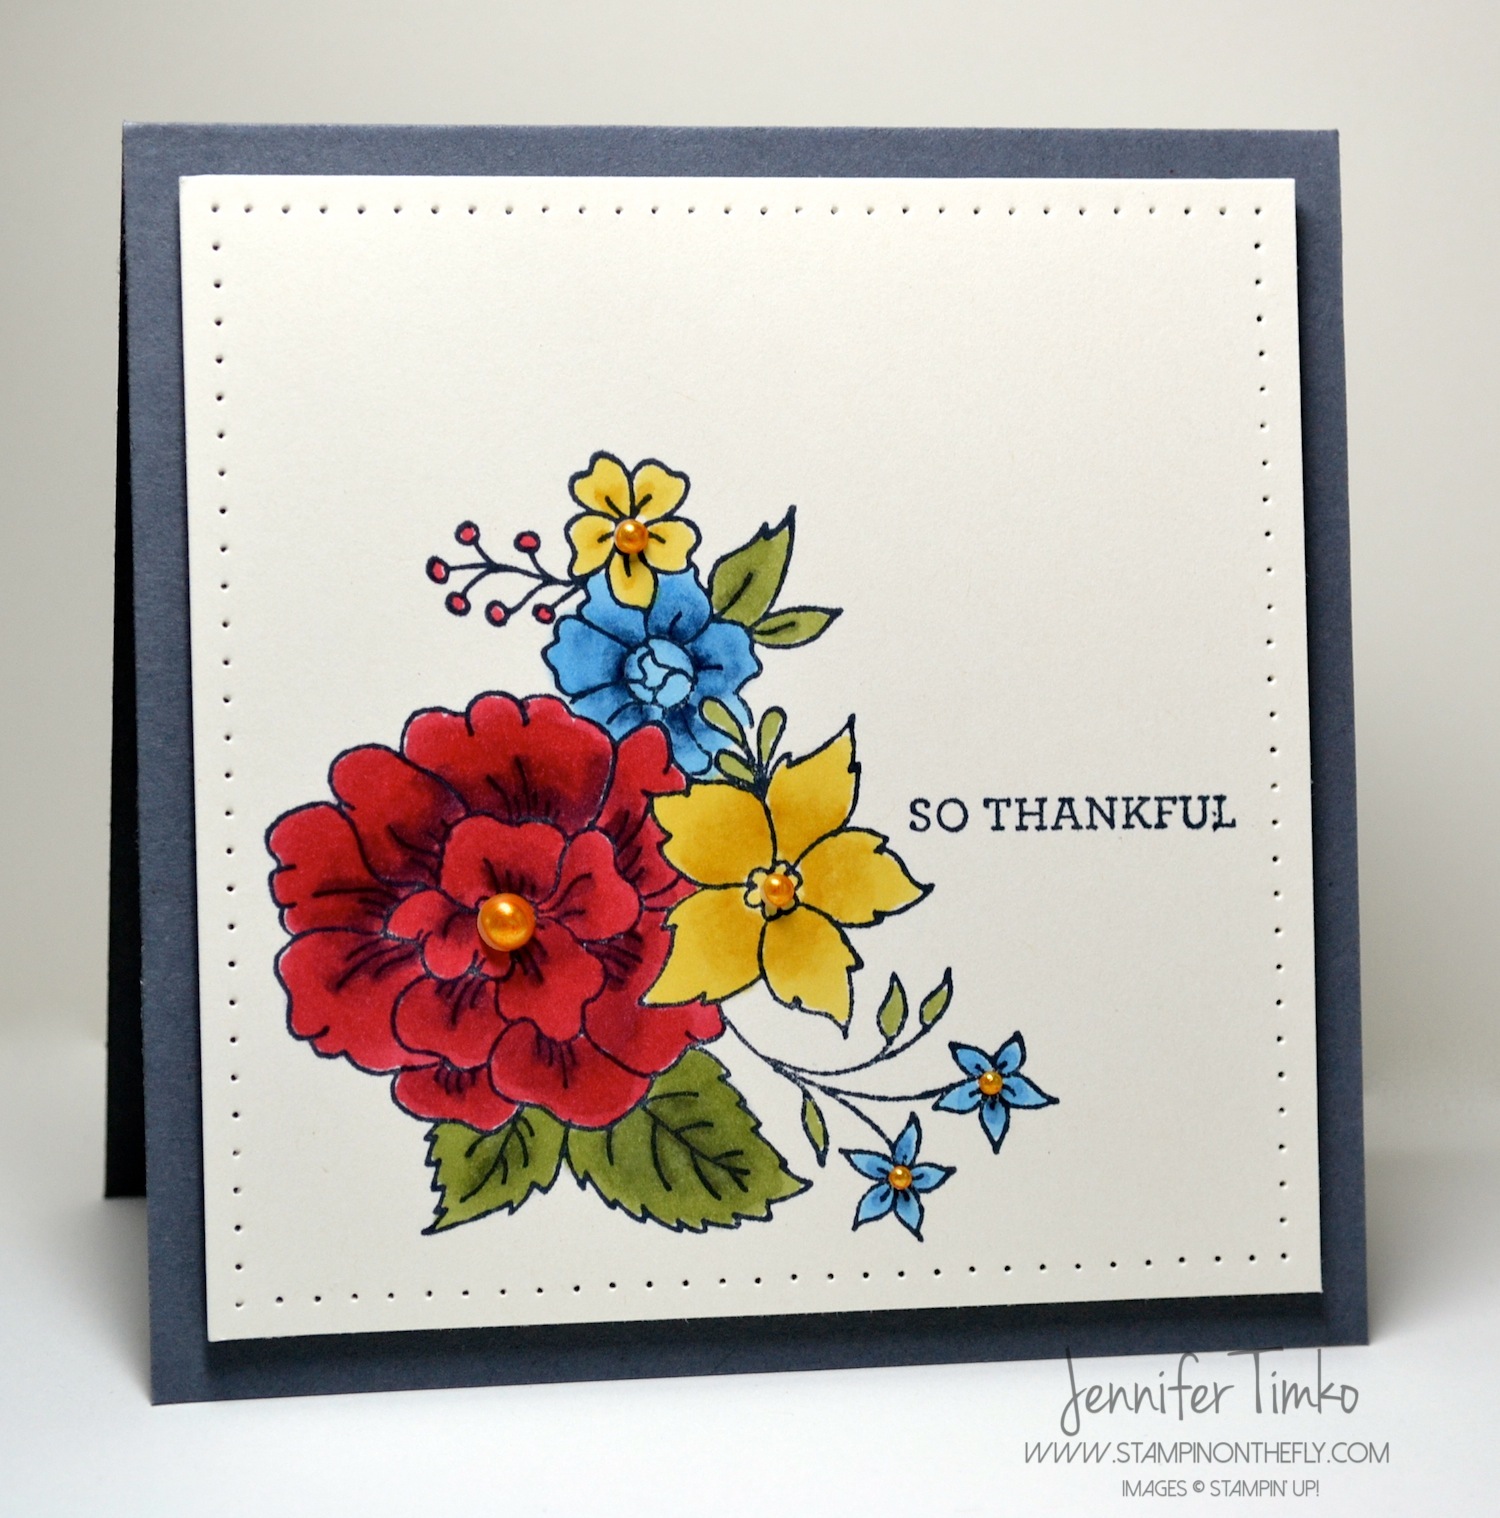
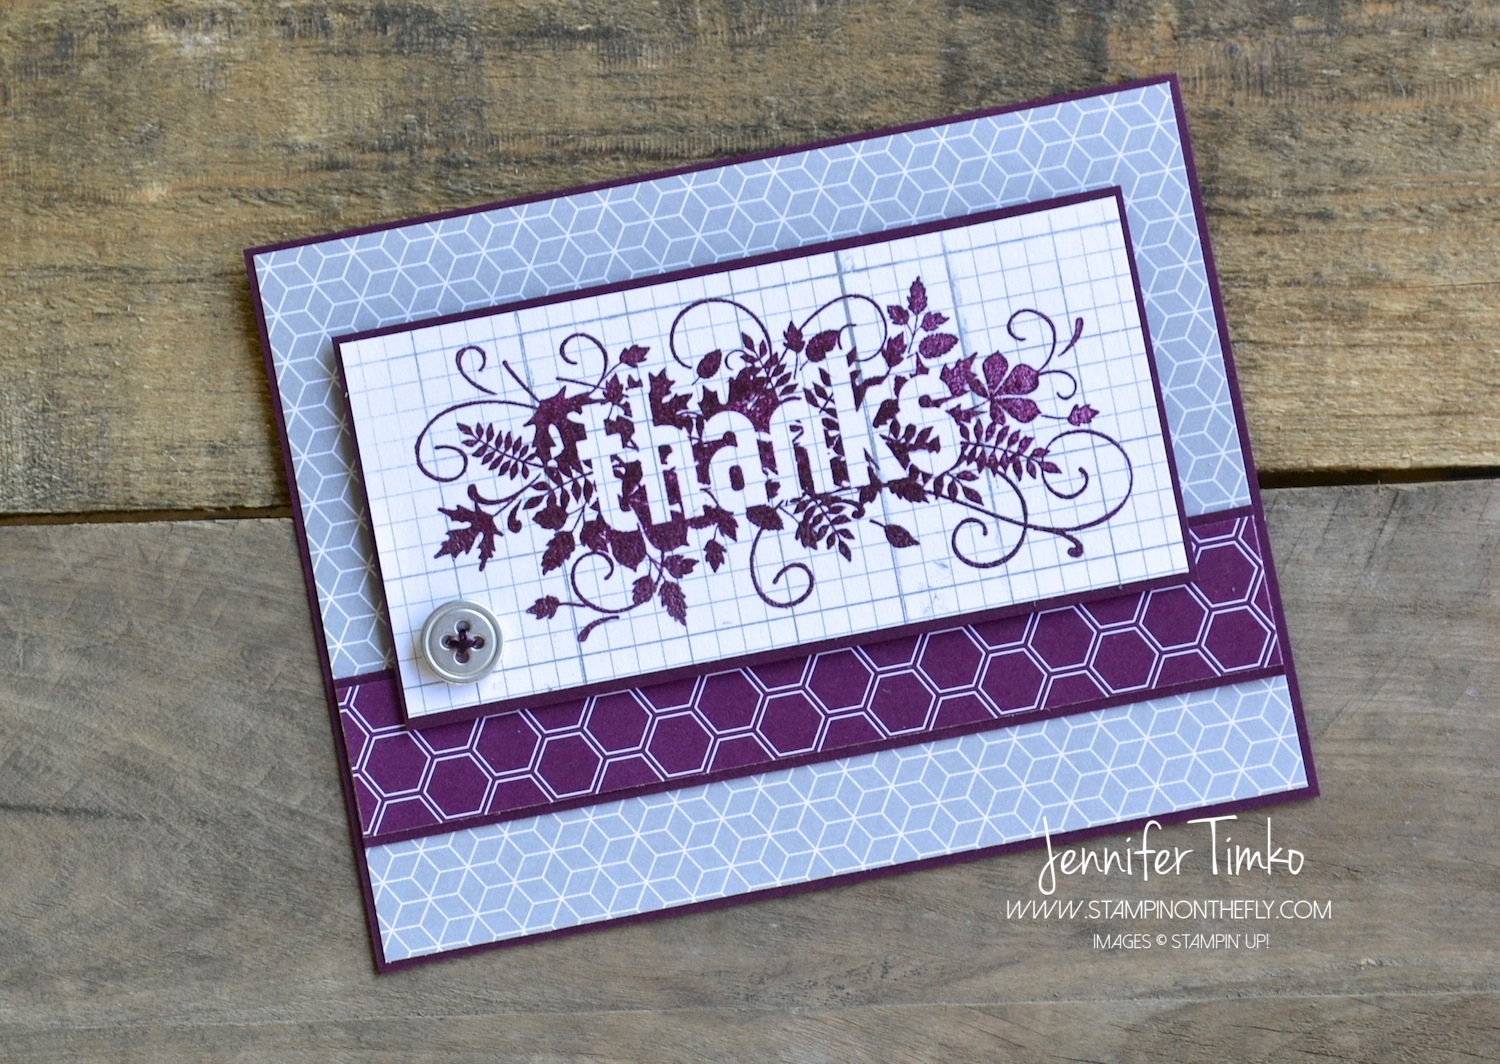
I showed you a Christmas card from my Blendabilities “on the Fly” class in my last post and today another of our cards. This one is a variation of a card I recently posted but was colored instead with the main focus on one color — Cherry Cobbler.
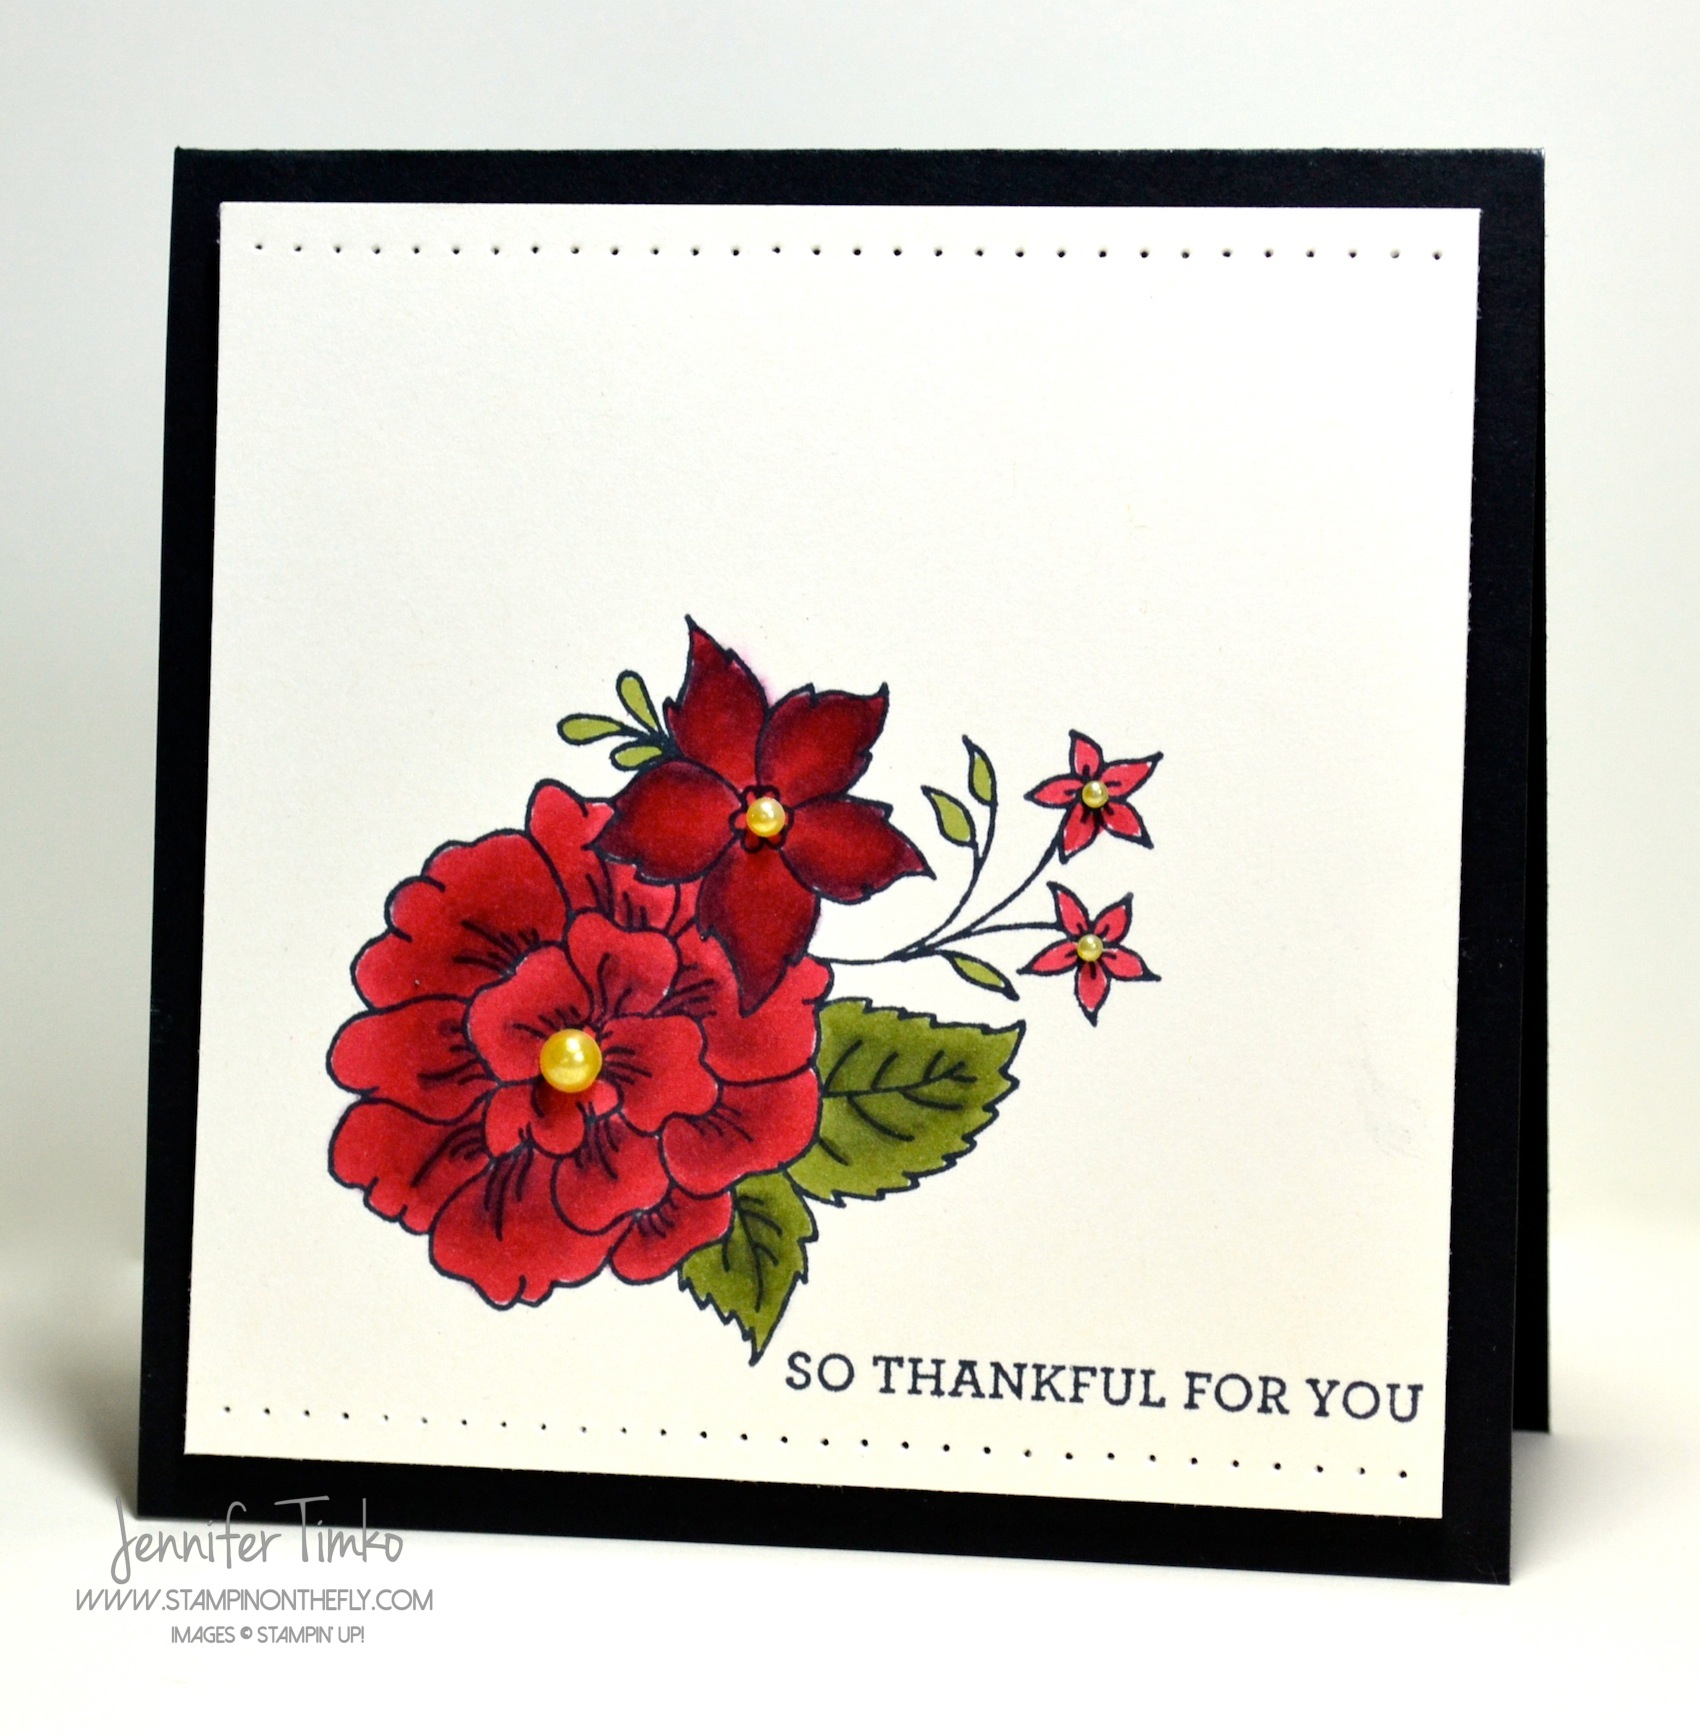
I demonstrated to my class the virtues of using the “light to dark” and “dark to light” techniques of using Blendabilities. The flower from I Like You was stamped in Momento Black Ink to start. I then started with the largest flower. I added ink from the lightest Cherry Cobbler Blendabilites marker using the paint brush end on the whole flower. Make sure you err to the side of not going all the way to the edge of the image to account for bleed. You can always fill it back in later. Then I added the darkest color to the petal lines already draw on the image. Using the medium marker I started blending with a circular motion and took that about halfway up the petal. Then I went back to my light marker and continued blending. I worked on only a few petals at a time. On the medium sized flower, I started instead with the darkest marker. I decided to use the dark color at the outside of the flower this time to help provide contrast. I added the dark ink around the edges of the petals. Then I moved to the medium marker and started blending, leaving a small section toward the center uncolored. Finally the light marker blending through the petal again. If you find the petal does not have enough contrast, use the Color Lifter and remove a little bit of the ink. You can come back over with the light color again for blending if needed. My little flowers were colored with the lightest marker and the leaves were colored in the light to dark way. I had fun showing how much variation you can get simply using one set of markers!
I’ll be back on Wednesday with the latest from Freshly Made Sketches! Until then, I hope you have a wonderful start to your week!
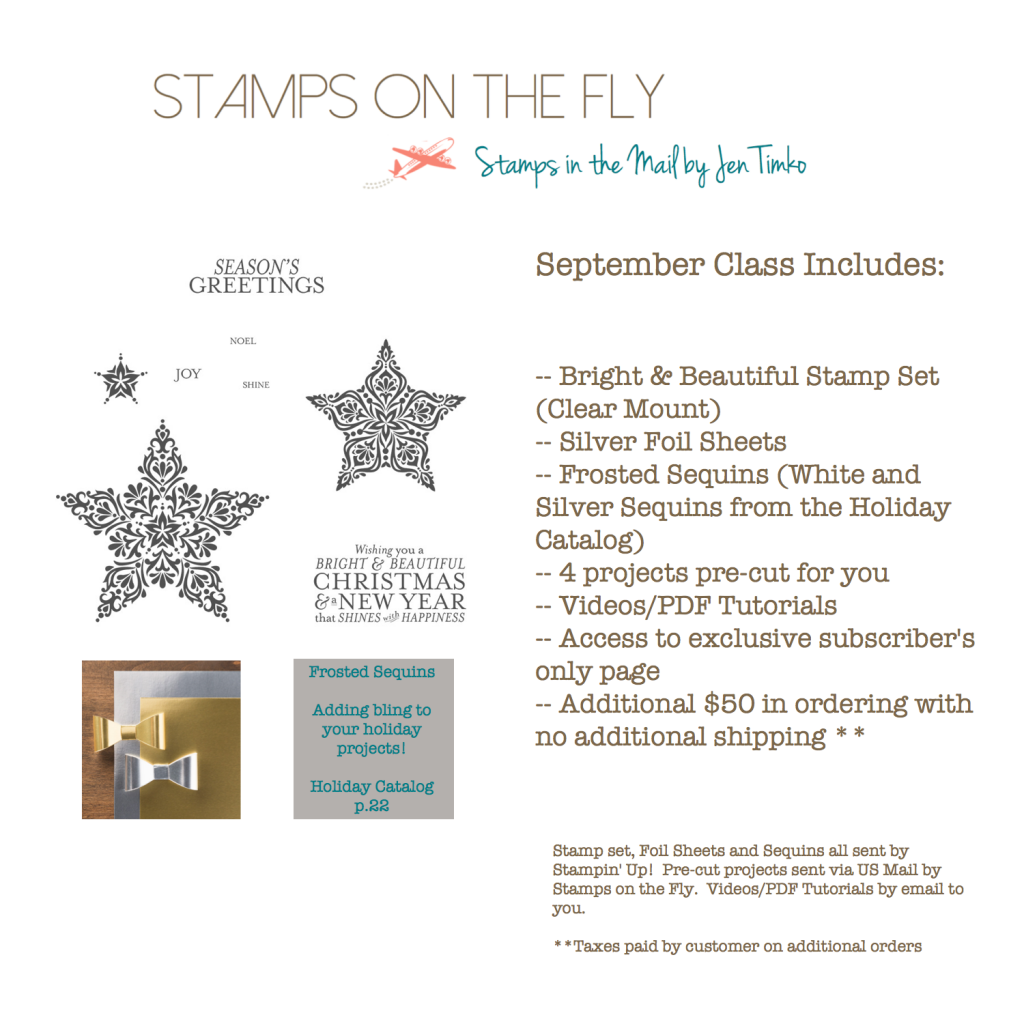
Don’t forget….signs up are open now for Stamps on the Fly Bright & Beautiful Edition
Click HERE to purchase these wonderful Stampin’ Up products!
Stamp: I Like You (hostess); Paper: Very Vanilla, Basic Black; Ink: Momento Tuxedo Black, Cherry Cobbler, Old Olive and Daffodil Delight Blendabilities; Accessories: Basic Pearls, Piercing Mat, Piercing Tool, Dimensionals, Multipurpose Glue