Skip to content

Fresh Cut Stencil

Fresh Cut Stencil published on No Comments on Fresh Cut Stencil

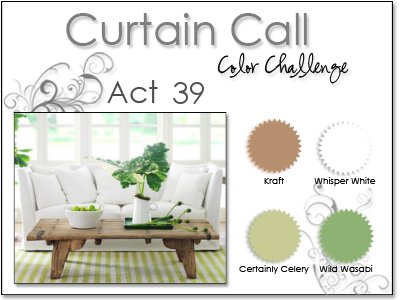
Stenciling is showing up everywhere and Stampin’ Up has started making some of the most beautiful products for this technique.  Sadly, my first order in the new catalog was all about new colors and new stamps (don’t worry, though, I’m certain this will be remedied in future orders!).  The challenge over at Stampin’ Royalty  (SR#28) takes advantage of this trend and asks for projects using stencils.  I sacrificed one of my Fresh Cut Notes (p. 171) so that  I could play along.  The best part is that I can continue to use this one note over and over for many projects so it was a worthy sacrifice!  I saw the CAS76 layout challenge over at Splitcoast and knew this was the way to go.  By definition, stenciling gives the feel of layers without actually having to have them and I wanted to keep the laying to a minimum.  Stacey’s Curtain Call Act 39 used the most lovely combination this week…take a look:

This card came together pretty quickly.  I sponged over the flower with Certainly Celery ink onto the Crumb Cake (Kraft) paper.  The center was a bit too bare so I popped on one of my new Basic Pearl Jewels.  You can expect to be seeing ALOT of these on my card, by the way!  I added the sentiment with Wild Wasabi ink and was left with the ribbon to do.  I saw this cool tutorial from Makeesha on how to scrunch the ribbon using Sticky Strip.  Well, it works great and adds so much texture!  Here is the final result:

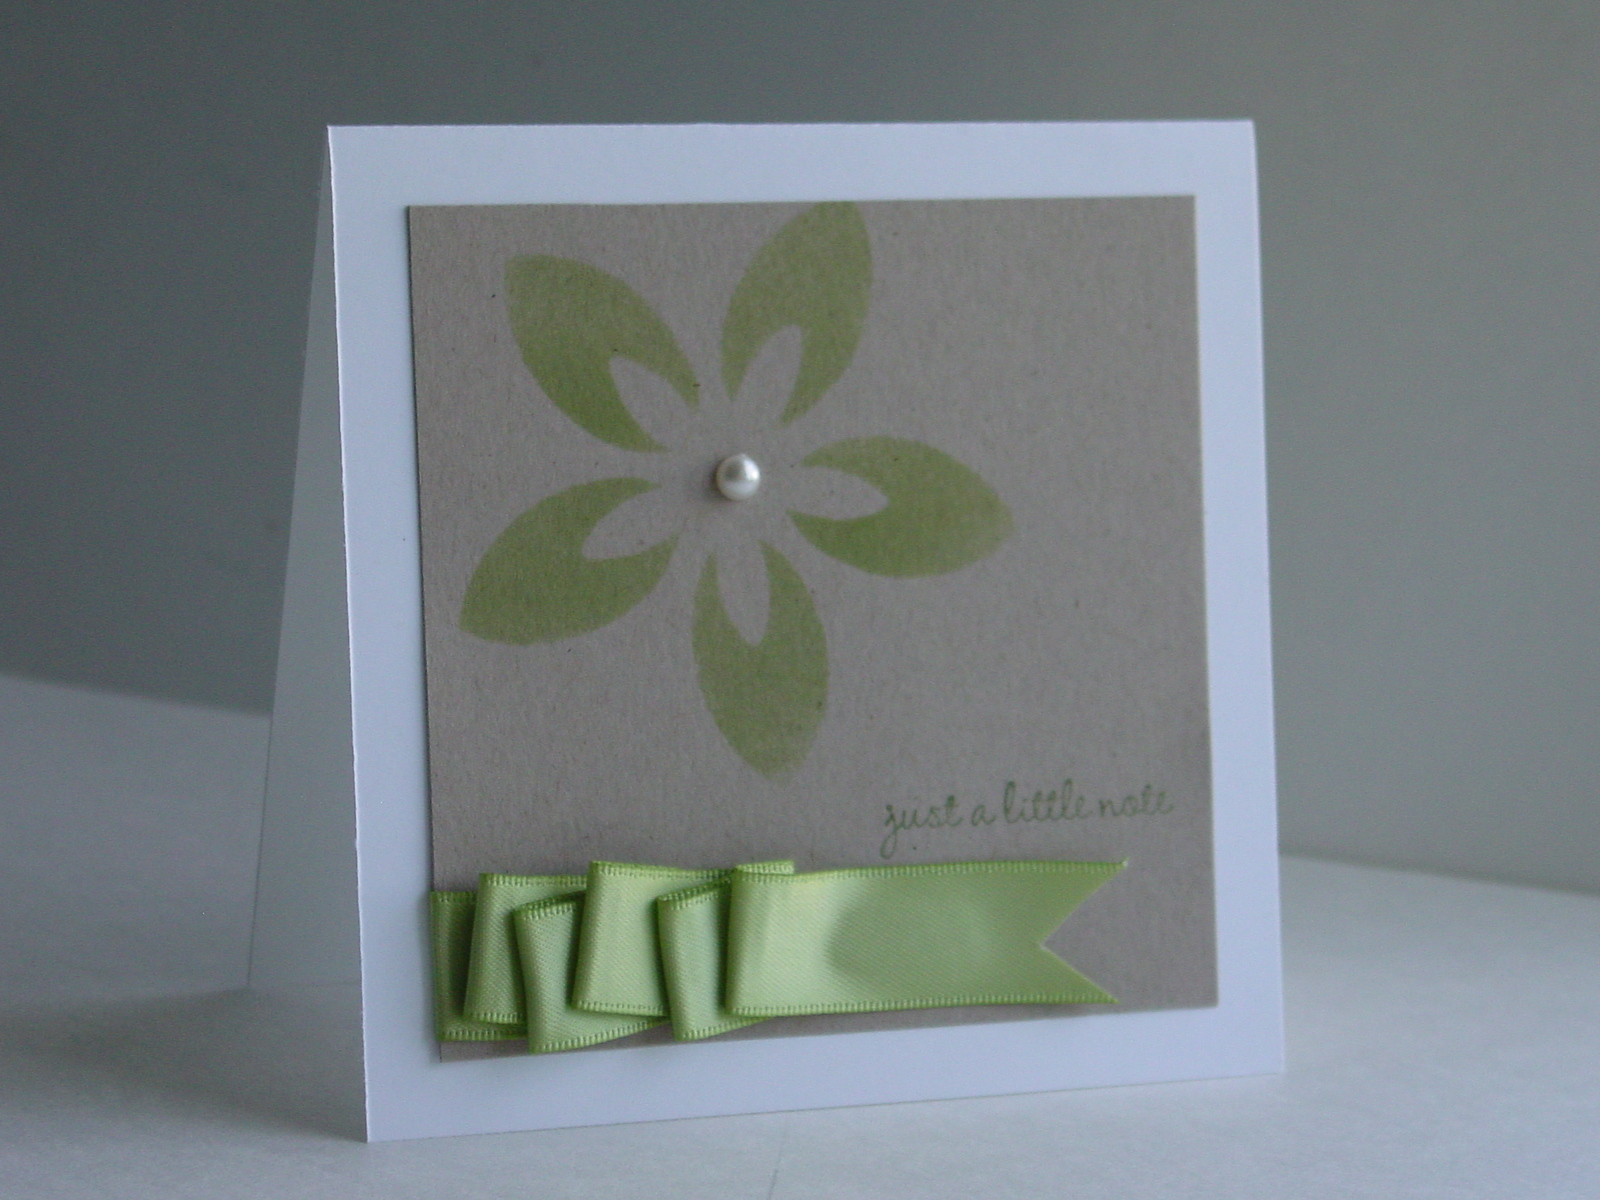
I must say that I wasn’t totally thrilled with the final result at first (although I love each element), but it is growing on me.  Definitely more Clean and Simple than I have been doing lately.  Let me know what you think.  It is a bit out of my box but that is what challenges are so good at doing for us stampers!  Hope you have a great day…thanks for stopping in!

Stamp:  Apple Blossoms (Hostess Level 2); Paper:  Whisper White, Crumb Cake (Kraft); Ink:  Certainly Celery, Wild Wasabi; Accessories:  Fresh Cut Notes, Basic Pearl Jewels (p. 188), Certainly Celery Satin Ribbon, Sticky Strip, sponges

All products are Stampin’ Up!

Double the fun!

Double the fun! published on 3 Comments on Double the fun!

As I posted my baby cards last weekend, I told you that I had been working on a big (for me) project.  Well, the secret is out and I can share now.  A dear friend of mine is pregnant with twins and I was part of a group that made her matching scrapbooks.  Her twins are actually one boy and one girl so the scrapbook use the same layouts (bacically) but with different papers.  You may or may not know that I am not much of a scrapbooker.  I have used My Digital Studio with some wonderful success but have never made entire traditional scrapbooks.  Together with two of my friends, Christine and Simone, we committed to making these books.  Let’s face it, the mom of twins isn’t going to have time to scrapbook for a while!! 

We started by getting two of the adorable Olive Polka Dot 6″x6″ albums from the Summer Mini.  Then, we chose the Petal Party and Happy B-day Simply Scrappin’ Kits as the base for each.  It is amazing how stampers with totally different styles can create a unified project just by using the same papers!!  The best part is that we had lots of paper and self-adhesives left over so that the mom can add finishing touches once the pictures are in.

To add to the fun, there is a challenge over at Stampin’ Royalty this week that is about “Seeing Doubles” – SR#26.  It seemed like the perfect time to post some of these great pages.

To start, I have the two cover pages (created by me):

I really don’t have room for all the pages but I am going to show you a couple of my favorites!  Take a look at the fabulous artwork on the “first tooth” pages created by Simone (on the left, each pairing).  Her dear husband drew it for her…wonderful!

And the following pages were created by Christine as “Grandparent” pages:

We tried to leave lots of room for journaling and embellishment after the pictures are put in.  We were so thrilled with the final result and, more importantly, the mom-to-be seemed to love it!  So glad you stopped by and I hope to see you again soon!

Sweet Trendy Thank You Cards

Sweet Trendy Thank You Cards published on No Comments on Sweet Trendy Thank You Cards

One of my dear sons had a birthday a couple of weeks ago and I am woefully late in getting the thank you cards done for him.  I turned to the Trendy Trees set because those trees are just perfect for a boy card!!  I am still trying my best to use up my retiring colors and DSP’s so I wanted to use the Sweet Pea DSP (Occasions Mini).  I found a great sketch over at the TechnoStamper Monday Lunchtime Sketch Challenge.  Take a look at this one…love it!

I change it into a square to better fit the thank you card plan (less space to fill on the inside).  I was also thrilled to see that the challenge over at Stampin’ Royalty this week is “Masculine Themed” cards.  I felt like Taken with Teal (retiring) really has a boy look to it…hopefully that is masculine enough!  The Sahara Sand cloud paper is part of the Sweet Pea DSP Pack.  I simply used the part of the paper that didn’t include the birds.  The Chocolate Chip poly-twill ribbon (ret) finishd the job.  I am really trying to use up my Chocolate Chip ribbon and, trust me, that is a lot of ribbon!!!  How else can I justify buying some of the lovely new ribbons from the upcoming catalog??!!  Here is my card (and its friends).

I just cut out some Sahara Sand squares for the inside that my son will write on.  I really like how the clouds  add interest to the card without taking away from that cute tree!

Thanks for taking a look.  Hope your day is fantastic!

Stamp:  Trendy Trees; Paper:  Taken with Teal, Chocolate Chip, Sweet Pea DSP, Whisper White; Ink:  Taken with Teal, Chocolate Chip;  Accessories:  Chocolate Poly-Twill ribbon, Stamp-a-ma-jig

All products are Stampin’ Up!

Jazzed up Flowers

Jazzed up Flowers published on No Comments on Jazzed up Flowers

The challenge over at Stampin’ Royalty today is to “Jazz it up” and what a fun thing to do.  I knew I wanted to join in as soon as I saw the cool projects the Goddesses had made!  You start with a basic card or other project and then create a jazzed up version.  I didn’t have anything around that worked so I created a new basic card using the Splitcoast sketch challenge, SC283.  Here is my basic card:

I used the soon to be retiring DSP, Lovely Flowers (hostess) and cut out a flower panel and then used the other patterns to add to the layout.  I have really loved using this paper when I need a quick card that still has a wow factor!  At first I thought that I might even like the basic card better but then…

Well, I added some ribbon (SAB’09 Ret), cut out a flower and popped it up with a dimensional, and put on a sentiment (to match the scallop trim), and here is the jazzed up version:

Ok, I’m convinced…jazzing up was the right thing to do!  I just love this color combination and I am so happy that ALL of these colors will still be available as part of the Color Renovation.  While this DSP will be gone, I can tell you that I have seen a sneak peek of a DSP that has similar qualities.  The new catalog launch is just around the corner!!  Can’t wait!!

Thanks for stopping in!  Here is one more picture of the two cards together.  Have a great day!

Stamp:  Short & Sweet; Paper:  So Saffron, Rich Razzleberry, Lovely Flowers DSP; Ink:  Melon Mambo; Accessories:  Scallop Edge Punch, Scallop Oval Punch, Saffron Ribbon (Ret), Dimensionals

All products are Stampin’ Up!

Masculine Sage?

Masculine Sage? published on 7 Comments on Masculine Sage?

I tried to combine a few challenges today and the first was from Our Creative Corner.  The challenge was to make a masculine birthday card.  I also used the latest sketch challenge from Stampin’ Royalty, their challenge #20.  Finally, I used the colors from Makeesha over at Inkspirations.  Take a look at the colors and the sketch!

The colors pretty much “required” me to use the Nouveau Chic DSP.  Now that Sage is retiring, I am using up my stock. 

Without further discussion, here is my card (yes, the image panel does look crooked…I fixed it but didn’t have time to take a new picture):

I started with Oh, So Lovely (Ret) and tried to make it more masculine.  The paper certainly did the job but I’m not so sure the image is “manly”.  Oh well, challenges are jumping off points and I gave it the college try!  I have really enjoyed this DSP…just think, when I first ordered it I thought it would be “out of the box” for me!  I continue to find that the DSP’s from Stampin’ Up always exceed any expectation that I have!!  I did a little sponging  but otherwise the card is pretty straightforward.  I don’t have a particular need for this card but it is always so nice to have some in the “stash” ready to go!  Thanks for stopping by.  Have a great day!

Stamps:  Oh, So Lovely (ret), Short & Sweet; Paper:  Nouveau Chic DSP, Sage Shadow, Basic Gray, Very Vanilla; Ink:  Sage Shadow, Basic Gray, Apricot Appeal, Going Gray; Accessories:  Gray Corduroy button, thread (dyed Sage with the Marker), Blender Pen, Sponges

All products are Stampin’ Up!

Love is in the air!

Love is in the air! published on 12 Comments on Love is in the air!

Update:  The Valentine’s card was chosen as a Goddess pick at Stampin’ Royalty and an Inkspirations winner for the week!  Thanks to both for the complement!

We have been snowed in and what better to work on than Valentine’s Day cards??  Of course, the snow has really gotten in the way of my stamping.  My 4 and 6 year old sons have only so much tolerance for Mommy’s projects before it is time to go sledding!!  Ok, even I feel the need to go sledding.  After all, if we are going to have record snows I want to take advantage of the opportunities for fun!  Today, though, I really needed to finish my card for my dear husband.  While I have made quite a few Valentine’s cards this year, I always feel bad if he doesn’t get his own unique card.  He certainly deserves it!! I found this layout from Makeesha at Inkspirations and knew it would be perfect!


makeesha-sketch-018[1]


 Then I used the colors from the Curtain Call Color Challenge:  Act 16 which were Real Red, Very Vanilla and Kraft.  I just received my new Satin Ribbon this week and finally got to use it.  It is so beautiful…I might have to order it in all the colors!!  The hearts are from the I {Heart} Hearts set from the Occasions Mini.  Just a reminder that $2 from every one of those sets sold until Feb 28th goes to the American Red Cross in support of the Haiti earthquake victims.  I really like that the Kraft on this card gives it a more masculine feel!  Because this card follows a Love/Valentines theme, it also qualifies for the Stampin’ Royalty Challenge #6!  Their challenges are wonderful…make sure you check out the cards their Goddesses made this week!


Card details: 

Marty's Valentine -

Stamps:  I {Heart} Hearts, Well Scripted

Paper:  Christmas Cocoa DSP (ret), Kraft, Very Vanilla

Ink:  Real Red

Accessories:  Jumbo Brads, Vanilla Satin Ribbon

All products Stampin’ Up!


Earlier this week, I was supposed to work with a 2nd Grade class from my son’s school (he is in 1st Grade) to make cards for their parents.  Since school is apparently cancelled until the spring thaw, the teacher came over to help me make the cards for her kids (thanks Shelly!).  This project turned out so cute that I just had to post it.  It is another project with the I {Heart} Hearts set and the Hugs Sending Love Notes from the mini.  I am so sad that the kids didn’t get to do the project but I know the parents will love them when they finally get them.  I put another Whisper White sheet on the back where the kids can sign them.  Thanks for stopping by!  I value your comments…have a great day!

Hearts and Hugs

Stamps:  I {Heart} Hearts, Well Scripted

Paper:  Hugs, Chocolate Chip, Whisper White

Ink:  Ruby Red, Chocolate Chip

Accessories:  Heart to Heart punch

Primary Sidebar